
Create a New Invoice
Proper invoicing is the heart of your business. The quicker you get an invoice into the hands of a customer, the quicker you can get paid. With Industrack Invoices, you can quickly create an invoice from a preloaded price list or by pre-synced items from QuickBooks. Just fill in the necessary materials, services, and labor hours. Other than the Invoice Module, you can also create a new invoice from the customer’s profile, Invoices tab.
To create a new invoice, open the Adding New Invoice window.
From the Invoices page, click on Add New.
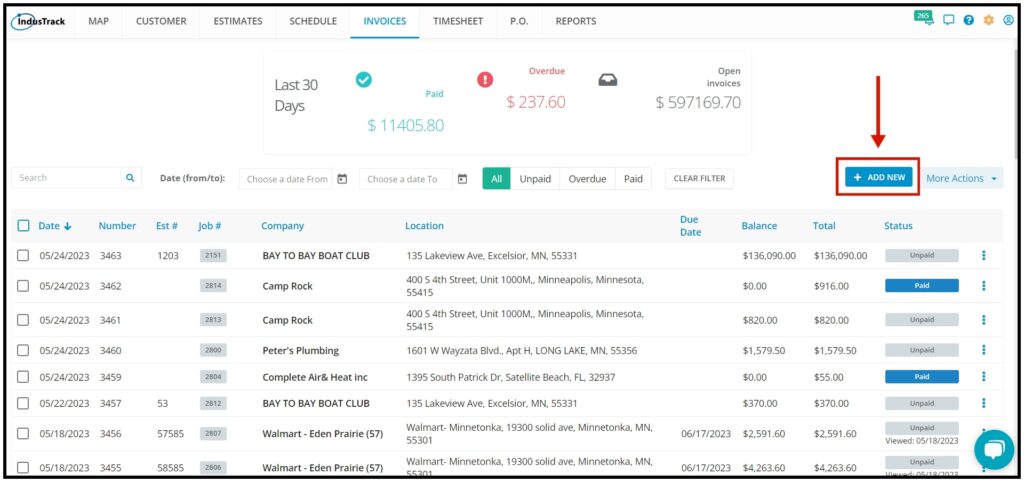
The Adding New Invoice page will open.
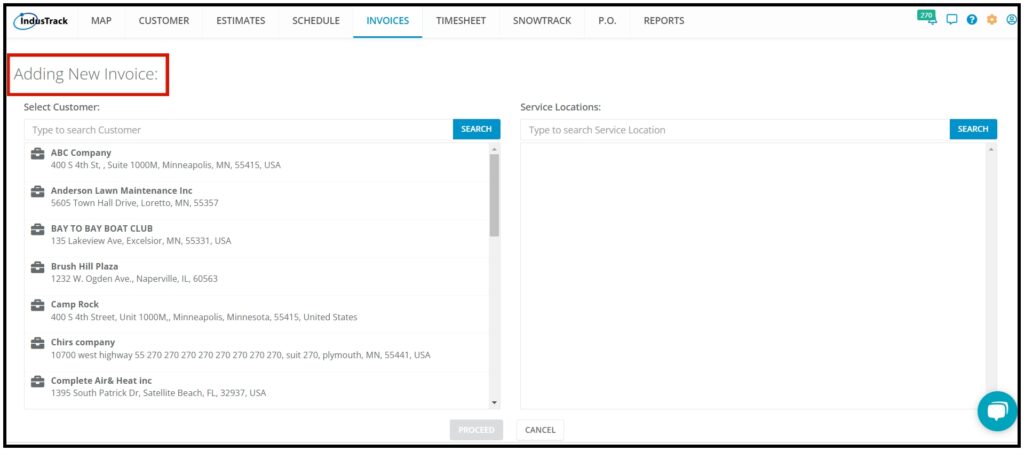
Select the Customer and their Location
Scroll down the list of customers to find the correct one. You can also use the search bar to quickly find the client’s name. Once you’ve selected a customer all of their service locations will show up. Select the correct service location and proceed.
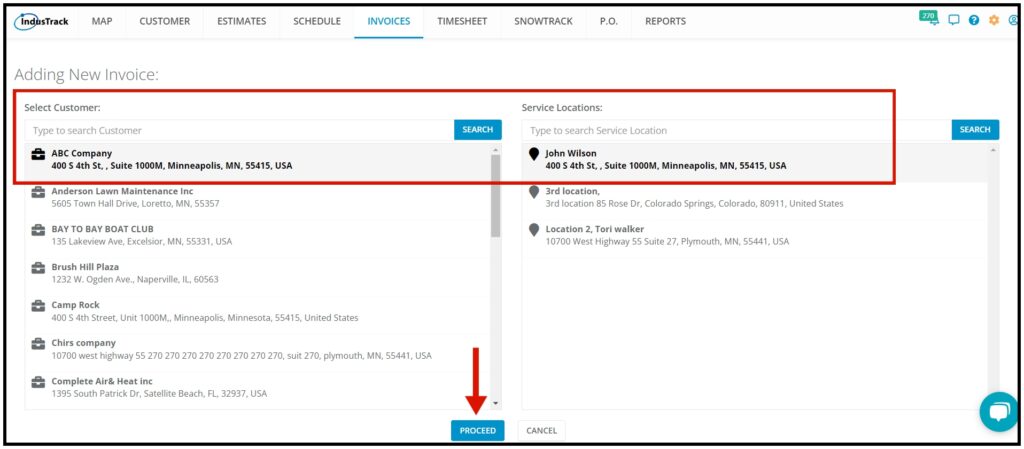
The Invoice Page will come up. Fill in the details to create your invoice.
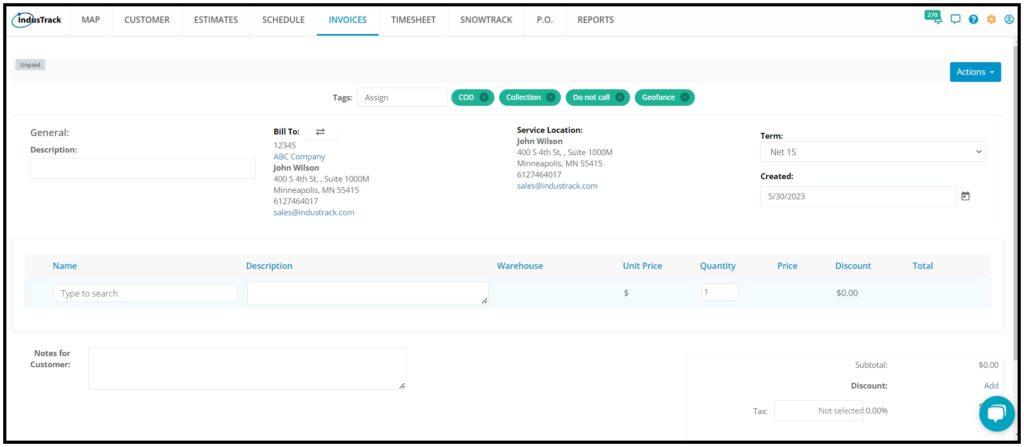
The Invoice Page
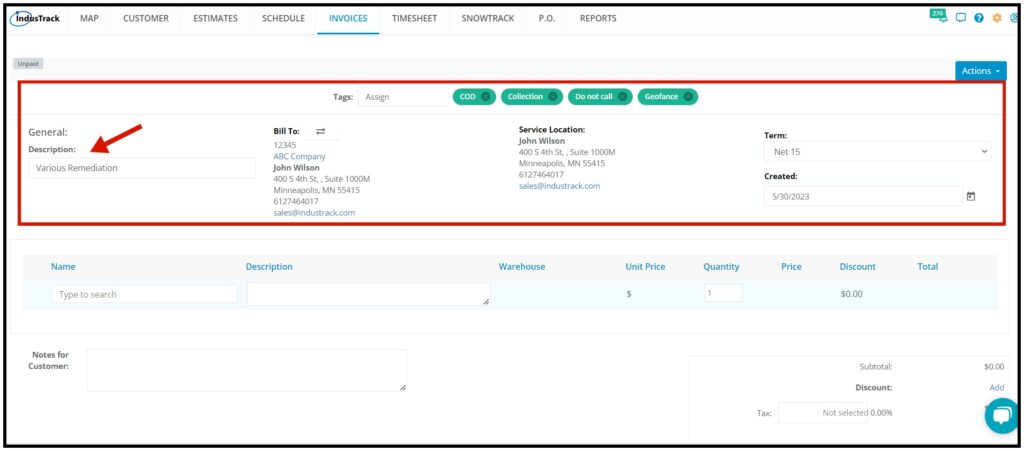
The page has 3 sections, the invoice description, information summary, and invoice details.
Information Summary
The information summary contains customer information with the terms of payment and invoice number.
If the customer you selected has a term assigned to it, the term will automatically apply. If your invoice number is set to autoincrement the invoice number will be automatically generated.
Give the Invoice a description.
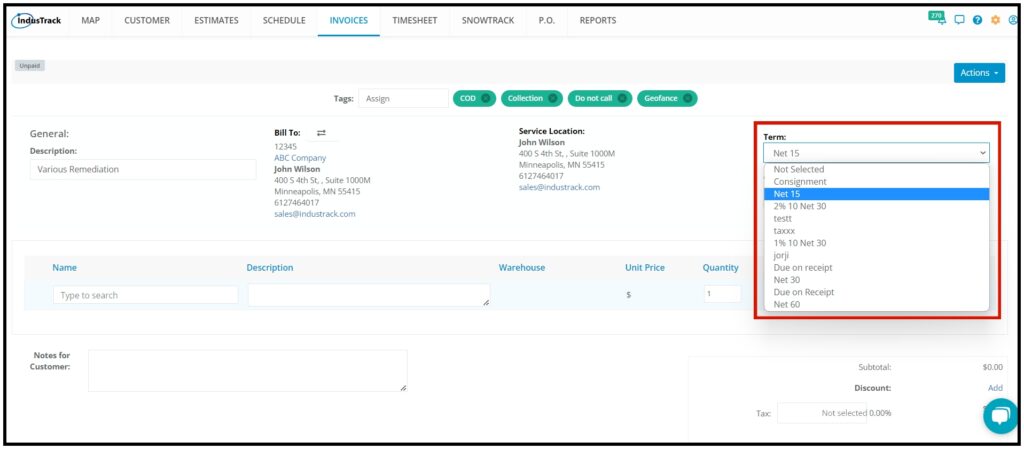
If the Terms of Payment are not set up for the customer or you will be using a different one for the invoice you are creating, click on the Term field and select from the different terms available.
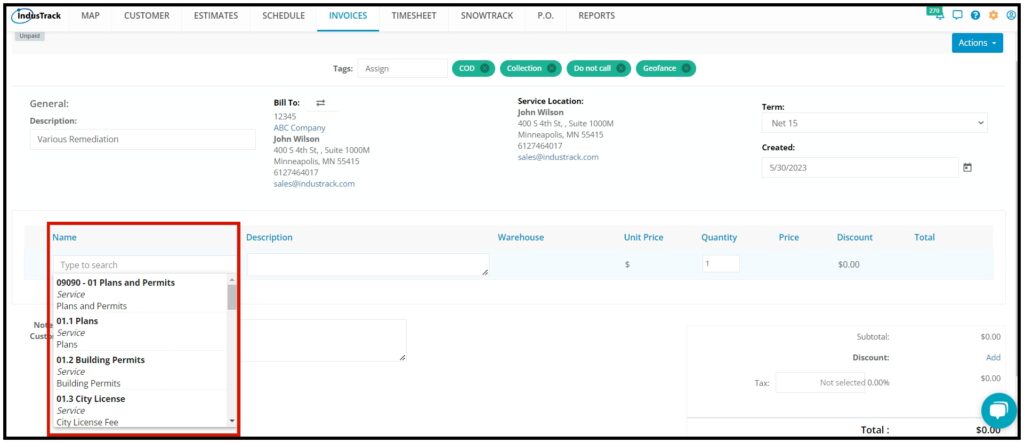
Parts & Services Details
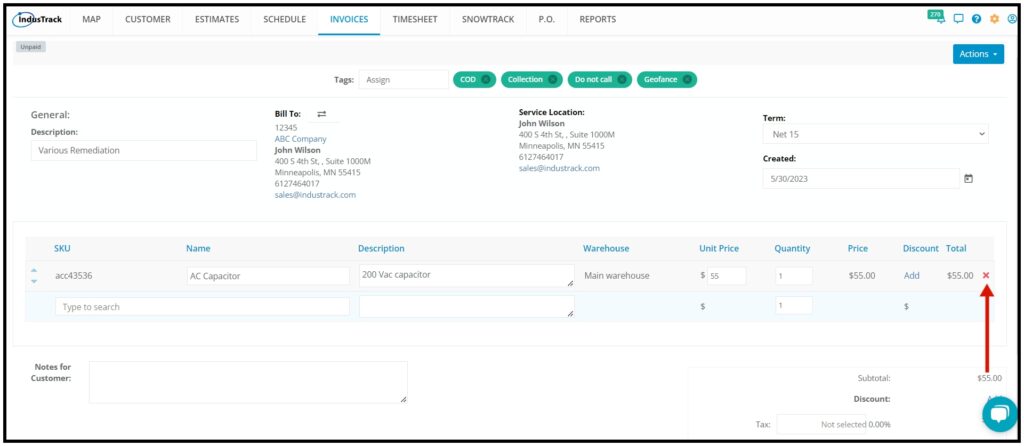
Add the parts and services to the invoice. Click on the parts and service search bar and find the part you want from the list and click on it. You can also search for a part by typing in the name or number/code of the part or service. If the item/s you wanted to add is not on the list, scroll down to the very bottom of the list and there will be an option to create a new item.
The other fields will auto-fill depending on your selection.
Once you have selected the part or service that you need, set the quantity by clicking the arrows or by highlighting the number and typing in the desired quantity. The Price (total price) will auto-compute.
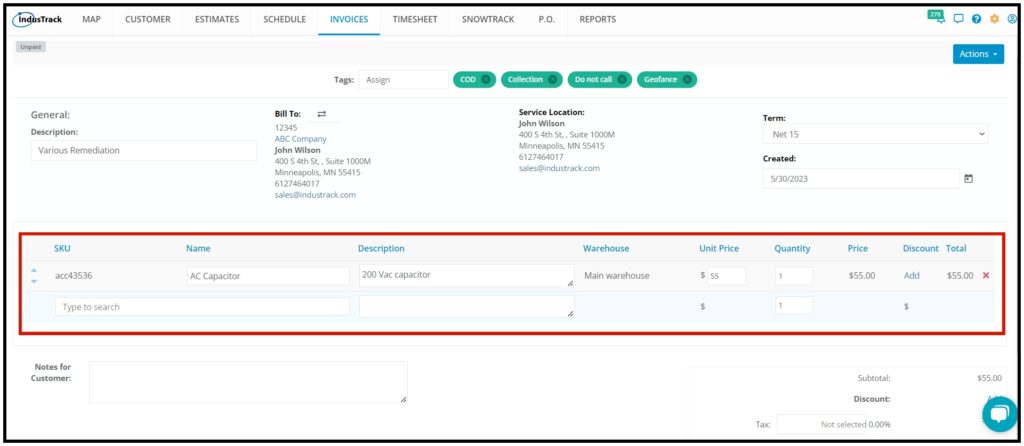
To remove the item from the list, click the X button at the far right of the item.
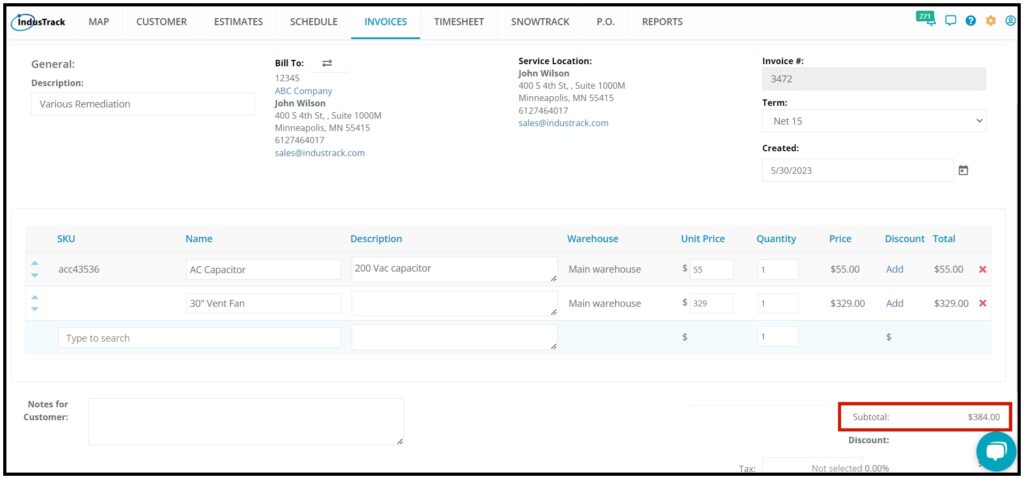
Repeat these steps for each item you want to add to the invoice.
As you add items to your invoice, the Subtotal field will auto-calculate.
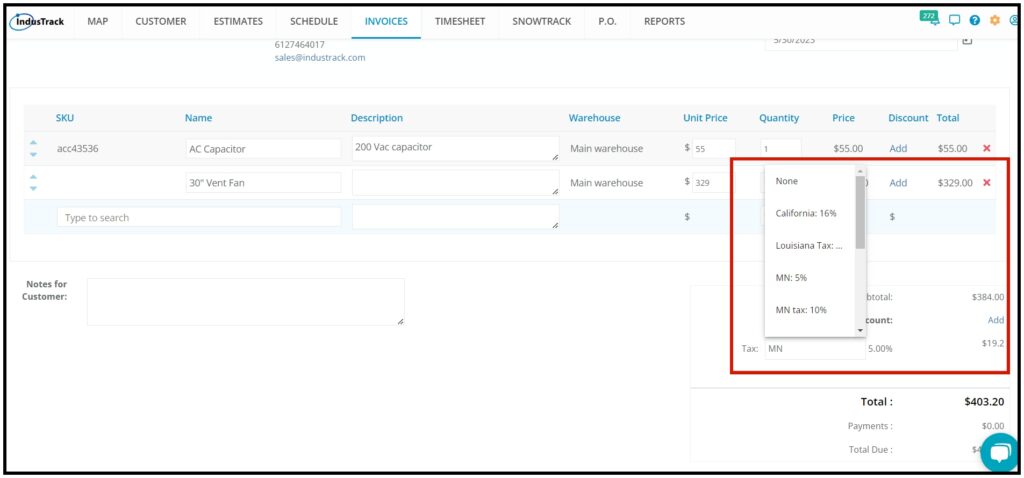
After adding the details, add a discount and set the tax, if applicable.
Either add or revise the tax rate. Tax Rates are set up under Company Settings. The Tax Rate applicable for a specific customer is assigned when their profile is created under the Customer Module.
If no tax rate is set up for the customer, click on the tax field. If this is already set up but you want to revise it, click the tax rate on the tax field.
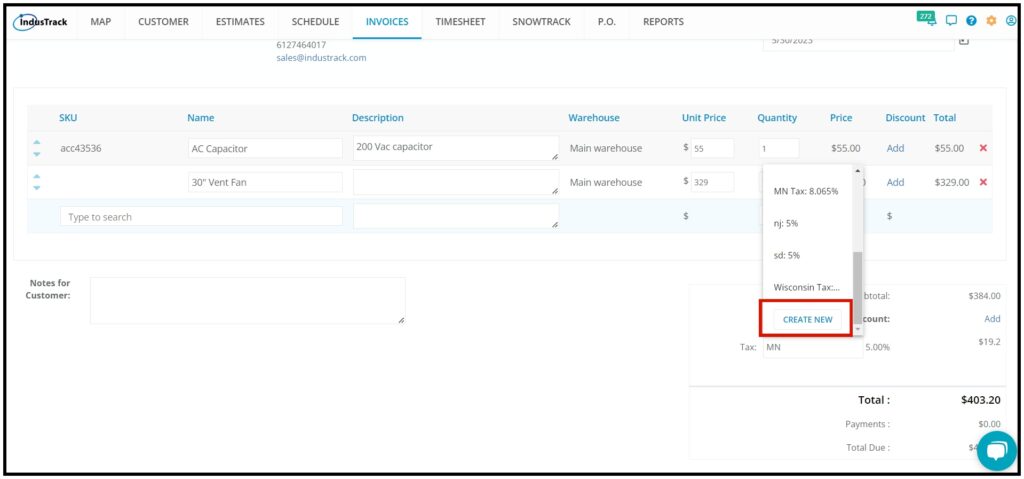
You can create a new tax rate by scrolling down at the very bottom of the list. Save the tax rate once done.
Discount
If applicable, add a discount. There are two ways to add a Discount. If there has been a discount applied to the customer profile, the discount will automatically be added.
Add a discount on each line item or Add a discount to the invoice overall.
To Add a discount to each of the line items, click on Add in the Discount Column.
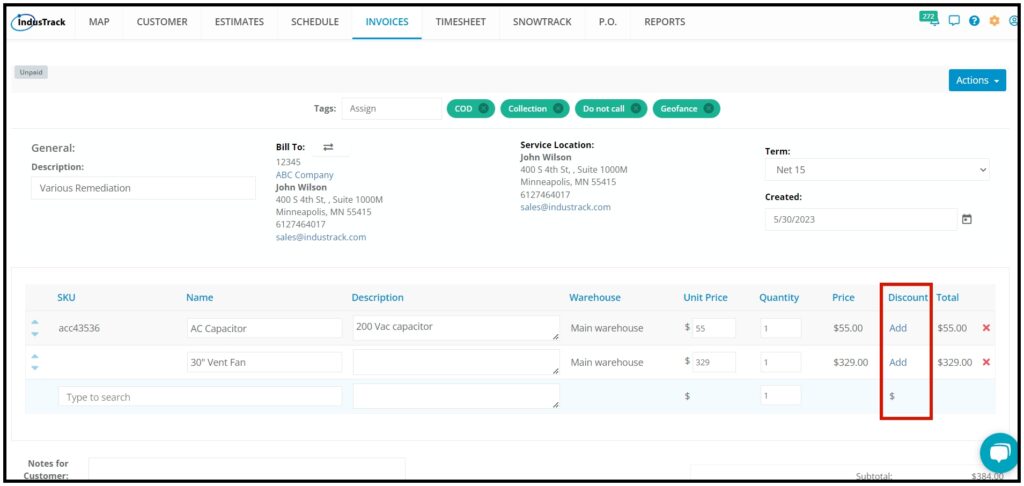
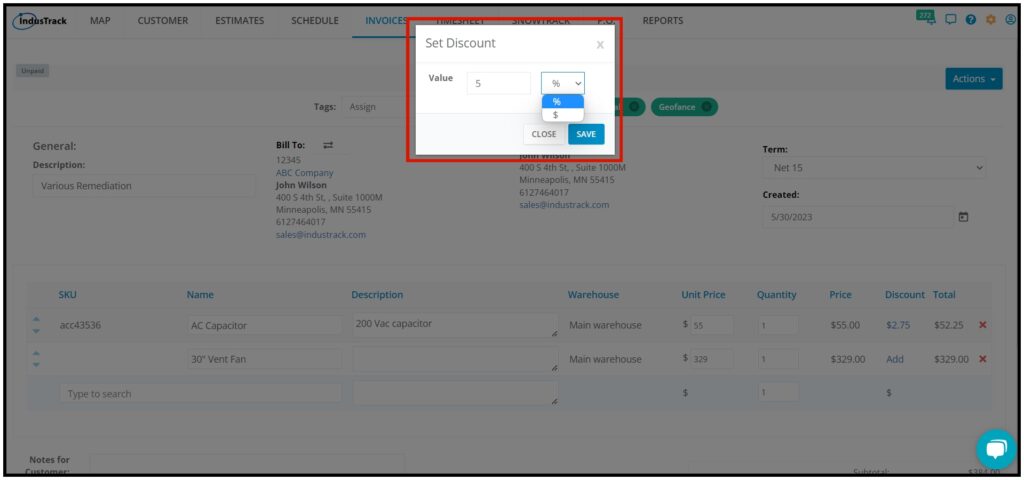
Set discount either in Dollar value or percentage.
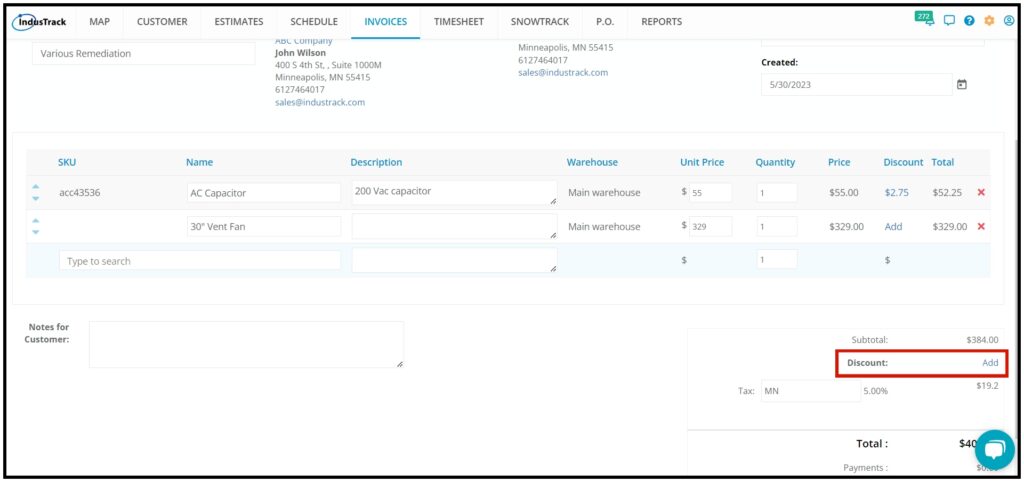
Add Discount to overall invoice, under the Subtotal the Discount will be seen in there, click on Add.
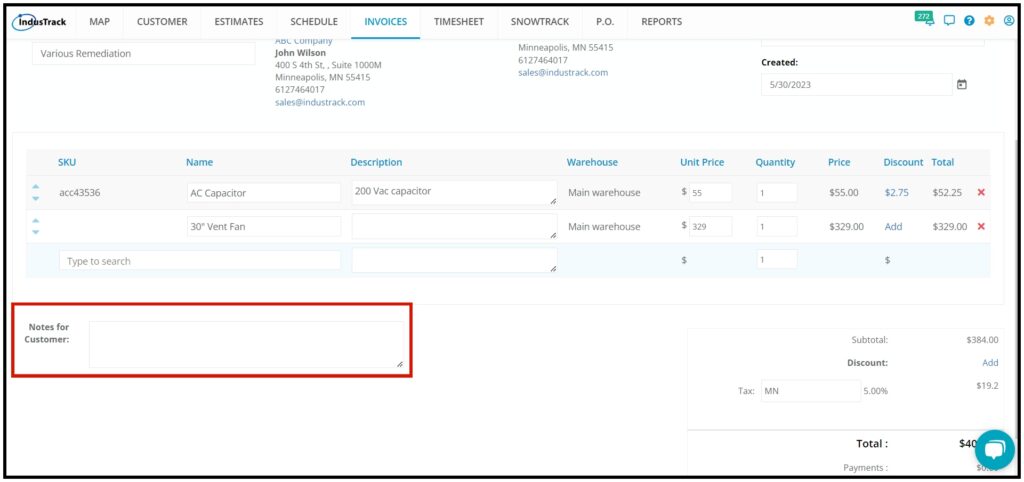
If there are any notes that you need to add to the invoice, add these to the Notes for Customer field.
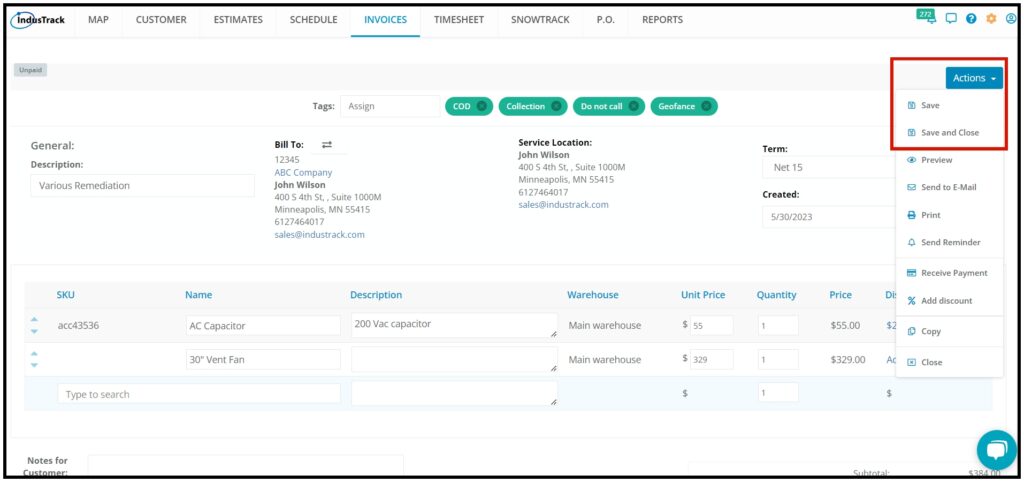
If you need to further manage the invoice, go to the Actions button and select the option from there. Refer to Manage Invoices for the procedures.
Save the New Invoice
On the Actions, click the Save button to save the new invoice. The invoice will remain open and you can continue working on it. To save and exit the invoice click the Save and Close button.
The new invoice will be added to the invoice list and the Invoice tab of the customer profile.