Portal Access
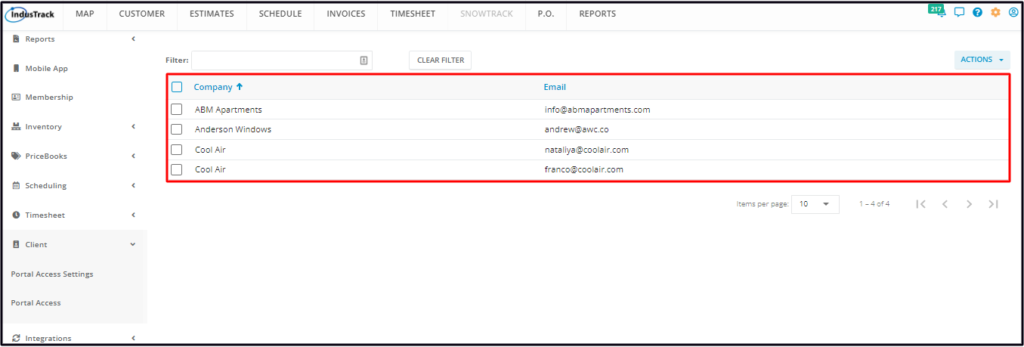
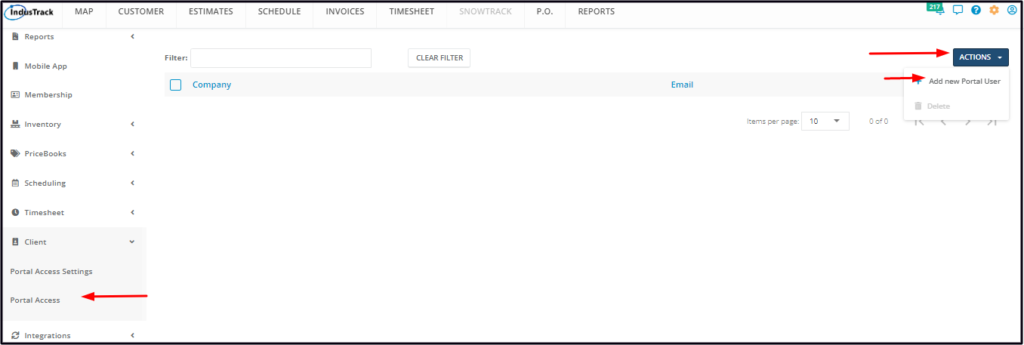
Create the customers’ login credentials to access the Client Portal. To do this, go to Settings > Client > Portal Access.
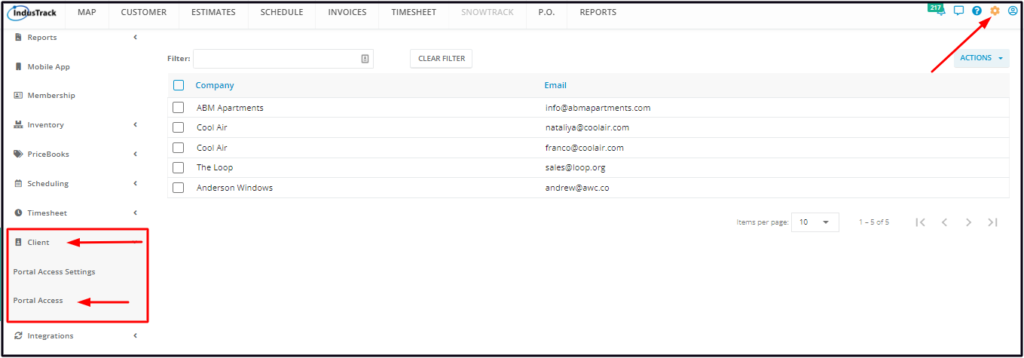
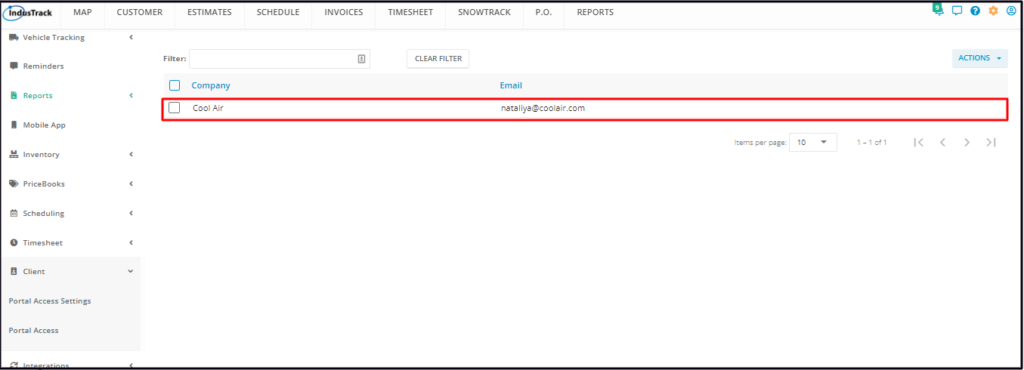
The page defaults to the list of users’ credentials that have been created and given access to the portal. The list is presented in table format. This is also the page where portal users are created, updated and deleted.

The table has 2 columns:
- Company – This refers to the customer’s company name, as listed in the Customer module.
- Email – This refers to the email address used as the user name at the portal.
Sort the List
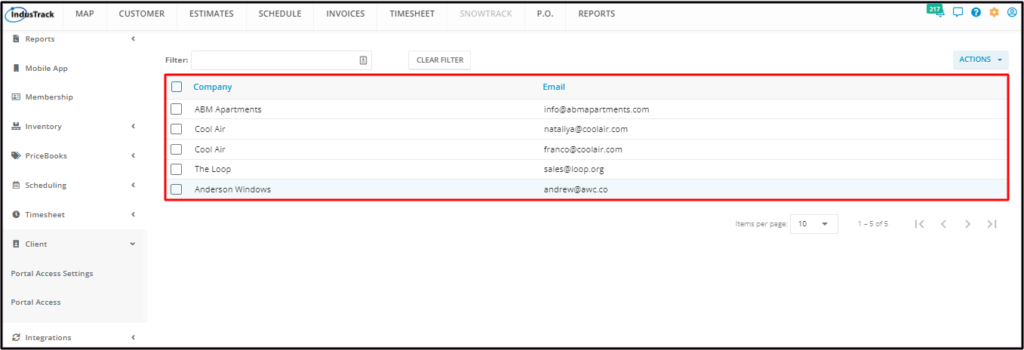
Click on the Company or Email header to alphabetically sort the list.
Filter Bar
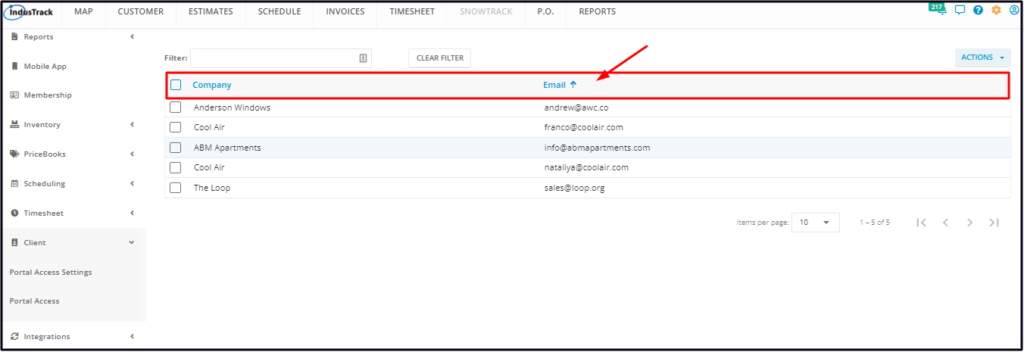
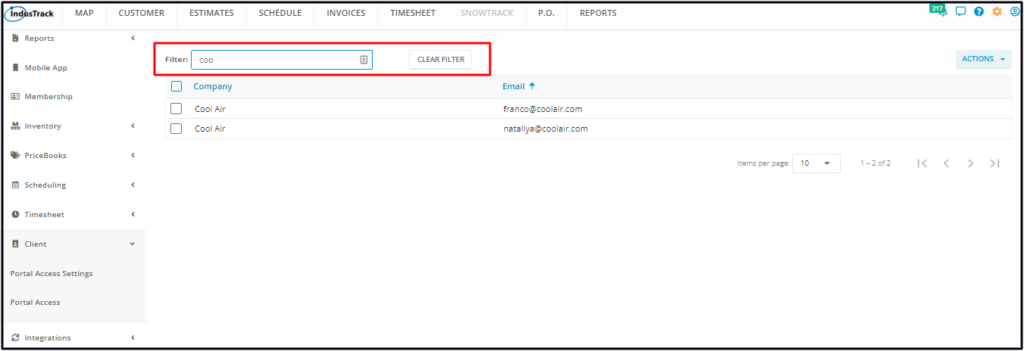
Use the filter to quickly find a Portal User credential. This function is especially useful when you have a long list of customers who have access to the Client Portal.
List Per Page
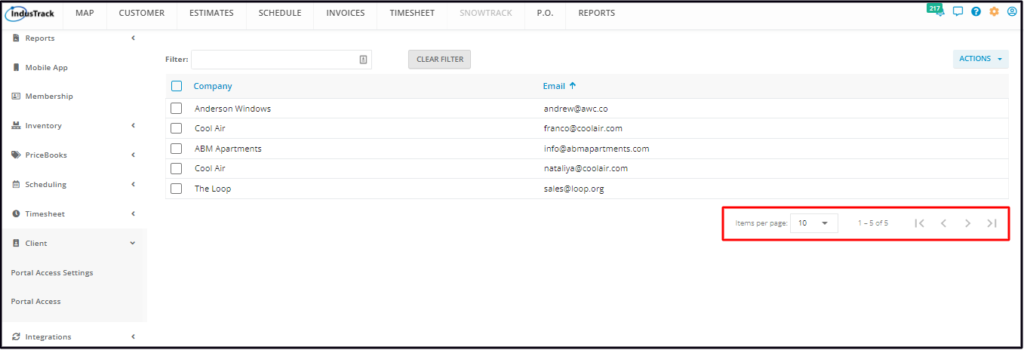
Select the number of Portal Users to be displayed per page. Options to choose from are 10, 25, 50, and 100. Use the Previous and Next buttons to move from one page to another (if there is more than one page).
Actions Button
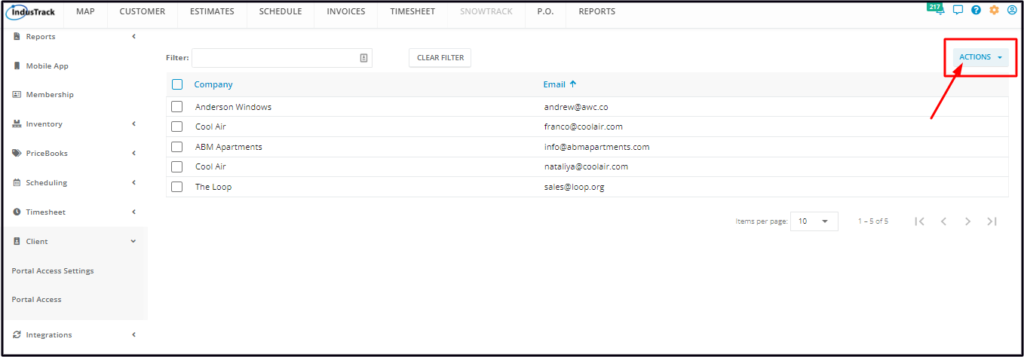
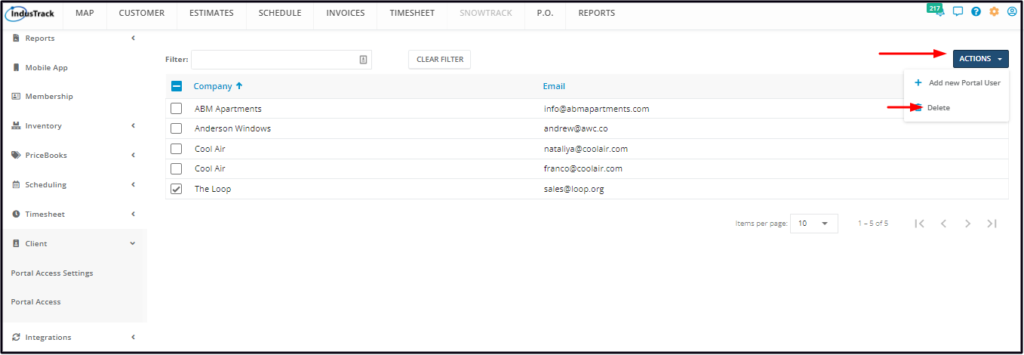
Use this button to create or delete a Portal User.
Create a Portal User
From the Portal Access page, go to the Actions button.
Select + Add New Portal User from the drop-down.
Complete the portal user’s credentials from the Add Portal User window.
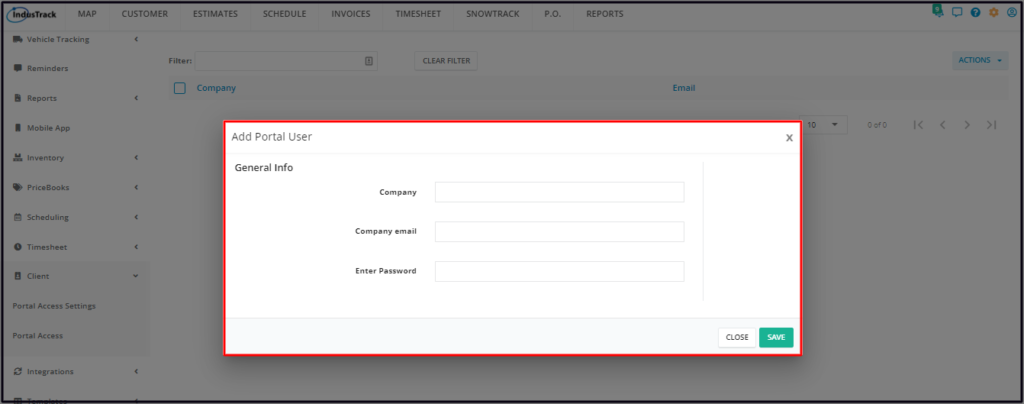
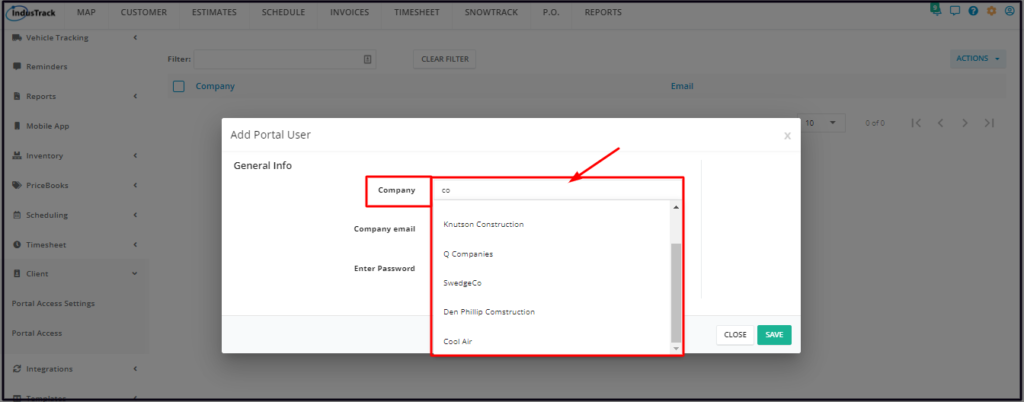
- Company
- Select the client’s company name from the drop-down list.
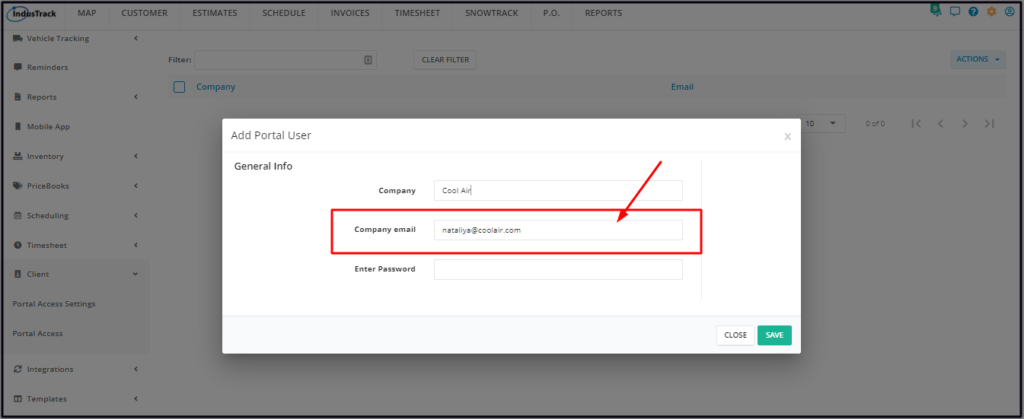
- Company email
- The field will be auto-filled with the company’s provided email address. Replace if preferred.
- A company may have multiple portal users.
- An email address may only be used once.
- Enter Password
- Create a password for the user and key in on the field.
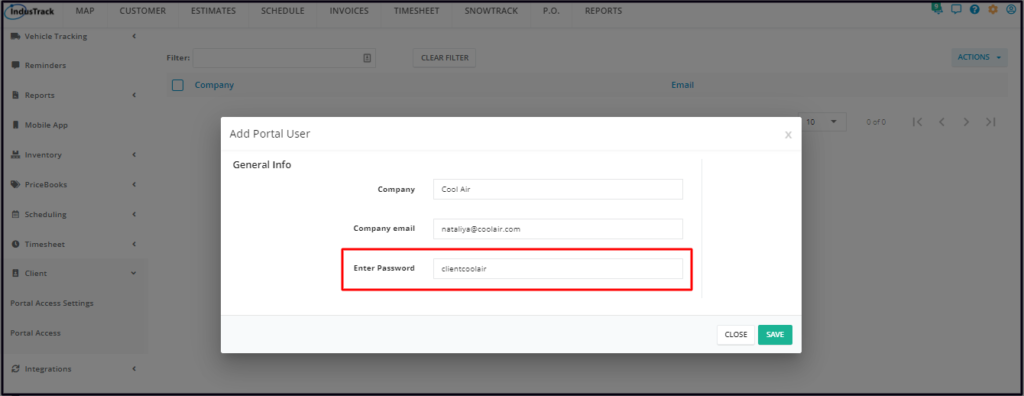
Save the new portal user. This will be added to the list.
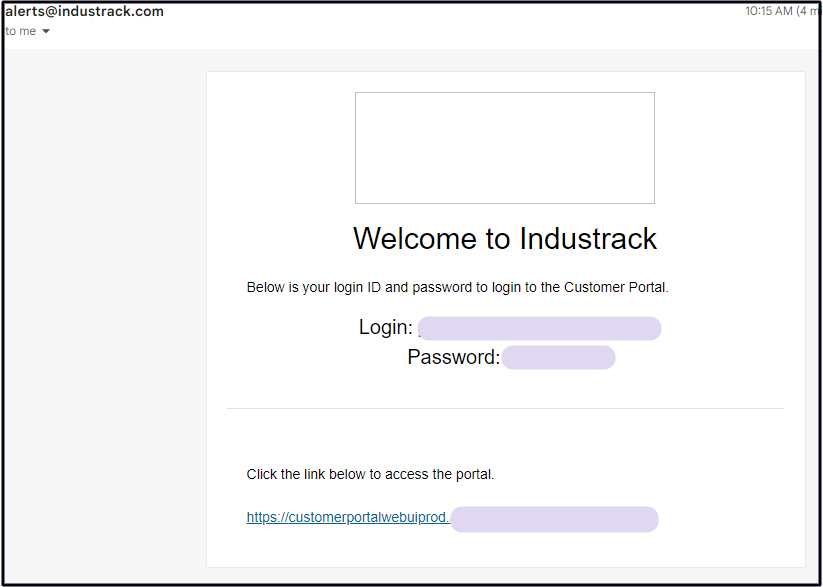
An invitation email with the credentials will be sent to the customer using the provided email address. Note that the invite will not send if the portal is not enabled.
Edit the Portal User Details
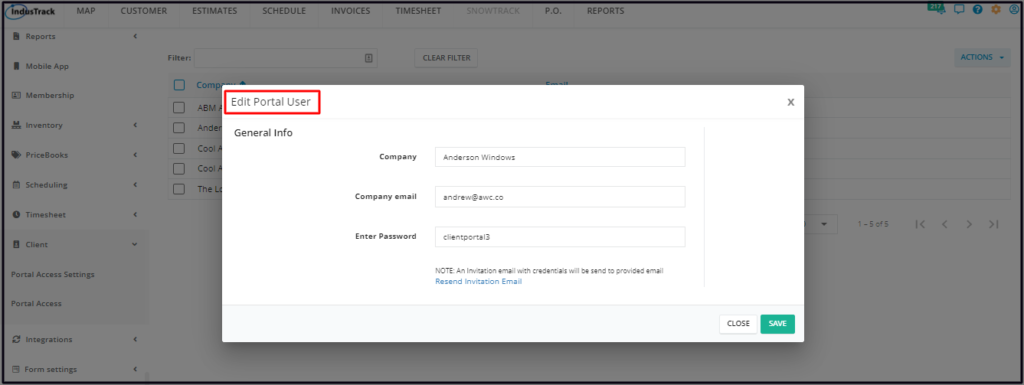
Find the Portal User to be updated from the list. Click on this to open the credentials in edit mode.

Update the details from the Edit Portal User window. Once done, Save the changes.
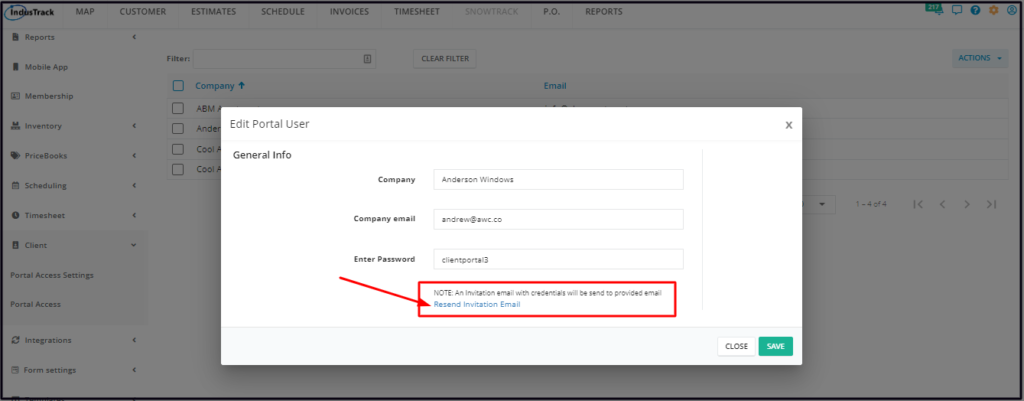
Resend the email invitation, if needed.
Delete the Portal User
Delete a Portal User credential that is no longer in use or was created in error. It is wise to exercise caution when using this function. This action can not be undone.
Find the Portal User to be deleted from the list. Tick the checkbox to its left.
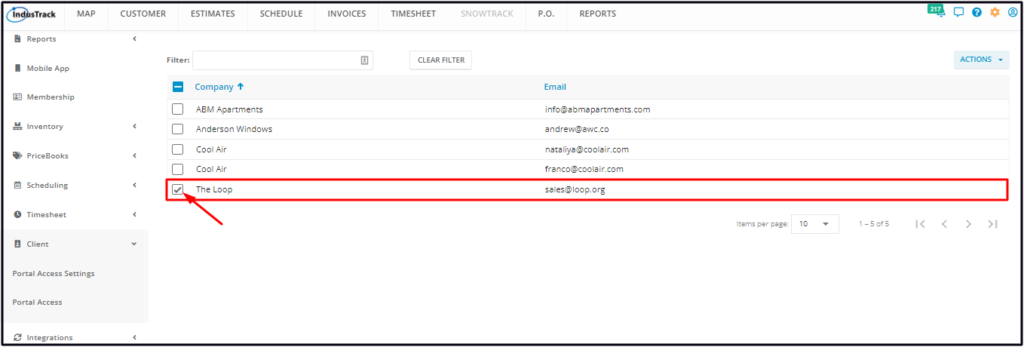
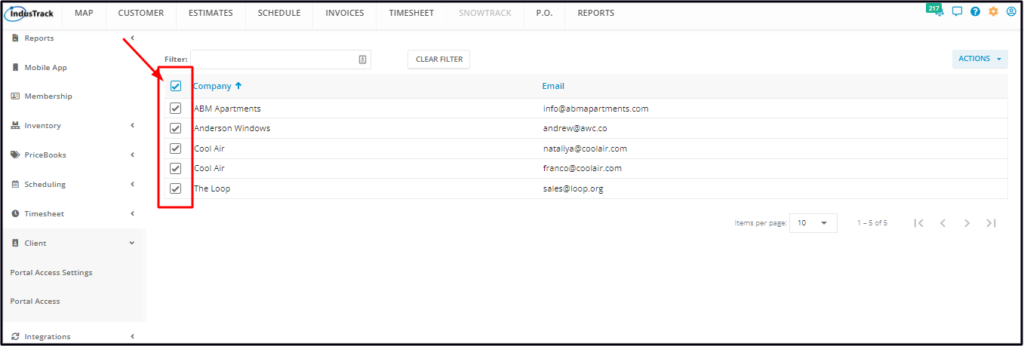
- To delete multiple users from the list, tick the checkboxes to the left of all. If all items will be deleted, just tick the checkbox of the Company Name header.
Go to the Actions button and select Delete.
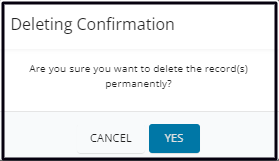
A warning window will come up. Click the YES button to continue with the deletion and Cancel to abandon the action.
The Portal User will be removed from the list. They will no longer be able to access the Client Portal.
