
Customer Profile: Manage Notes
Under the Notes Tab of the Customer’s Profile, you can make entries about communications with the customer or any other notes you need to make about the account. These Notes are categorized as Office, Jobs, or Site Notes.
Job and Site Notes are entries that Field Employees can see in their IndusTrack mobile app for tasks scheduled for the customer. These can be very useful if there are things like gate codes to access the property or parking area assignments.
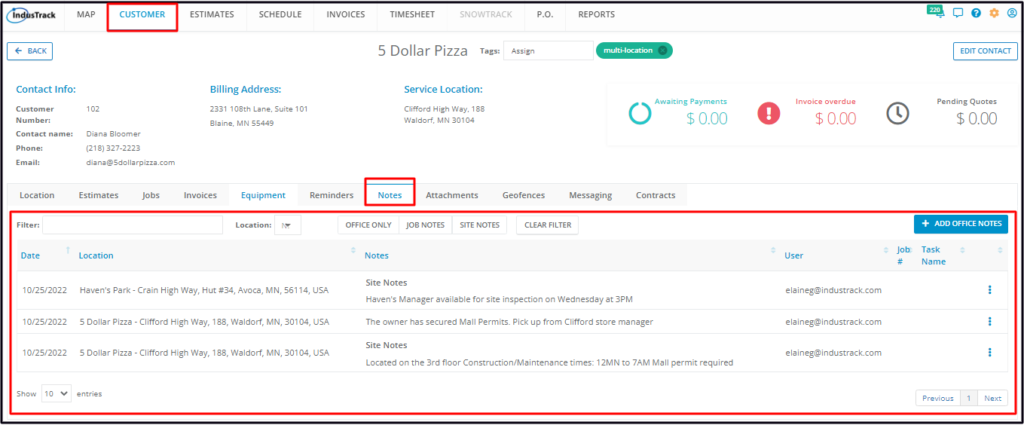
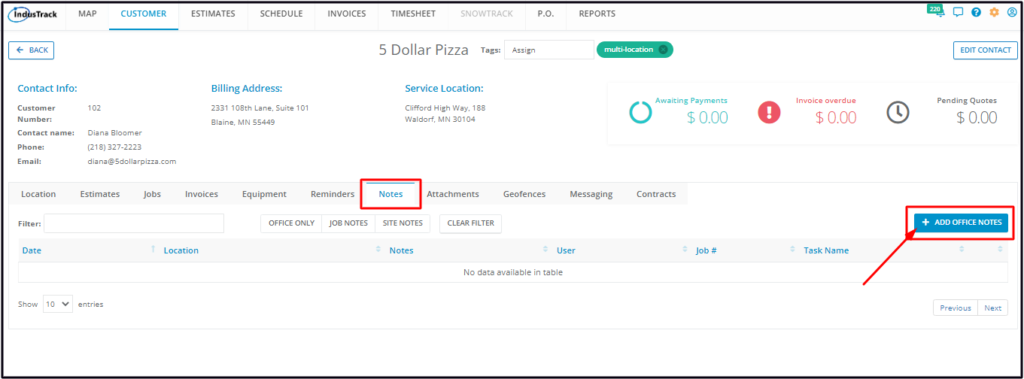
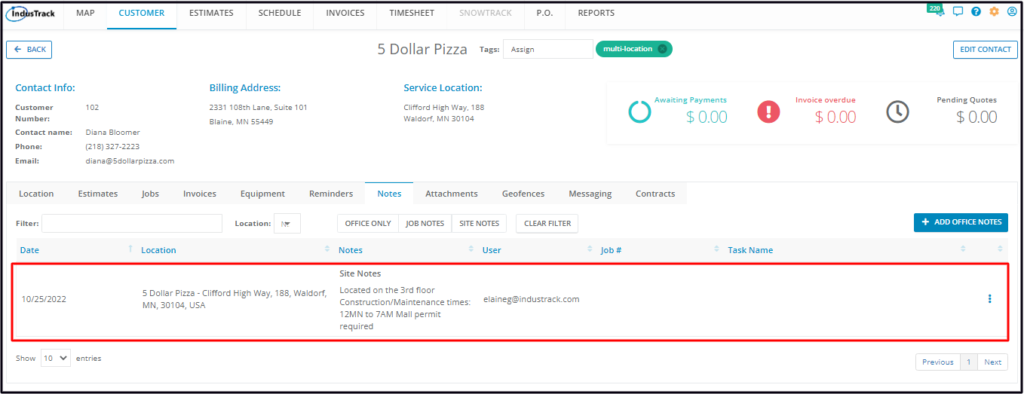
The Notes List contains a listing of all the different entries that have been created about the client’s account and the jobs scheduled for them. The list is a combination of the Office, Job, and/or Site Notes.
The Job Notes and Site Notes will be visible to the field employees but not the Office Only Notes.
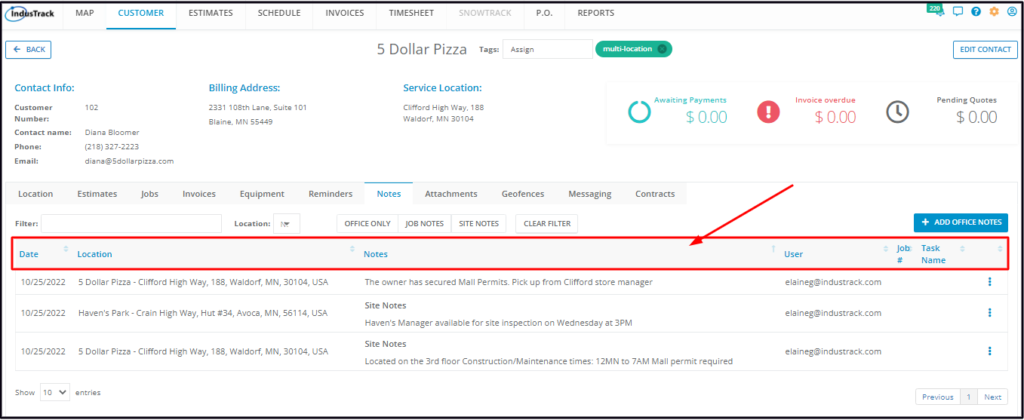
The details that are shown on the listing are:
- The note creation date
- The Service Location where the note applies to
- The details of the note
- The email address of the one who created the note
- The Job Number associated with the note
- The task(s) associated with the job

Click on the table header to Sort the list alphabetically according to the selected header.
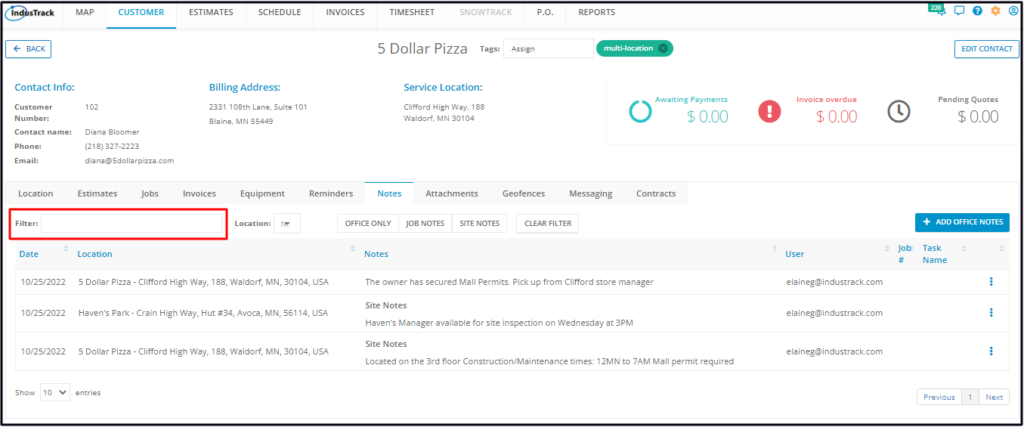
Use the Filter Bar to quickly find a Note.
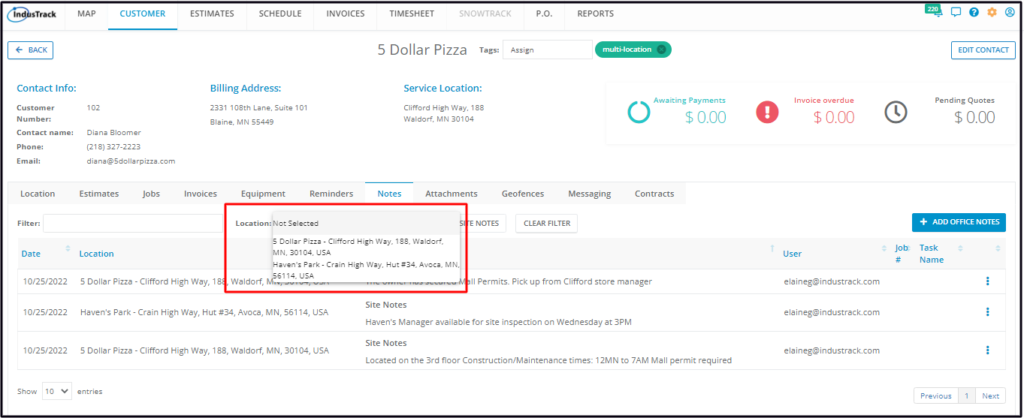
Use the Location Selector to filter the Notes according to location.
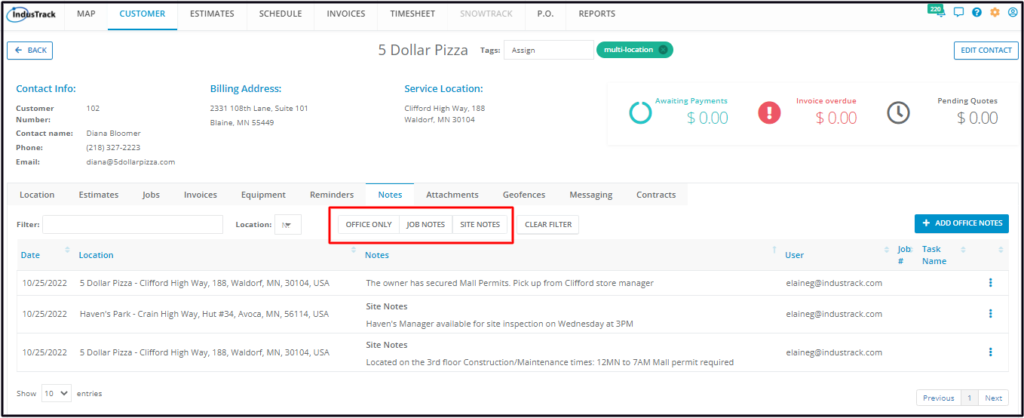
Use the Note Type filters to show the entries according to a specific category.
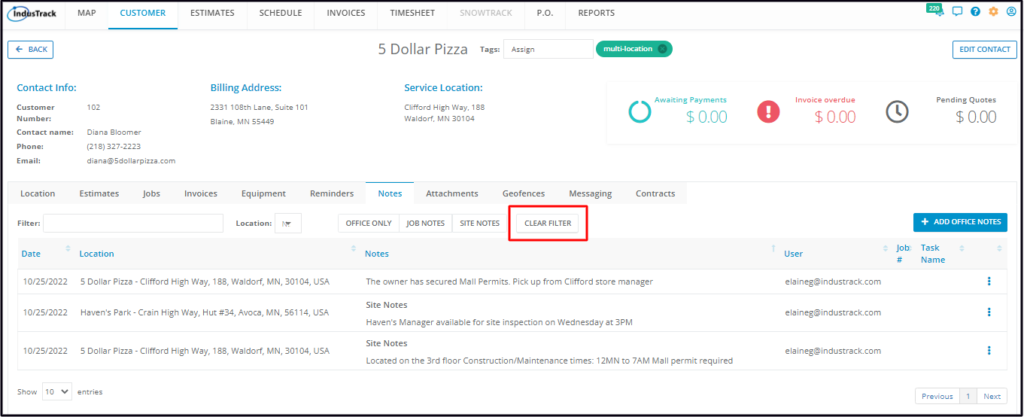
Use the Clear Filter button to remove the filter settings.
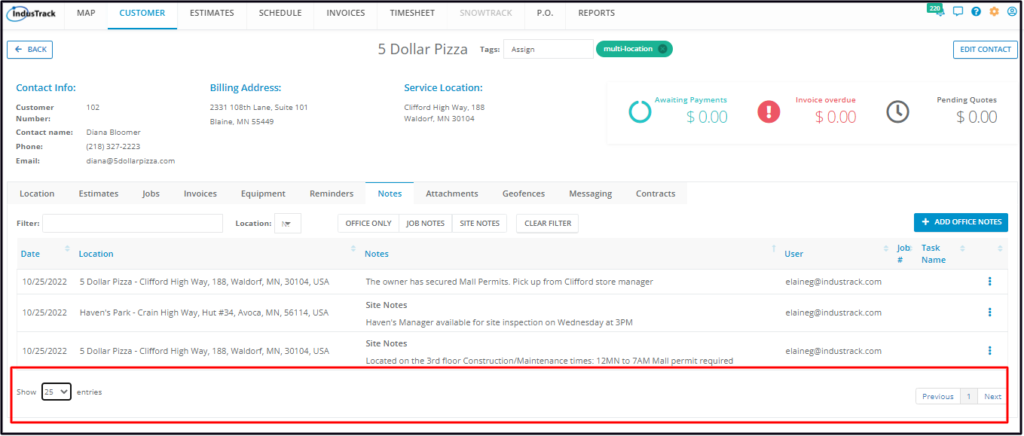
Select the number of notes to be displayed per page. Options to choose from are 10, 25, 50, and 100. Use the Previous and Next buttons to move from one page to another (if there is more than one page).
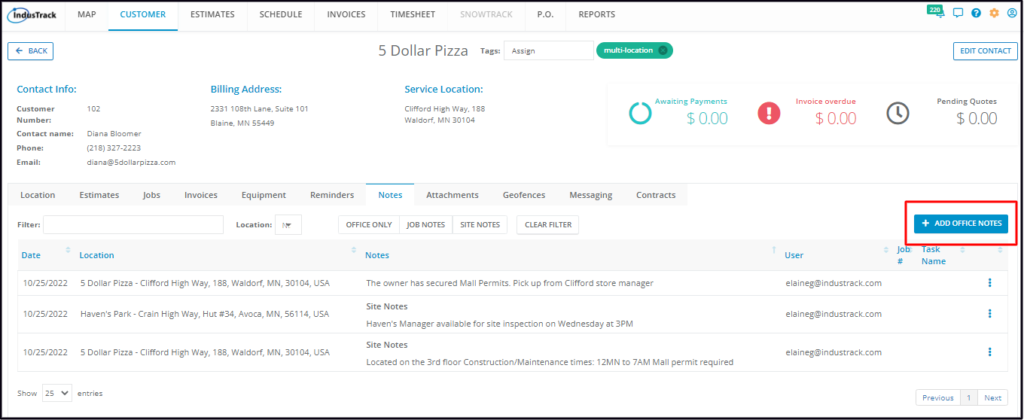
Use the Add Office Notes button to create a new entry or note.
Create a Note
To create a note, click the Add Office Notes button.
The Add New Note window will come up.
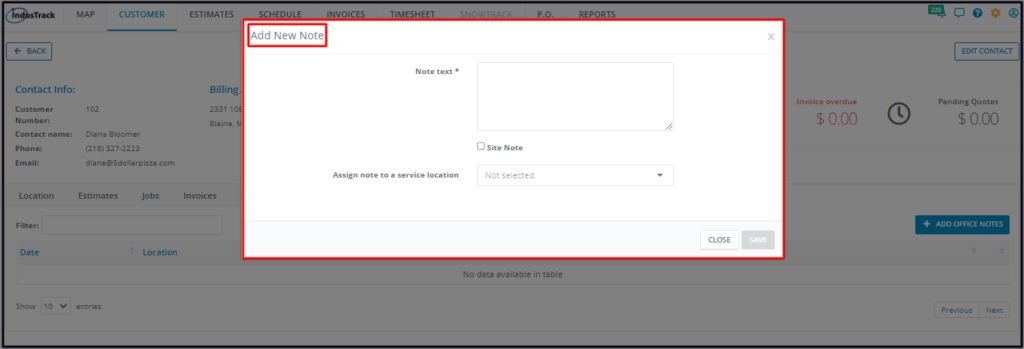
Fill in the details. Fields with * are required.
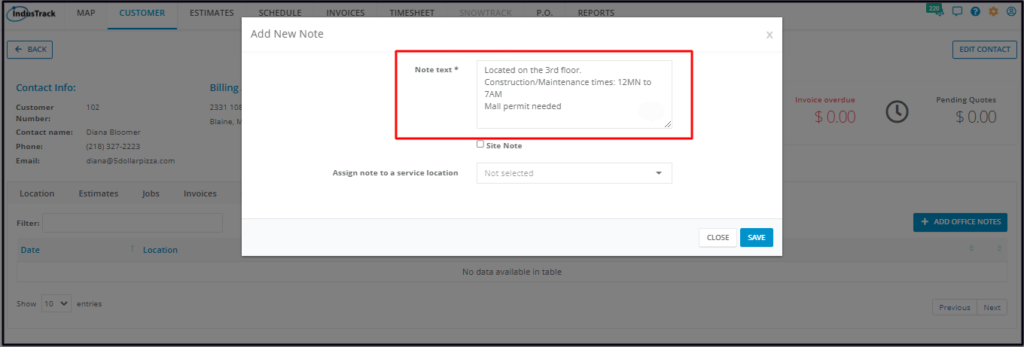
Key in the note specifics in the Note Text* Field.
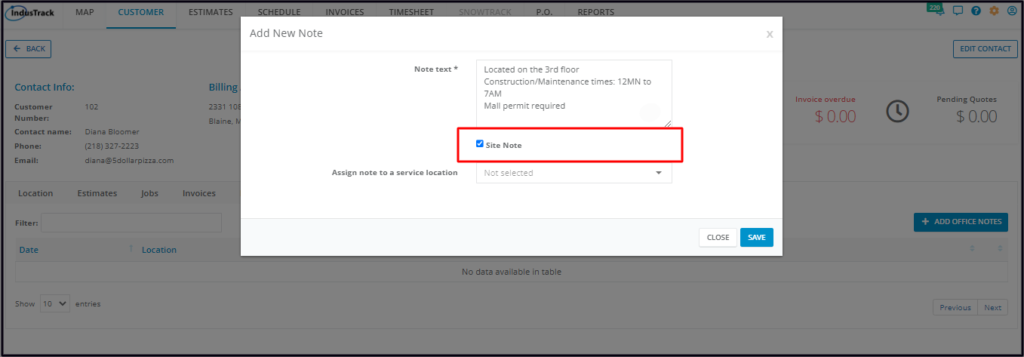
To make the entry a Site Note, tick the Site Note checkbox.
- Only one Site Note per location can be created for the client. Creating another one will change the category of the older site note to an office note.
Leaving the checkbox unticked will automatically categorize the entry as an Office Note.
On the Assign note to a Service Location field, select the customer location where the note will apply if there is more than one. Leaving the field Not Selected will automatically set the reminder for the customer’s primary service location.
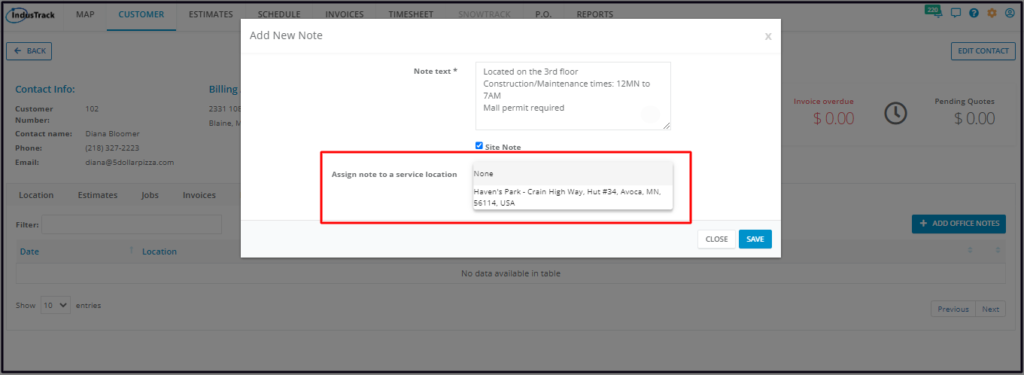
Save the note. This will be added to the list.
Update a Note
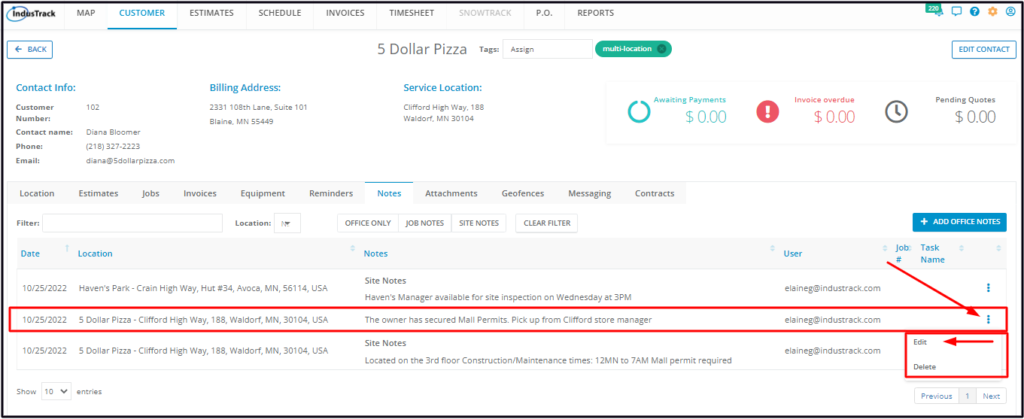
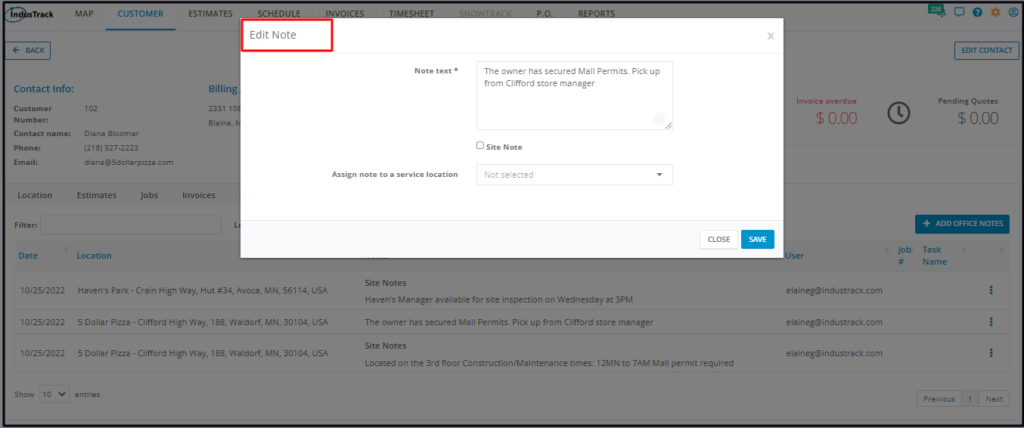
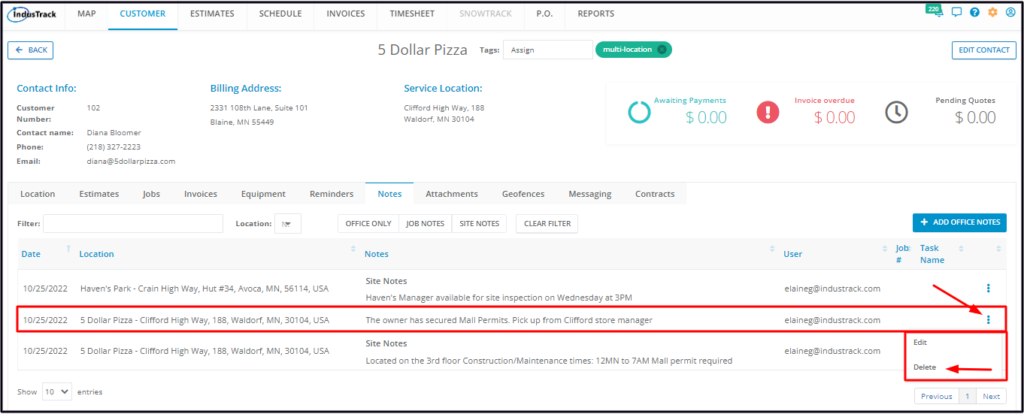
Find the Note to be updated from the List. Go to the 3-dot menu to its right and select Edit.
Update the Note as needed. Save once done.
Delete a Note
Delete a Customer Note that is no longer being used or referenced to or was created in error. It is wise to exercise caution when using this function. Deleting client notes may have an effect on other functions, settings or data. This action can not be undone.
Find the Note to be deleted from the List. Go to the 3-dot menu to its right and select Delete.
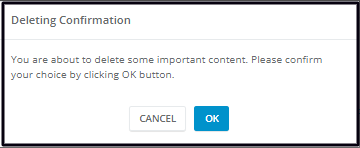
From the Delete Confirmation window that will come up, select OK to continue with the deletion. Select Cancel to abandon the action.
The Note will be removed from the list.