Manage Invoices
Invoices can be printed, marked as sent or unpaid, or paid or emailed to the customer. If a job is already completed, you can convert that job into an invoice with just a couple of clicks. A won estimate can also be converted into an invoice even before a job is completed. You can also convert multiple jobs into one invoice.
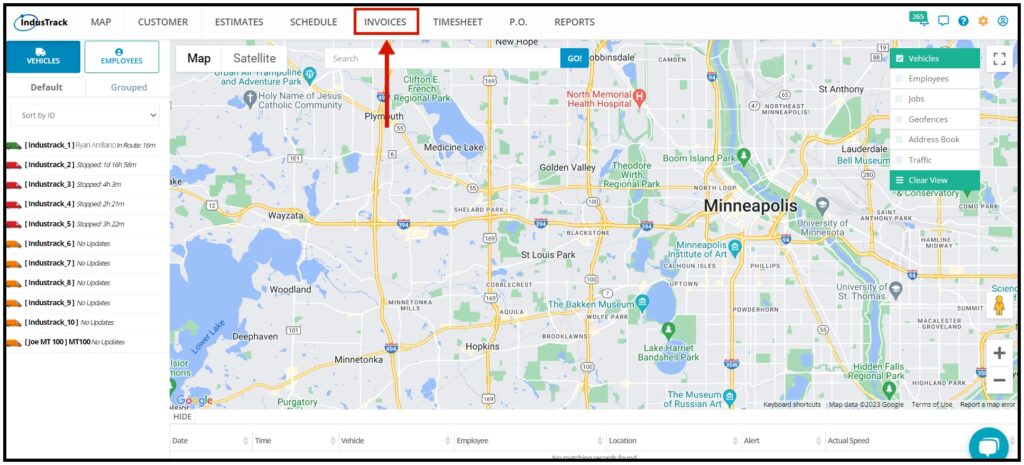
To work on your invoices, go to Invoices on the module header. If the header is grayed out, you do not have any access to the module. If it does not appear on the header, your company account does not have access to it.
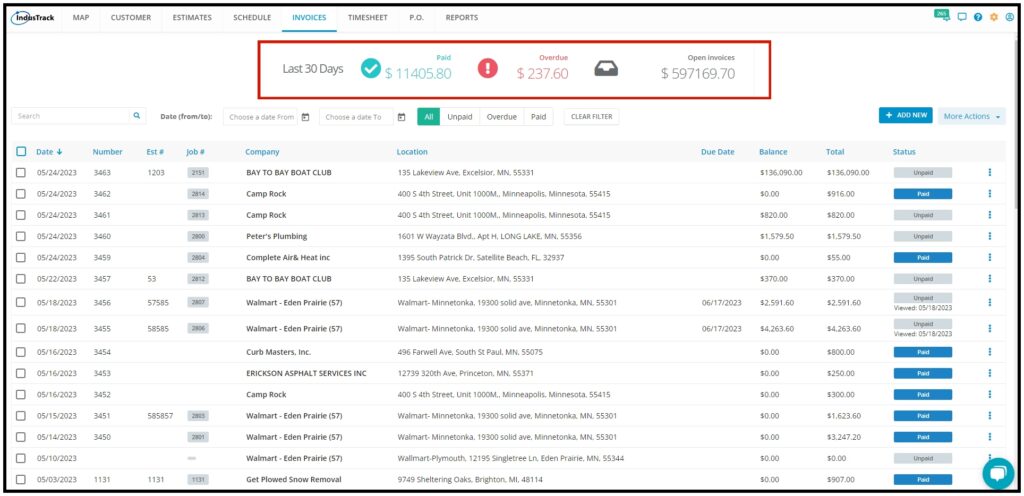
Invoices Dashboard
At the top of the page is a dashboard summarizing the status of the invoices. You will see the dollar value of invoices paid in the last 30 days, the value of invoices that are overdue, and the value of invoices that are still open. At a glance, you are able to see the status of the invoices. These are updated every time an invoice is updated or created.
- Paid in the last 30 days – These are invoices that have been marked as paid in the last 30 days.
- Overdue – These are invoices that remain unpaid beyond the set terms of payment.
- Open Invoices – These are invoices that have been prepared or sent to the customers but not paid and are not yet due. The value of Invoices that have no terms indicated will be included here even if the invoice has not been paid for quite some time.
Invoices List
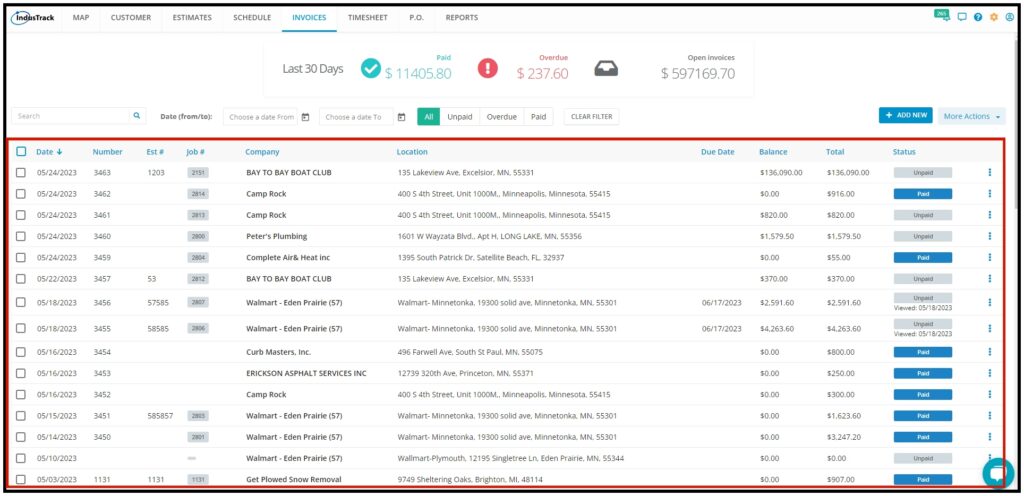
On the page, you will see the listing of all of your invoices that have been created using IndusTrack. The list gives you basic information about the estimates.
- Date – This is the date that the invoice was created.
- Number – This is the invoice number
- Estimate Number – If the invoice has an estimate associated with it, you will be able to see the estimate number.
- Job Number – If the invoice has a job associated with it, the job number will be shown.
- Company – This is the customer’s business name as indicated in their Address Book.
- Service Location – This is the service address where the job (if applicable) was done. This was added when the customer’s profile was created and this can be, but not necessarily, the customer’s address or location.
- Due Date – This is the date when the payment is due, based on the set terms of payment.
- Balance – This is the amount still due. It can be the whole invoice amount or what is left unpaid if a partial payment was made.
- Total – This is the net total value of the invoice.
- Status – This is the stage where the invoice is currently at. It could either be unpaid, paid, partially paid, or overdue.
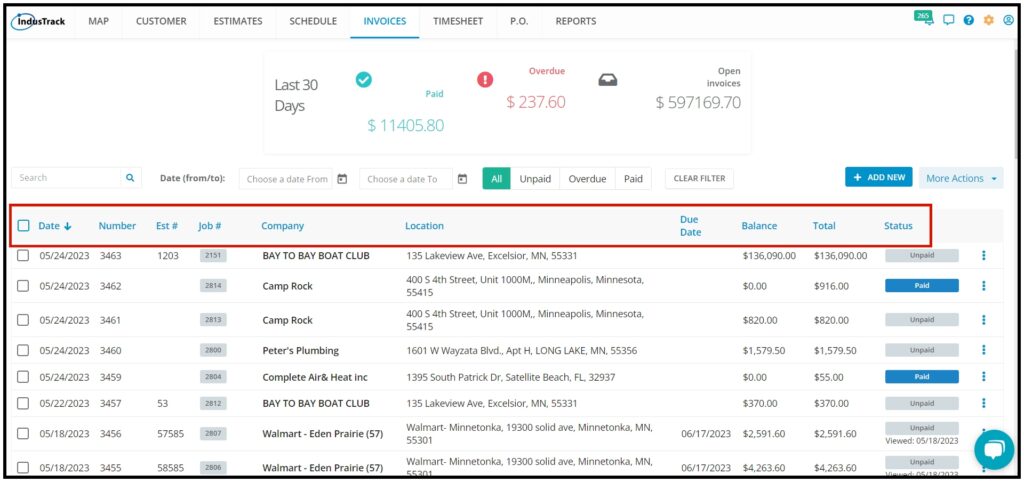
You can sort the list according to the invoice number, date, company/customer name, due date, and total amount. Just click on the table header to sort the list alphabetically according to the selected header.
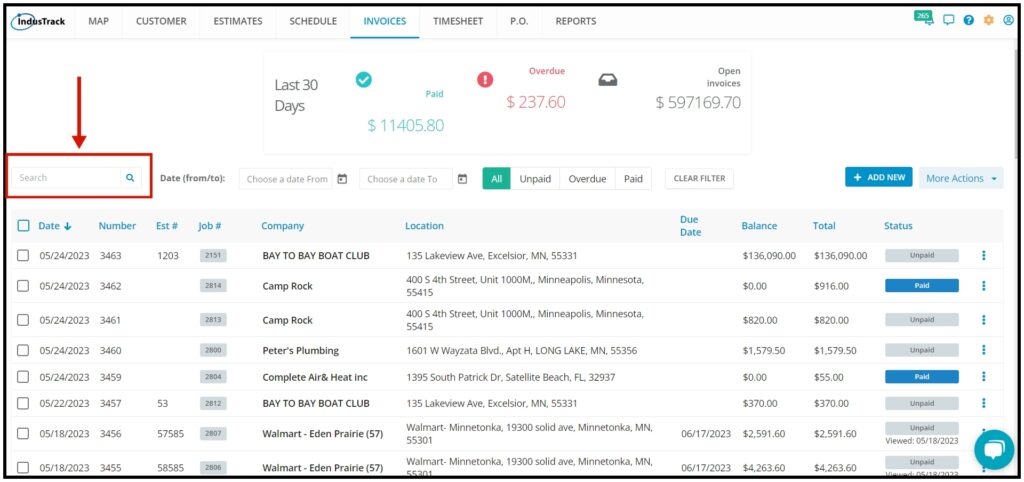
To search for a specific invoice, use the search bar at the upper left-hand corner of the page. Search by Company Name, Invoice Number, or Service Location.
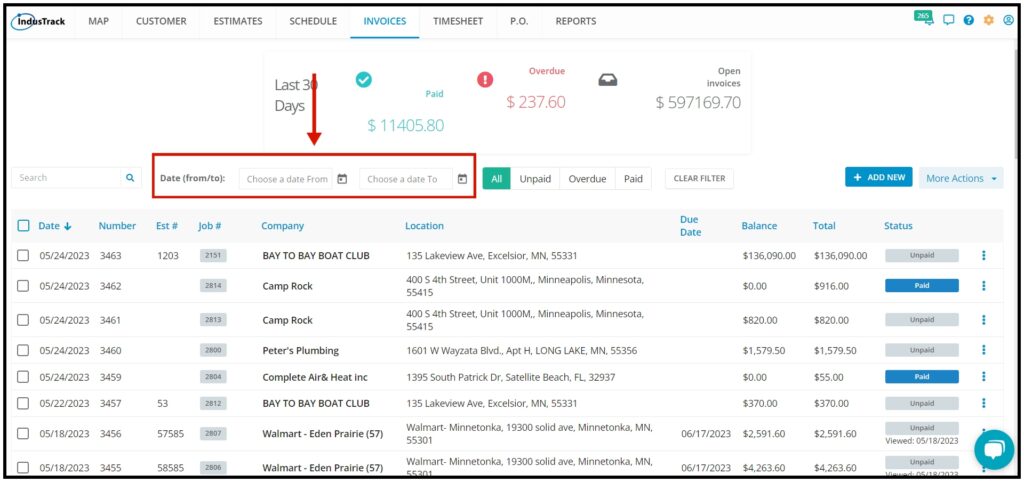
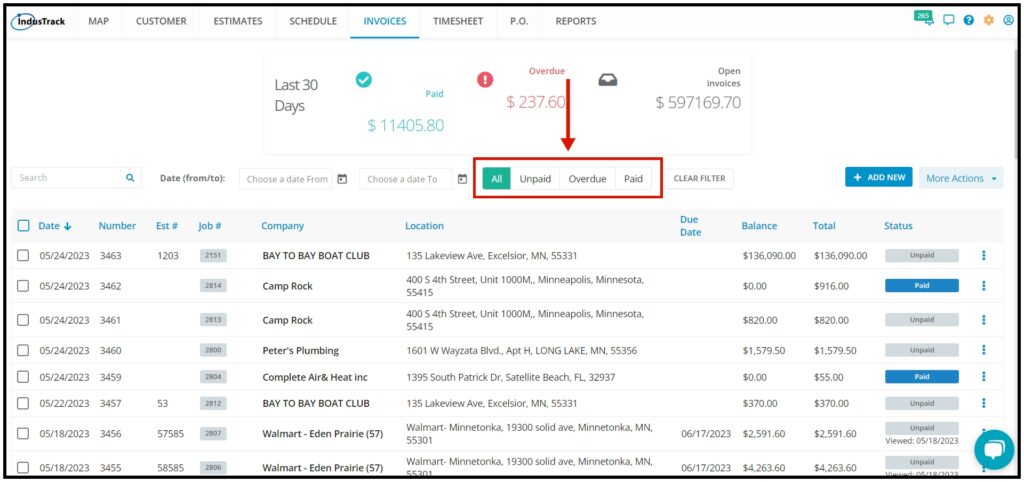
Use the filters to narrow down the list of invoices.
Set the dates field to show invoices that were created between the selected dates.
Filter the invoice list according to status.
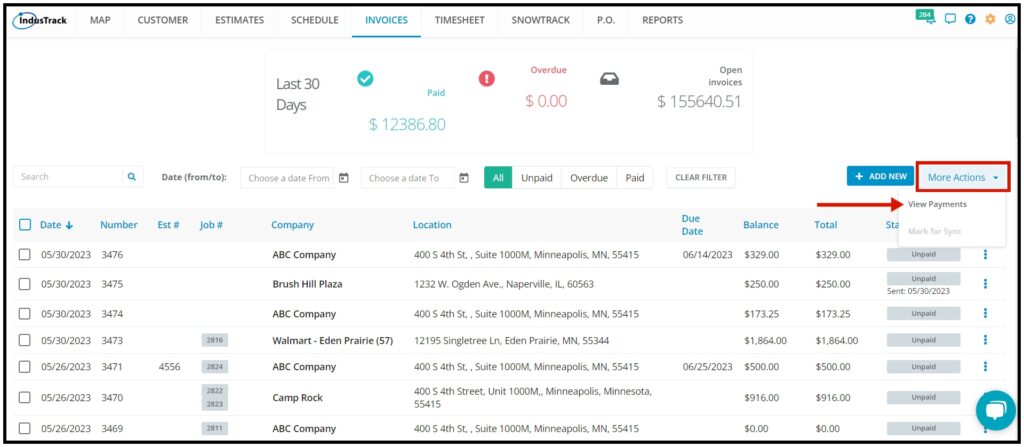
More Actions
To view payments received transaction history, click on more actions and select View Payments.
On the Payments Page, you will be able to see here all of the payments received with info on when it was paid, the invoice number, the customer, payment method, amount paid, and reference number if any.

Mark for Sync Option
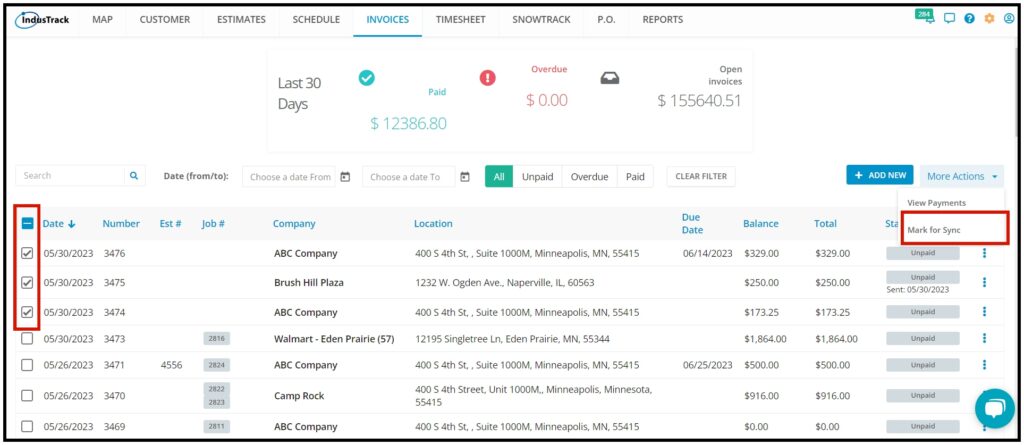
If your Industrack account has been integrated with Quickbooks, here is how you sync your invoices.
Put a checkmark on all of the Invoices you wanted to sync to Quickbooks and click on Mark for Sync.
Edit, Preview, Send, Print, Delete, Clone Invoices, and Receive Payments
If you have mistakenly input the wrong data on the invoice, you can always edit them.
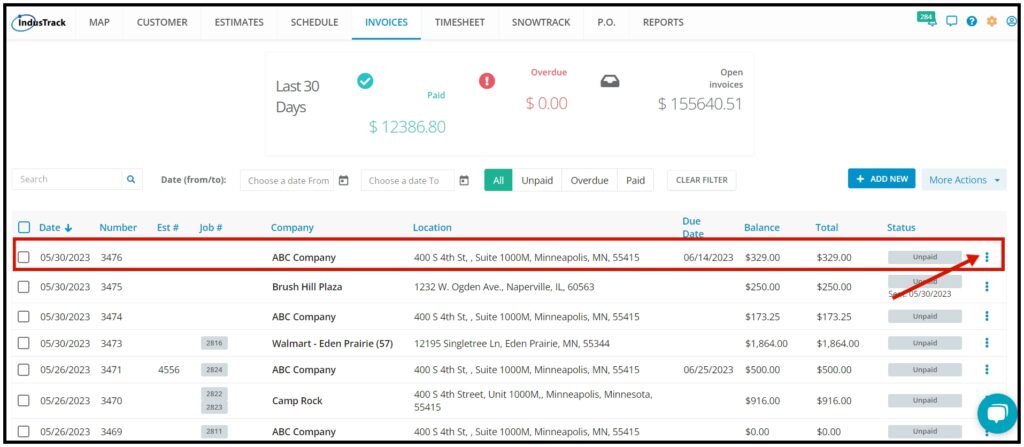
From the Invoices List, find the specific invoice to be edited. Click on it to open or click on the three dots on the right-hand side and click on edit.
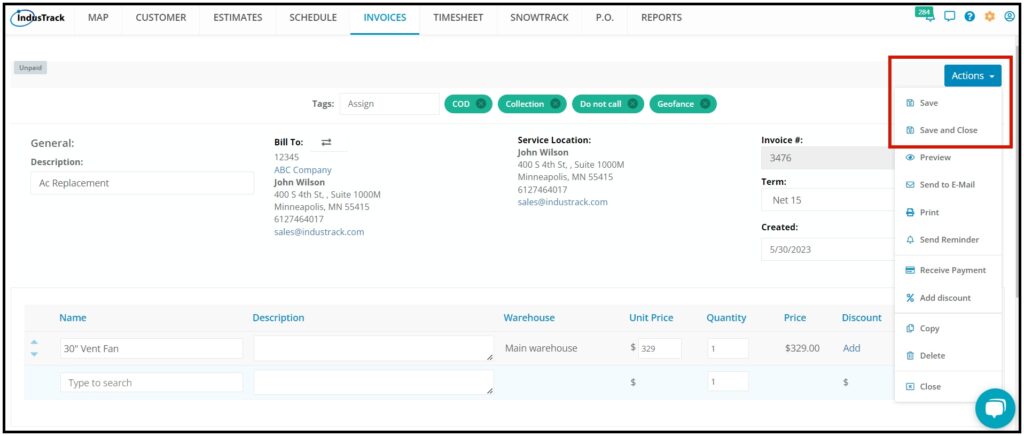
After clicking on the Invoice, the Invoice will open up. Edit all the necessary info you need to edit.
Once done editing, click on Actions and select Save or Save and Close.
Preview Invoice
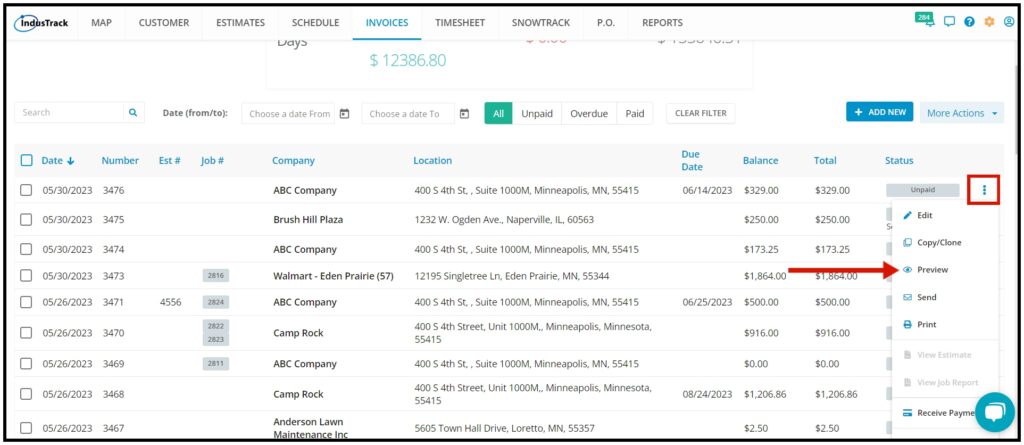
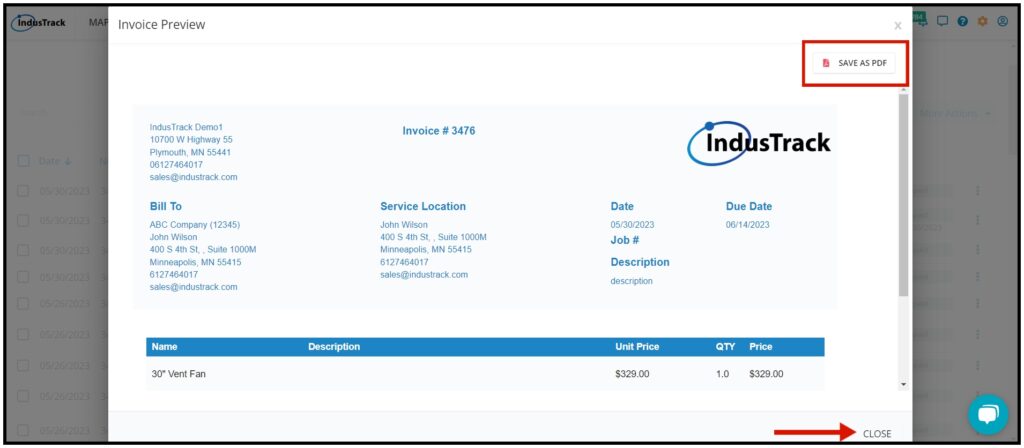
If you want to see the look and feel of your invoice, select which invoice you wanted to preview and on the right-hand side click on the three-dot and select Preview.
After clicking on Preview, you will see how your Invoice looks if you download it as a PDF File, this is how your invoice will look once you send it to the customer.
On the Preview, you will have an option as well to save it as a PDF File. To exit the preview click on Close.
Send Invoice
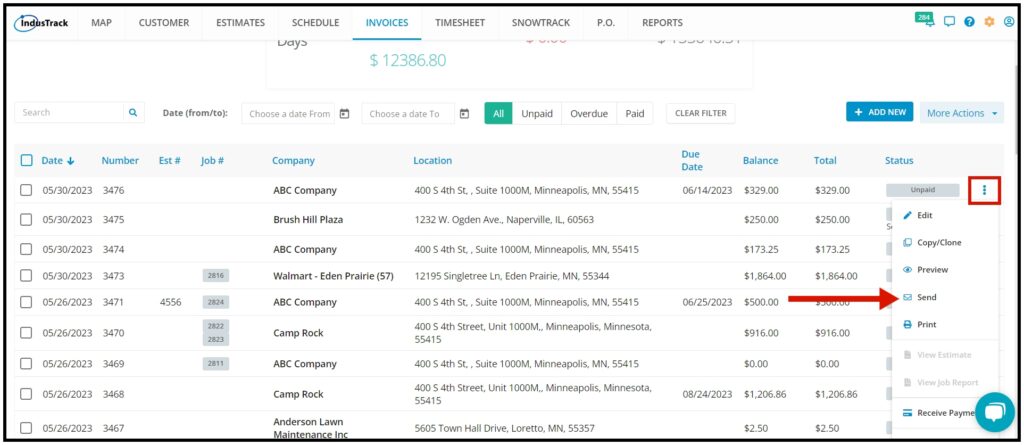
Send your invoices to your customers. To do that, select the correct invoice you want to send and on the right-hand side click on the three dots.
Click on Send.
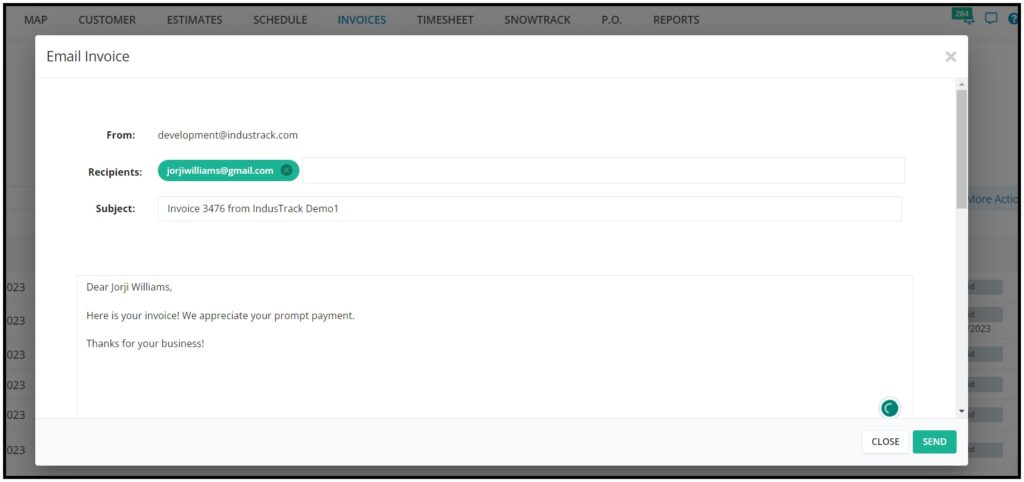
An email Invoice window will pop up. You will be able to Edit the Subject line, add multiple recipients, and an option to Include the Invoice body to the Email.
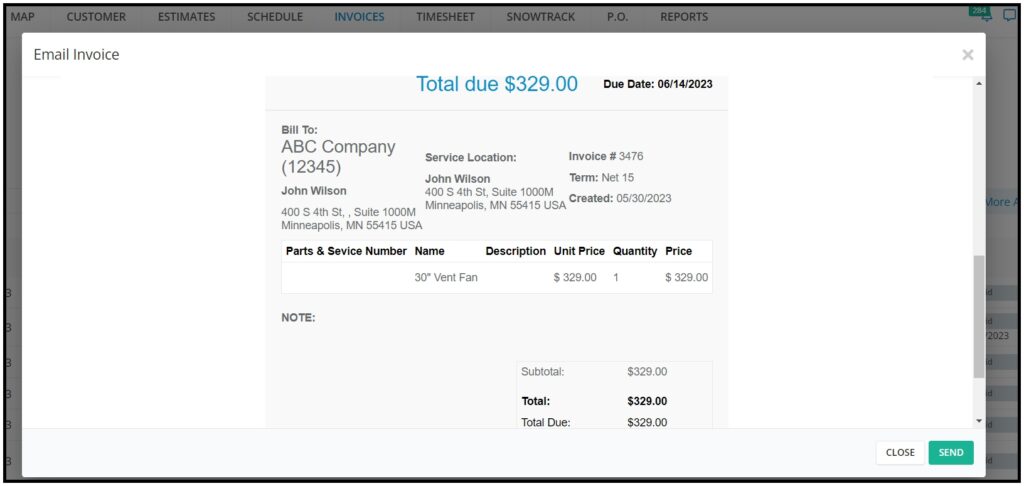
And if you scroll down, you will see the preview of the invoice body and details. Click on Send to send the Invoice.
After sending the invoice, notice that the status of the invoice changed to Sent and there is a date of when it was sent.

If the customer opened the email, the status will change to viewed.

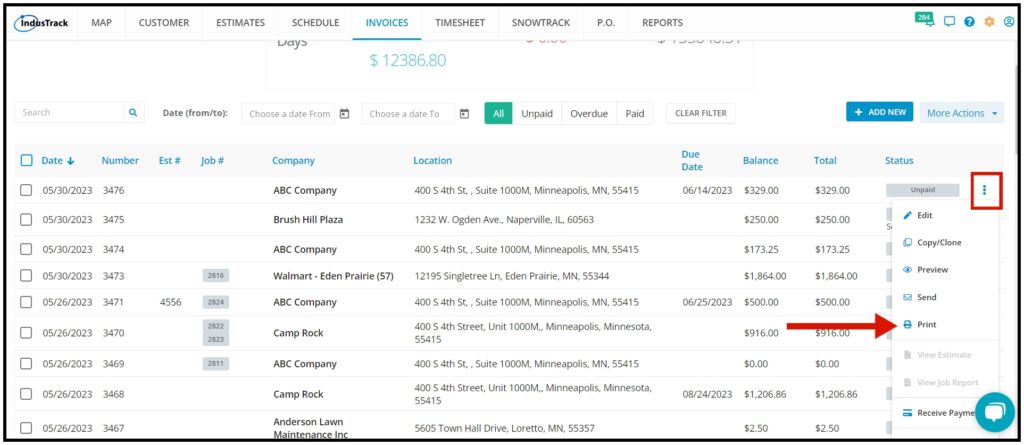
Print Invoice
To Print the Invoice, select the correct invoice. On the three dots, select Print.
Copy/Clone Invoice
In Indutrack, you can clone or duplicate your invoice as well.
To do that, select which invoice you would like to clone. On the right-hand side click on the three dots and select Copy/Clone.
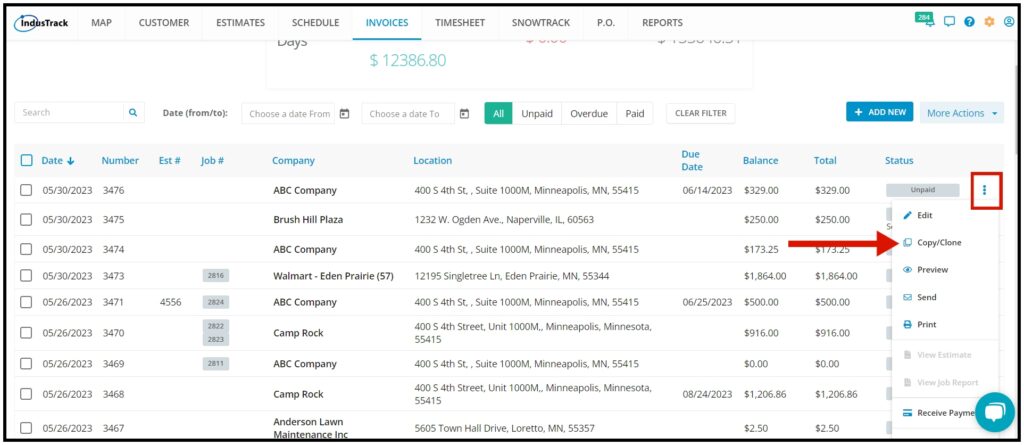
The Invoice has now been duplicated.

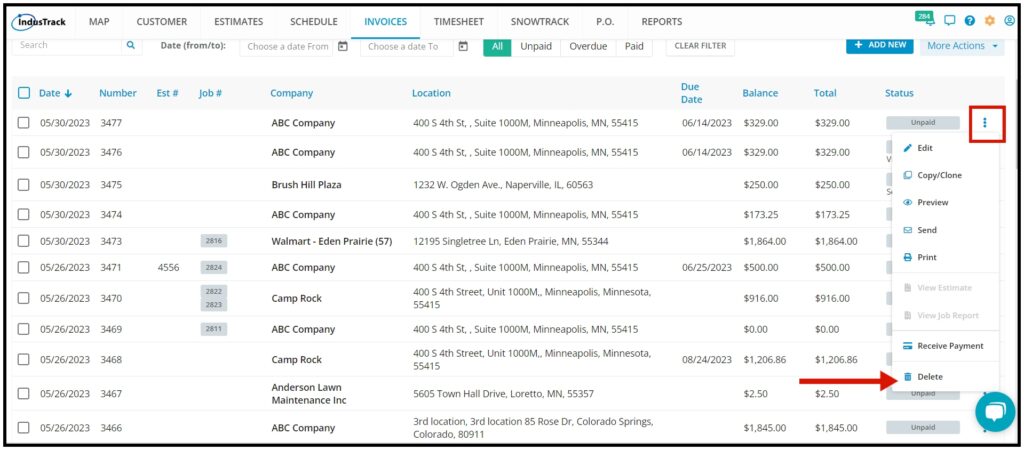
If you want to delete an invoice, the delete option will be seen when clicking on the three dots as well. Select Delete and the invoice will be deleted and removed from the list.
Receive Payments
If the customer is ready to pay for the invoice, click on the three dots on the right-hand side and select Receive Payment.
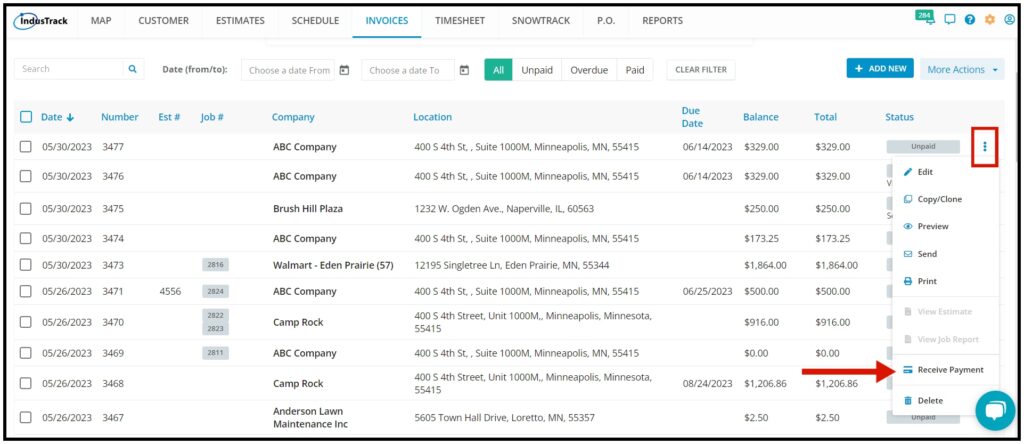
After clicking on Receive Payments, all invoices from this customer will be seen as well.
Put a checkmark on the invoice that the customer is ready to pay and select a payment method.
Click on Save and the invoice status will change to PAID.
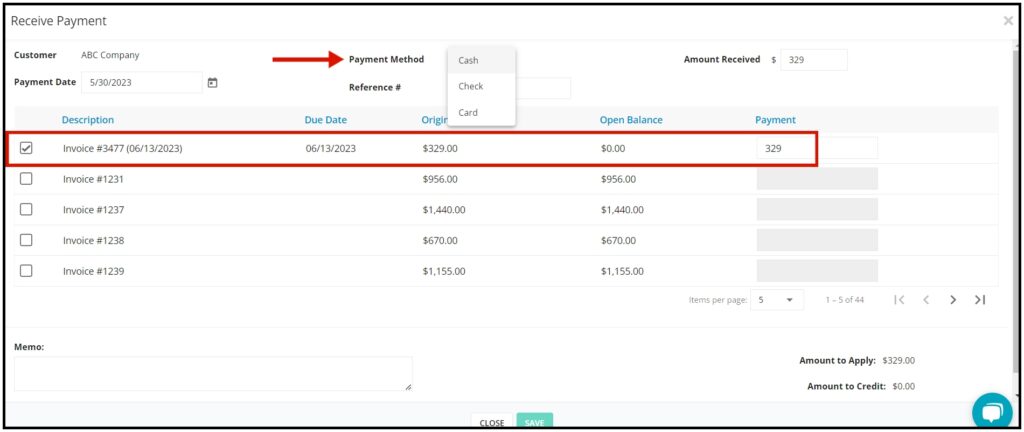
the Invoice Status will change to PAID once the payment is received.
