Create Pricebook Assemblies
Consider setting up the Markups and Discounts before adding the assembly items. We need to create an assembly first before we can create a Flat Rate.
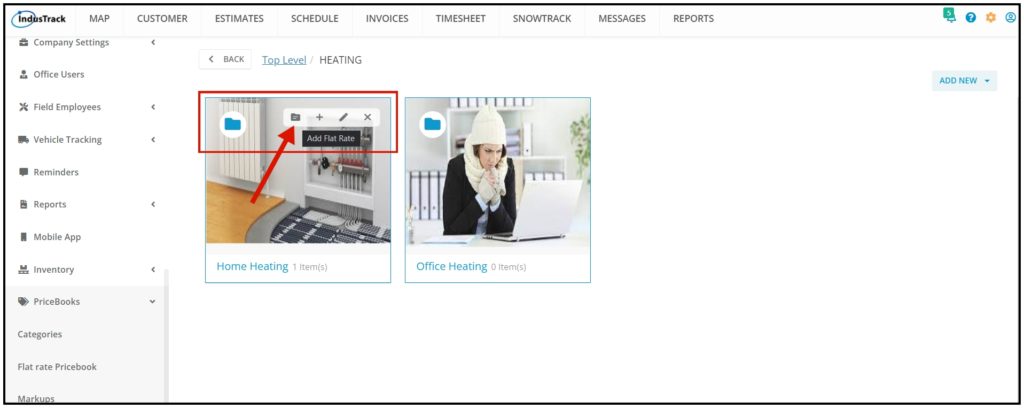
- Hover over the selected subcategory and click the Folder Icon at the upper right-hand corner of the subcategory grid to create an assembly.
- Alternatively, go to setting > pricebooks> Flat Rate Pricebook.
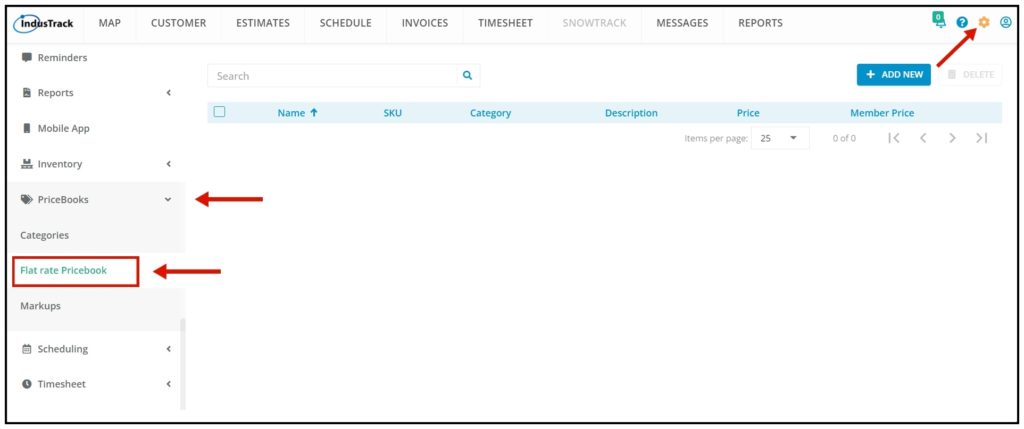
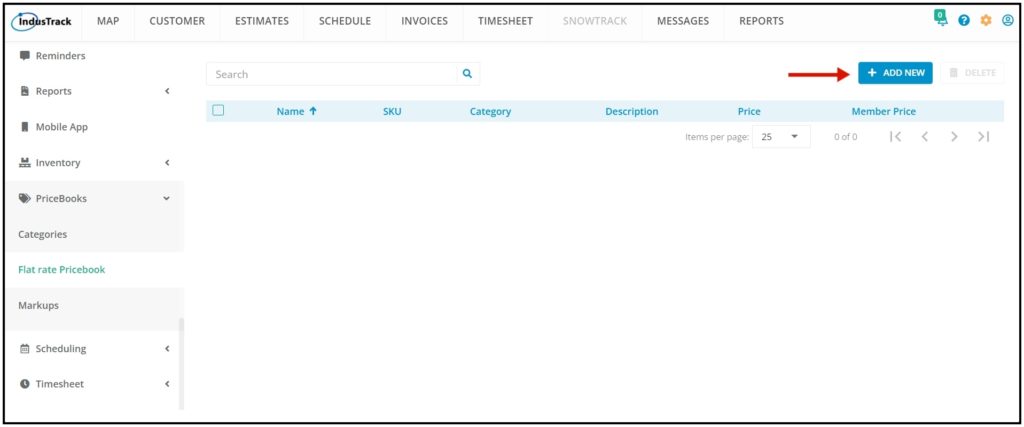
- From the Flat Rate Pricebook selection, click the +Add New button on the top right to create an assembly.
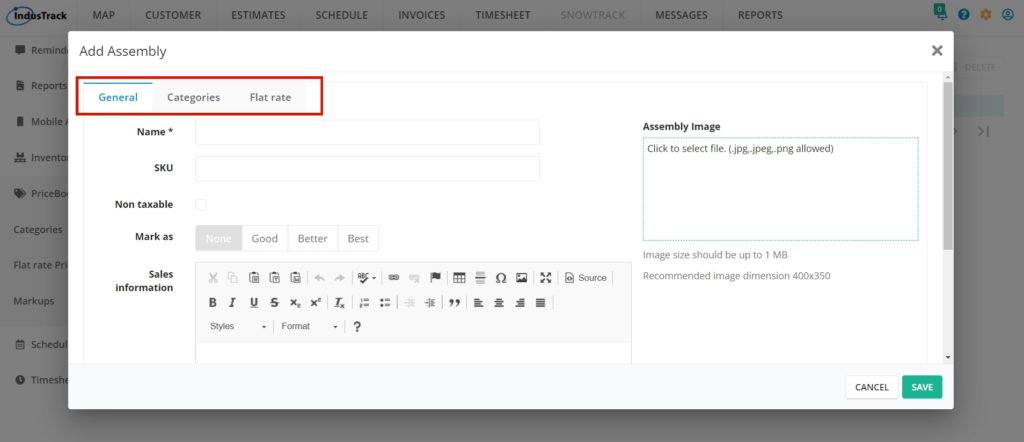
2. This opens the Add assembly window. Across the top, you will see three tabs: General, Categories, and Flat Rate. Note that you need to Create an Assembly first and assign a Category to the assembly in order to Add a FLAT RATE
- Name* – Assembly name
- SKU – Assigned assembly code if available.
- You can mark it as Non-Taxable.
- Mark quality: None, Good, Better, Best.
- Sales Description – Brief description of the assembly
- If available, upload an image of the assembly.
- Click the Assembly Image field.
- Select the image and upload this.
- Image size should be up to 1mb only, with dimensions 400×350 (recommended). The image will not upload if it is bigger than 1MB.
3. After we give the assembly a name and fill in the other necessary information, DO NOT SAVE IT YET. Click on the Categories Tab to assign a category for this Assembly.
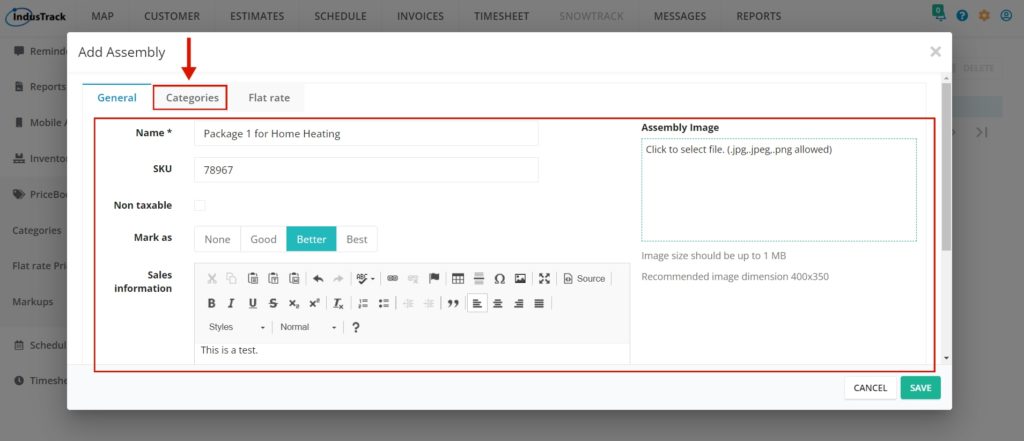
4. After clicking on the Categories Tab a list of Main Categories will show, click on the arrow icon on the left side of the main category to show its sub categories. Select which category you would like the assembly to be in.
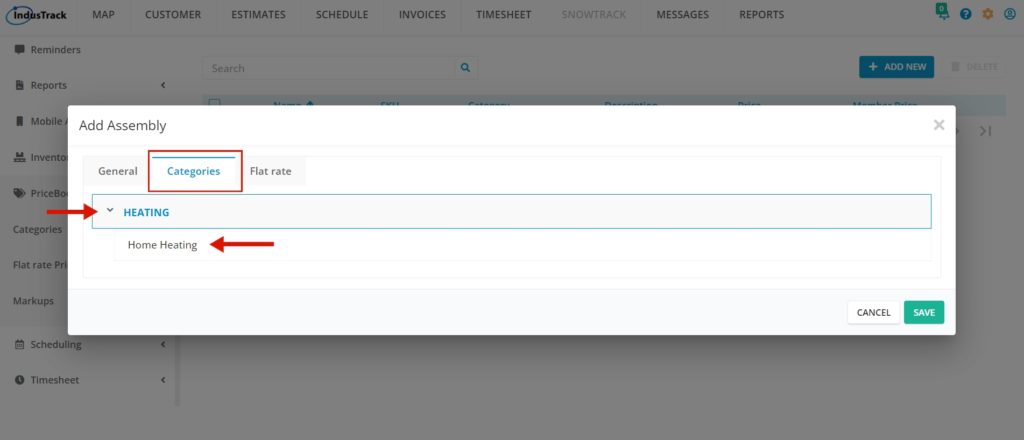
- We want to assign this assembly Under HEATING> Home Heating. Do not save it just yet. Now is the time we can add a Flat Rate, click on Flat Rate Tab.
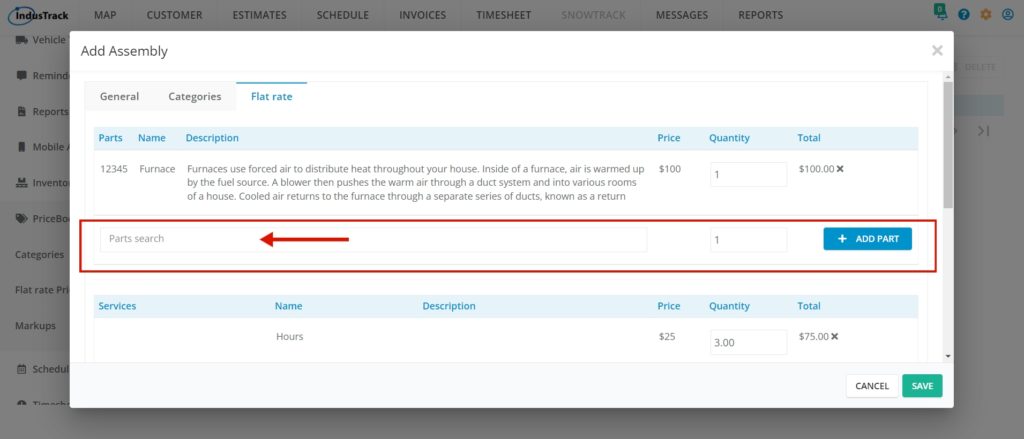
5. On the Flat Rate Tab, select Parts, Services, Equipment, for the assembly. Use each of the search bars to select which part, service, or equipment you would like to add.
- Add a Quantity for each item.
- After adding quantity, click + ADD PART highlighted in blue to add the part same goes to Services and Equipment.
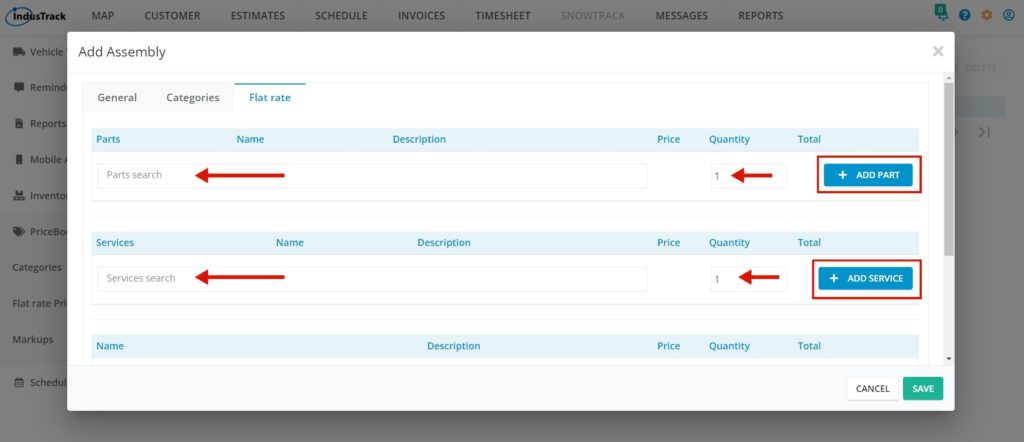

6. After selecting the part/s we would like to add, we click on the + ADD PART on the right-hand side. Notice that a new search bar popped up after we added the first part. You can add multiple parts, services, and equipment here if needed.
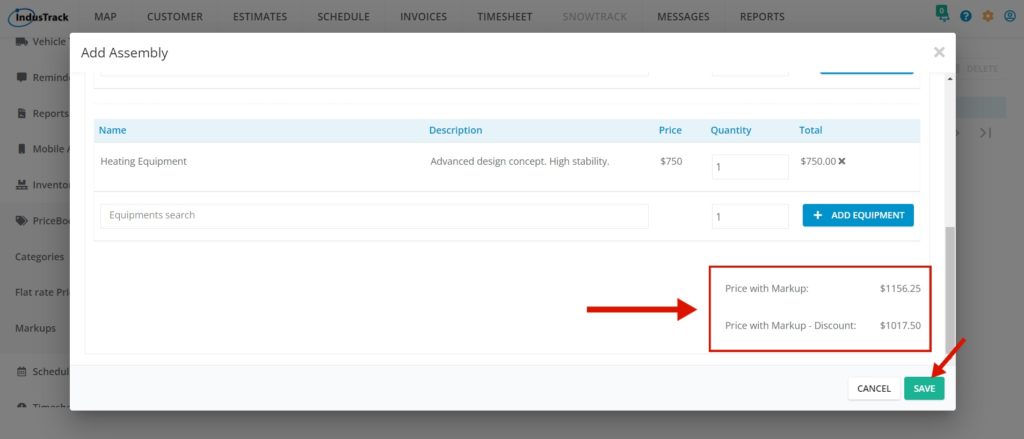
7. Once we have added everything if you have set up Markups and Discount you will be able to see the Price with Markup and the Price with Markup – Discount below. Click SAVE. See Markups and Discount article on how to set up markups.
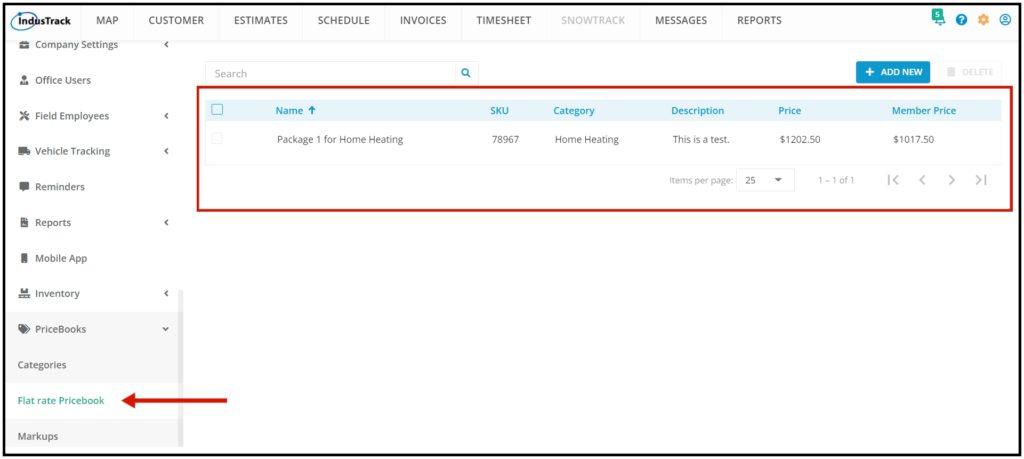
8. Once saved, you will be able to see the list of Flat Rate Assemblies in two places.
- Settings> Pricebooks> Flat Rate Pricebook .
You can see here which category these assemblies are under. Click on the assembly to edit it.
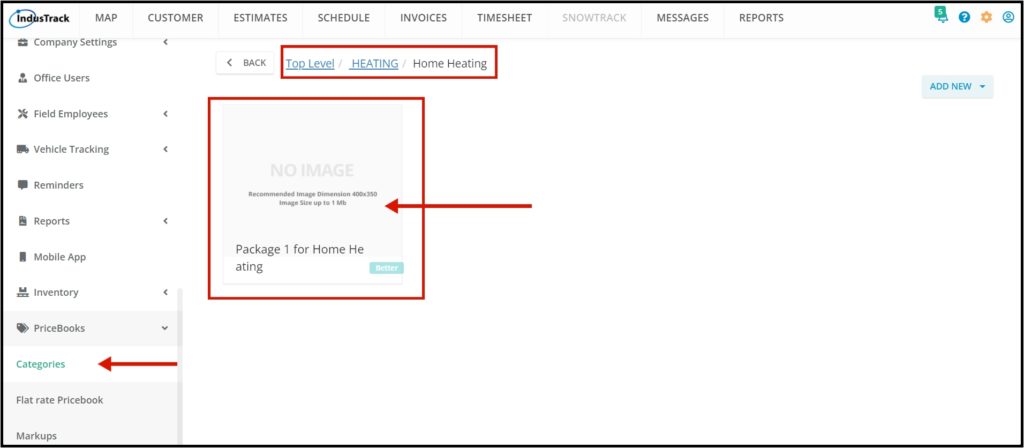
- Settings> Pricebooks> Categories.
Click on the main category HEATING> inside HEATING> click subcategory Home Heating.
Inside the subcategory Home Heating, you will be able to see here all assemblies assigned in this subcategory.