Create PriceBook SubCategories
PriceBooks categories are further subdivided into subcategories. You can add multiple subcategories to the main category.
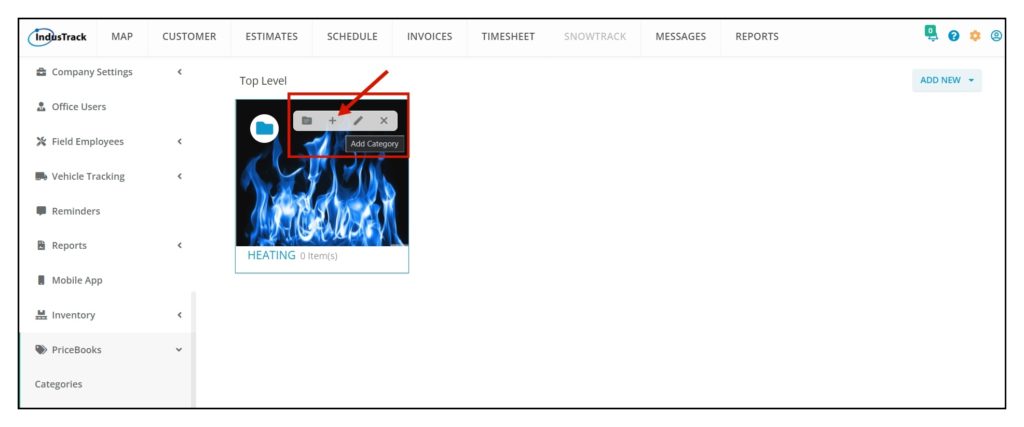
- To create/add a subcategory, hover your mouse on the main category box. You will see four different icons:
- Folder Icon – Used to add Flat Rate into the main Category.
- Plus Icon – Used to add/create a sub-category for the main category.
- Pencil Icon – Used to edit the main category name/ photo.
- X icon – Used to delete a category.
Click the Plus Icon to create a subcategory.
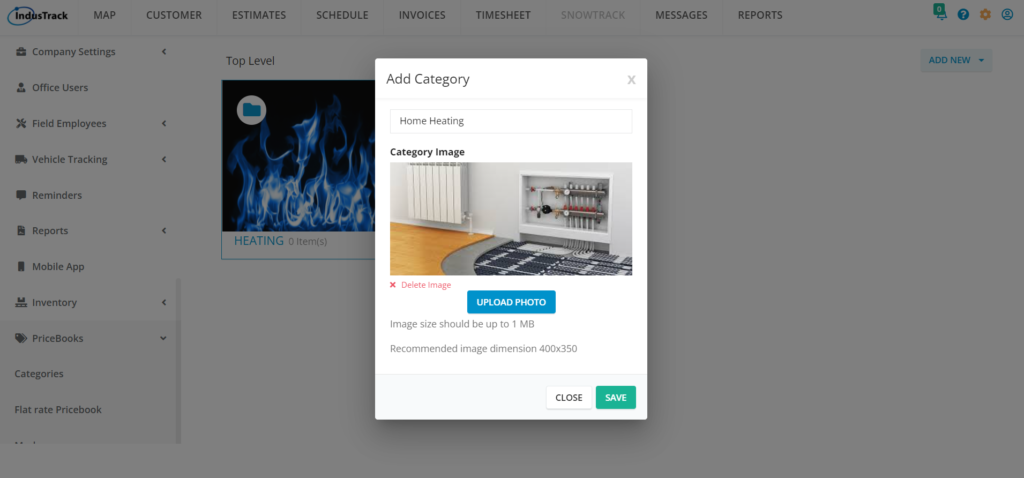
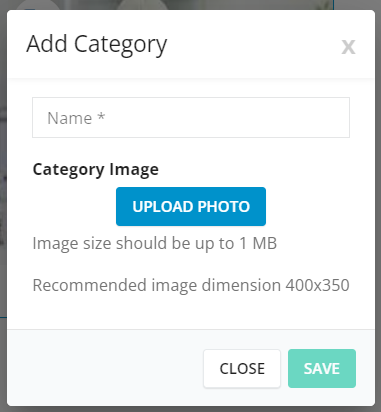
After clicking on the Plus Icon, a new Add Category window will pop up. Give the Subcategory a Name and upload a Photo if available. Click SAVE.
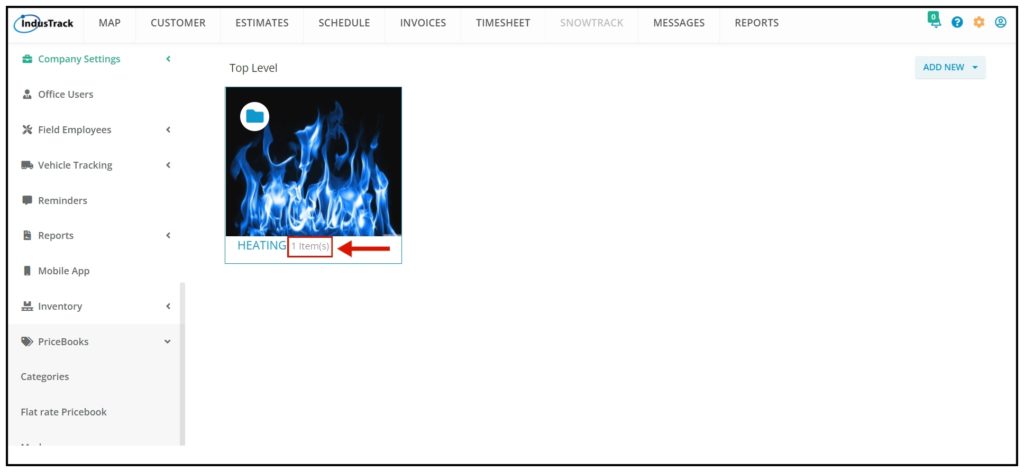
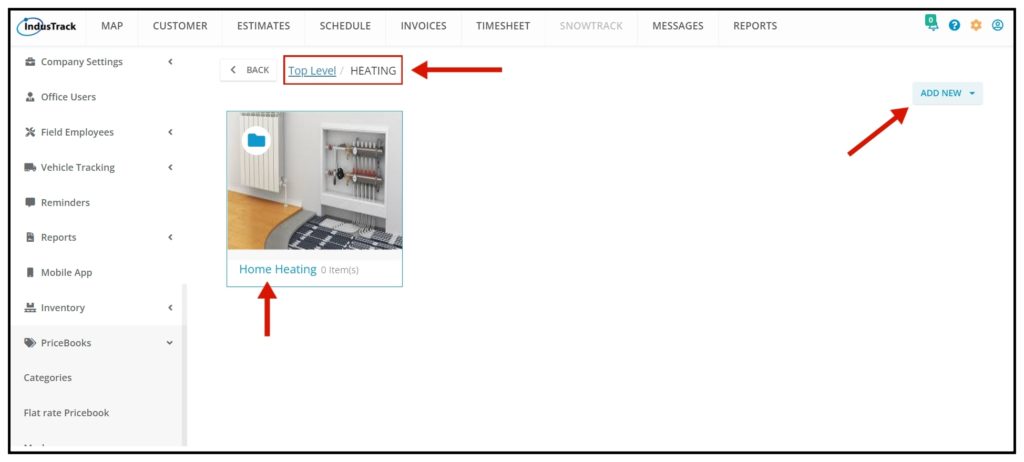
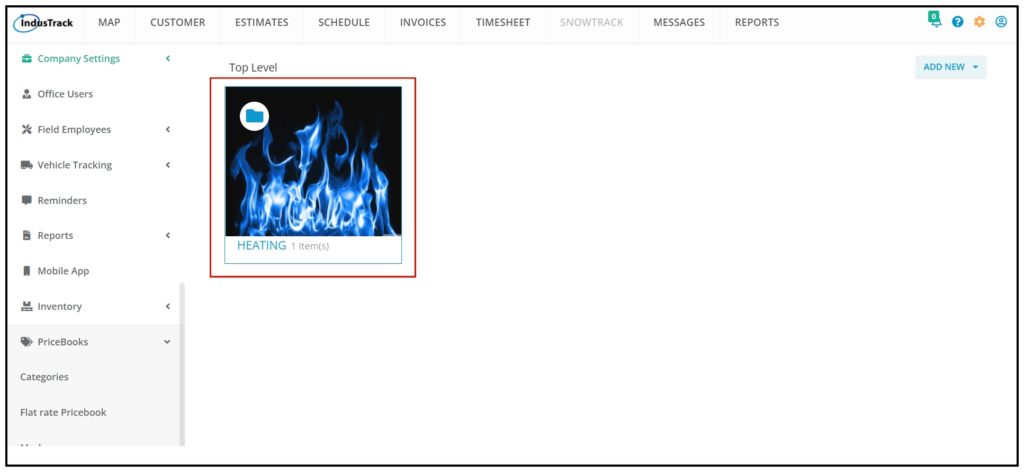
After saving, notice that in the Main Category (HEATING in image) “1 item” was added. Click on the Main Category (HEATING) to view its Sub Category/categories.
You are now inside the main category where you can see all of its Sub Categories. To go back to the Main Category level click on the hyperlink Top Level.
An alternate way to create Subcategories
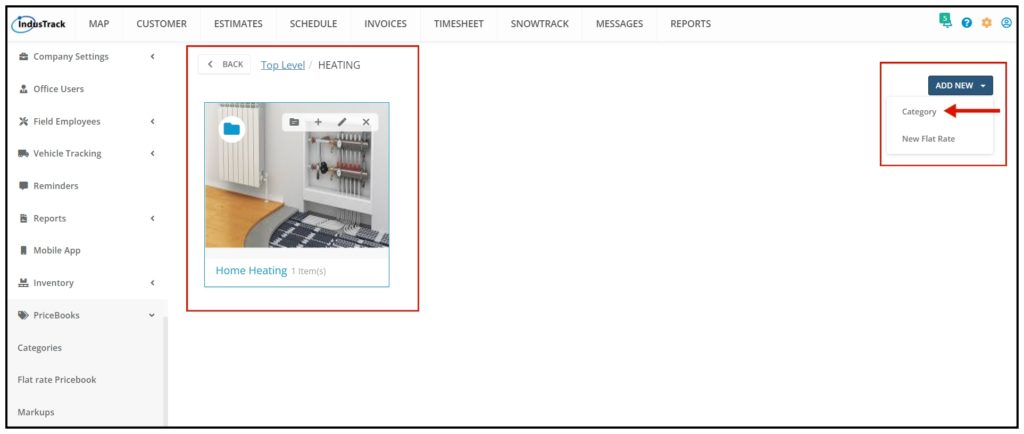
Click on the main Category you would like to add a subcategory to.
After clicking on the Main Category, you will be in the subcategories view. Click on Add New and select Category. This will let you create a new subcategory for this Main Category.
An Add Category window will pop up. Give the subcategory a name, upload a photo if available then click SAVE.
We now have two subcategories for the main category Heating.
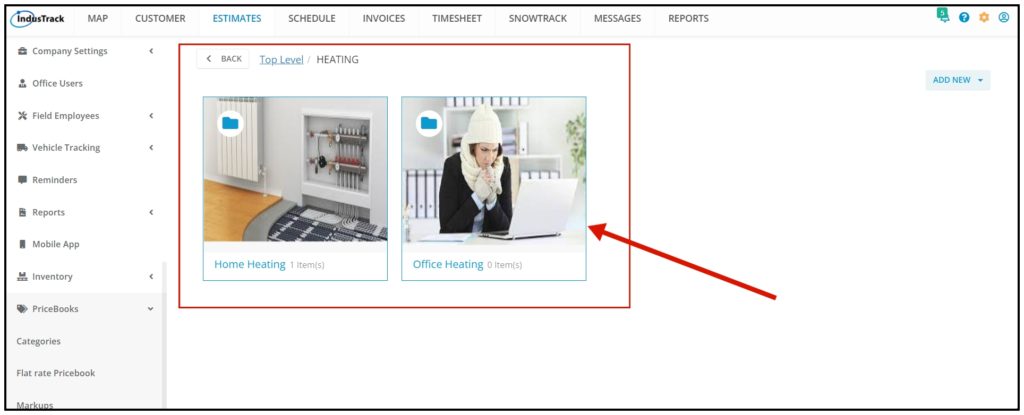
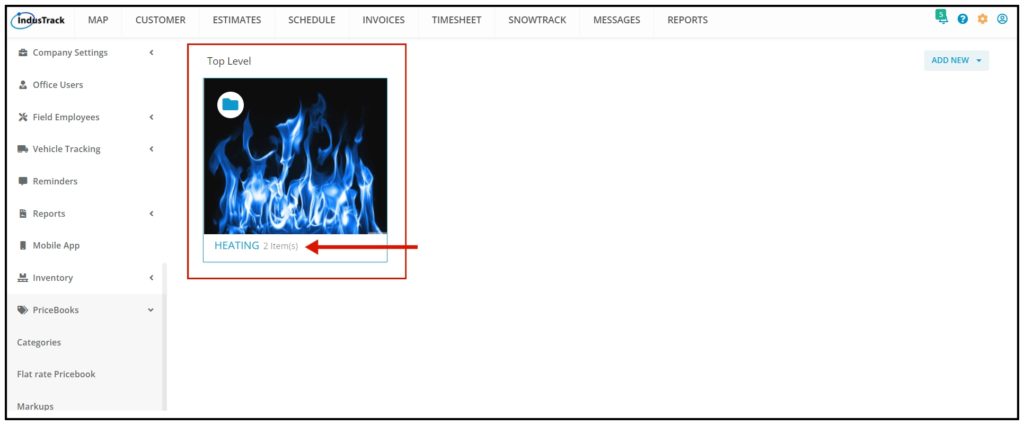
Go back to the Top Level, and notice that we now have “2 items” next to the category name.