Jobs Queue
The Jobs Queue section is a listing of all jobs that have different statuses.
To access Jobs Queue, on the Scheduling Module click on ACTIONS > Jobs Queue.
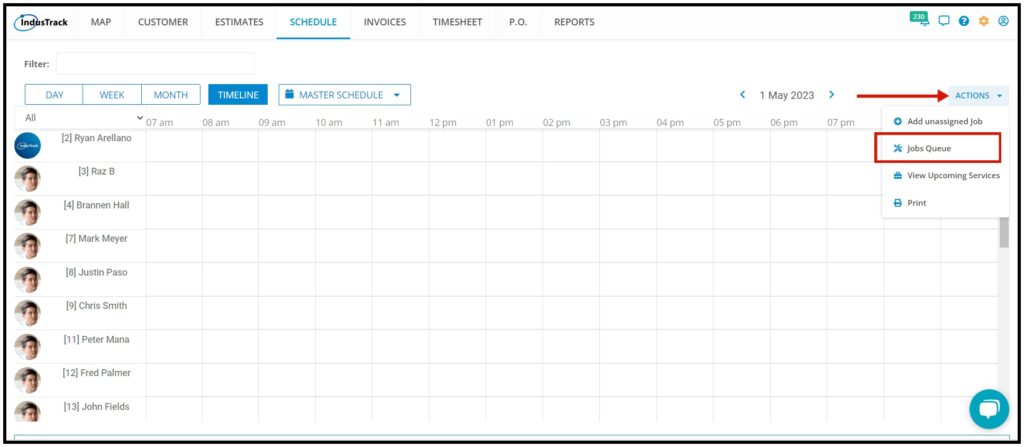
Jobs Queue Page
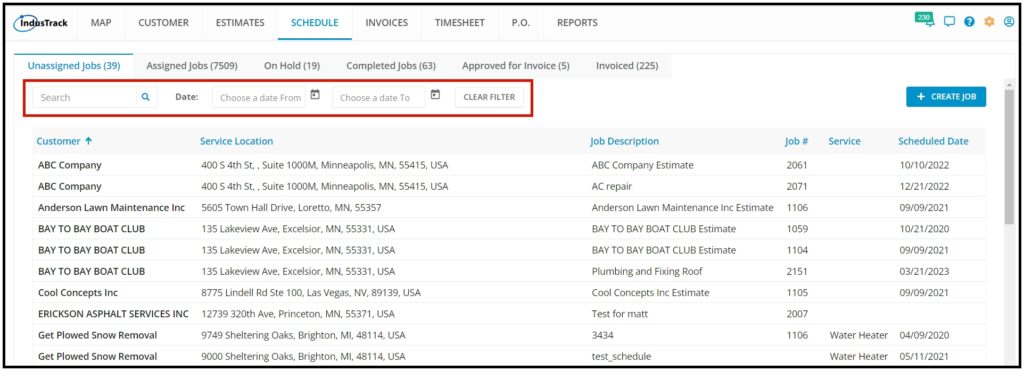
In the Jobs Queue, there are six different columns:
- Unassigned Jobs – Jobs that are saved and are not assigned to any field employees. This queue is perfect if you receive a job order and cannot decide yet which field employee you would like to assign the job.
Once you’re ready to assign the job to a field employee and dispatch, double-click the job and the Edit Job window will open up. Assign field employee and hit Dispatch Now. Once the Job is assigned to an employee the job will be removed from this queue and will be queued up in the next queue the Assigned Job Queue.
Besides creating a job from the ACTIONS menu, you can also create an unassigned job/s in the jobs queue page Unassigned Jobs Column.
Click on CREATE JOB.

- Search Bar– In the search bar, you can search for the Company Name, Job Number, Service Name, and Job Description.
- Date Filter – if you are looking for a job from a specific date, filter out when the job was created.
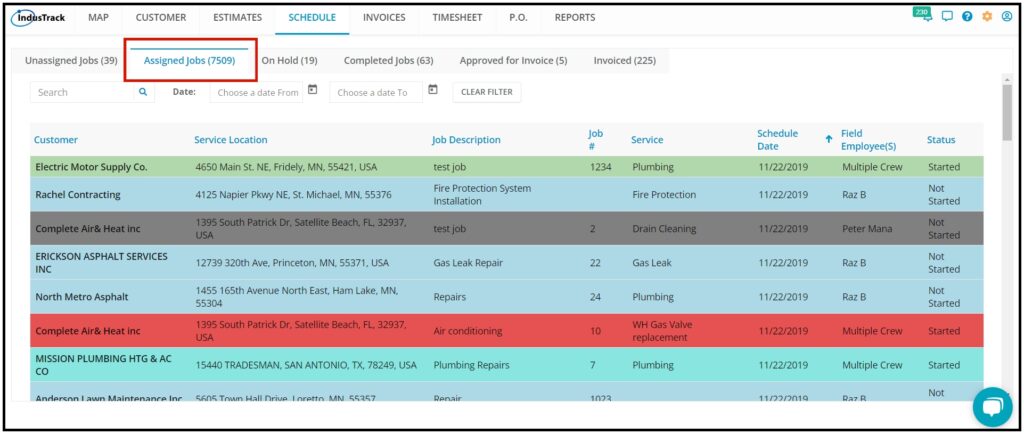
Assigned Jobs Queue
- Assigned Jobs – Jobs that are basically assigned to field employee/s, in this queue you will be able to see which field employee/s the job was assigned to and the status of the Job.
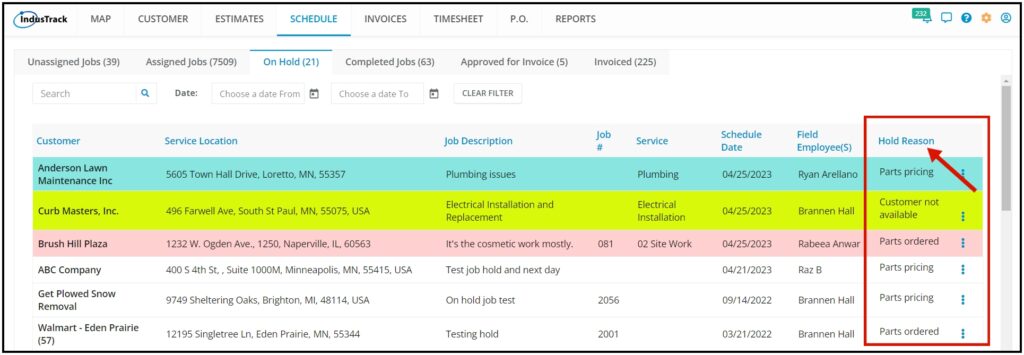
On Hold Jobs Queue
- On-Hold Jobs – On-hold jobs are jobs that have been started before but were put On Hold for a variety of reasons.

Job Hold Reasons e.g. – (Customer not Available, Parts Pricing, Parts Ordered.) You can also create/customize your Job Hold Reasons in the Job on Hold Settings.
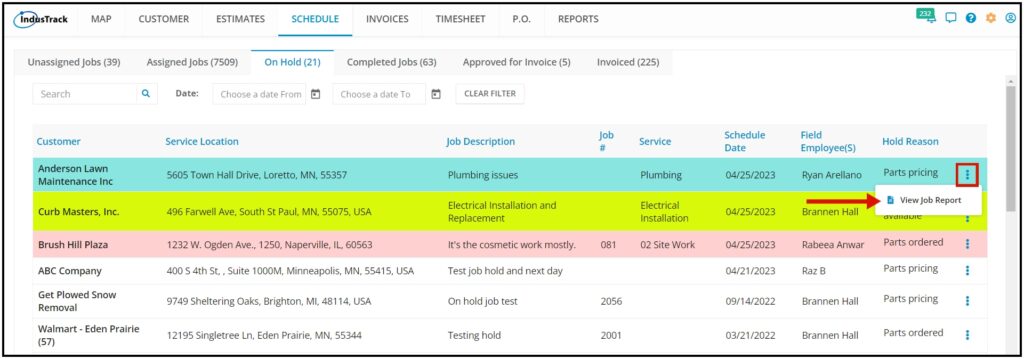
In the On Hold Jobs Queue, you can also view the Job Report. All details regarding the job will be seen in the Job Report, you will be able to see here what was done at the job, field employees’ notes, the actual time the employee spent on the job, etc.
Click on the three-dot menu of one of the Jobs > select Job Report.
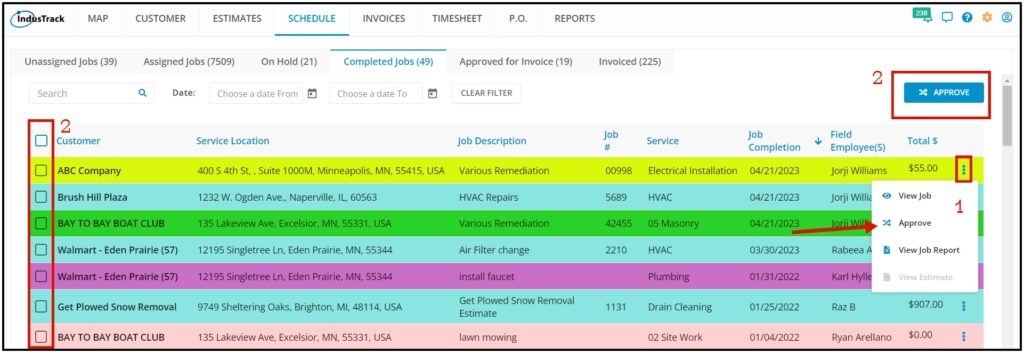
Completed Jobs Queue
Basically, all the jobs that have been worked on and marked as completed.
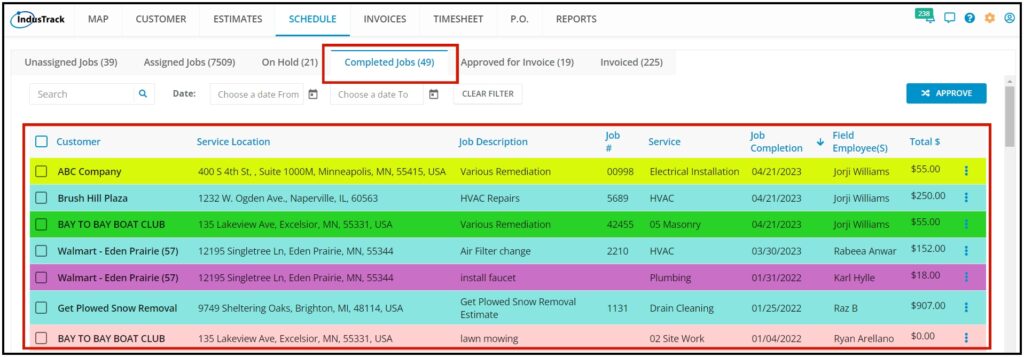
From this queue, since the job is completed there is also an option here to Approve the job for Invoice.
There are two ways to Approve the job/s for Invoice.
- Approve a job for invoice by clicking on the three-dot bar, and click on Approve on the dropdown.
- Approve multiple jobs for invoice by putting a checkmark on the jobs that you want to approve and click Approve in the top right corner.
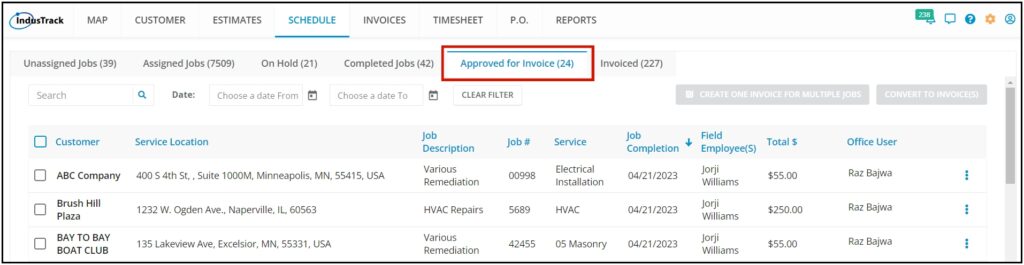
After approving the Job/s for invoice, the Job will be removed from this queue and will be queued up in the Approved for Invoice Queue.
Approved for Invoice Queue
In this queue, you will see all the jobs that are ready to be invoiced. There are three ways to Convert the Job into an Invoice in this queue.
- Convert an approved job into an Invoice.
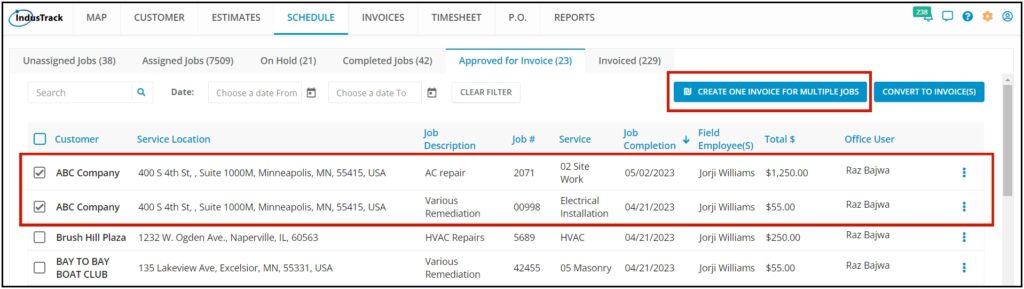
- Convert One Invoice for Multiple Jobs – Convert multiple jobs from the same customer into one Invoice.
- Convert multiple jobs from different customers into separate invoices.
If there are multiple jobs from the same customer, you have the option to create one invoice for those multiple jobs as long as it is from the same customer. To do that, Put check marks on the jobs > click on CREATE ONE INVOICE FOR MULTIPLE JOBS.
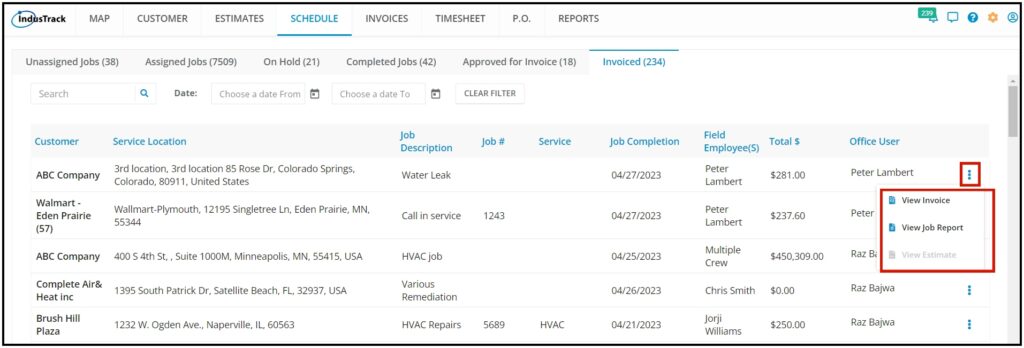
Invoiced Jobs Queue
Completed jobs that have been invoiced.
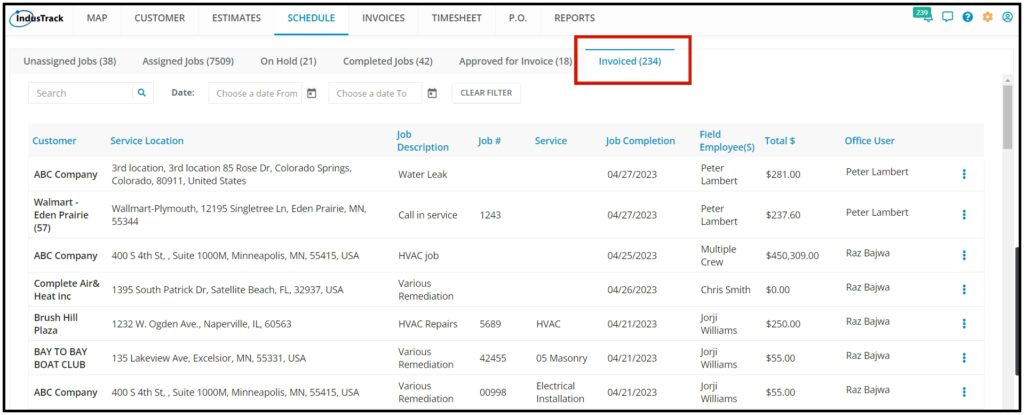
- To view the Invoice, click on the three-dot and click View Invoice.
- I would like to know what has been done on the job, select View Job Report.
- If the Job has an Estimate associated with it, click View Estimate. The View Estimate option will be greyed out if there is no estimate associated with the job.