
Assign and Unassign Vehicles to Groups
Assign Vehicles to the Group
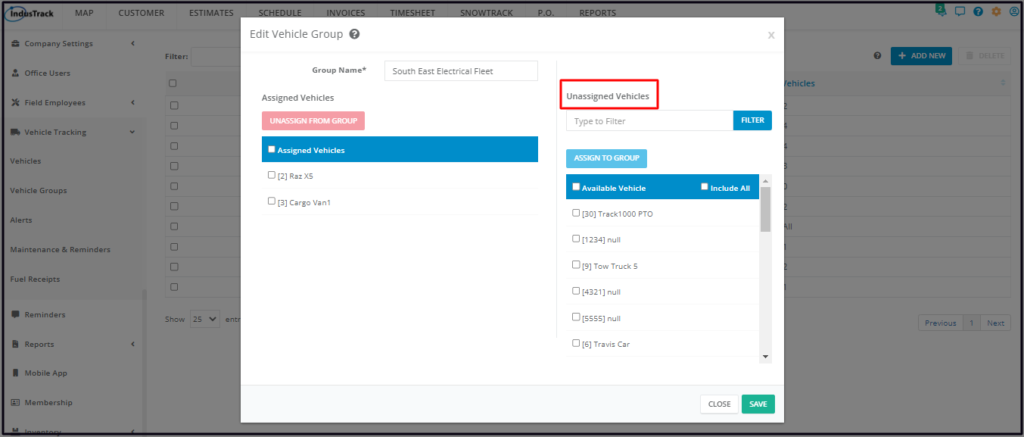
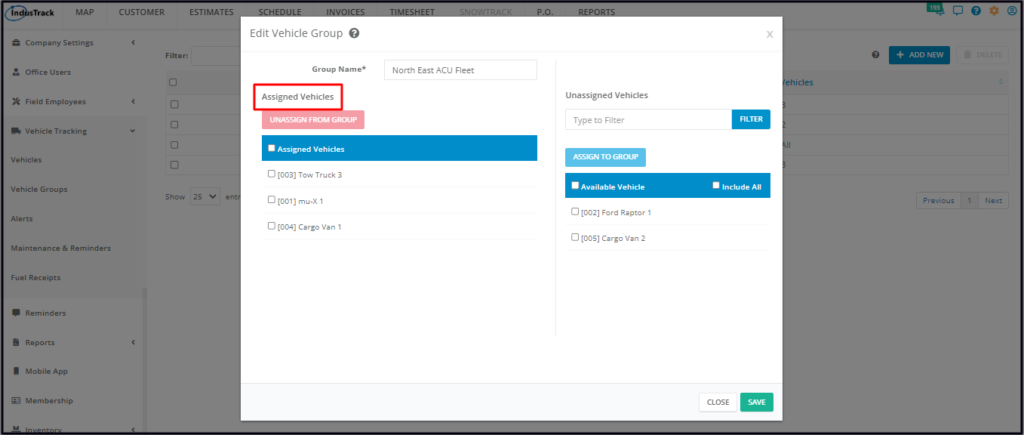
Pull up the Vehicle Group window to create a new one or update an existing one. Give the Vehicle Group a name if none has been provided.
Go to the Unassigned Vehicles section and start assigning Vehicles.
There are a number of ways by which Vehicles could be assigned to the group:
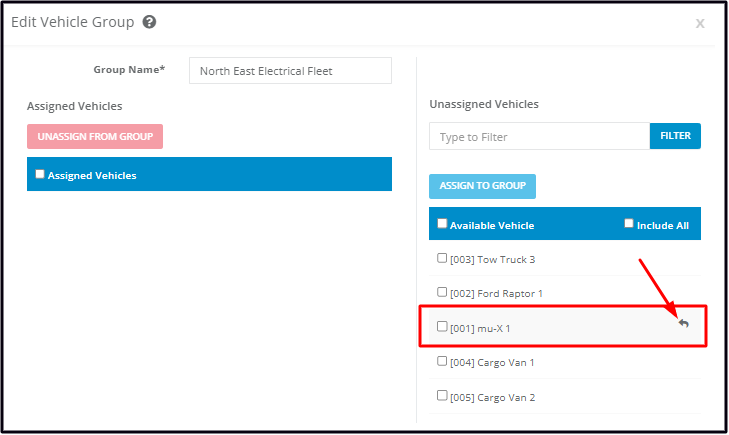
Assign Individual Vehicles
Find the name of the Vehicle from the list under Available Vehicle.
Hover over the name and click the arrow to its right. This will send the name to the Assigned Vehicles List.
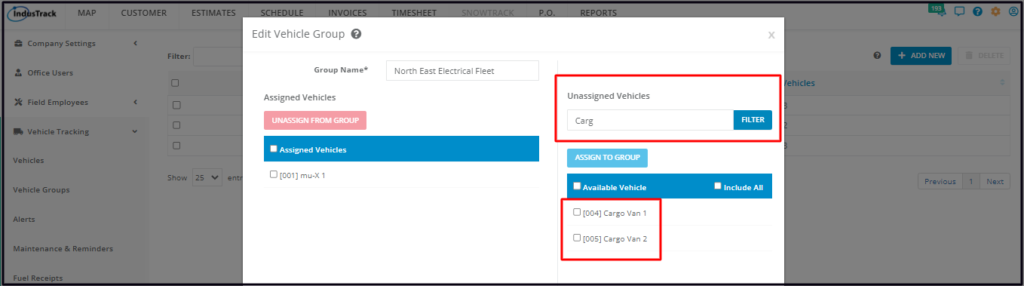
If you have a long list of Vehicles to go through, use the Filter bar to quickly find the unassigned vehicle.
- Key in the Vehicle’s name (or part of the name) on the Filter field.
- Click on Filter. The list will be narrowed down to the names that match your filter.
Assign Multiple Vehicles
Find each of the names of the Vehicles from the list under Unassigned Vehicles. Tick checkboxes as you go along.
Once you have selected all of the Vehicles, click the Assign To Group button.
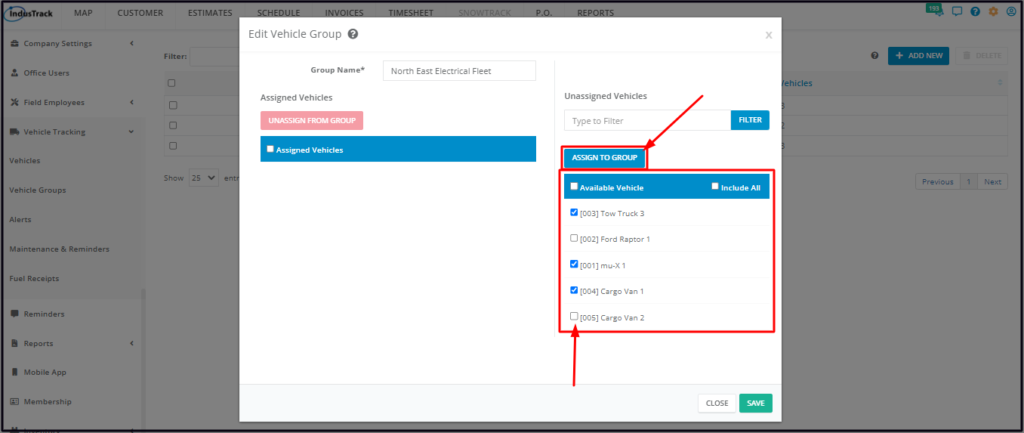
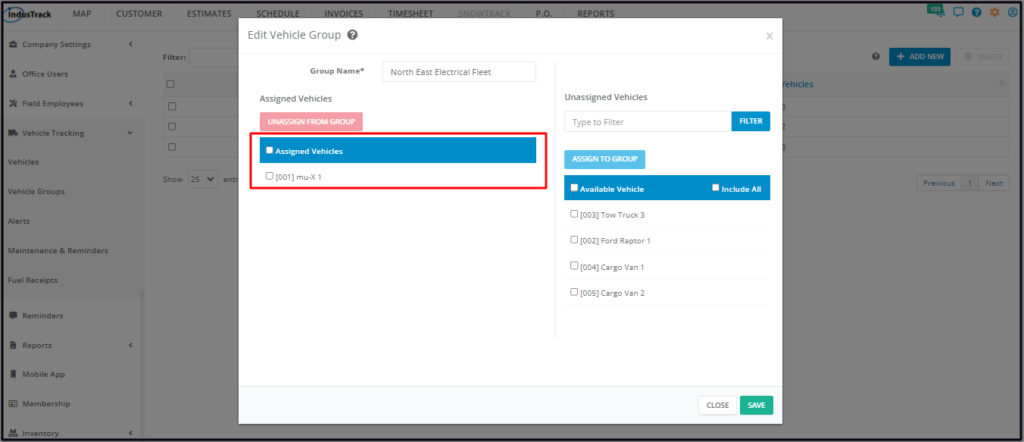
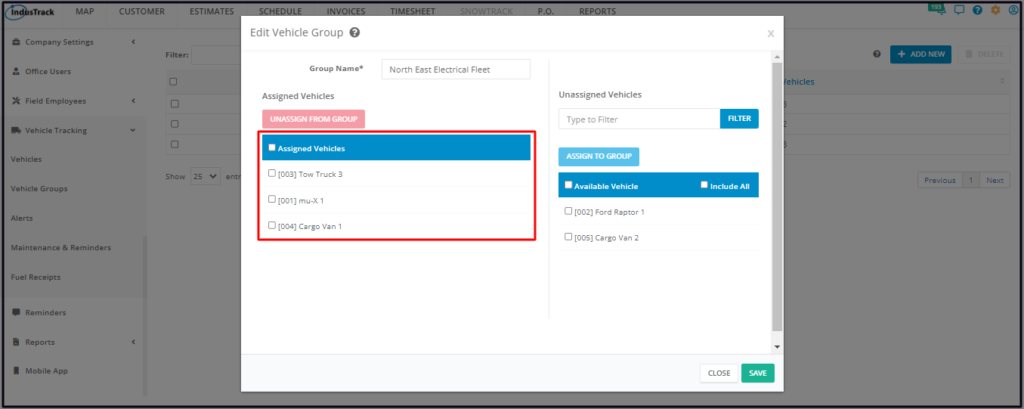
The names of all the selected Vehicles will be moved under the Assigned Vehicles list.
Assign All Available Vehicles
Tick the checkbox of the option Available Vehicle. Doing this will automatically tick the checkboxes of all the Vehicles listed under the Unassigned Vehicles.

Click on the Assign To Group button.
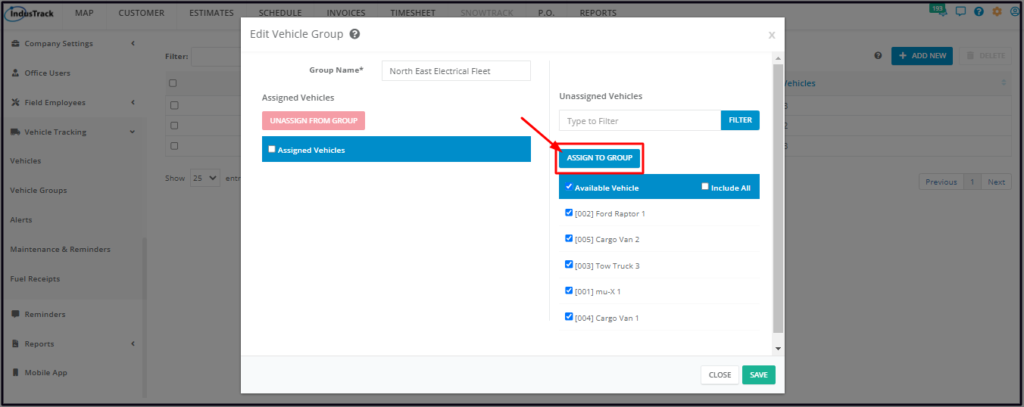
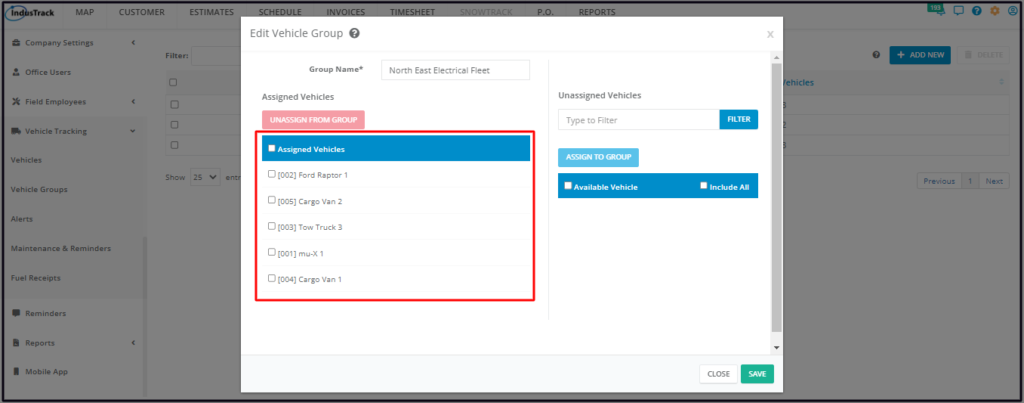
All of the Vehicles will be moved under the Assigned Vehicles list.
Note: Unlike in the Include All option, all new Vehicles will not be automatically assigned to the Group. Their names will be listed under the Unassigned Vehicles.
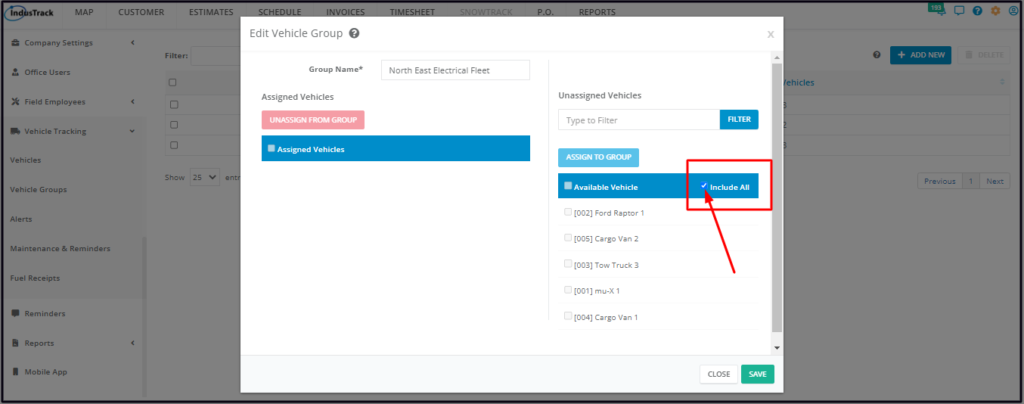
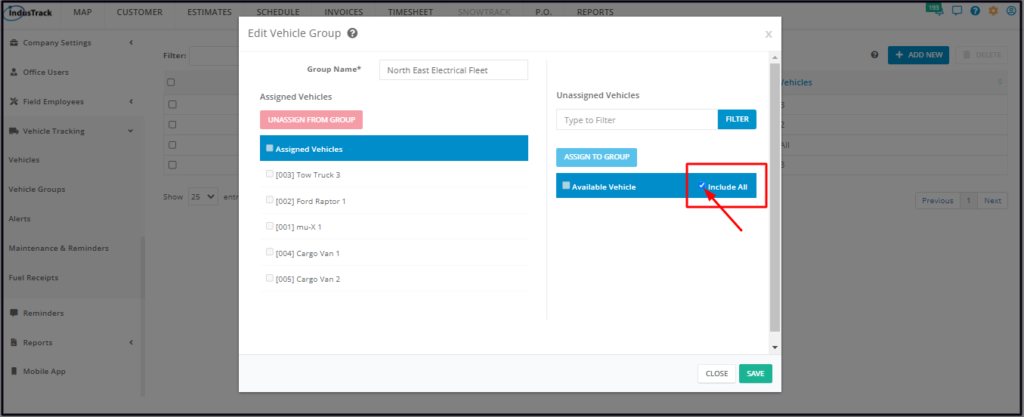
Include All Vehicles
Tick the checkbox of the option Include All. Doing this will disable all other options for selecting the Vehicles, including the Assign to Group button.
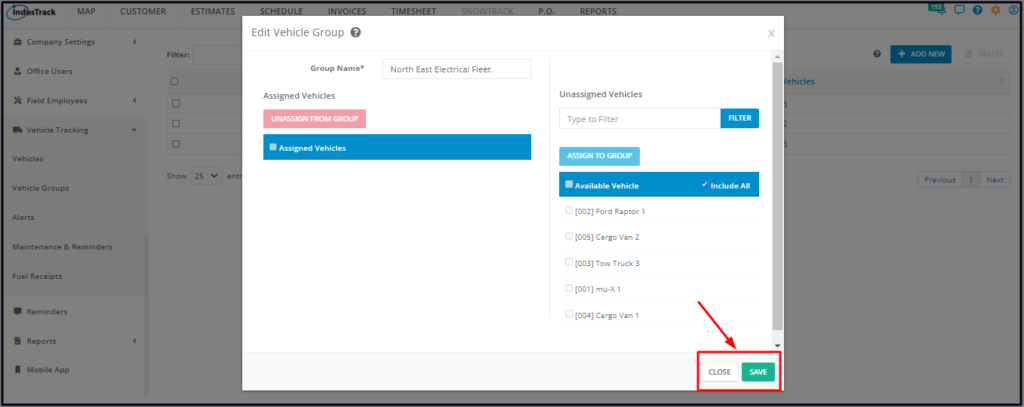
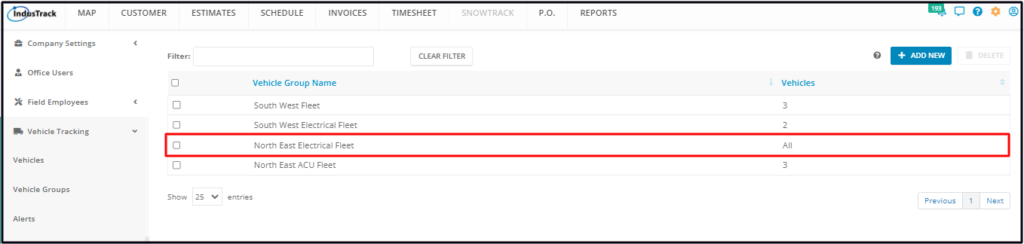
Save the Group. All Vehicles will all be moved under the Assigned Vehicles. Open the Group in edit mode to see this.
Note: With this option, all new Vehicles and reactivated ones will be automatically assigned to the Group once their profiles are created or reactivated.
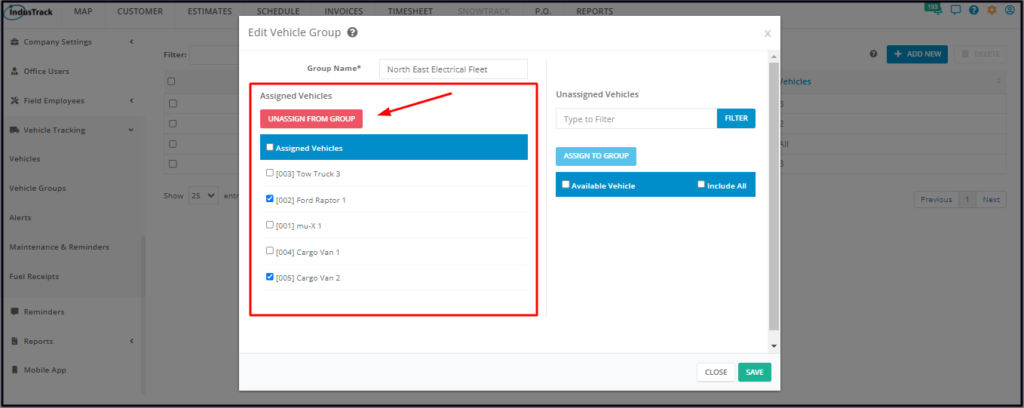
Unassign Vehicles from the Group
Open the Vehicle Group profile in edit mode.
Go to the Assigned Vehicles section and start unassigning vehicles from the group.
Just like assigning a vehicle to a group, there are also a number of ways by which these could be unassigned.
Unassign Individual Vehicles
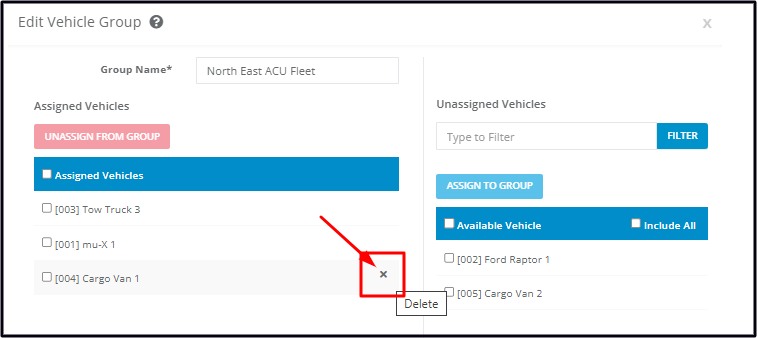
Find the name of the Vehicle from the list under Assigned Vehicles.
Hover over the name and click the delete icon (x) to its right. This will send the name to the Unassigned Vehicles List.
Unassign Multiple Vehicles
Find each of the names of the Vehicles from the list under Assigned Vehicles. Tick checkboxes as you go along.
Once you have selected all of the Vehicles, click the Unassign from Group button.

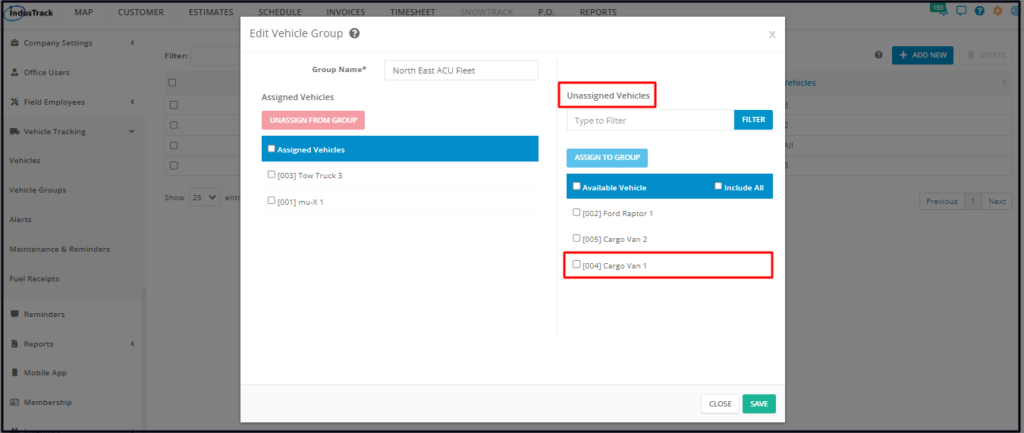
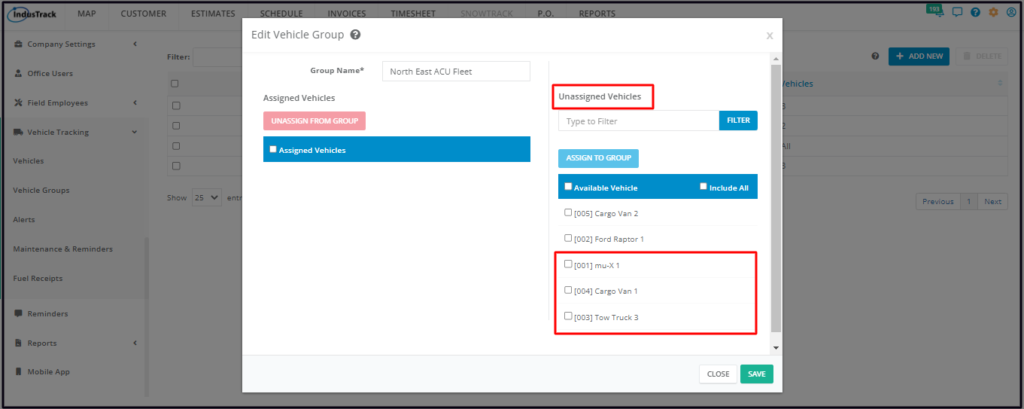
The names of all the selected Vehicles will be moved under the Unassigned Vehicles list.
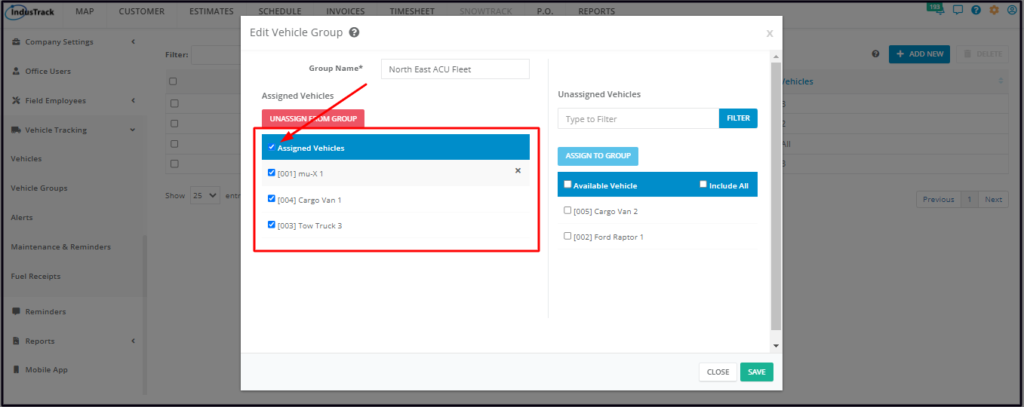
Unassign All Assigned Vehicles
Tick the checkbox of the option Assigned Vehicles. Doing this will automatically tick the checkboxes of all the Vehicles listed under Assigned Vehicles.
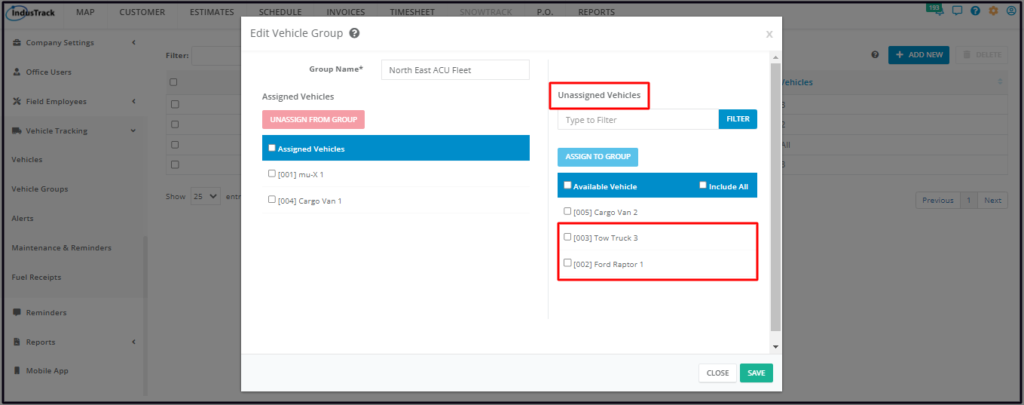
Click the Unassign from Group button.
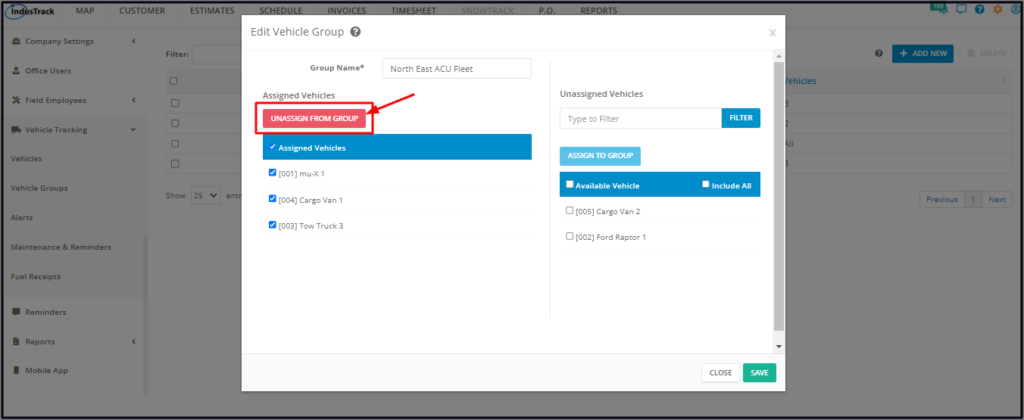
The names of all the Vehicles will be moved under the Unassigned Vehicles list.
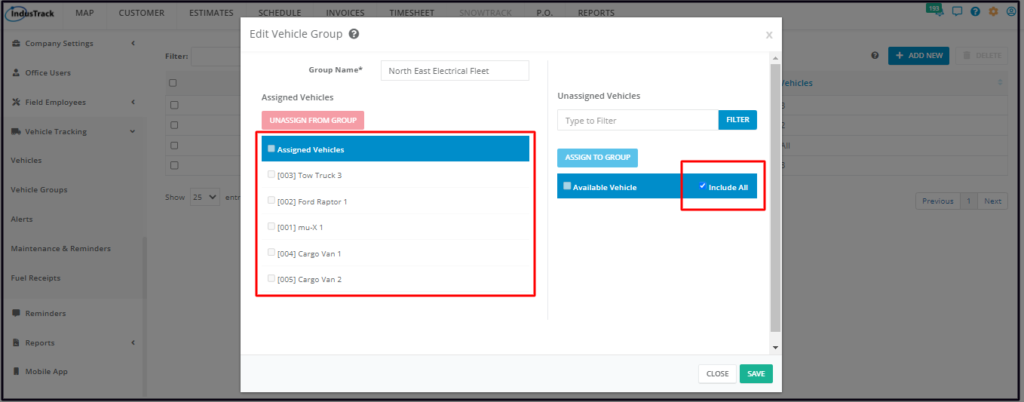
Unassign Vehicles from an Include All Group
To be able to unassign a vehicle or vehicles from an Include All group, deselect the Include All option first.
Once the option has been deselected, unassign the vehicle or vehicles the same way as instructed above.
Note: Ticking the Include All option again will send all of the Vehicles back to the Assigned Employees List.