
Create, Edit, or Update the Customer Profile
Clients are essential assets of any business. IndusTrack gives you a single platform to help you organize complex customer information and it starts with creating or importing their profile into the system.
There are multiple ways to add a new customer to the Industrack System.
- Manually create a client profile from the Customer Module.
- Sync customers from QuickBooks using the IndusTrack-QB integration.
- Import your list of customers.
Sync with Quickbooks
If you use the accounting software QuickBooks, you can sync your customer information directly into IndusTrack. You can also set it up in such a way that if a customer is added to QuickBooks, it is automatically downloaded into IndusTrack.
Import the List of Customers
If you are new to IndusTrack and have thousands of customer data from your previous system, you can easily import the Customer List. No need to manually create each and every client’s profile in IndusTrack. You just need to export the data from your previous system, save it as an Excel file and import it into IndusTrack.
Create a Client Profile from the Customer Module
As you win new clients, add them into the system individually. This article shows you how to add a new client via Industrack’s Customer module and create their profile.
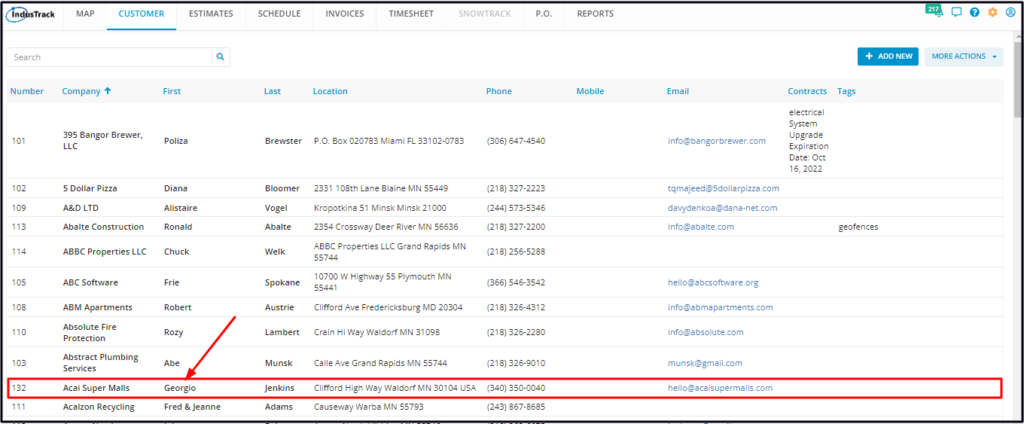
Before creating a new client, do a search first to determine if your customer has not been previously added to the system. If there is already a profile for them, go ahead, review, update, and complete their information.
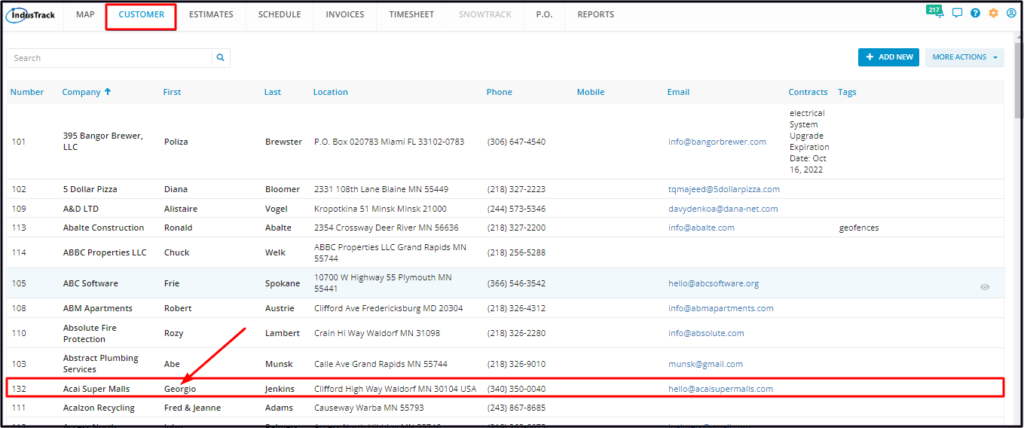
Go to Customer on the module header. If the header is greyed out, you do not have any access to the module. If it does not appear on the header, your company account does not have access to it.
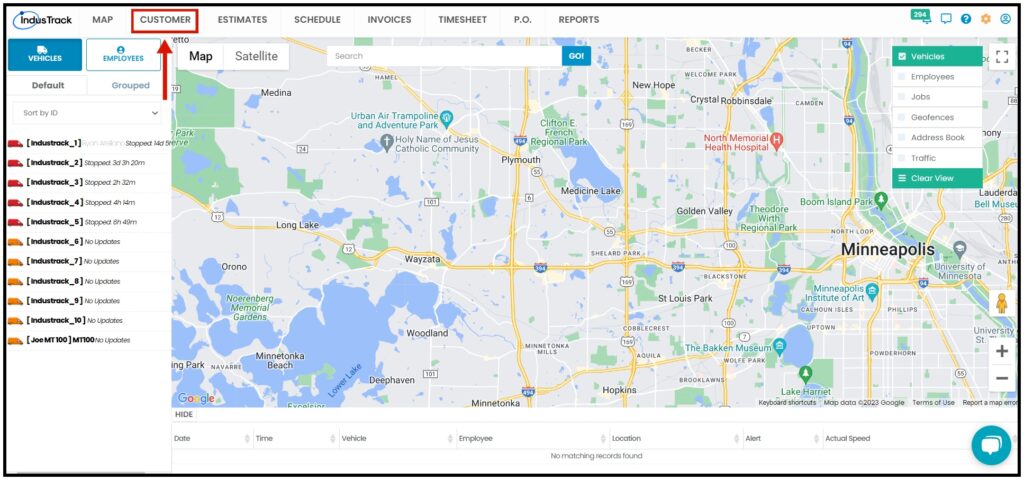
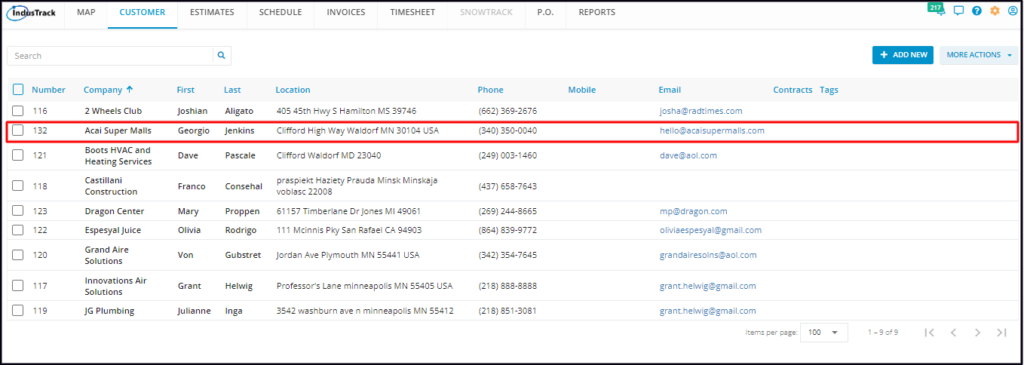
By default, the list of current Active Customers, in a table format, will be shown on the page.
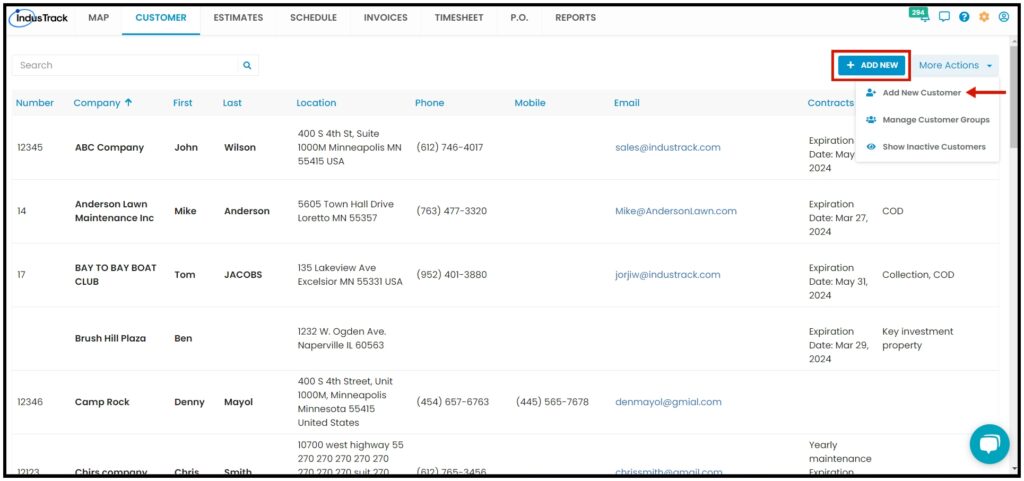
Create a customer profile using the Add New function. You can access the Add a Customer page 2-ways. Click the Add New button or the More Actions one and select Add New Customer from the drop-down.
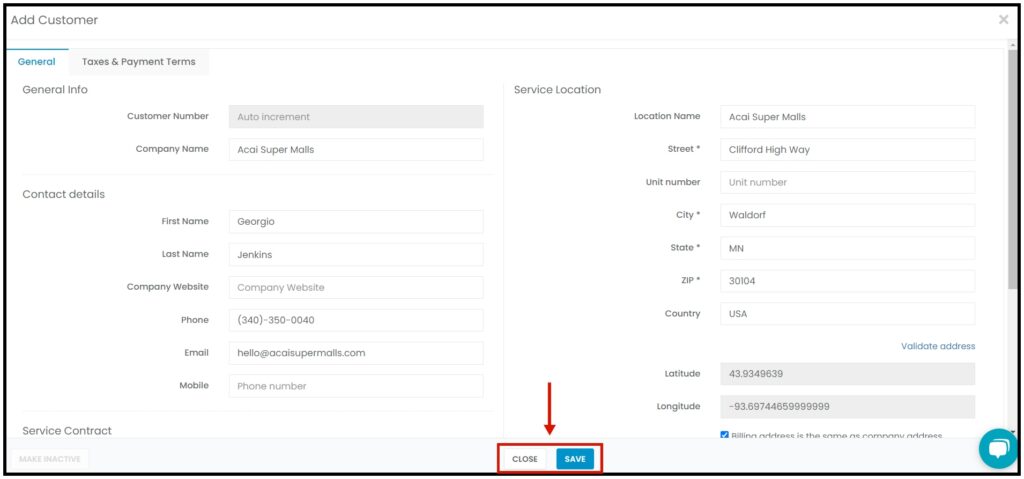
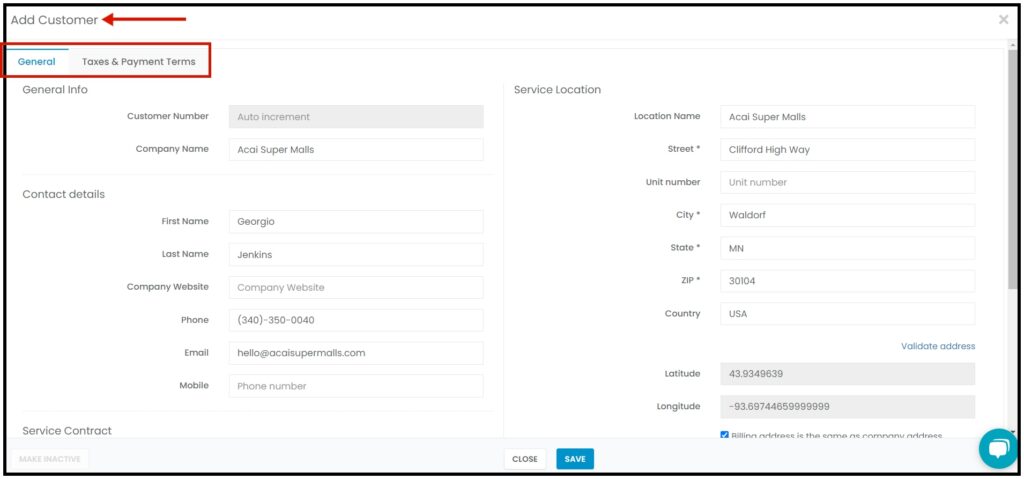
Add the new client’s details on the Add Customer page.
Fields with (*) are required the save button will be greyed out if the field with an asterisk is not filled.
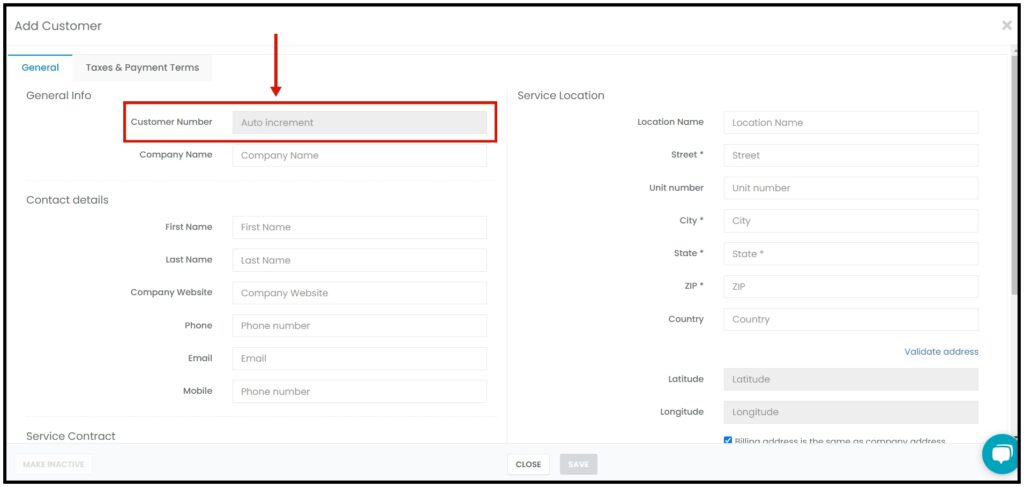
The page has 2 tabs, the General and the Tax & Payment Terms.
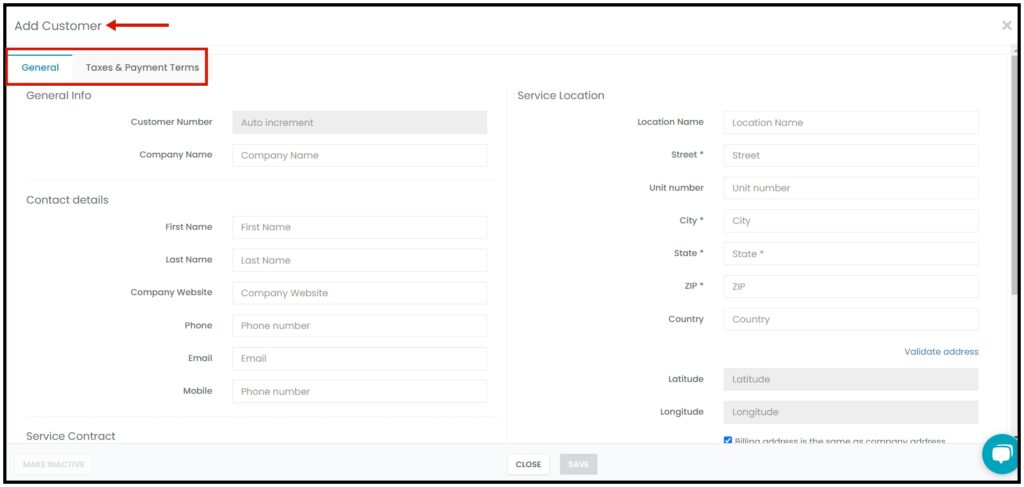
General Tab Info
Customer Number – There are 2 possibilities for this field: the Customer Number Auto Increment is either set up or not.
If the Auto Increment is Not Set Up, Key in the Customer Number on the field.
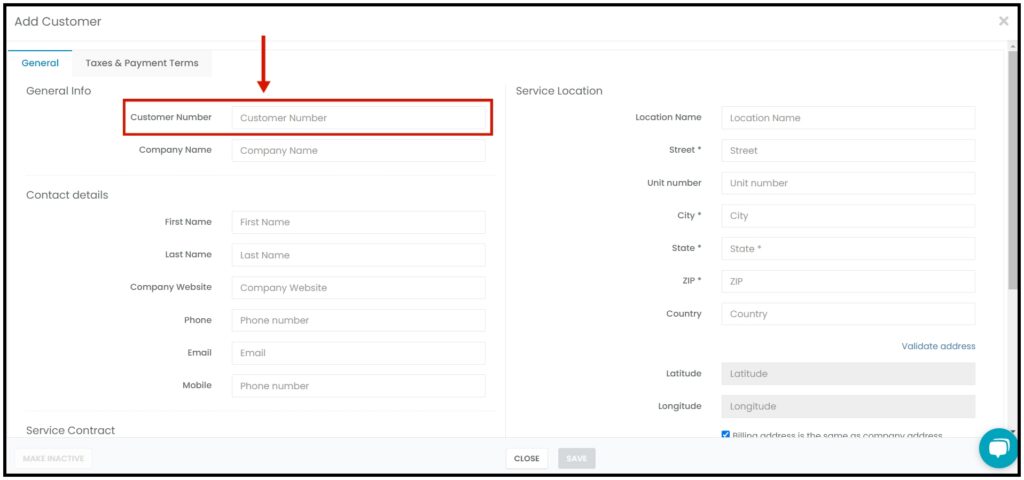
The field will be disabled. The Customer Number will be automatically assigned when the new client profile is saved.
Company Name
Key in the client’s Company Name. If the customer is a private person and not a company, key in their full name on the field.

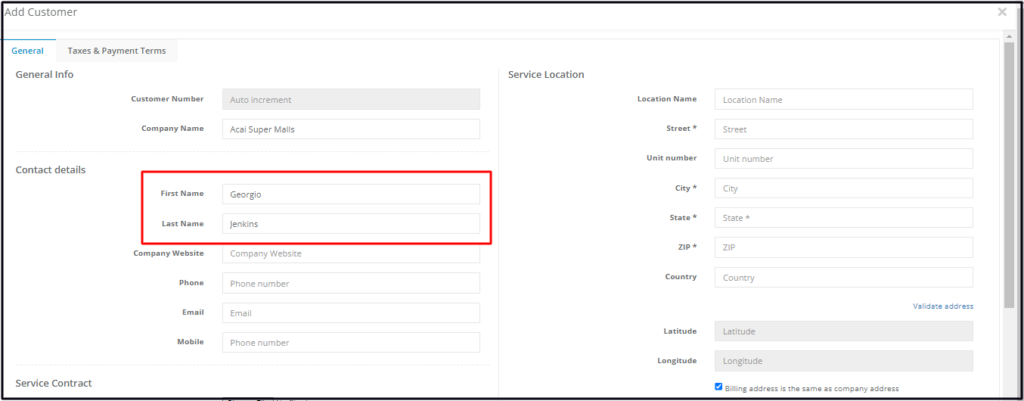
CONTACT DETAILS
The Contact Details section is where you will add the data of the company’s contact person. This will be the person you will be communicating with in regard to their account.
Key in the First Name and Last Name of the contact person on the corresponding fields.
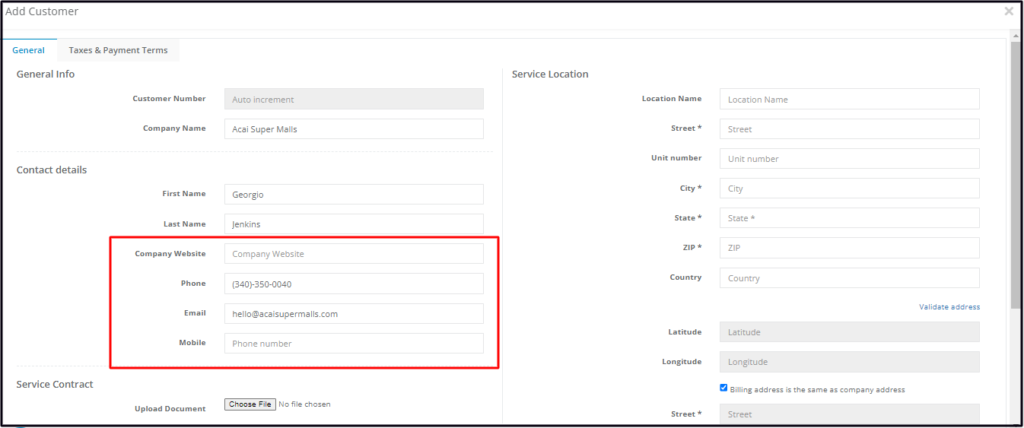
Company Website
Key in the URL of the company’s website.
Contact Information, The email, phone, and mobile numbers refer to the contact person’s work details and not necessarily the company’s.
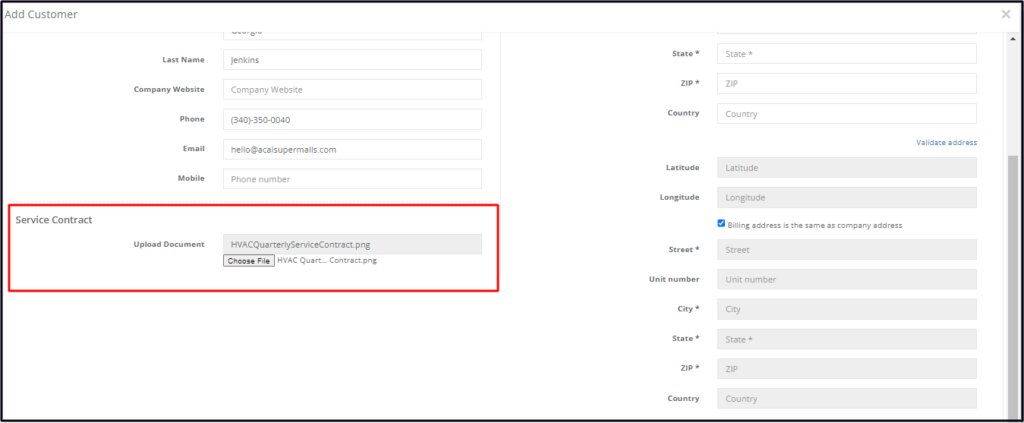
SERVICE CONTRACT
Upload a copy of the Service Contract that you have with your customer in this section using the Choose File button.
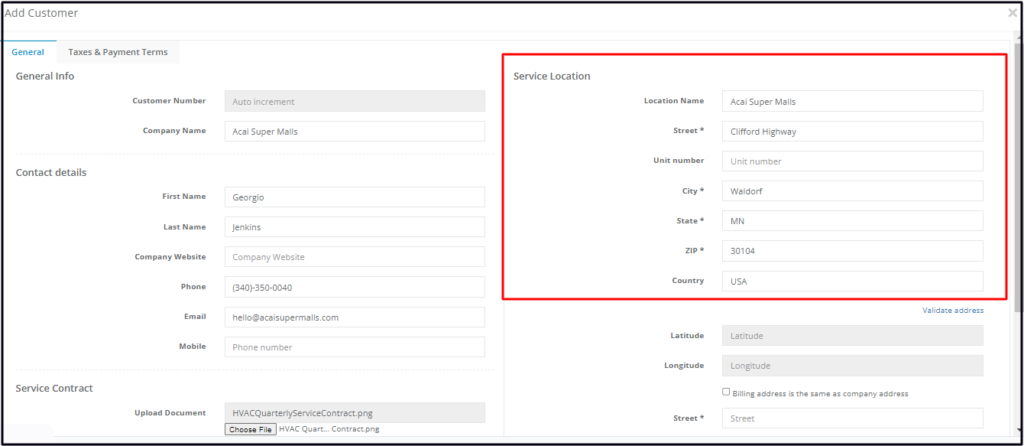
Service Location
The Service Location Address is the first of 2 addresses that have to be filled out.
The Service Address is the one that will show up on your field employees’ IndusTruck mobile app when a job is scheduled for them for the customer. This is also the address where a virtual geofence will be drawn around for use on the GPS tracking devices to create the customer activity report and some entries in the daily activity report. If the customer has more than one service address, you will be able to create additional locations for the customer when you manage the customer’s profile.
Key in the service location details. Fields with * are required fields.
- Location Name – This refers to the name of the building/structure/fairground where the business is set up in.
- Street*
- Unit Number
- City*
- State*
- ZIP*
- Country
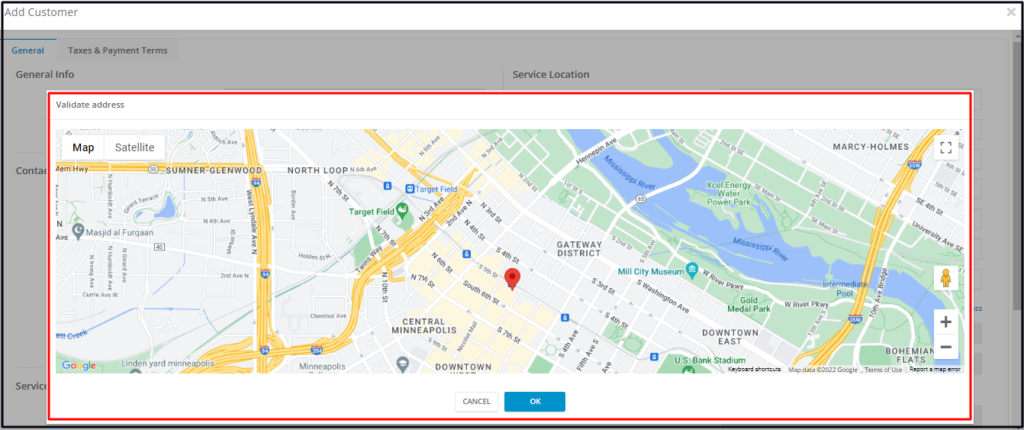
Validate the Address
Go to the Validate Address hyperlink. The service address will be located and shown on the map. Review the location and click OK.
The longitude and latitude will be automatically filled in once the address is validated.
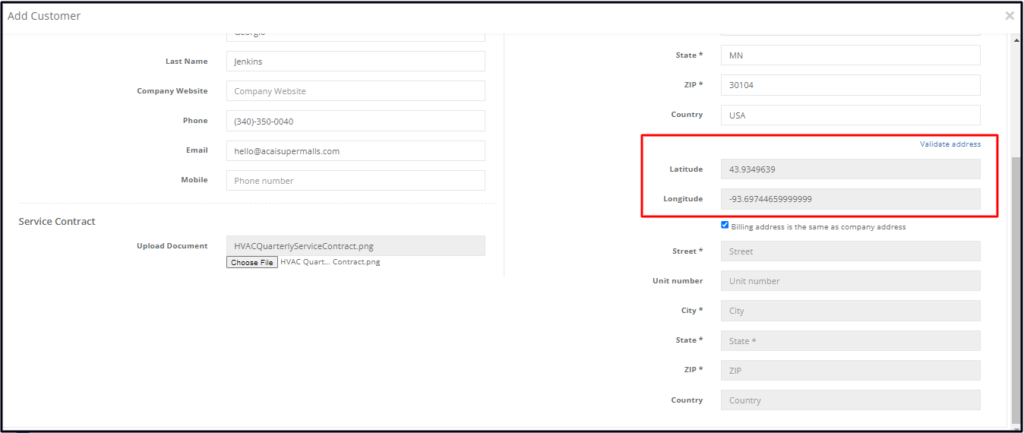
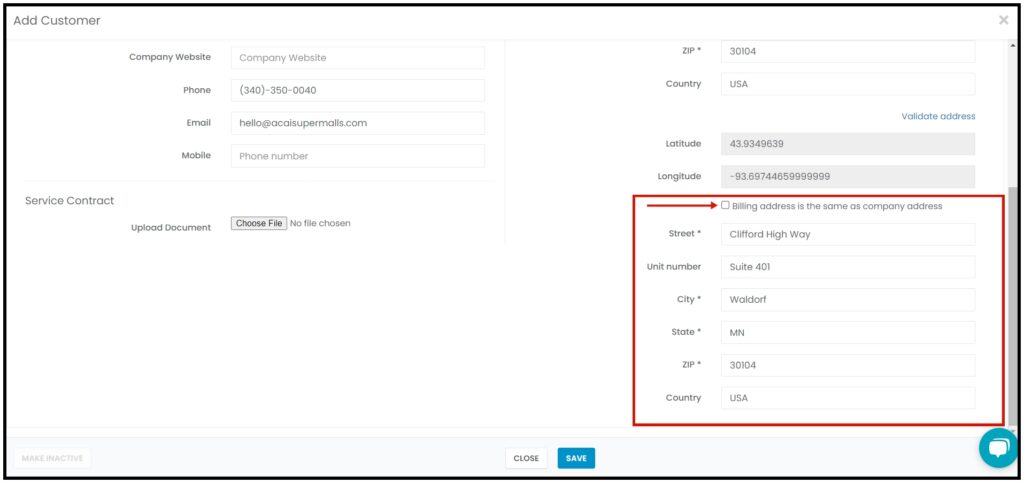
Billing Address
If the billing address and the service address are the same, tick the checkbox for the Billing address is the same as the company address. The fields for the billing address will be disabled. You don’t need to fill these. But if the addresses are not the same, leave the check box unticked and fill in the details of the billing address fields.
TAXES & PAYMENT TERMS TAB
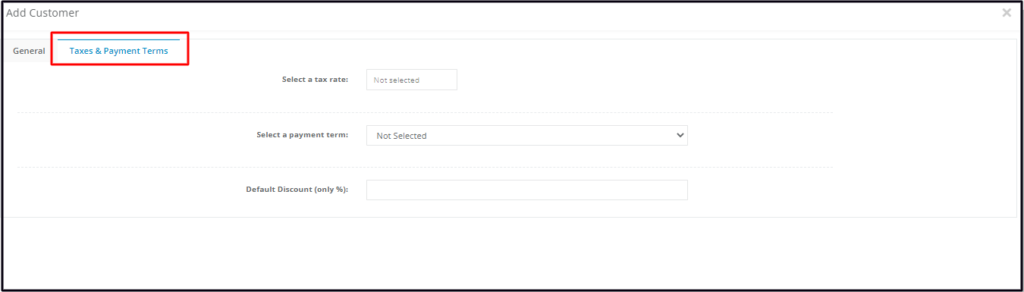
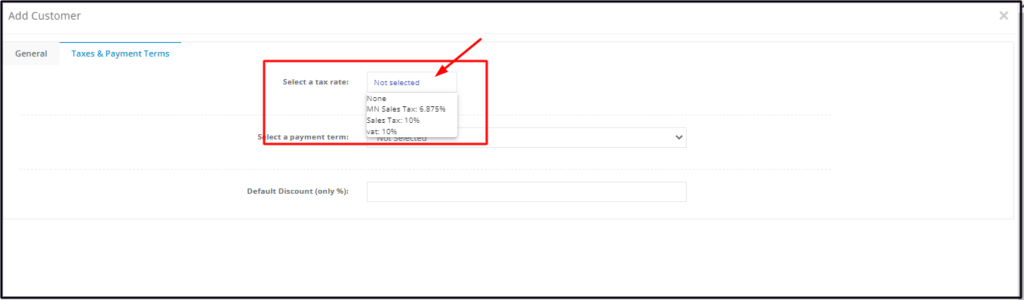
Tax Rate
Select the applicable tax rate for the customer. This will be automatically applied to all of the client’s estimates and invoices.
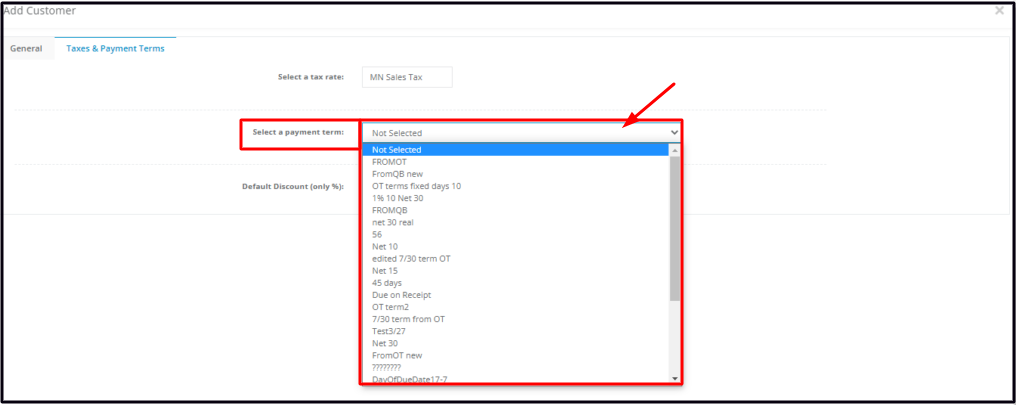
Payment Term
Select the terms of payment. This will also be automatically applied to all of the client’s estimates and invoices.
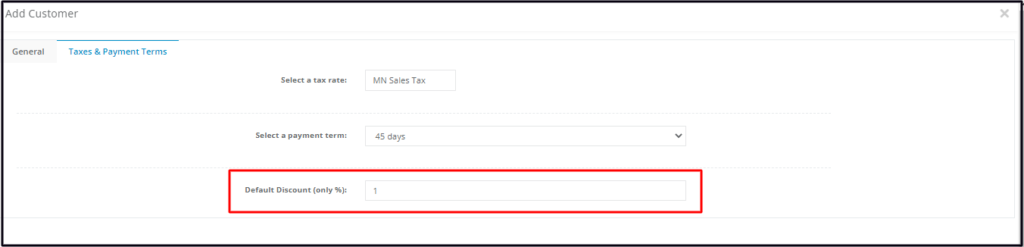
Default Discount
If applicable, add a percentage (%) discount that will be automatically applied to all of the client’s estimates and invoices.
Once done, do a quick run-through of the details and click Save. If any of the required fields have not been filled, the Save button will not be enabled. You will have to fill in all the required fields before the profile can be saved.
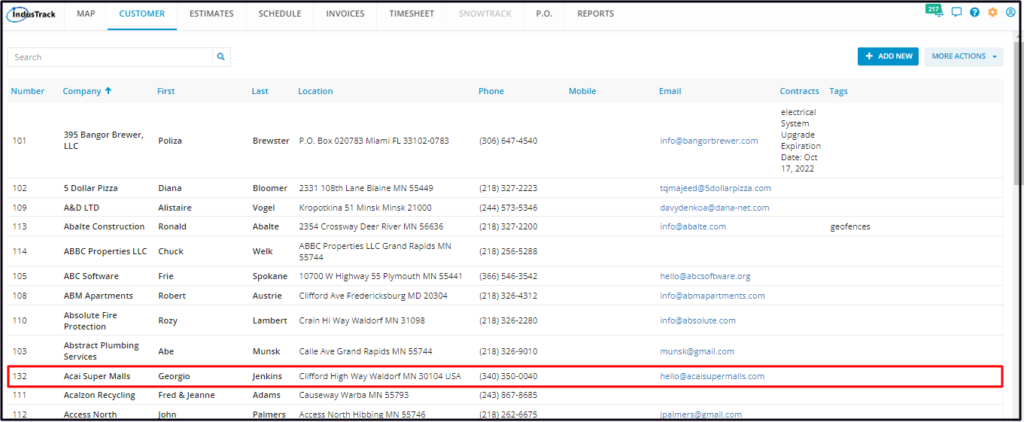
The new client will be added to your Customer List. You can now go and manage the Customer Profile so other data can be added or updated.
Edit Customer Profile
To work on a client’s profile – update their profiles, deactivate, upload files and documents, send a message, create estimates, jobs and/or invoices, and many others – go to the Customer Module. Find the client from the customers List. Click on the name. This will open their profile in edit mode.
Edit the Customer Profile
Keep your client’s profile updated and complete.
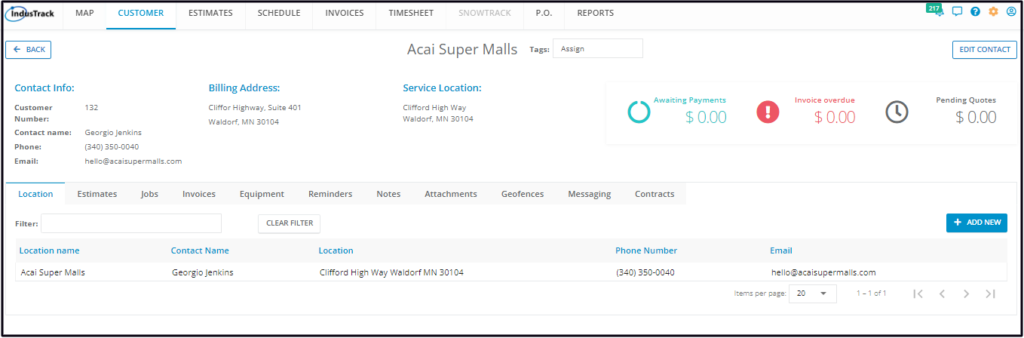
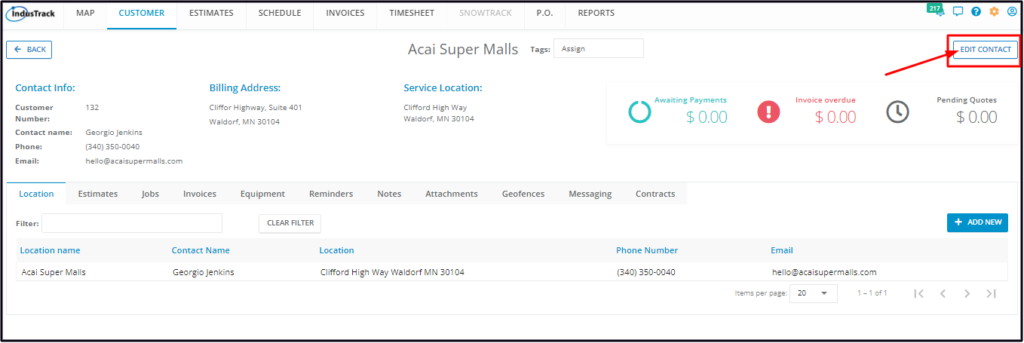
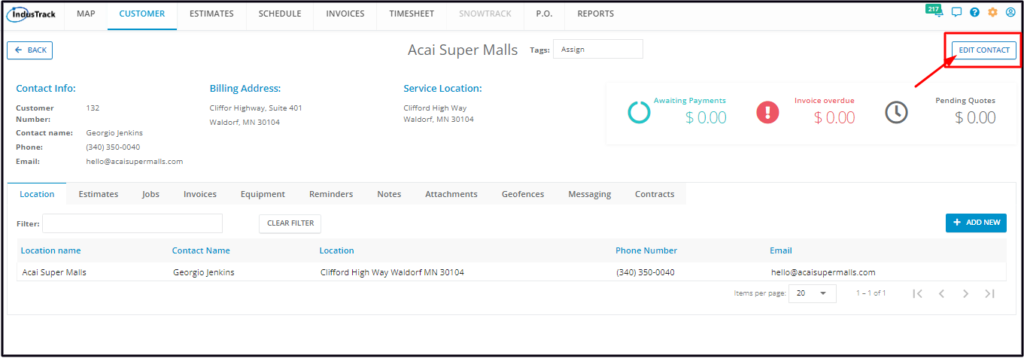
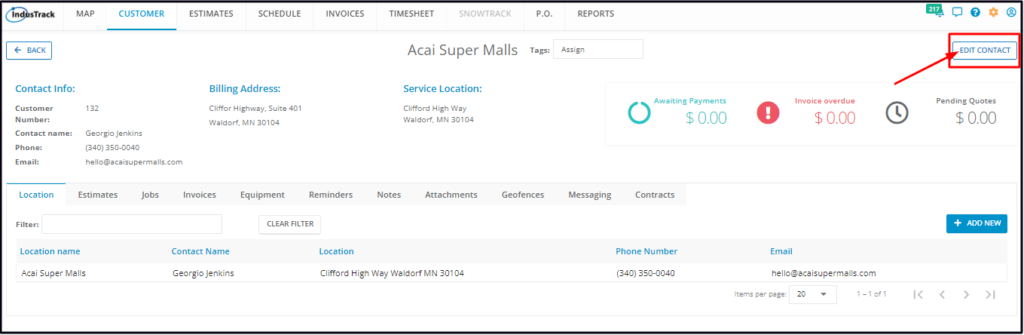
To update the client’s profile, go to the Edit Contact button at the upper right-hand corner of the customer profile page.
This will open the Edit Customer page. Update the information, both from the General and Taxes & Payment Terms tabs as needed. Save the revisions.
Deactivate a Customer’s Profile
Identify and deactivate customer accounts that have had no interactions with your company for quite some time. This way, you can try and understand why they have not engaged. With a better understanding, there’s an increased chance that these clients will re-engage. This is an extra step you may want to take before Deleting them from your system.
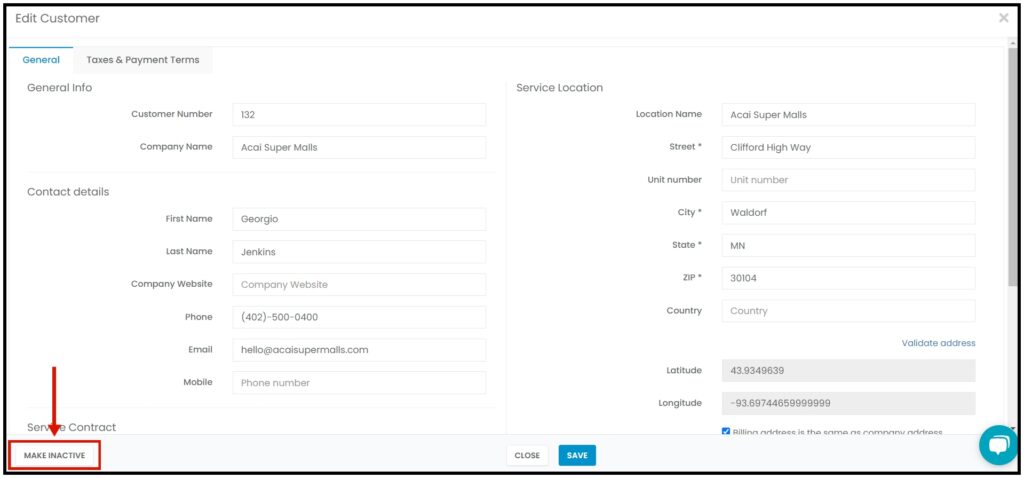
To Deactivate a customer, open the profile in edit mode.
At the lower left-hand corner of the Edit Customer page, click Make Inactive.
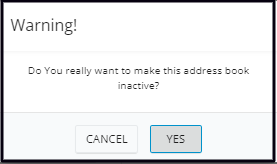
From the Warning window that will come up, select Yes to continue with the deactivation. Select Cancel to abandon the action.
The customer’s address profile will be moved from the Active Customers List to the Inactive Customers list.
Activate/Re-Activate a Customer’s Profile
The deactivated client’s profile can be reactivated at any time.
Go to the inactive customer list.
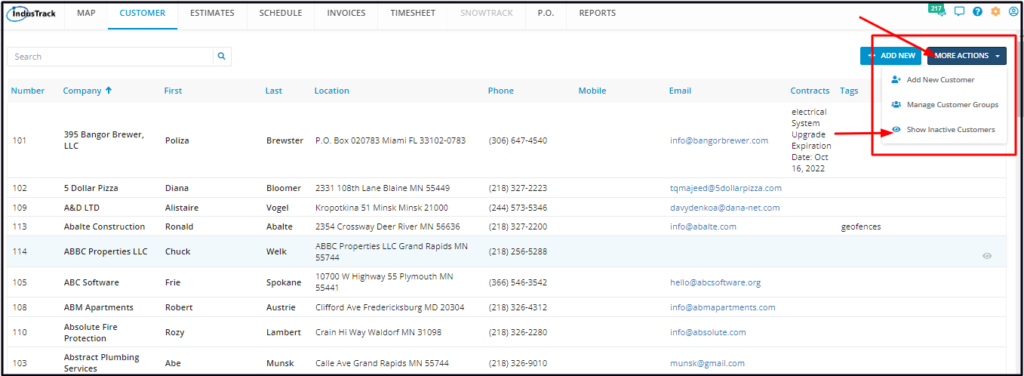
- When Clients are deactivated, their profiles are moved to the Inactive (Deactivated) Customers table. To go to this table from the Customer default page, click the More Actions button and select Show Inactive Customers.
Select the customer and open their profile in edit mode.
Go to Edit Contact.
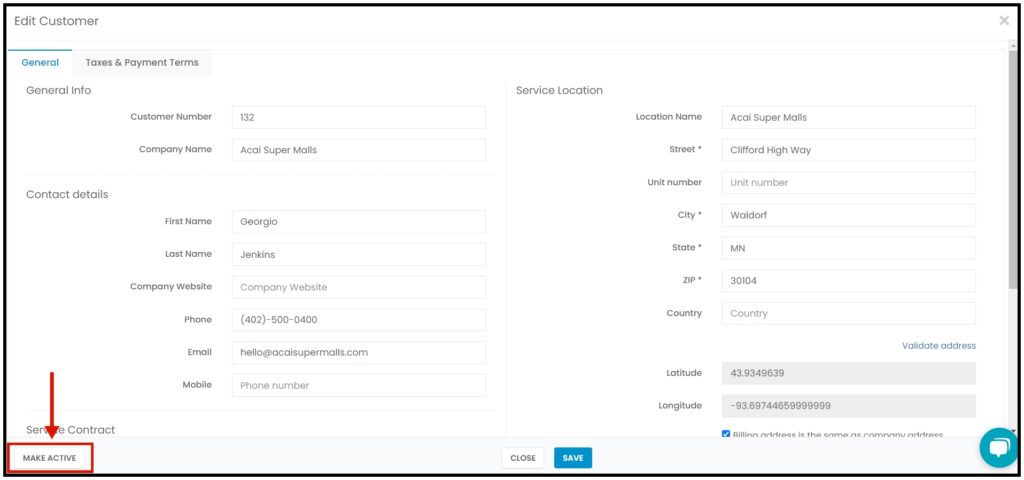
At the lower left-hand corner of the page, click Make Active.
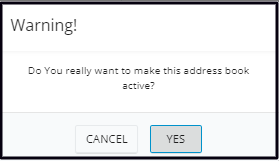
From the Warning window that will come up, select Yes to continue with the reactivation. Select Cancel to abandon the action.
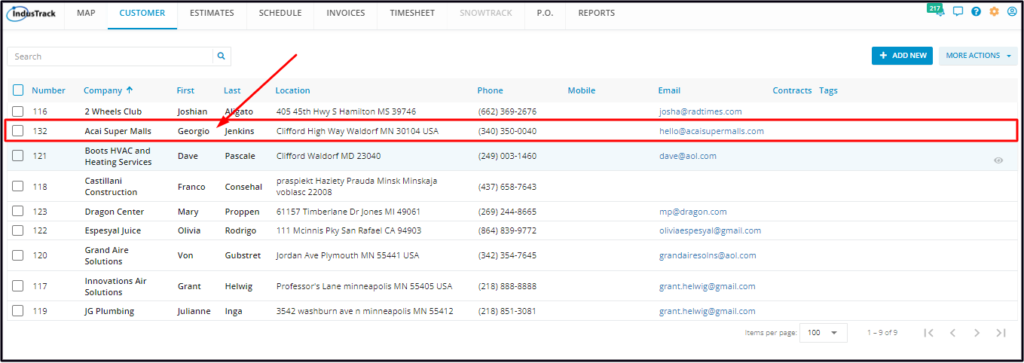
The customer’s profile will be moved from the Inactive Customers List to the Active Customers list.
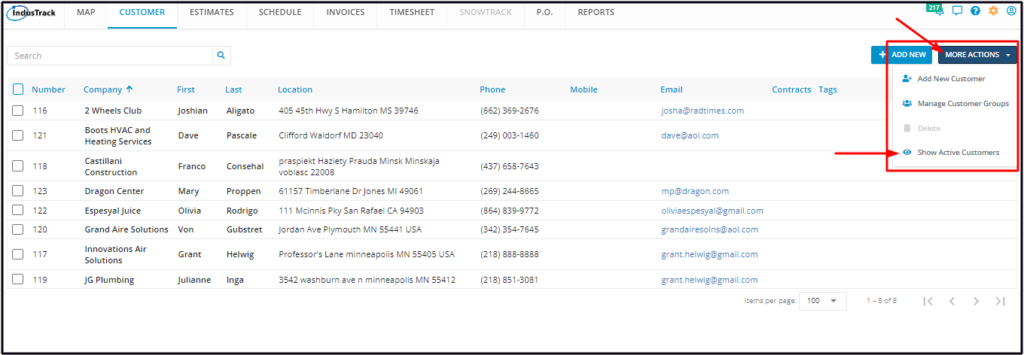
- When Clients’ profiles are reactivated, their profiles are moved back to the Active Customers table. To go to this table from the Inactive Customers page, click the More Actions button and select Show Active Customers.
Delete a Customer’s Profile
Delete a Customer’s profile that will no longer be used/updated or the profile was created in error. It is wise to exercise caution when using this function. Deleting a client may have an effect on other functions, settings or data. This action can not be undone.
If a Client has an active status, deactivate this first. An Active customer can not be deleted.
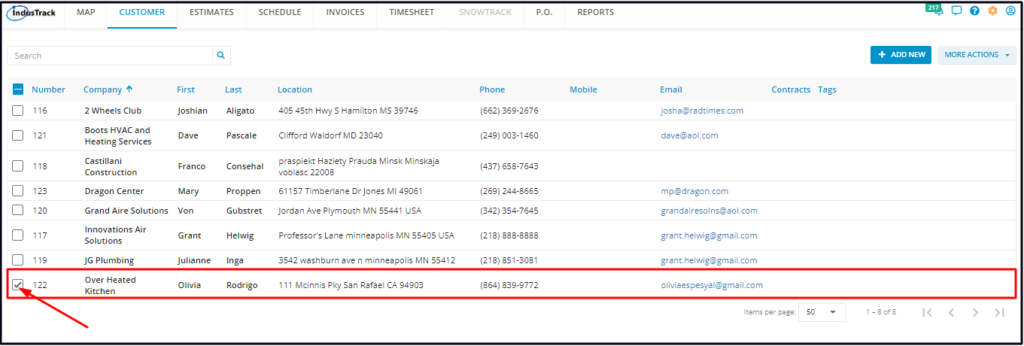
Move to the Inactive Customers table. Find the client to be deleted from the list and tick the checkbox to its left.
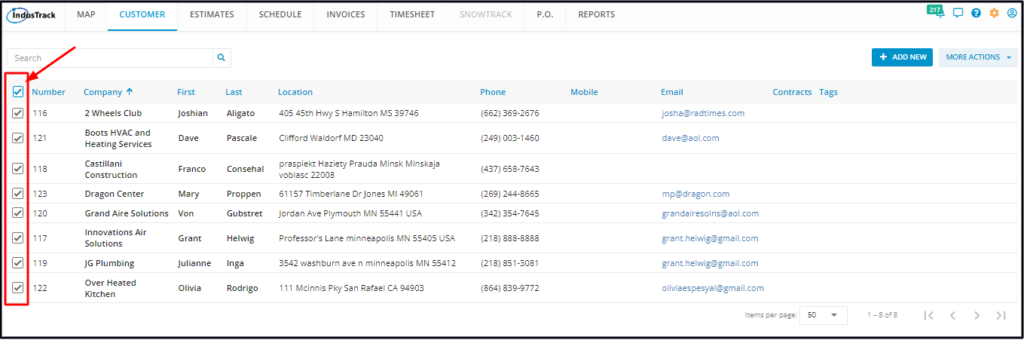
To delete multiple Customers, tick the checkboxes to the left of all the profiles to be deleted. If all of those on the list will be deleted, just tick the checkbox of the Name header.
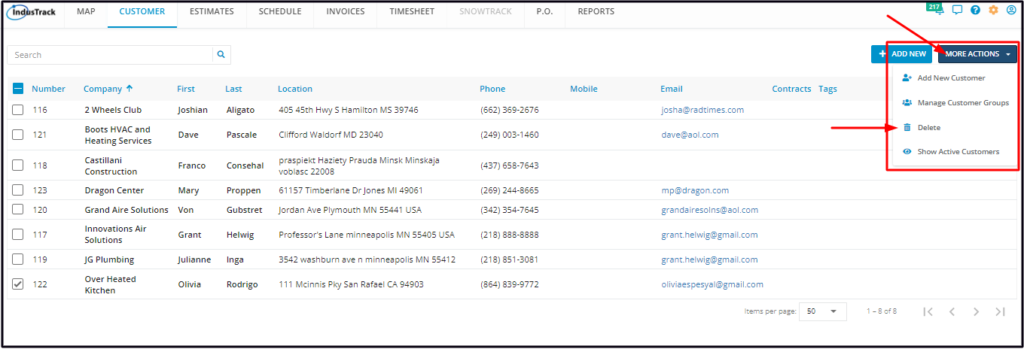
Go to the Actions button and select Delete.
From the Warning window that will come up, select Yes to continue with the deletion. Select Cancel to abandon the action.
The customer’s profile will be removed from the Inactive Customers list.
0 Comments