
Customer Profile: Manage Geofences
The Geofences tab of the Customer’s Profile is where you can add a custom-sized or hand-drawn Geofence. This is what will show up on the map when you overlay geofences. It is also what will be used to trigger the Geofence Enter and Exit alerts.

The Geofences List contains a listing of all the different geofences that have been created for the client’s account.
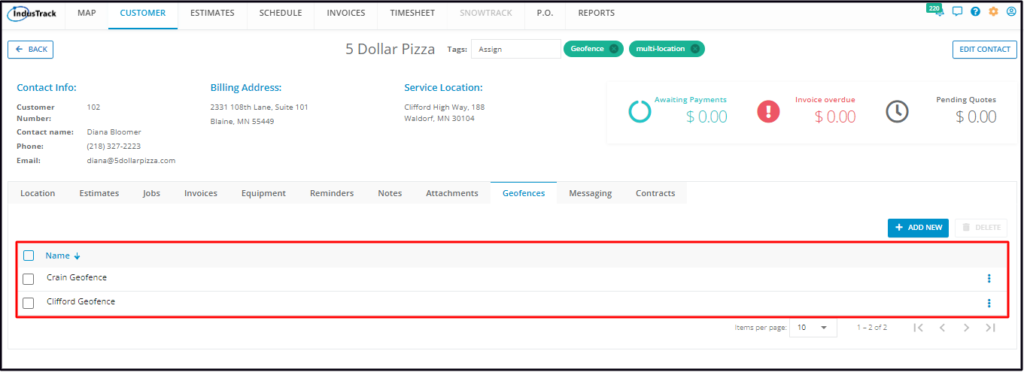
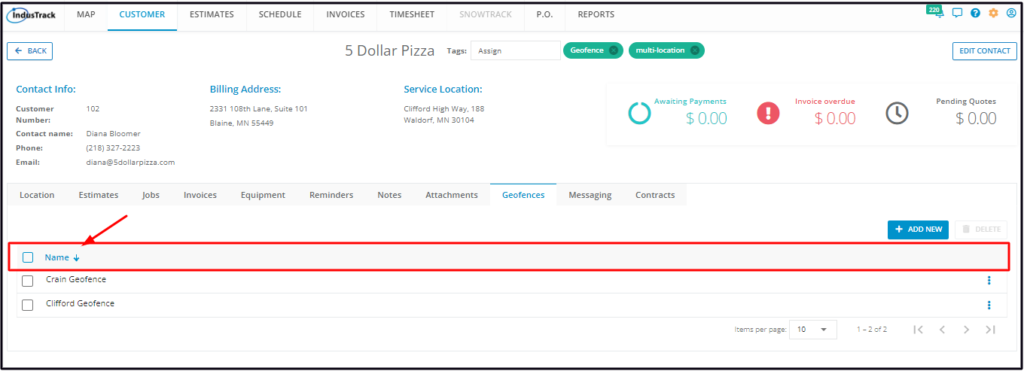
Click on the table header to Sort the list alphabetically according to Geofence Name.
Select the number of geofences to be displayed per page. Options to choose from are 10, 25, 50, and 100. Use the Previous and Next buttons to move from one page to another (if there is more than one page).

Use the Add New and Delete buttons to create or remove a Geofence.
Create a Geofence
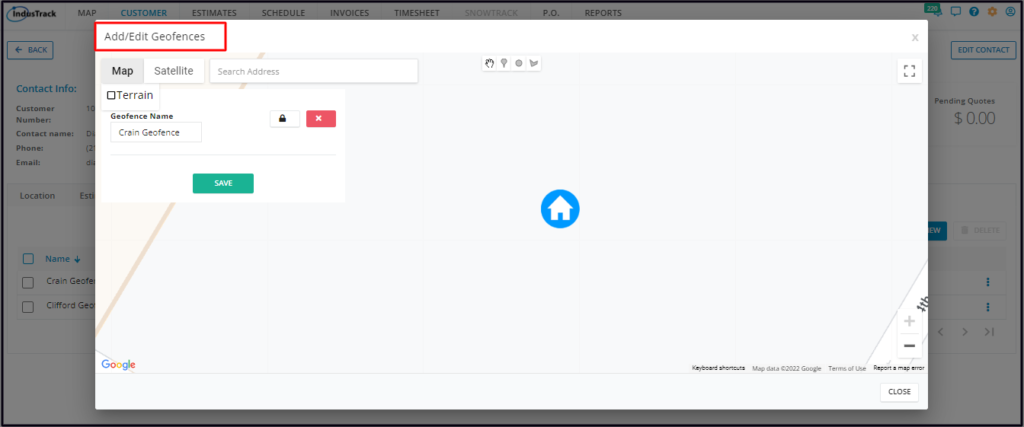
To create a geofence, click the Add New button.

The Add/Edit Geofences window will come up.
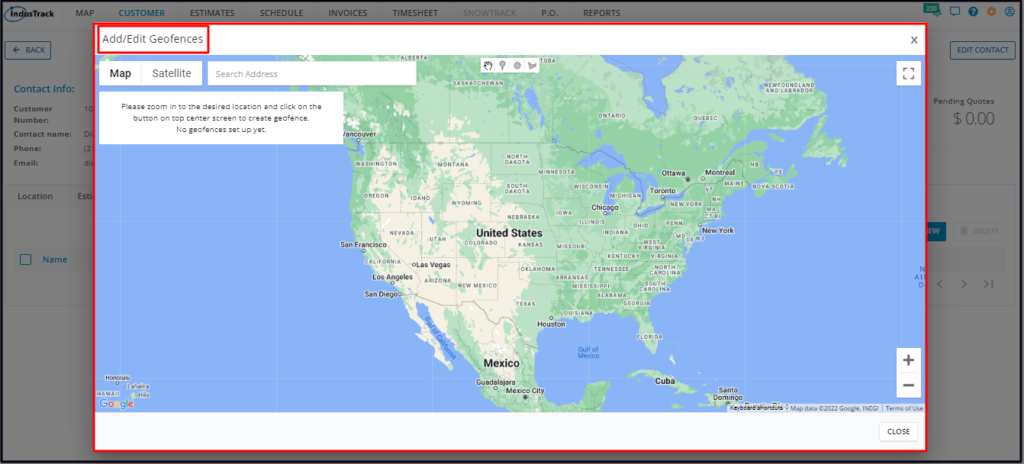
Search for the address using the search bar. To create the geofence, follow the instructions on the Geofence window.
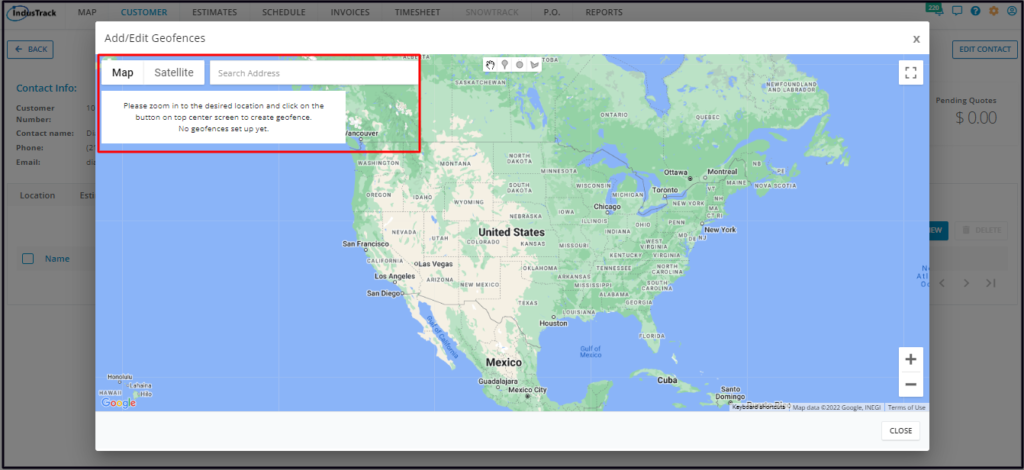
Name the Geofence and Save.
The new geofence will be added to the listing.
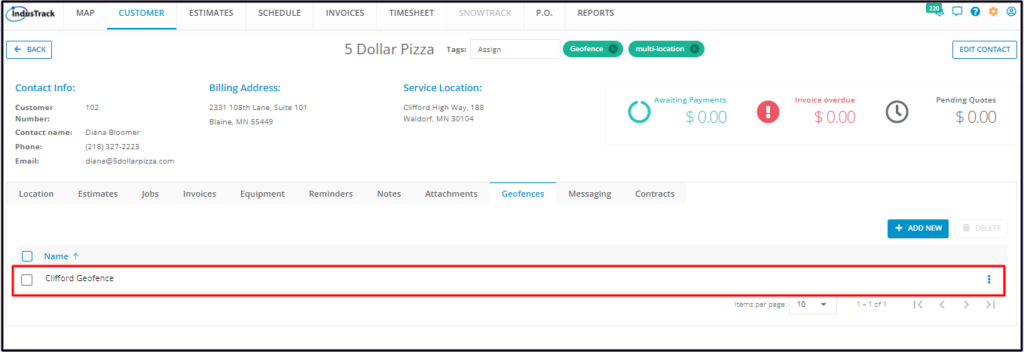
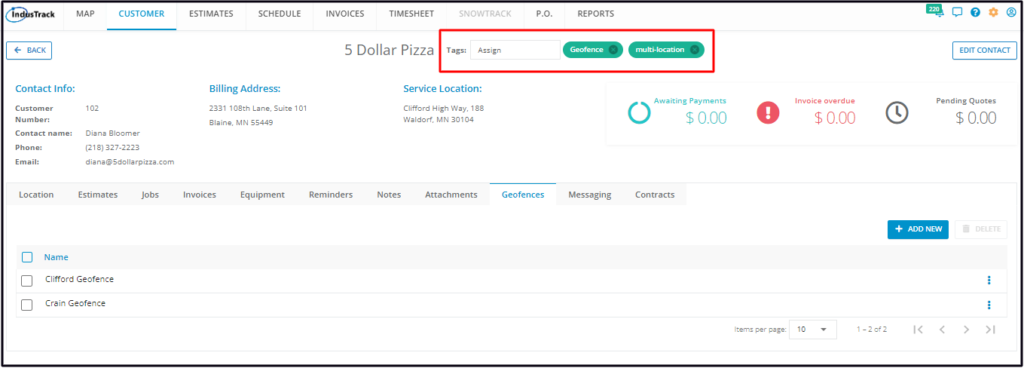
The Geofence Tag will also be added to the client’s profile.
Edit a Geofence
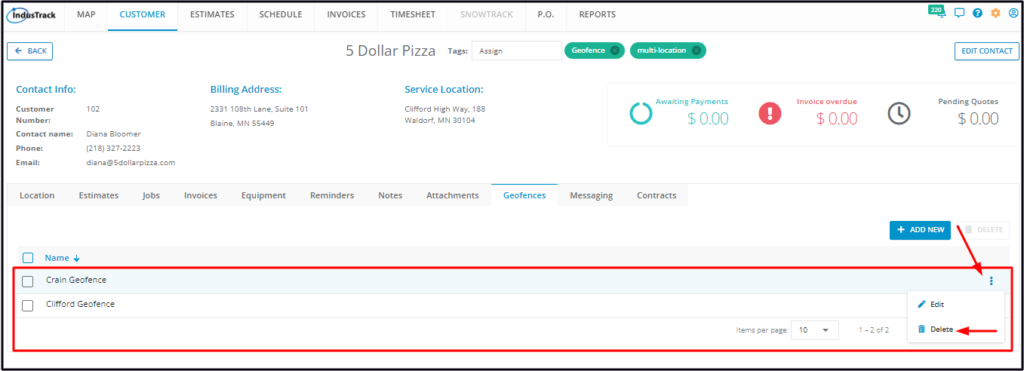
Find the Geofence to be updated from the List. Go to the 3-dot menu to its right and select Edit.
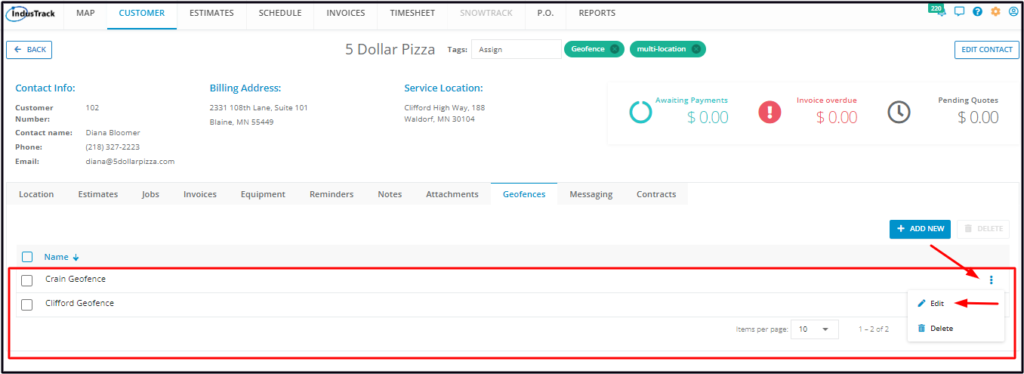
Update the Geofence as needed. Save once done.
Delete a Geofence
Delete a Customer’s Geofence that is no longer being used or was created in error. It is wise to exercise caution when using this function. Deleting a client’s record may have an effect on other functions, settings or data. This action can not be undone.
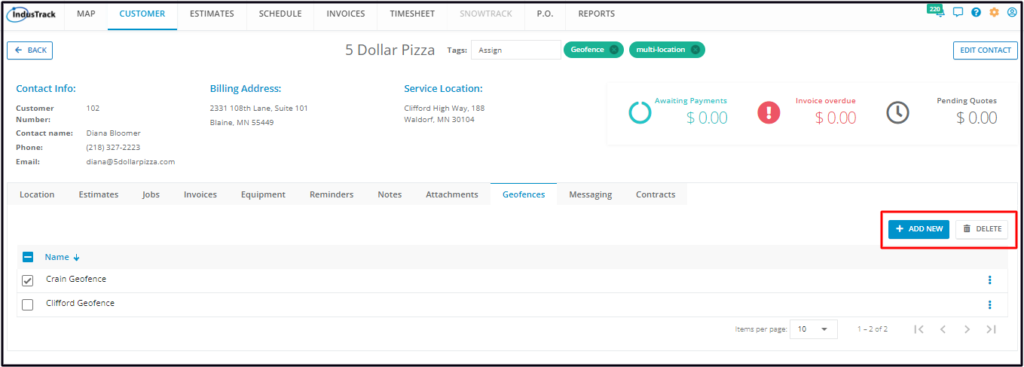
Find the Geofence to be deleted from the List. Go to the 3-dot menu to its right and select Delete.
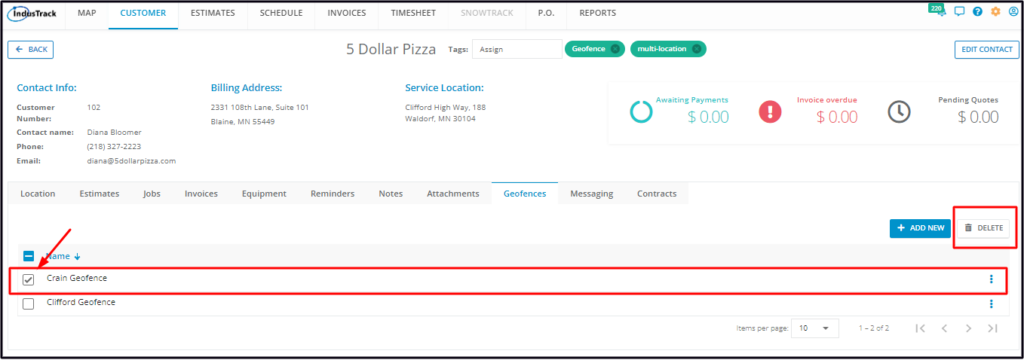
Alternatively, tick the checkbox to the left of the Geofence and go to the Delete button.
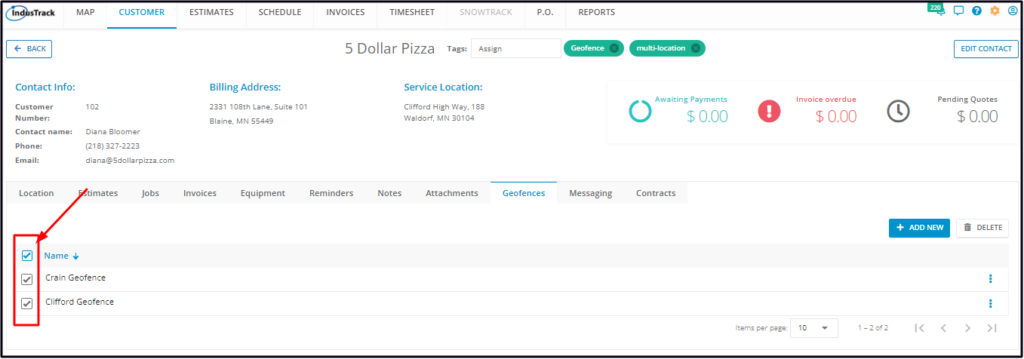
- To delete multiple geofences, tick the checkboxes to the left of all. If all items will be deleted, just tick the checkbox of the Name header.
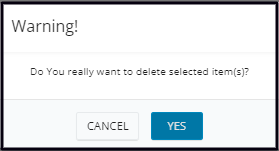
From the Delete Warning window that will come up, select YES to continue with the deletion. Select Cancel to abandon the action.
The Geofence will be removed from the list.