
Import Addressbook Notes
Pre-Conditions:
- Customer Addressbook and Service Location have been imported successfully.
- Use the Addressbook Notes template with the columns in the table below. We need the Customer ID* and Service Location ID( only applicable if the customer has multiple service locations) from the previous import. For the current import, we need the Notes.
- The file should not have duplicate records. If it does, please note that they will be imported separately.
- Check for bad data in the file In Note and Date columns. We cannot check all the bad data in the file especially when it has over a thousand records. Let the customer know about the discrepancies found and have them confirm if they want to have it imported as-is. Else they to fix the data in the file.
- Make sure to delete the column names before you import them into Industrack. Otherwise, it will cause issues during the import.
- Please make sure the date is in mm/dd/yyyy format.
SERVICE LOCATION IMPORT TEMPLATE
Note that columns with (asterisk) * are required.

How to Import Addressbook Notes
- Go to Settings > Integrations > Import List > ACTIONS > Import Addressbook Notes
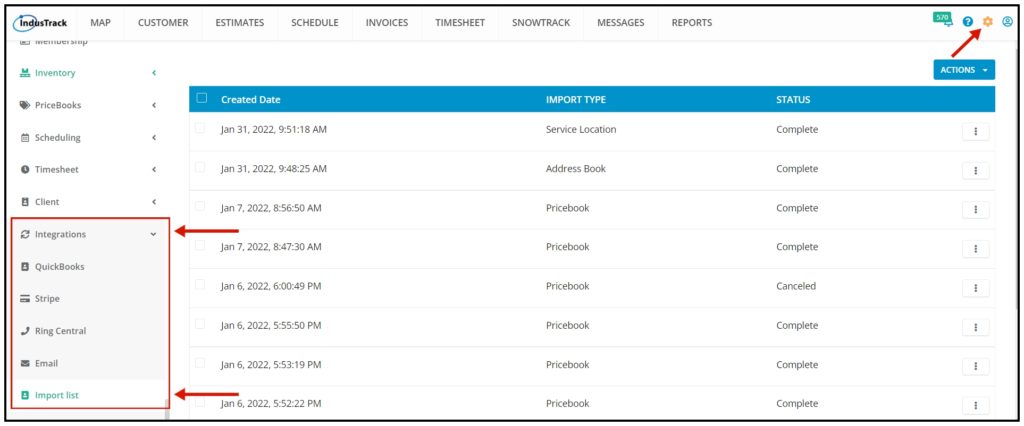
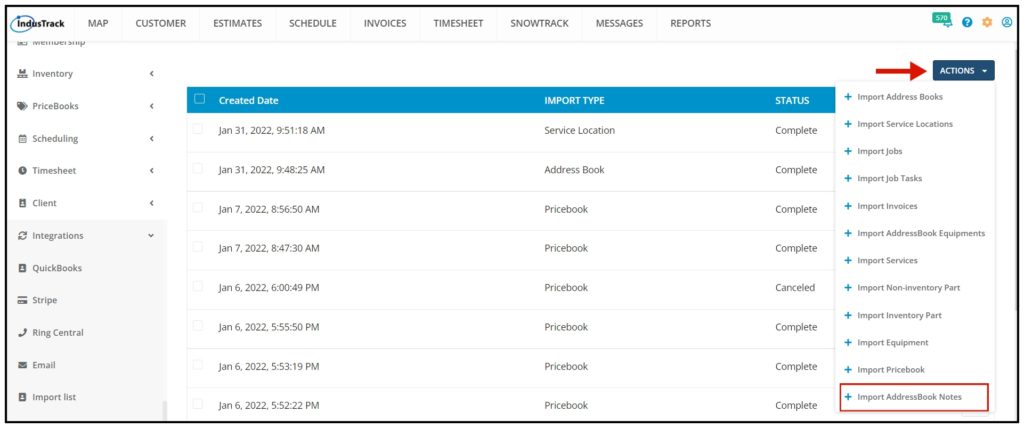
On the Import List Page click on Actions, and on the drop-down select Import Addressbook Notes
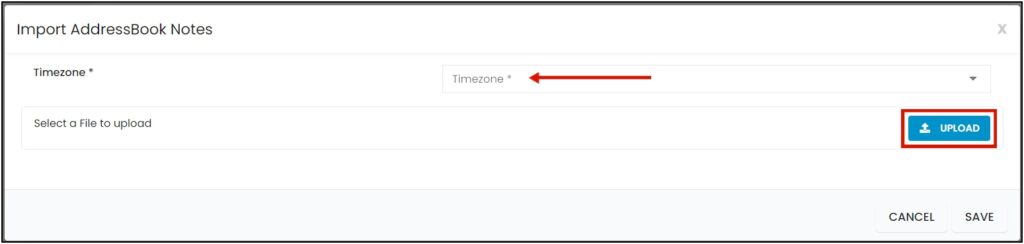
2. An Import Addressbook Notes window will pop up. Select your Timezone, Click Upload and select the correct Excel file to be imported.
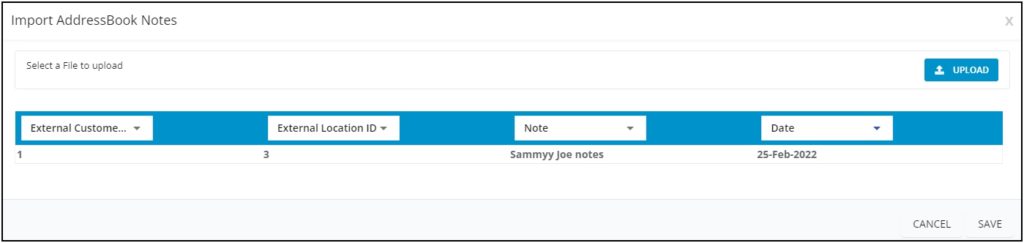
3. Map the corresponding column names in the file then click Save.
4. After the file has been uploaded, the status should be COMPLETE. To verify if the upload is successful, click on the 3 dots beside status and click details.
Note that if the Data has thousands of records, it may take a while for the status to change into COMPLETE.

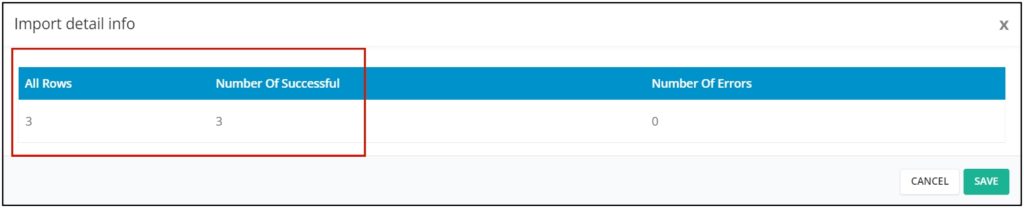
5. By clicking on details, if all rows were successfully imported you should be able to see it here. The number of All Rows and the number of successful rows should match.
6. If all Rows were successfully imported, do a spot check in the Customer Module> select certain customer> Notes tab, and verify the information imported is ACCURATE.
7. If unsuccessful, rows with the error will not be uploaded and the number of successful rows will not be the same as the total number of rows in the file. This is what happens if you import files with Bad Data.
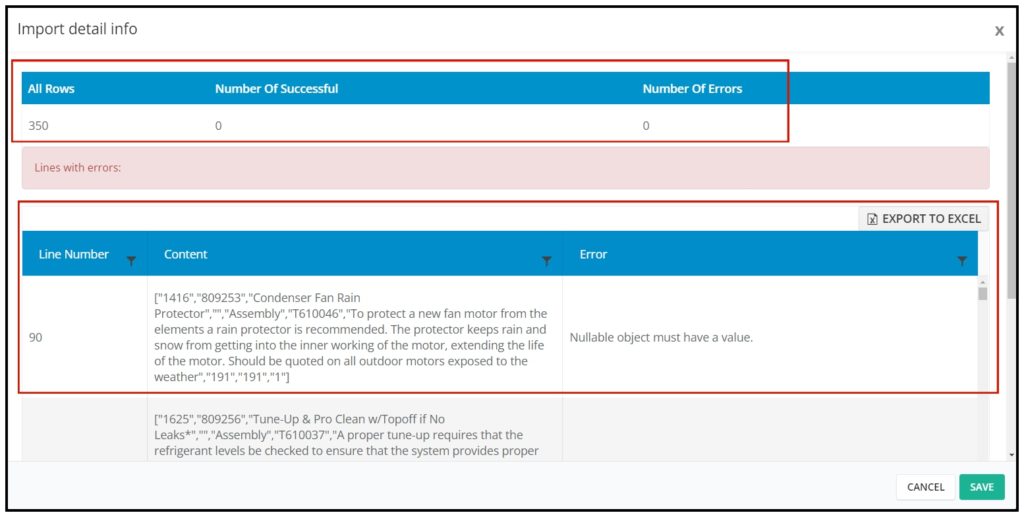
8. You will be able to see the line number in your file where the error is located and the line’s content. The detail of the error is also explained in the error tab.
9. You can export the error detail to excel and determine what is causing the error.
10. After the error is determined, edit your Service location File remove bad data then reimport back again.
0 Comments