
Job Hold Reasons
Whenever a job is put on hold, indicate the reason for this for better communication, monitoring and follow-up. For uniformity and ease of documentation and report generation, create a set of Job on Hold Reasons that are to be used when pausing a job.
To create and manage Job on Hold Reasons, go to Settings > Scheduling > Job Hold Reasons.

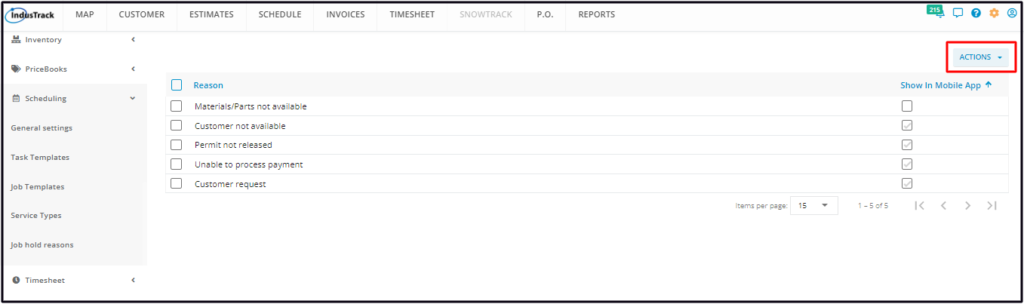
The page defaults to the list of Job on Hold reasons that have already been created, presented in table format. This is also the page where these reasons are created, edited and deleted.
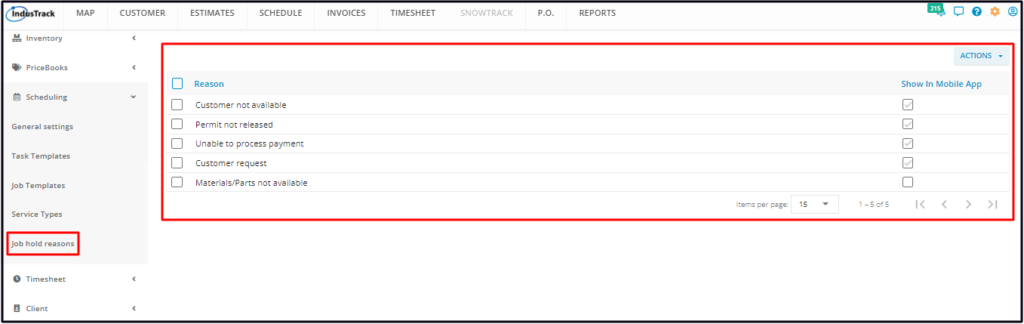
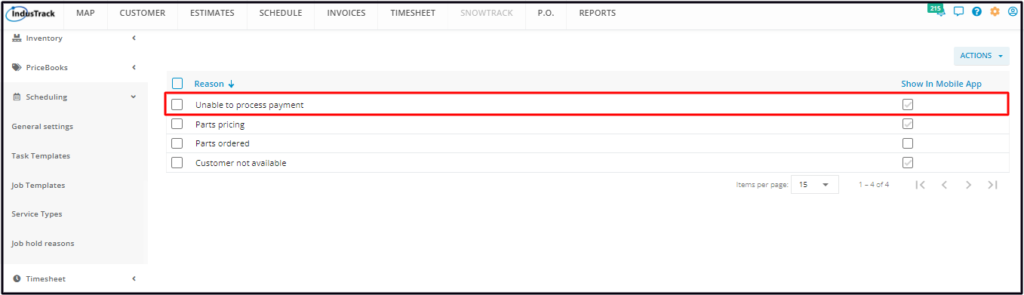
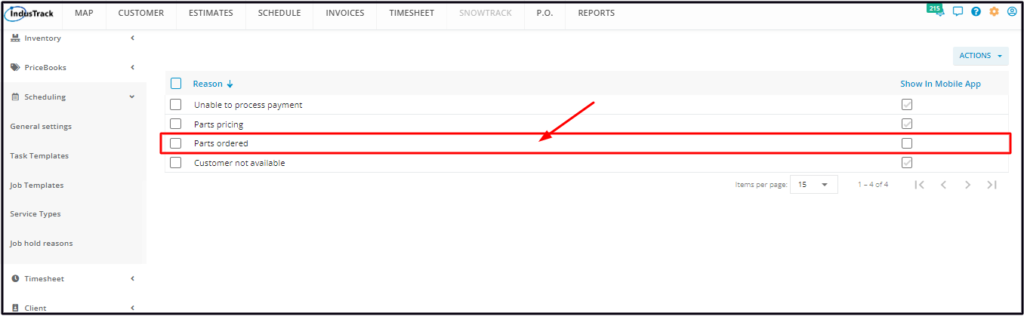
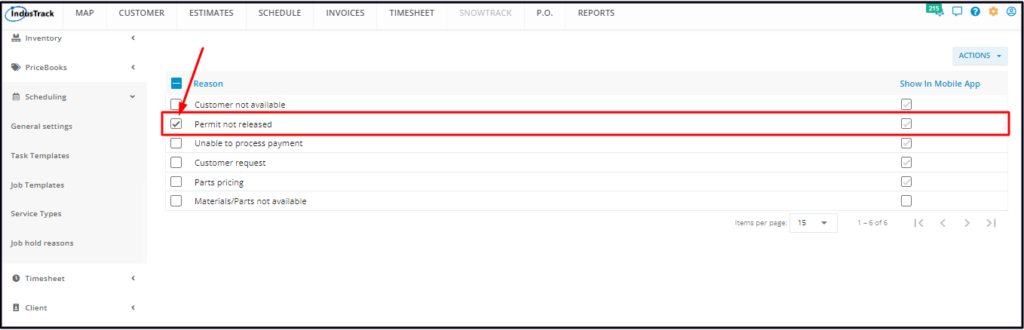
Job On Hold Reasons List/Table
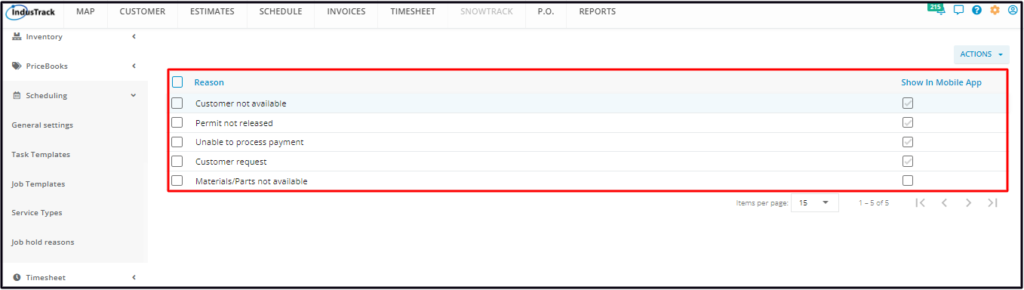
The table has 2 columns:
- Reason – The hold reasons.
- Show in Mobile App – The checkboxes show if the reason is an option that can be selected by field employees using the mobile app or not.
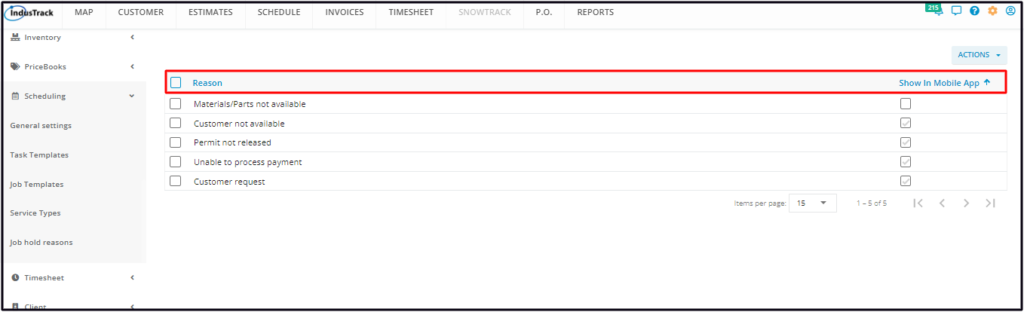
Sort the Reasons List
Click on the header to alphabetically sort the list or to group the reasons shown (or not shown) in the mobile app.
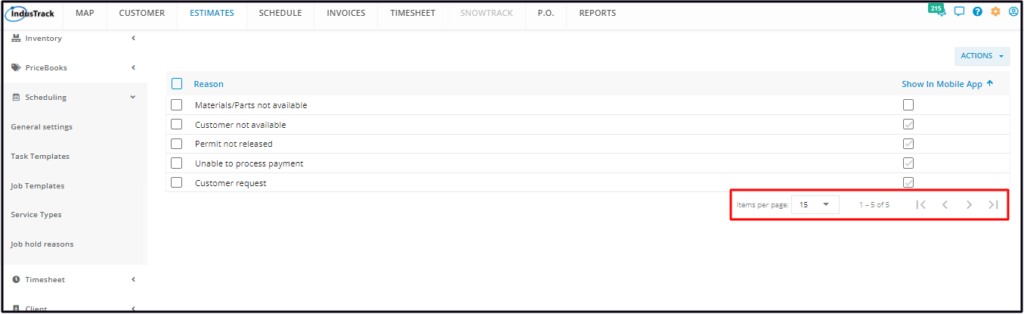
List Per page
Select the number of hold reasons to be displayed per page. Options to choose from are 15, 25, and 50. Use the Previous and Next buttons to move from one page to another (if there is more than one page).
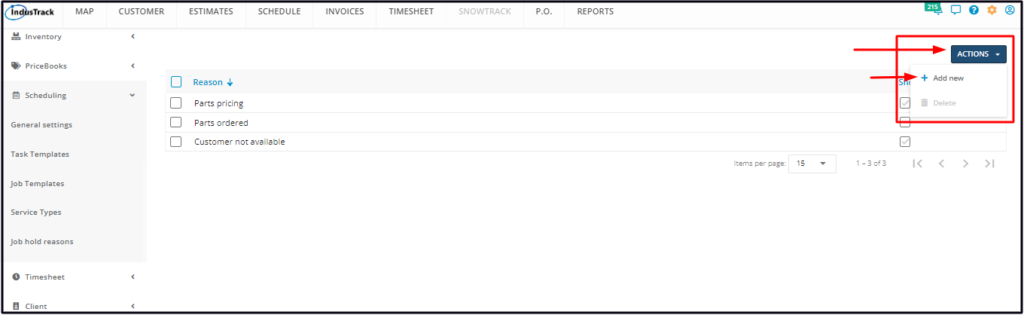
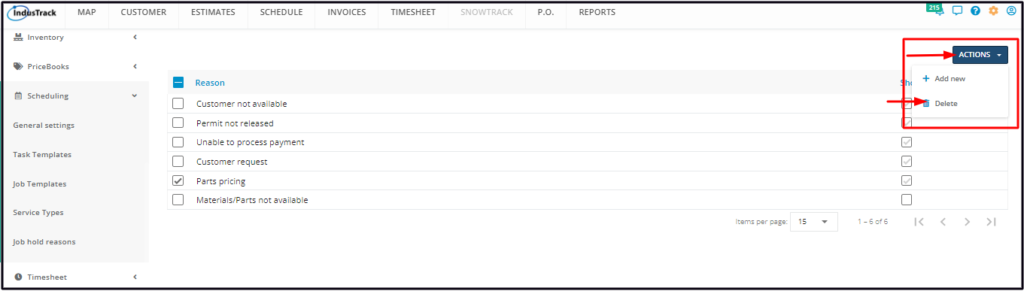
Actions Button
Use this button to create or delete a hold reason.
Create a Job On Hold Reason
To create a new hold reason, go to the Actions button. Click on it and select + Add New from the drop-down.
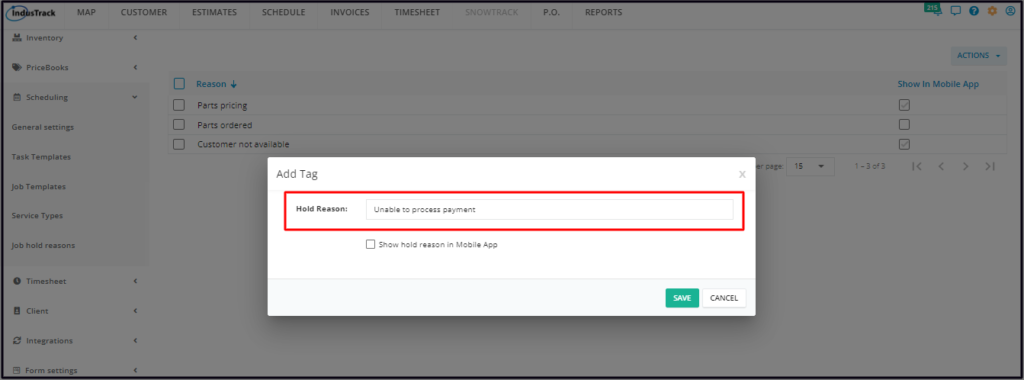
Fill in the Job on Hold Reason details on the Add Tag window.
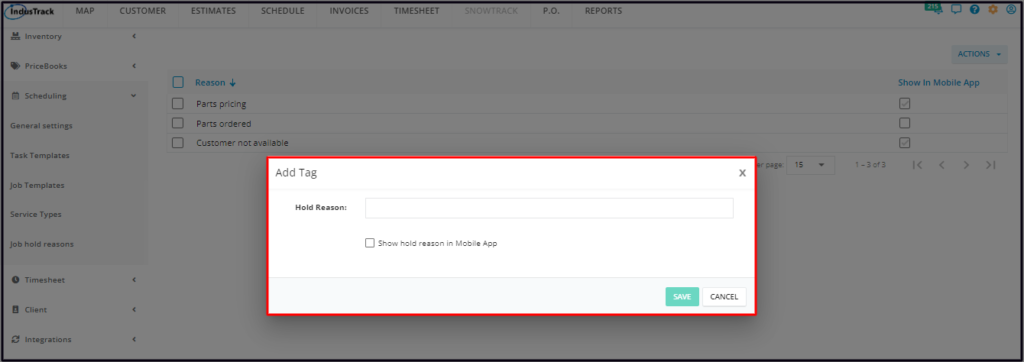
- Key in the reason on the Hold Reason field.
- Click the check box below the reason to allow the Field Employees to see this from their mobile app. The reason will not be included in the list of options to choose from if this is left unticked.
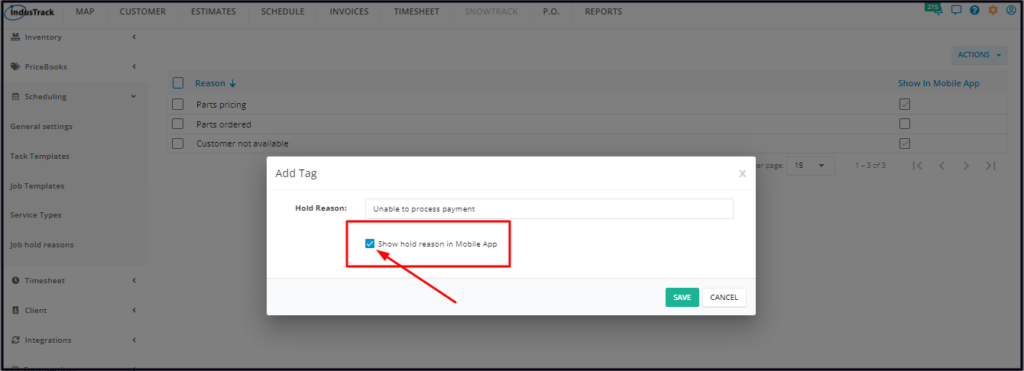
Save the new hold reason. This will be added to the list of Job on Hold Reasons.
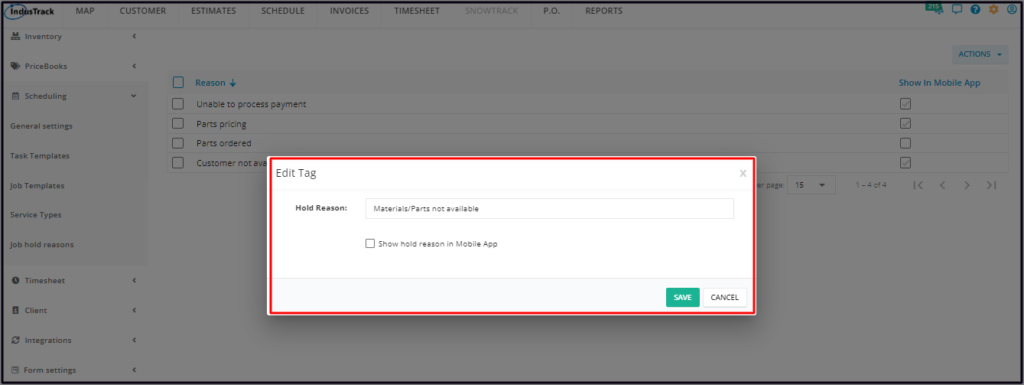
Update/Edit a Job On Hold Reason
Find the hold reason to be updated from the list. Click on it to open this in Edit mode.
Update the details from the Edit Tag window as needed. Once done, Save the changes.
Delete a Job On Hold Reason
Delete a hold reason that is no longer in use or was created in error. It is wise to exercise caution when using this function. Deleting a reason may have an effect on other functions, settings or data.
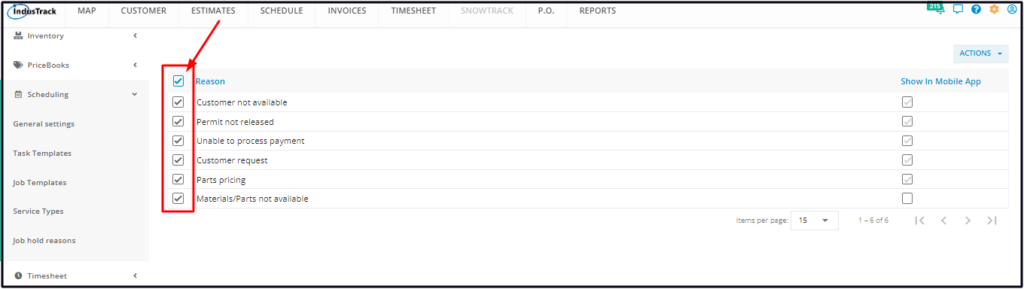
Find the hold reason to be deleted from the list. Tick the checkbox to its left.
- To delete multiple hold reasons, tick the checkboxes to the left of all. If all items will be deleted, just tick the checkbox of the Name header.
Go to the Actions button and select Delete.
A warning window will come up. Click the Yes button to continue with the deletion and Cancel to abandon the action.
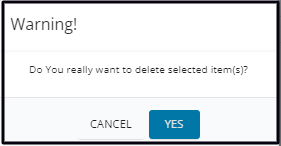
The hold reason will be removed from the list.