
Adding Job Tasks
When the jobs that are dispatched have a lot of tasks to do, you can also add sub-jobs to the job to make your work easier.
View Tasks
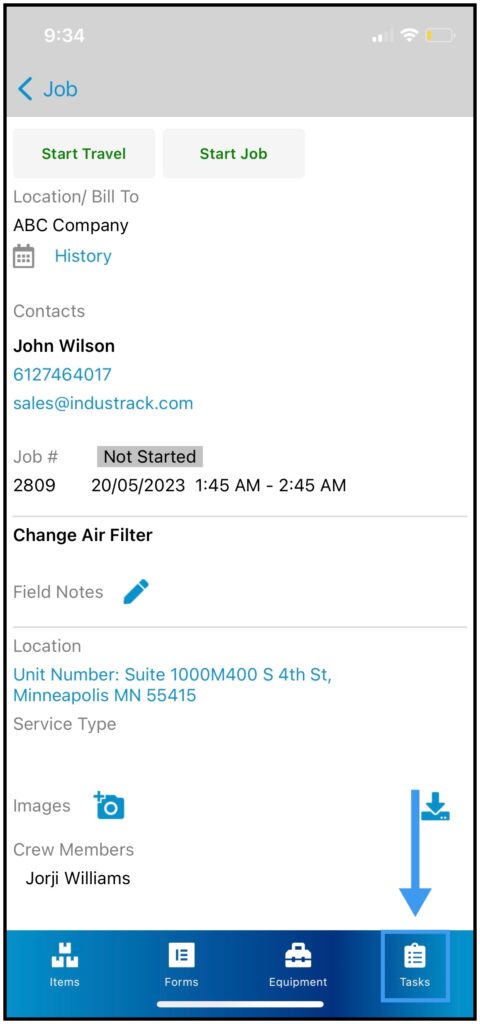
Inside the Jobs page, click on Tasks.
You will be able to see all sub-tasks for this job, either added by office users or field employees.
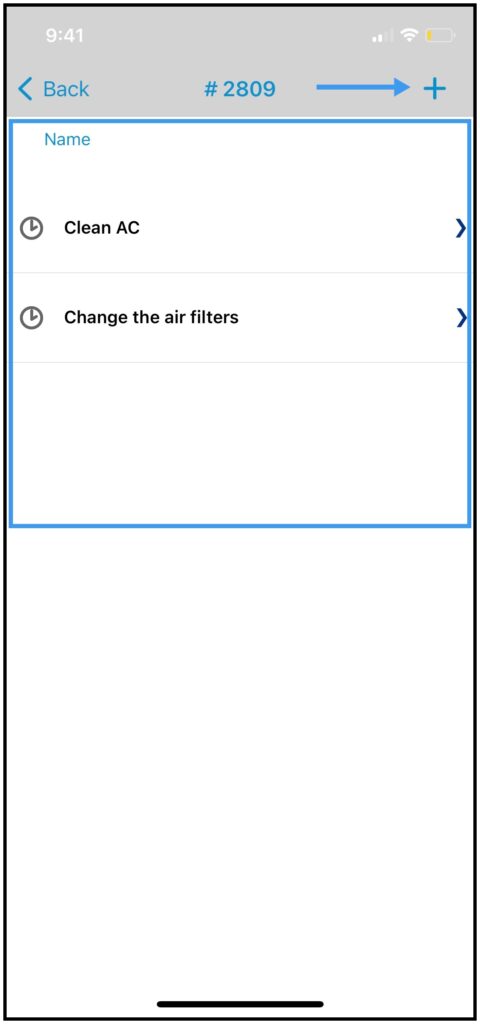
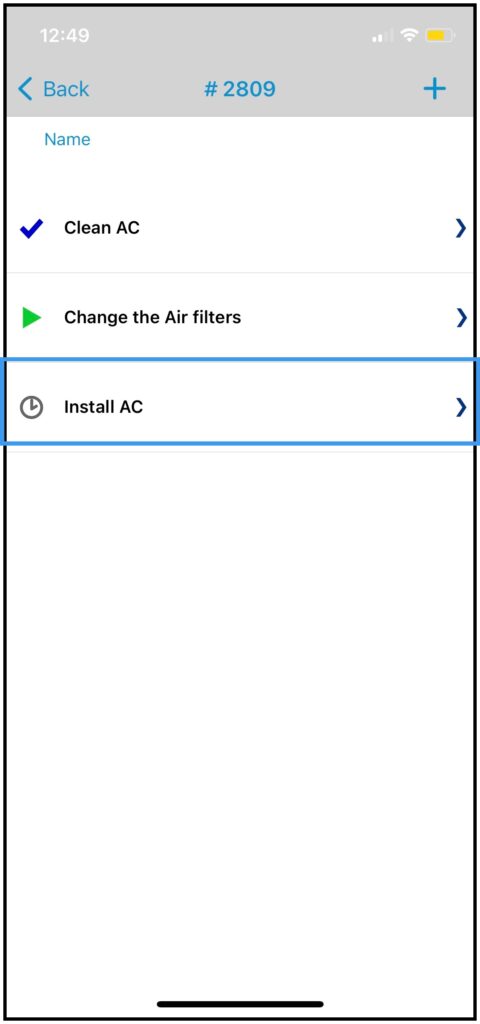
Tasks List Page
If the job was dispatched by an office user and they have added tasks already for this job, you will be able to see those tasks in the tasks list.
Plus Icon– Field employees can also add tasks from the mobile app by clicking on the Plus Icon.
Task Details
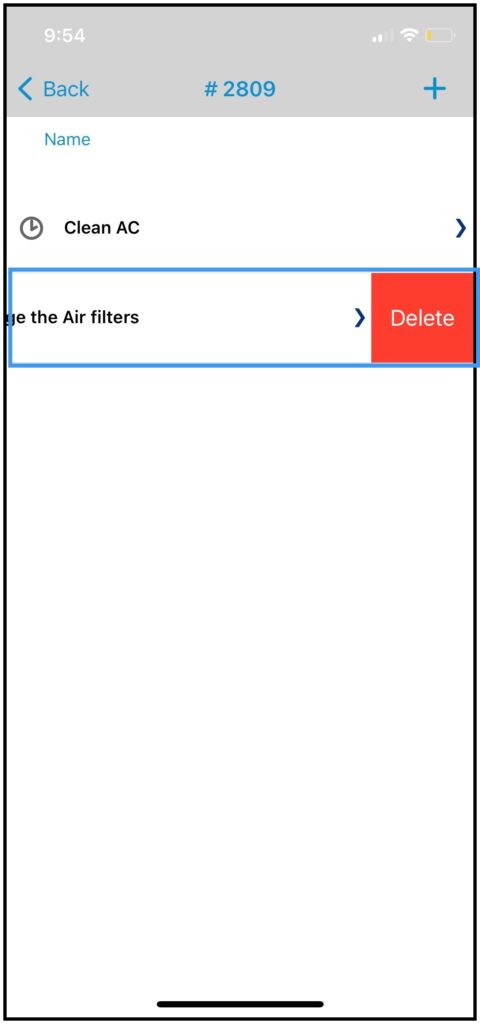
Click on the task to view task details
If you want to delete the task, slide right and a delete option will show.
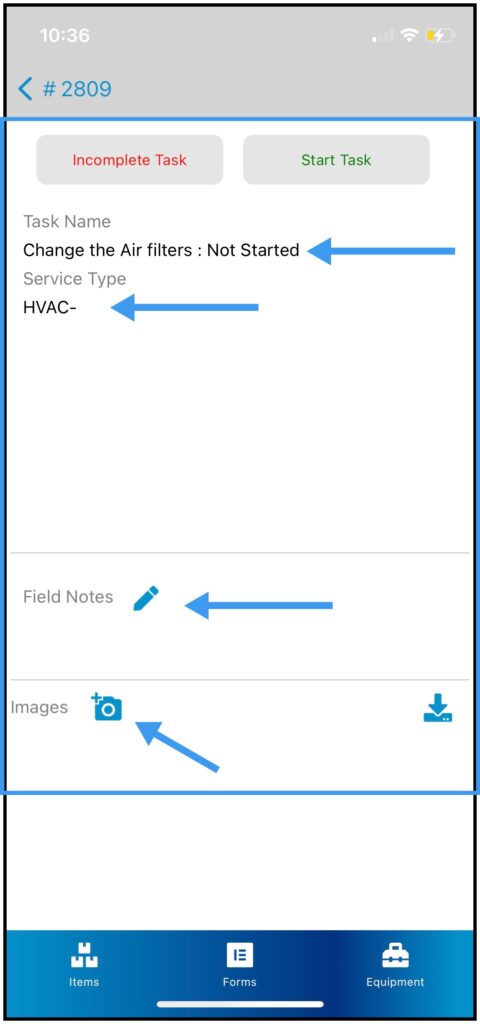
Task Details Page
When you open up a task, you will be able to see all the details of the task. The Task Name and the Service Type. The Task Status will also show beside the task name.
Field Note– You can add your notes here when doing the task.
Camera Icon – Attach an image you took at the job while doing the task. You will also see the image from the office user if he was the one who created this task.
Tasks are like sub-jobs, you can also add Inventory Items/Parts while doing the task, or if the office user added items for this specific task it will show in the Item Tab. Same with Forms and Equipment, they also have separate tabs in the Task.

Start the Task
When you are ready to start the task, click on Start Task.
If you cannot complete the task today, click on the Incomplete Task. When you are ready again to do the task the next day you can click on the Start task again.
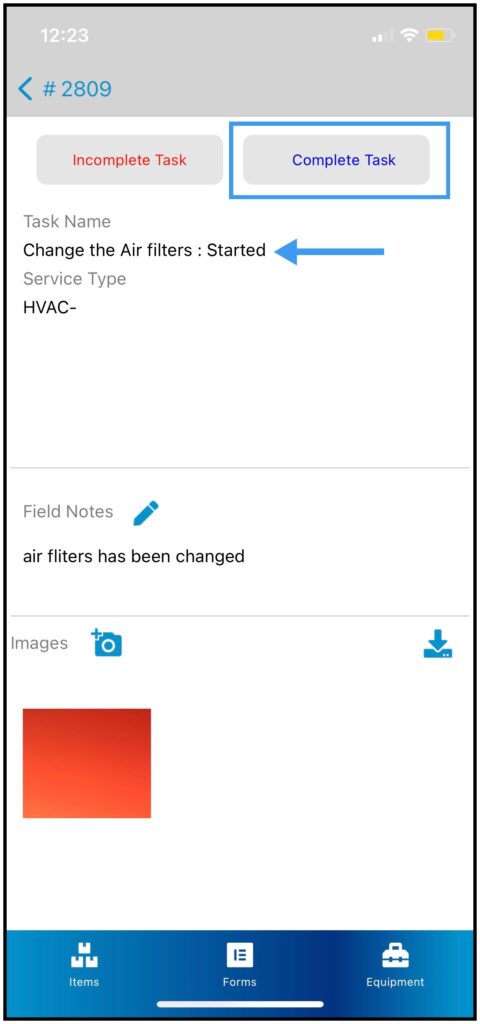
After clicking on Start Task the task status will change to Started. Notice that the Start Task button change to Complete Task.
Click on the Complete Task button to finish the Task.
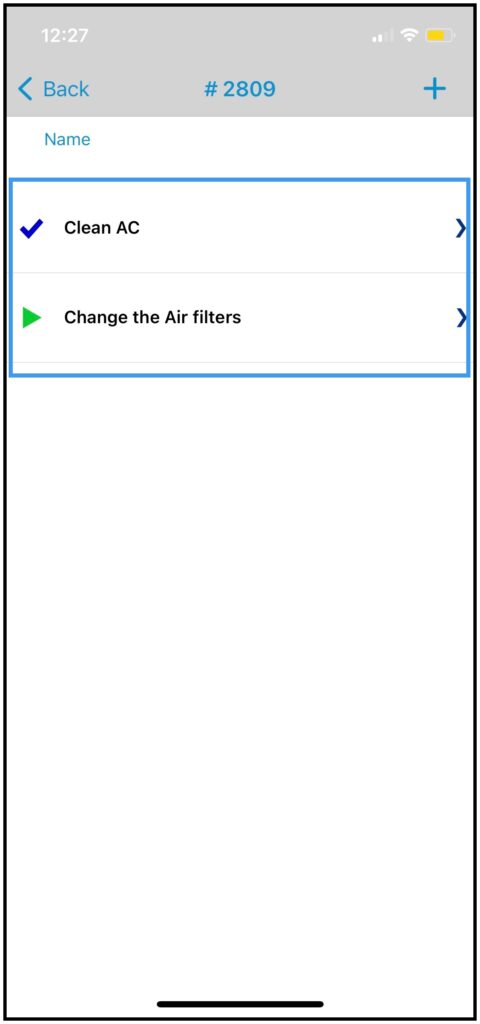
After Completing a Task, notice that the Task Status on the Task List changed to the Check Mark Icon.
The Task with the Play Button Icon means that the task was Started/ In progress.
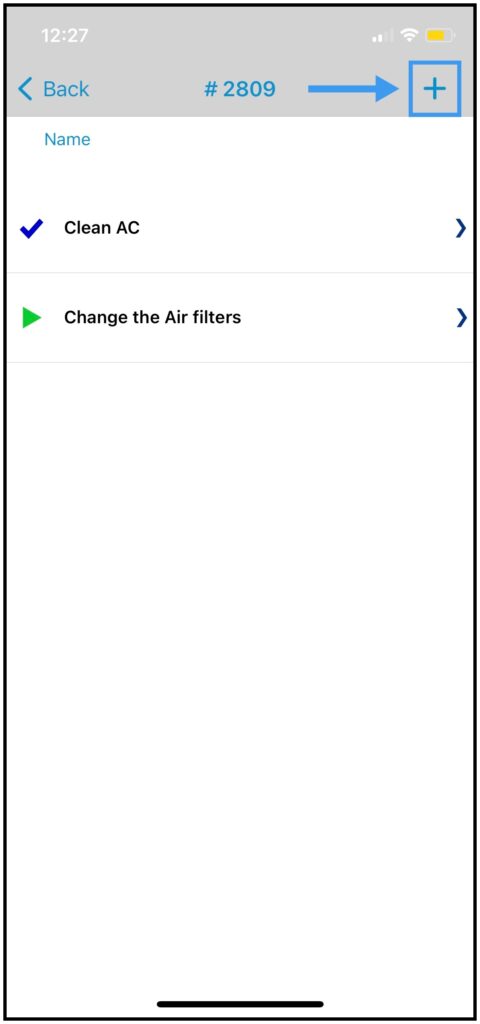
Add A Task from the Mobile App
Click on the Plus Icon on the Task List to Add a New Task from the Mobile App.
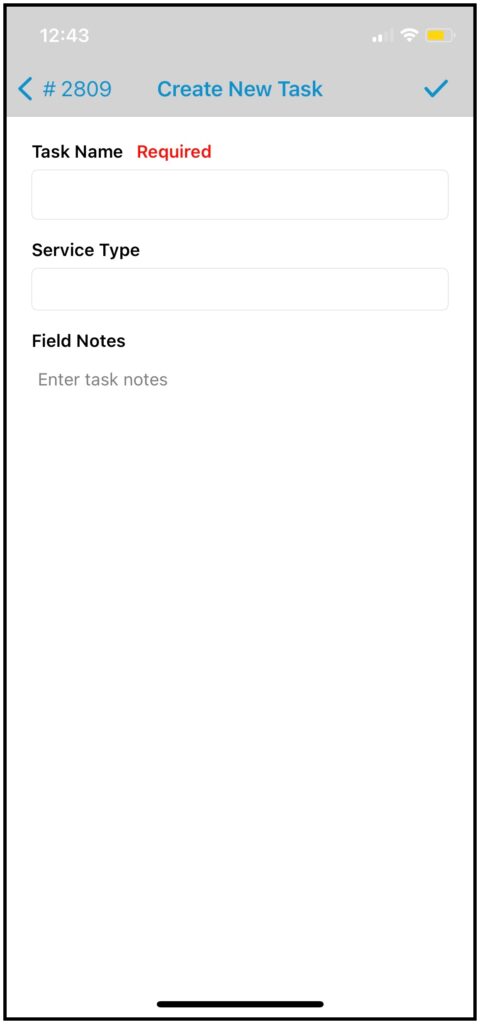
After clicking on the Plus Icon, a Create New Task Window will pop up.
Give the Task a Name, the Service type is optional, and enter your notes. Click on the Check Icon to Save the Task.
Once you have saved the task, the New Task that you’ve just created will be on the Tasks List Page.
Open the New Task to Start when you are ready to work on it.
0 Comments