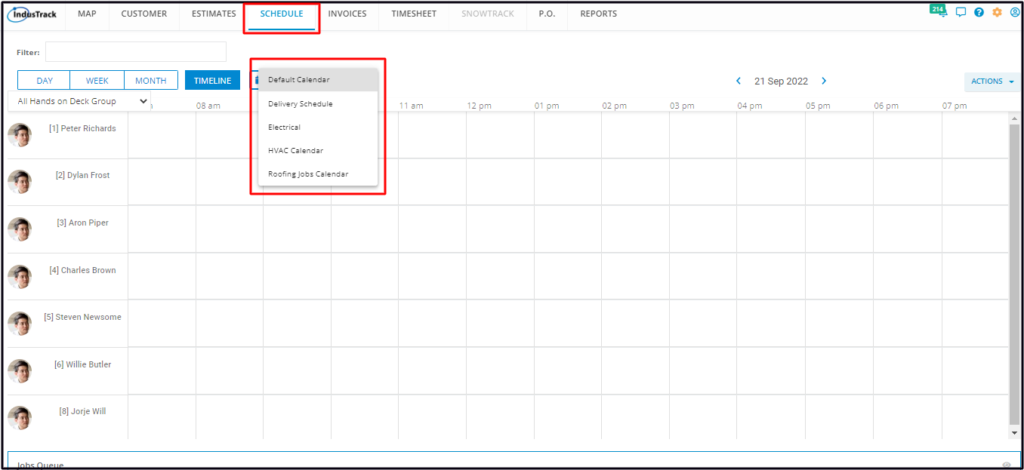
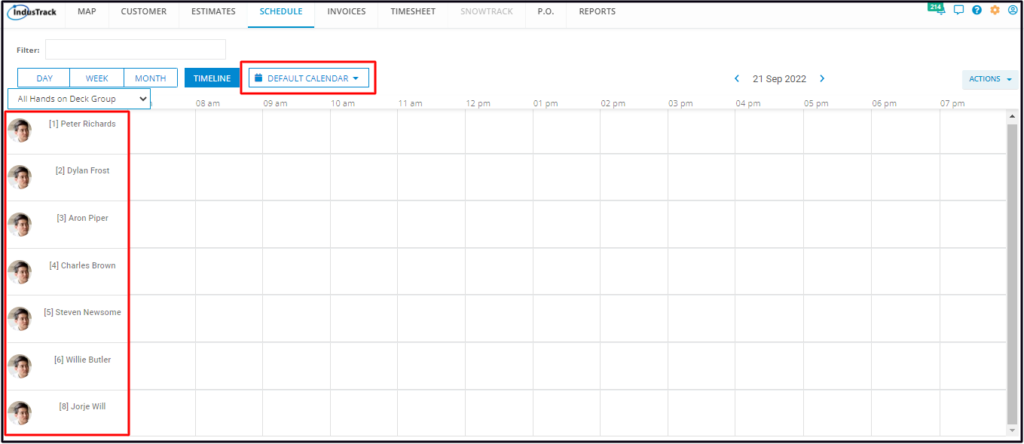
Calendars
Calendars are the schedule grids that can be selected, used and viewed from the Schedule module.
To set up and manage Calendar Views, go to Settings > Scheduling > General Settings > Calendars.
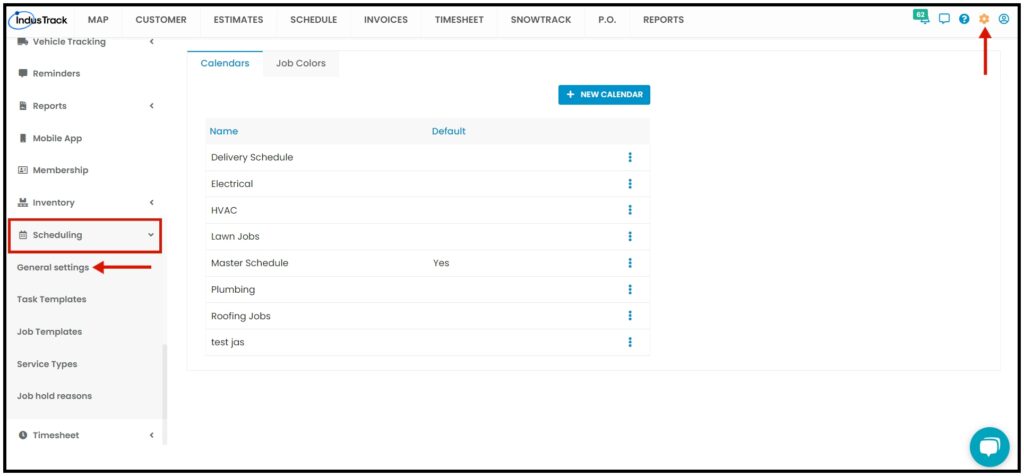
Calendars List
The Calendars page defaults to the list of Calendar Views that have already been created, presented in table format. If no Calendar View has been created, the page will display the settings of the Default Calendar.
Default Calendar
IndusTrack’s Default Calendar View’s work time is set from 12:00 AM to 11:59 PM.
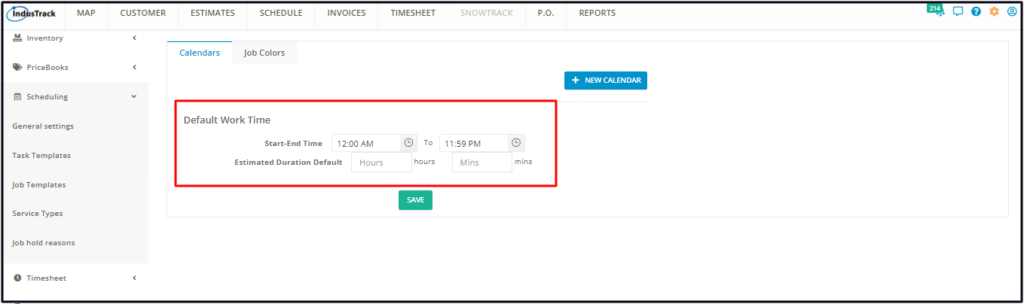
Edit the Start and End times of the default scheduling grid as may be preferred. To do this, key in the times on the fields or use the time pickers.

Set a default estimated job duration if preferred. This estimate is for a single job.
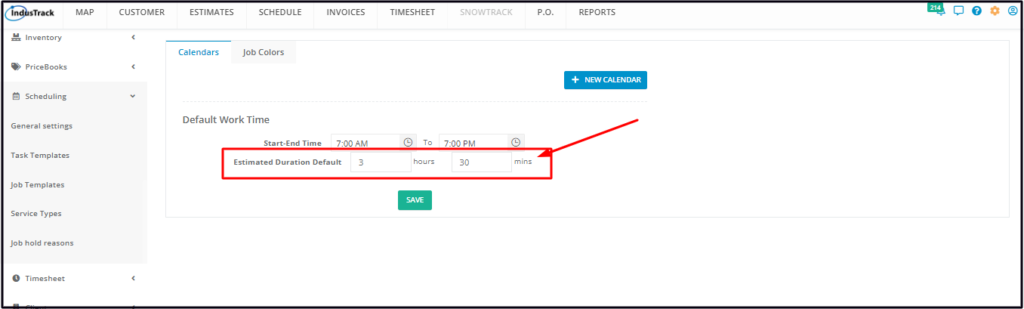
Save the revised settings of the default Calendar. The calendar will be named Default Calendar. To rename this, open the view in edit mode and update the name as needed.
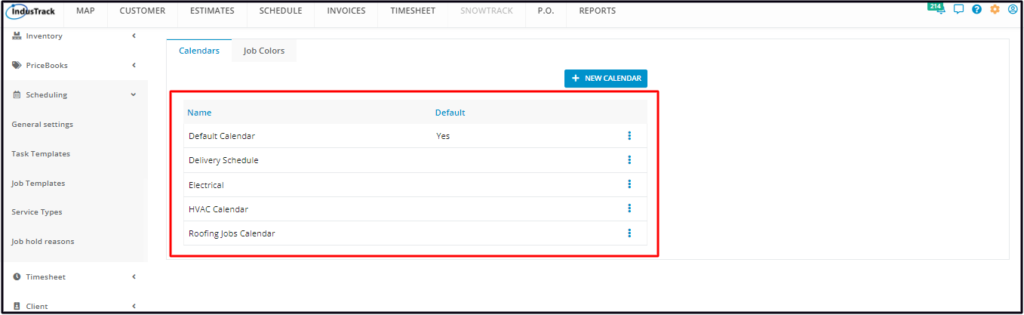
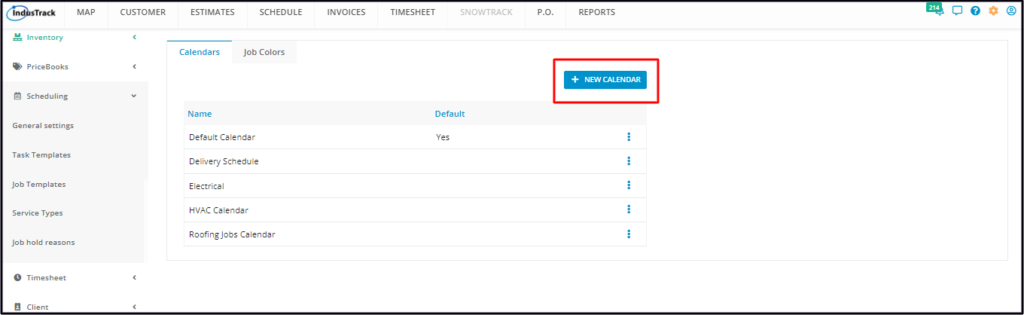
Calendar List/Table
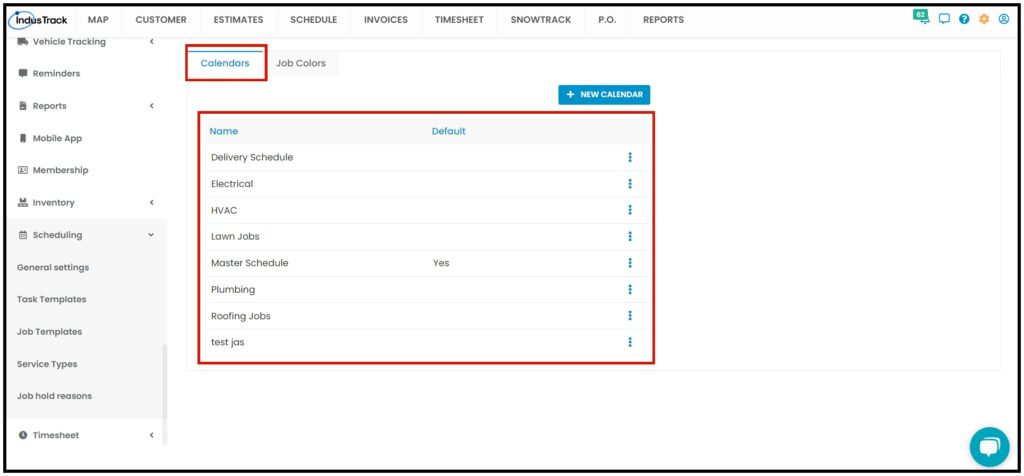
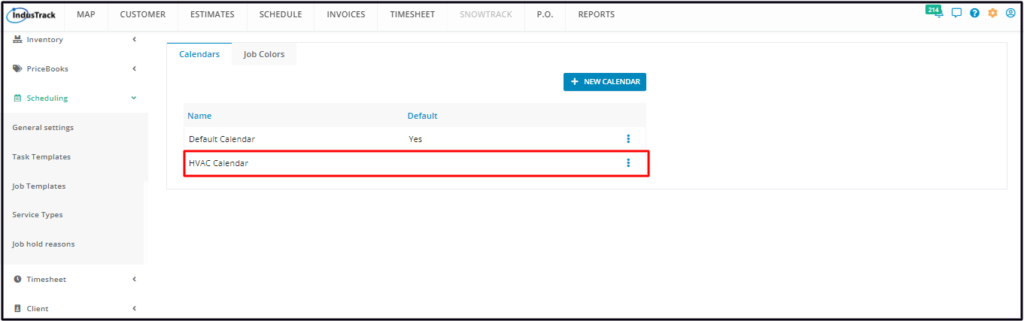
When at least one custom calendar view has been created, the Calendars page will now default to the Calendars list presented in table format. This is also the page where these calendars are created and managed.
The table lists all Calendar Views that have been created, including the default one.
The table has 3 columns:
- Name – This refers to the name assigned/given the Calendar View.
- Default – This column shows which of the views is the default one. If it is, a “Yes” is indicated in this column. All other views will have nothing indicated under this.
- 3-dot menu – This icon is used to Edit or Delete a Calendar View.

+ New Calendar button
- This button is used to create a new custom Calendar View.
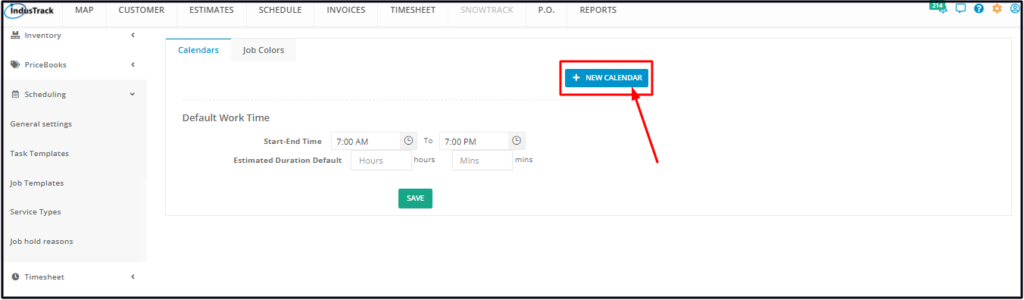
Create a Calendar View
To create a custom calendar view, go to the + New Calendar button.
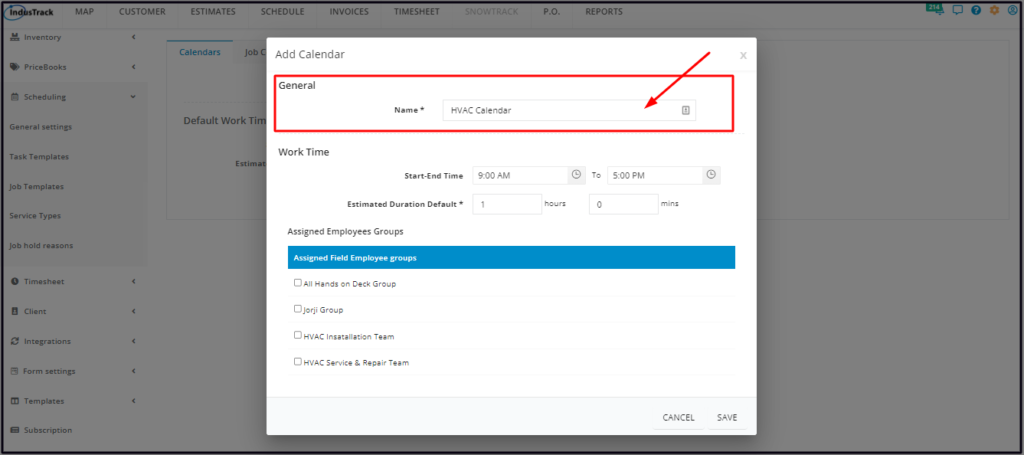
Fill in the Calendar View details on the Add Calendar window. Fields with * are required.
General Details
Name*
- Key in the assigned name of the calendar.
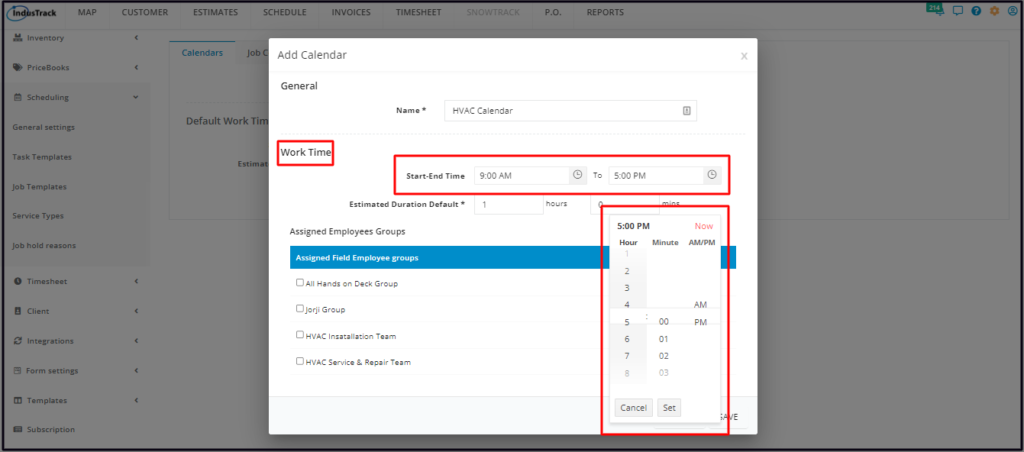
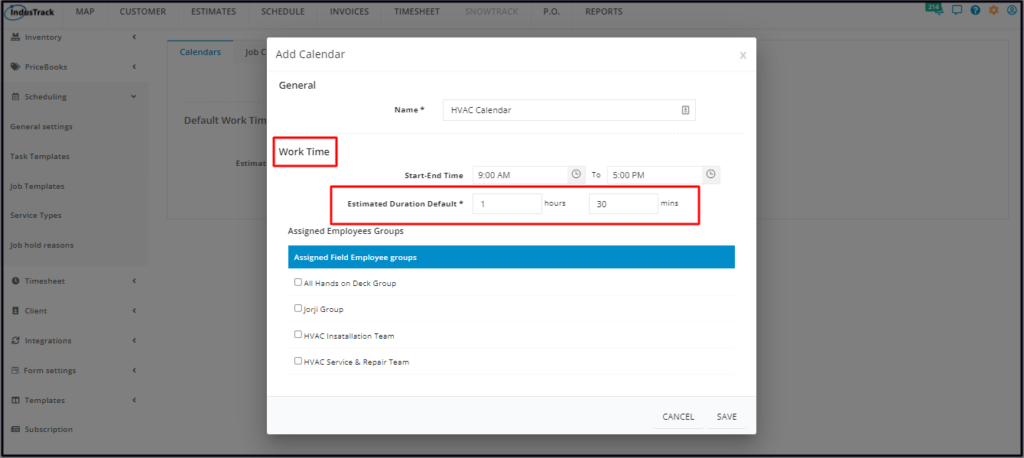
Work Times
- Default Start and End times are set from 9:00 AM to 5:00 PM. Edit these as may be preferred. To do this, key in the times on the fields or use the time pickers.
- A default 1-hour duration for a single job is already set. Edit the default estimated job duration if preferred.
Assigned Employees Groups
- From the list of Field Employee Groups, select those that will be included in the Calendar. Select a group or more.
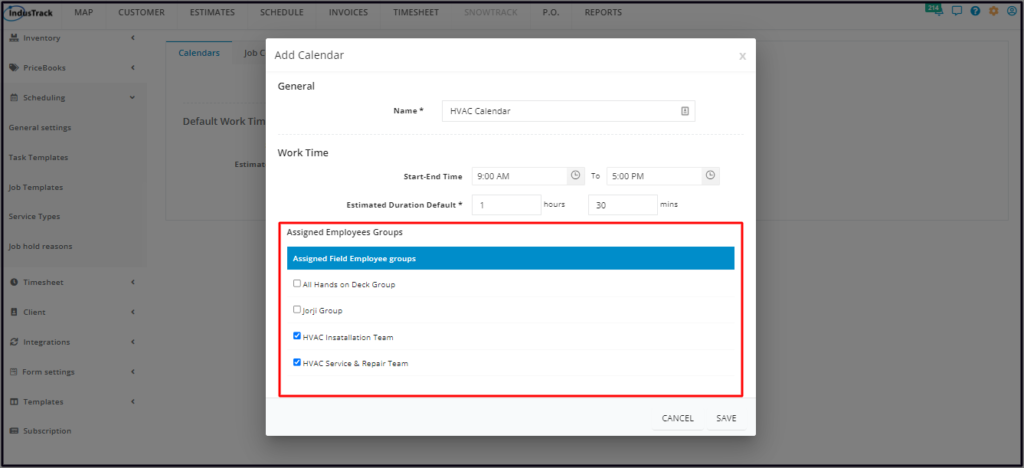
- Assigning Field Employee Group(s) is not a requirement when creating a Calendar View. However, this view can not be used in the Schedule Module. You will be asked to assign field employees first when the view is selected.

- The Default Calendar View is the only one that has no assigned Field Employee Groups. All Field Employees will be included in the Calendar when viewed.
Save the new Calendar View. This will be added to the Calendars list.
Edit A Calendar View
Find the Calendar View to be updated from the list.
Click the 3-dot menu to its right and select Edit.
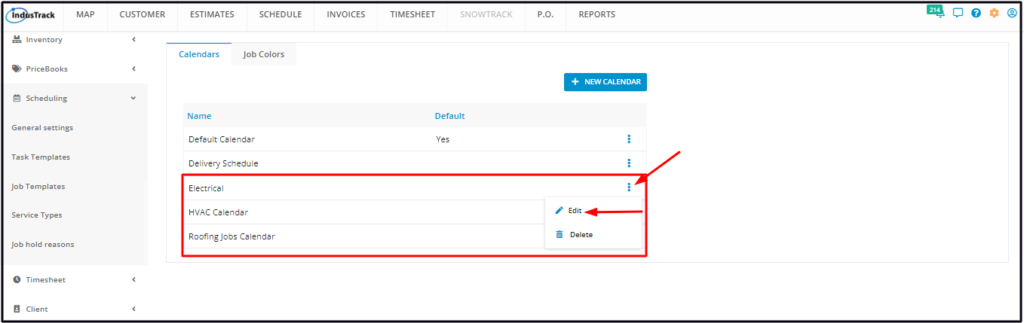
Update the details from the Edit Calendar window as needed. Once done, Save the changes.
Delete A Calendar View
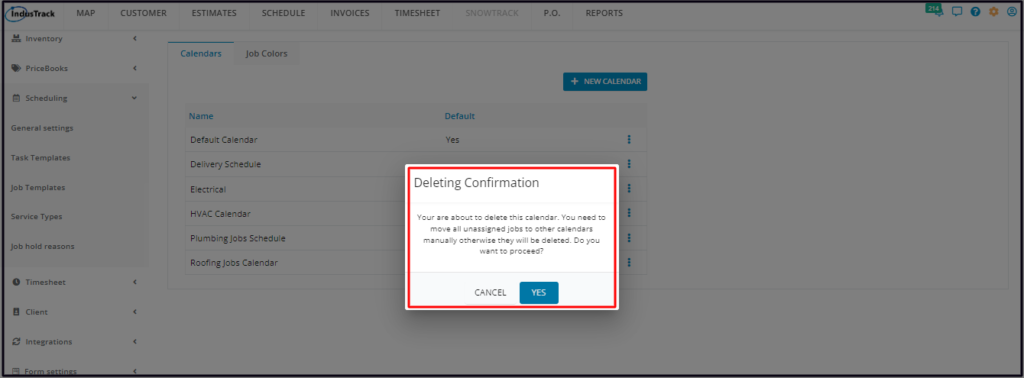
Delete a Calendar View that is no longer in use or was created in error. It is wise to exercise caution when using this function. Deleting a Calendar View may have an effect on other functions, settings or data. This action can not be undone.
Before deleting a Calendar View, move any unassigned jobs to other calendars. Otherwise, these jobs will be deleted once the calendar is removed.
Find the Calendar View to be deleted from the list.
Click the 3-dot menu to its right and select Delete.

A delete warning window will come up. Click the Yes button to continue with the deletion and Cancel to abandon the action.
The Calendar View will be removed from the list.