
Vehicle Groups
Vehicle Groups
Similar to field employees, vehicles can be grouped into teams. Decide on how you would like them to be grouped – by type, by area, by purpose, by teams, by leadership or whatever you prefer. Create the teams and assign the individual vehicles to the groups.
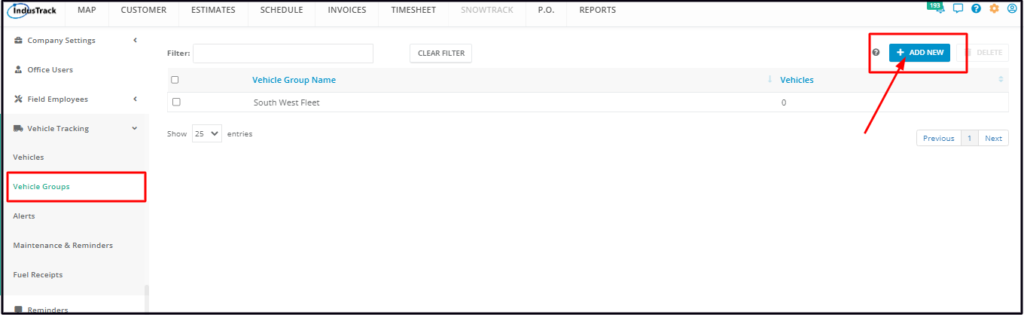
To access the Vehicle Groups setup page, go to the Settings (Gear) Icon > Vehicle Tracking > Vehicle Groups.
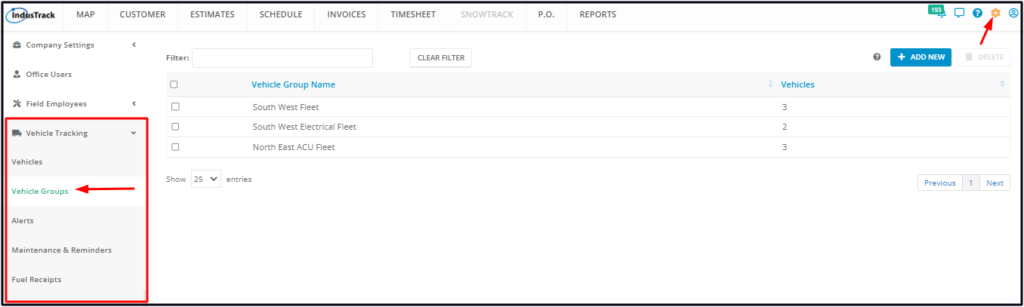
Vehicle Groups Table
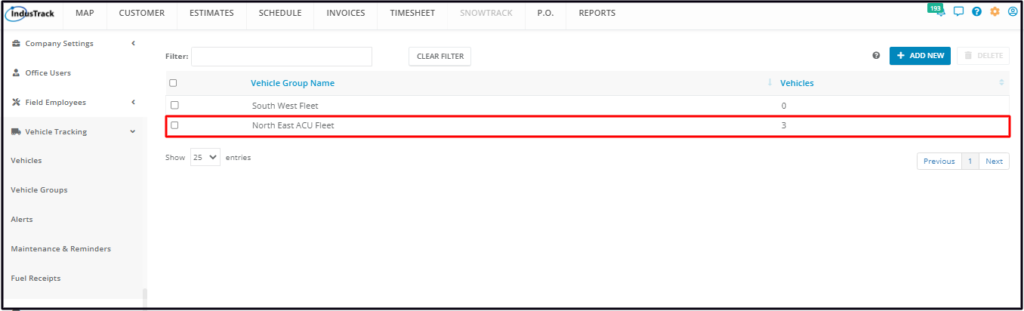
The Vehicles Groups page defaults to the Vehicle Groups table which contains all of the groups that have been created and still exist. This is also the page where vehicle groups are created and managed.
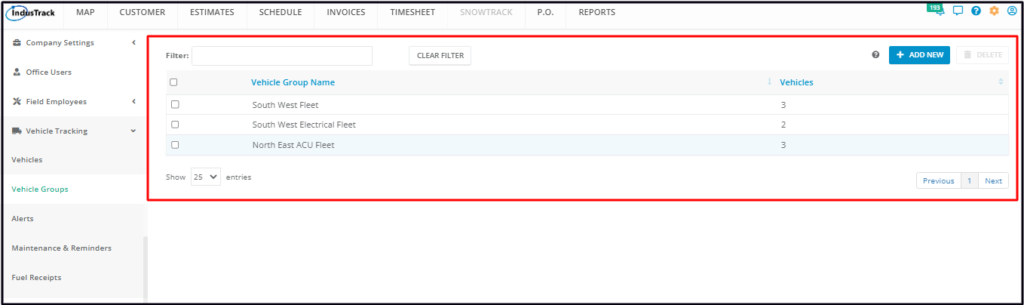
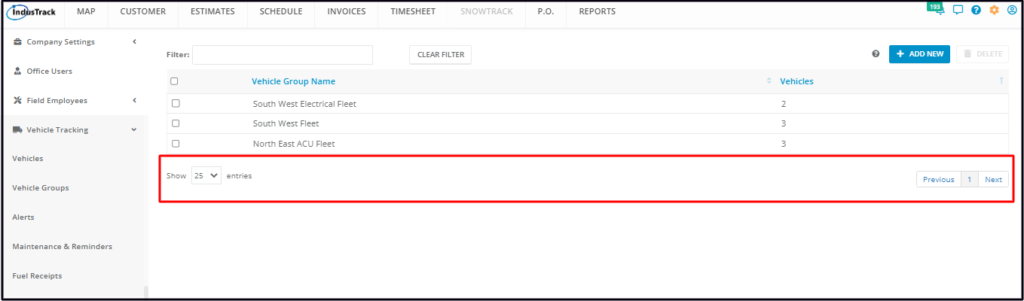
The table has 2 columns, the Vehicle Group Name and Vehicles.
- Vehicle Group Name – The information under this column are the names that have been given to the groups.
- Vehicles – The information shows the number of vehicles assigned to the group.
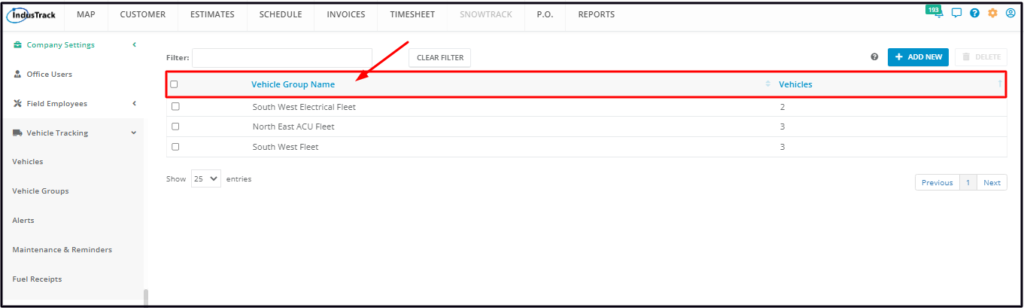
Sort the Vehicle Group List list
Click on the column header to sort the list according to the preferred field (Vehicle Group Name or number of vehicles assigned).
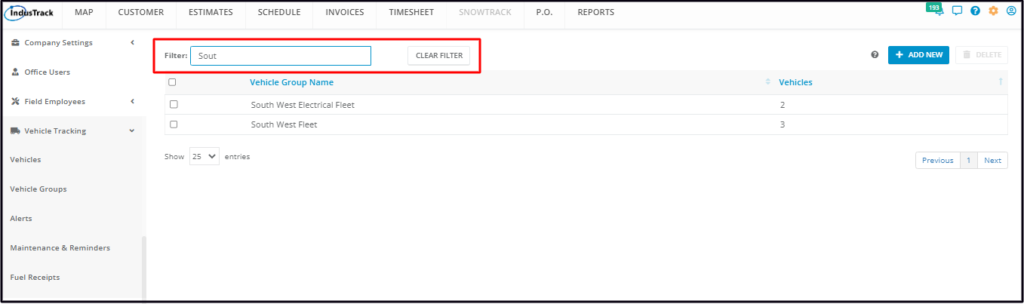
Filter Bar
Use this function to narrow down the list of Vehicle Groups. This is especially useful for companies with multiple Vehicle Groups.
Clear Filter
Use this button to reset the table to its default format (remove the filter).
List Per Page
Select the number of vehicle groups to be displayed per page. Options to choose from are 10, 25, 50, and 100. Use the Previous and Next buttons to move from one page to another (if there is more than one page).
+ Add New Button
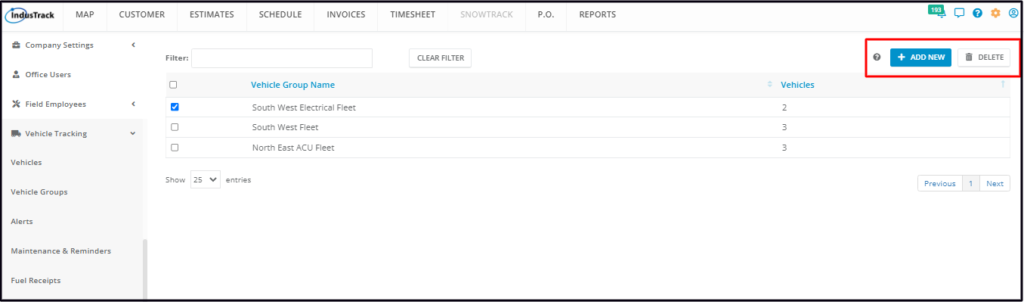
Use this button to create a Vehicle Group.
Delete Button
Use this button to cancel/delete a Vehicle Group.
Create a Vehicle Group
Go to the + Add New button.
Fill in the fields on the Add Vehicle Group window. Fields with (*) are required.
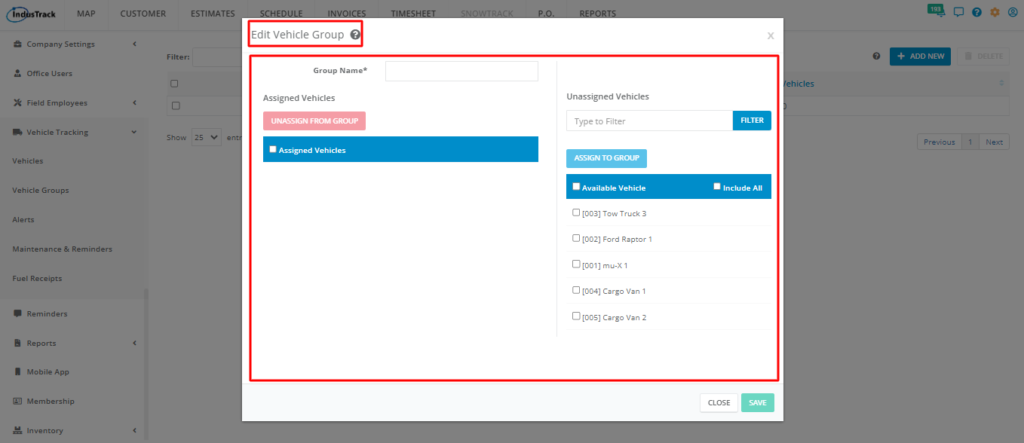
Key in the assigned Vehicle Group Name* on the provided field.
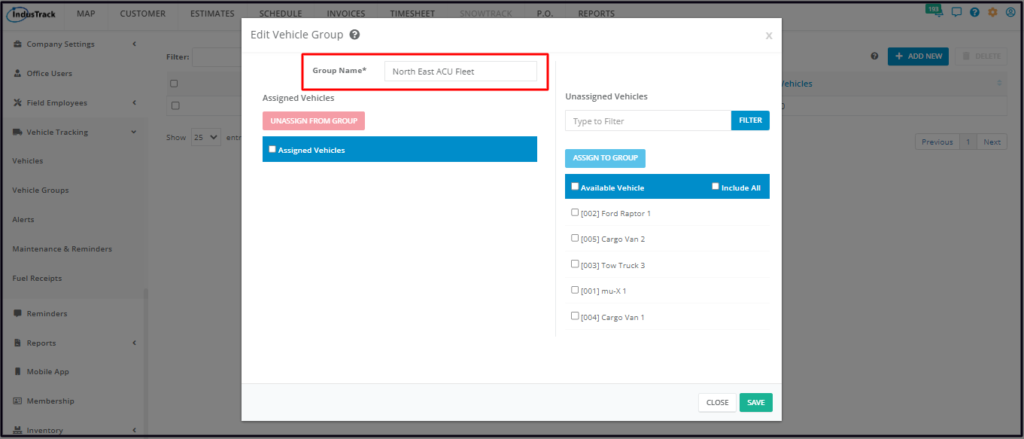
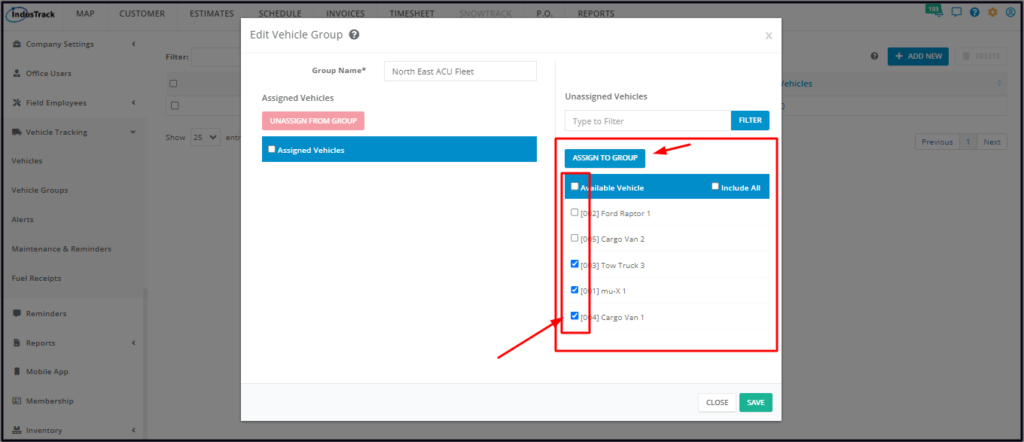
Assign individual vehicles to the group.
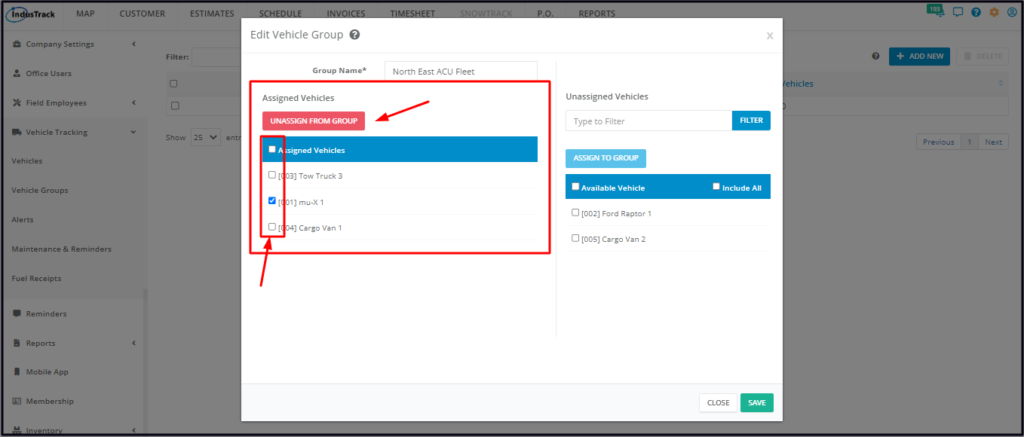
Review the created group and the list of assigned vehicles. Unassign vehicles or revise if necessary.
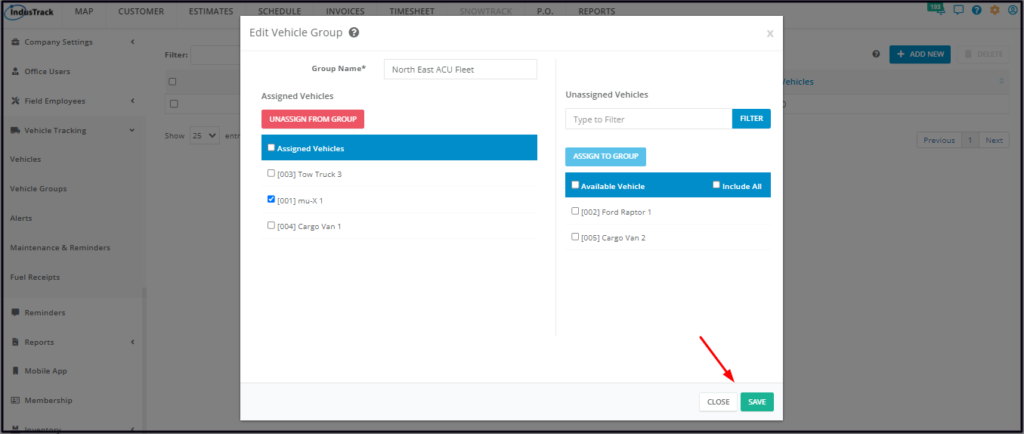
Save the new Vehicle Group. This will add the new Group to the list.
Update a Vehicle Group
Find the Vehicle Group to be updated from the list. Click anywhere on the row to open the profile in edit mode.

Update the vehicle group information as needed. Save once done.
Delete a Vehicle Group
Delete a vehicle group that is no longer in use or the profile was created in error. It is wise to exercise caution when using this function. Deleting a group may have an effect on other functions, settings or data.
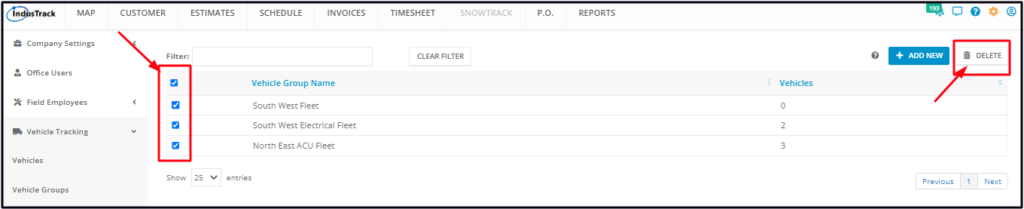
Find the Vehicle Group to be deleted from the list and tick the checkbox to the left. To delete multiple groups, tick the checkboxes to the left of all those to be deleted. If all Vehicle Groups will be deleted, just tick the checkbox of the Name header.
Click on the Delete button which will be enabled once a Vehicle Group is selected.
The Vehicle Group or Groups will be removed from the list.