Job Colors
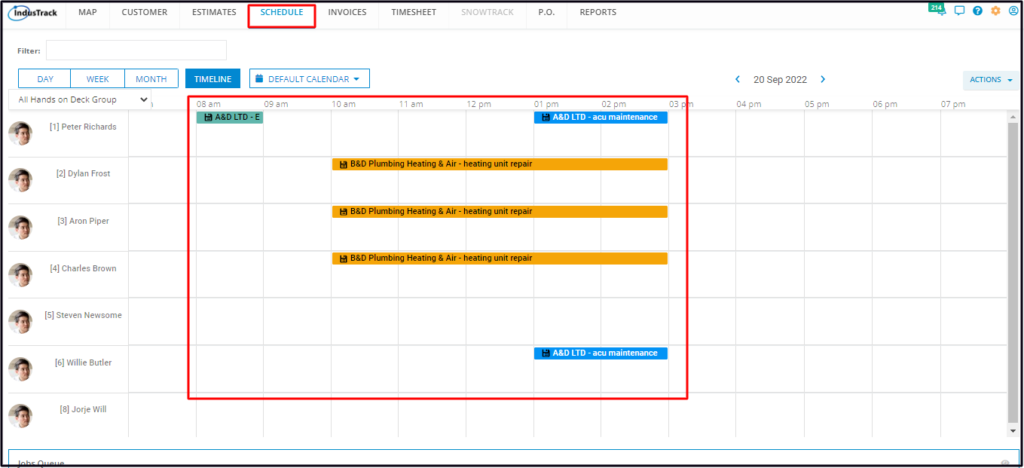
Assign colors for your different jobs so that these are easily identifiable on the schedule grid.
To set up the job color schemes, go to Settings > Scheduling > General Settings > Job Colors.
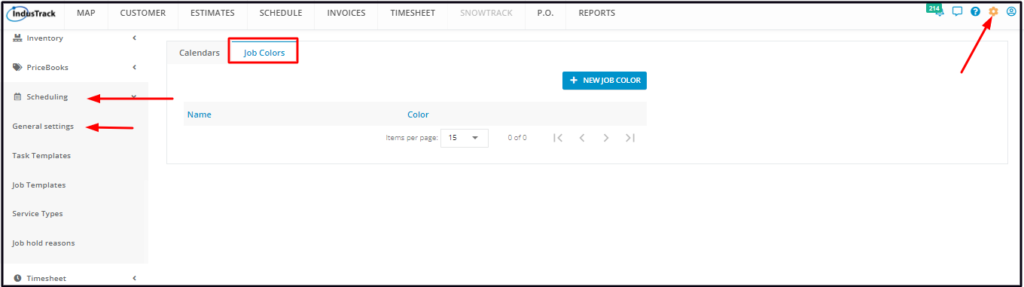
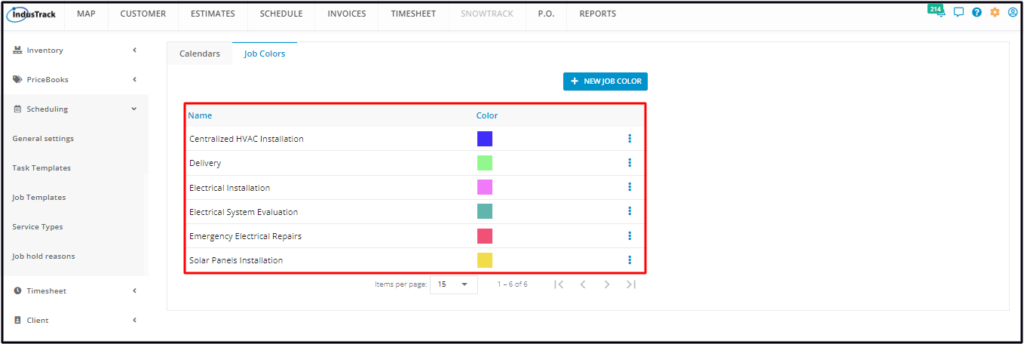
The page defaults to the list of Job Colors that have already been created, presented in table format. This is also the page where these job colors are created, edited and deleted.
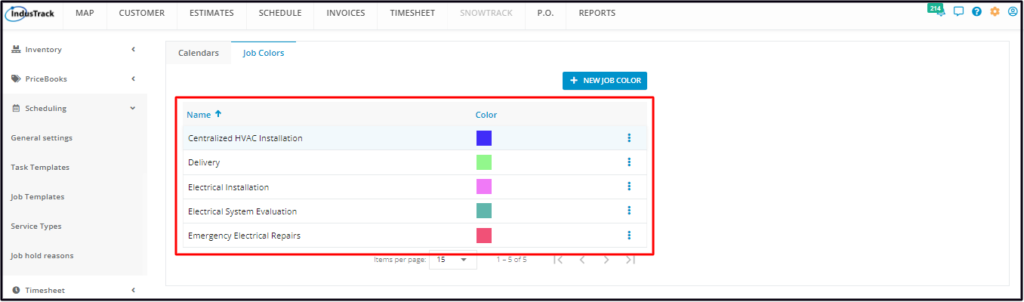
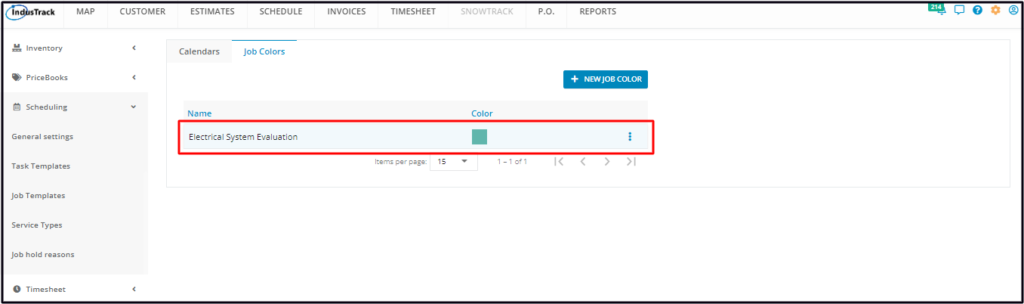
Job Colors List/Table
The table has 3 columns:
- Name – This refers to the name assigned/given to the Job Color.
- Color – This refers to the shade that was assigned to the job.
- 3-dot menu – This icon is used to Edit or Delete a Job Color.
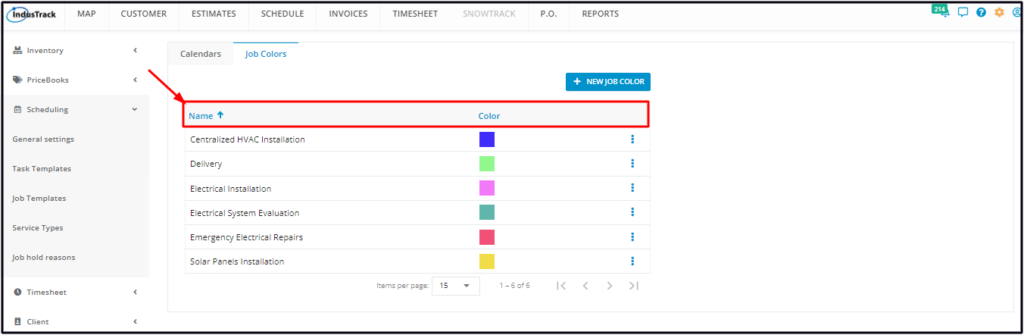
Sort the Job Colors List
Click on the column header (Name or Color) to sort the list according to the preferred field.
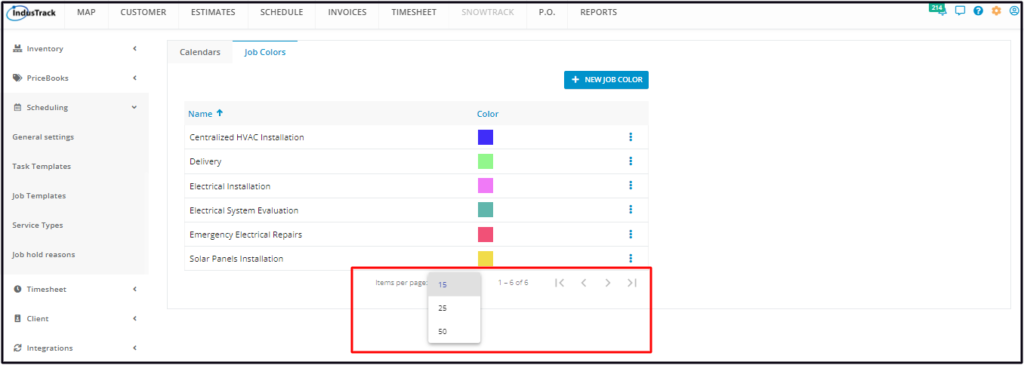
List Per Page
Select the number of job colors to be displayed per page. Options to choose from are 15, 25, and 50. Use the Previous and Next buttons to move from one page to another (if there is more than one page).
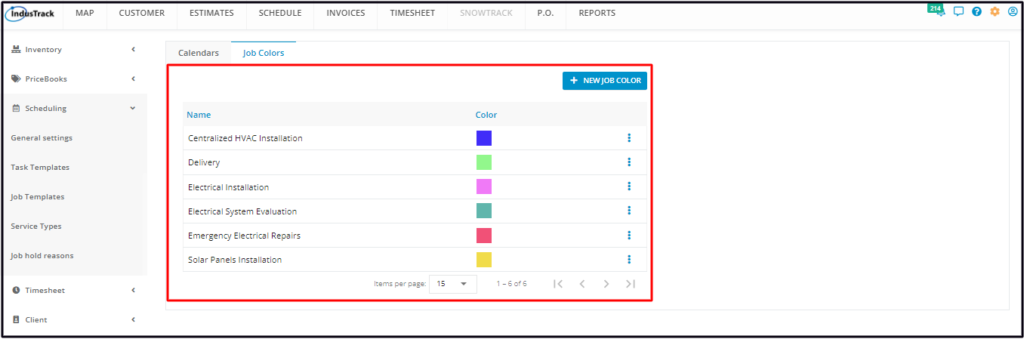
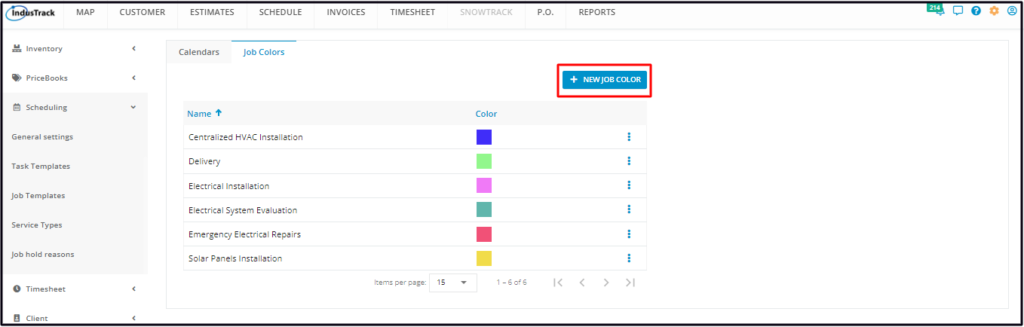
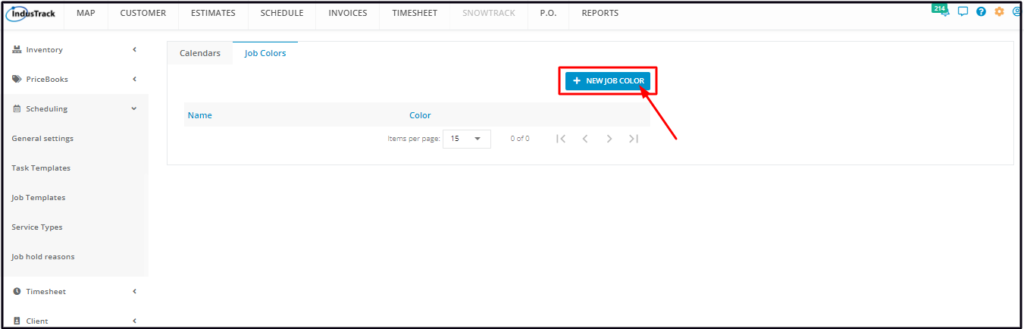
New Job Color Button
Used to create a new Job Color.
Create a Job Color
To create a new job color, go to the + New Job Color button.
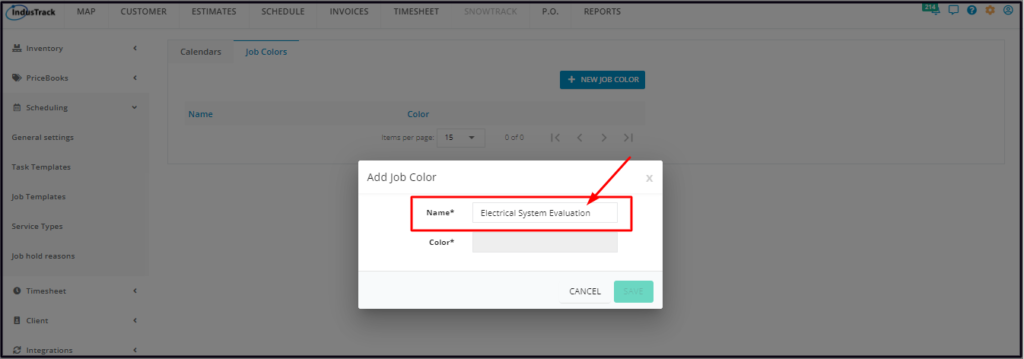
Fill in the Job Color details on the Add Job Color window. Fields with * are required.
Name*
- Key in the assigned name of the Job.
Color*
- Click on the field and select the color to be used.
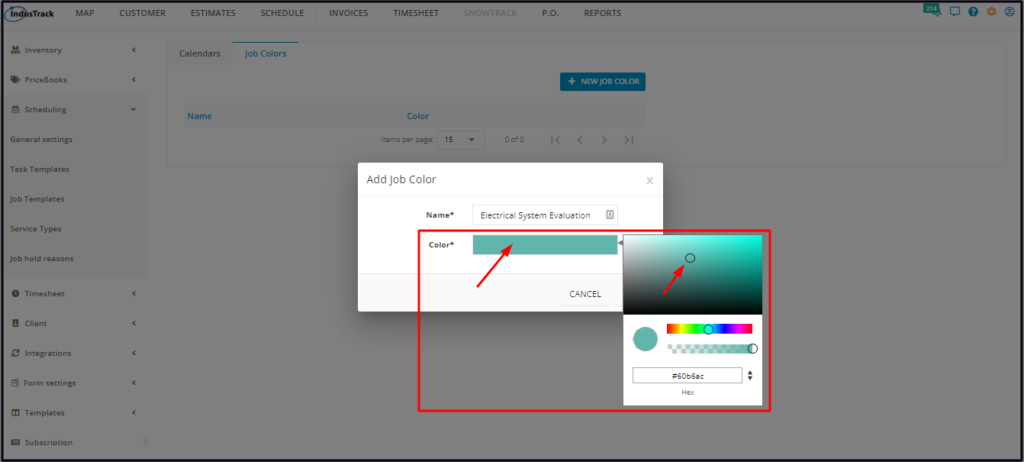
Save the new Job Color. This will be added to the list.
Edit a Job Color
Find the job color to be updated from the list. Click the 3-dot menu to its right and select Edit.
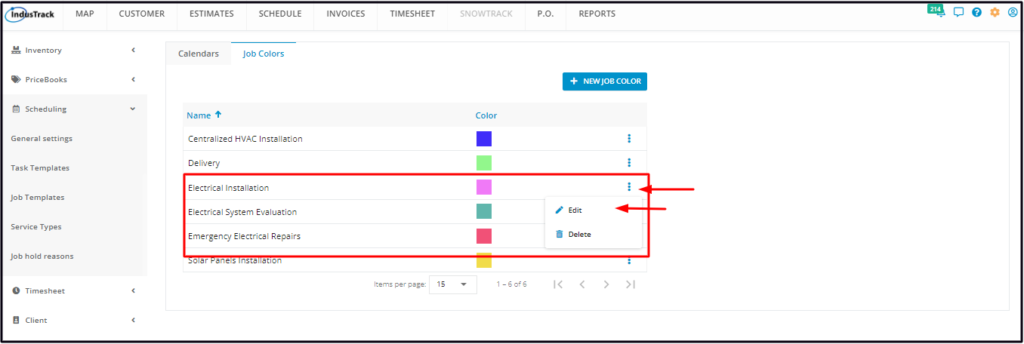
Update the details from the Edit Job Color window as needed. Once done, Save the changes.
Delete a Job Color
Find the job color to be deleted from the list. Click the 3-dot menu to its right and select Delete.
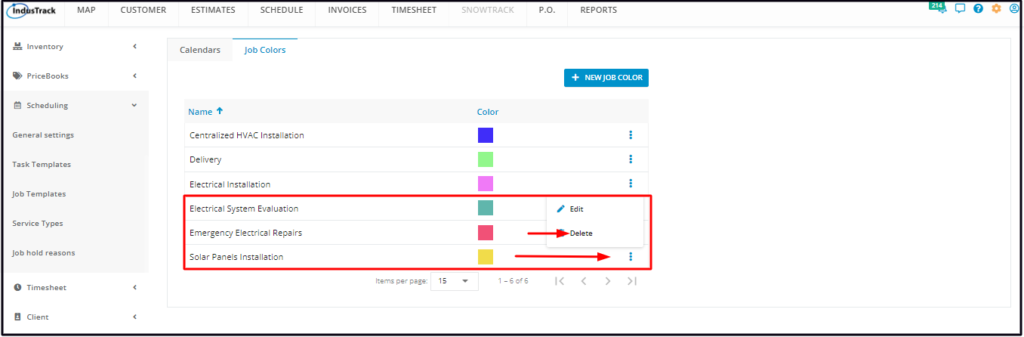
The Job Color will be removed from the list.