
Tags
Create and utilize tags to keep track of customers and navigate IndusTrack more effectively.
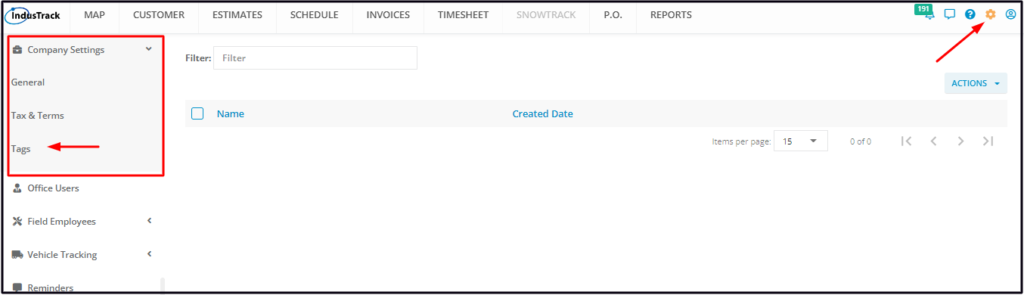
To access the Tags page, go to Settings > Company Settings > Tags
Using the Tags Table
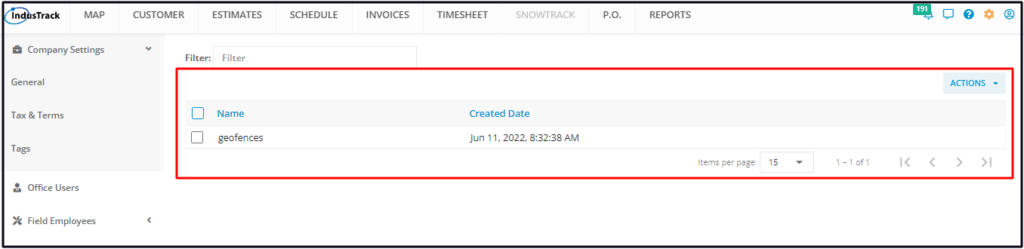
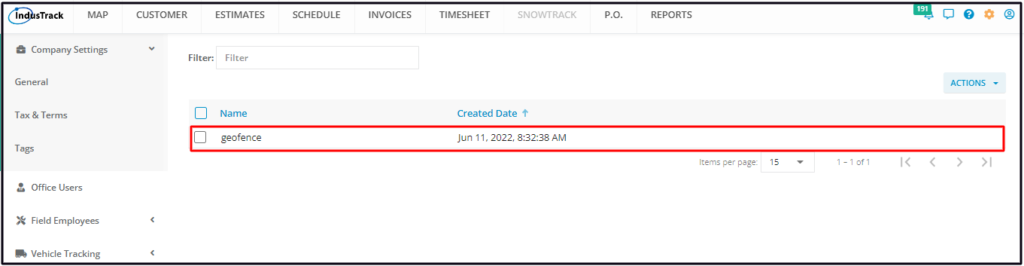
From the Tags tab, you will see a list of all previously created tags. From this page, you will also be able to view, create, edit and delete different tags.
Using the Terms Table
- The Tags table has 2 columns:
- Name – The name you gave the tag.
- Created Date
- Items Per Page
- Select the number of tags to be displayed per page. Options to choose from are 15, 25, and 50.
- Use the side arrows to move from one page to another (if there is more than one page). If there is only 1 page, this feature is disabled
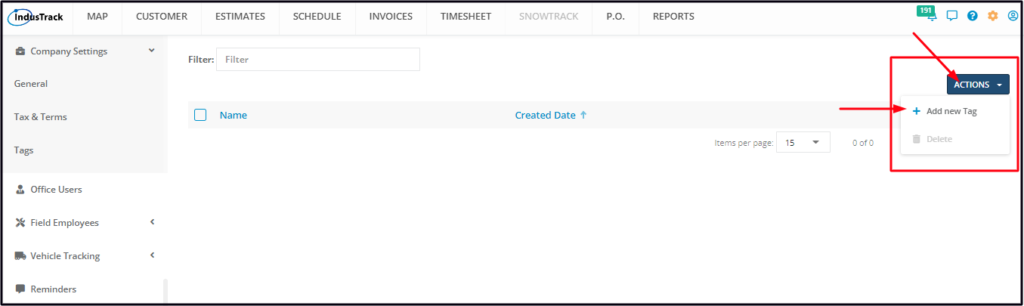
Create a New Tag
Go to the Actions button and select + Add New Tag.
On the Add Tag window, give the tag a name and hit Save.
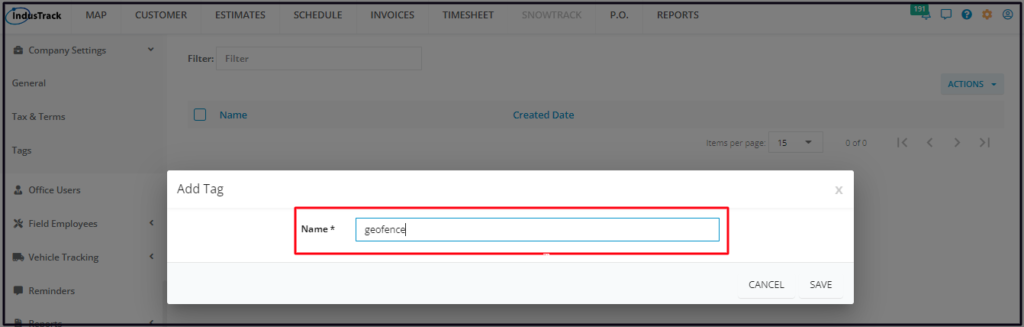
After saving the Tag, this will be added to the Tags List.
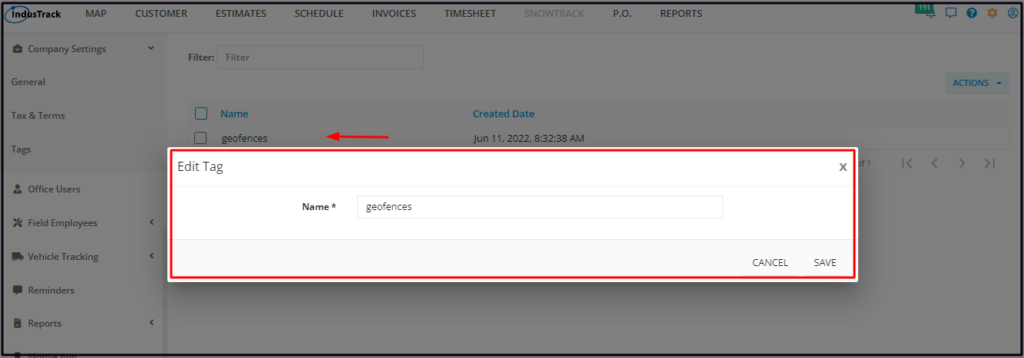
Edit a Tag
Find the term item to be updated from the list and click any on the row to open the tag in edit mode.

Edit as may be needed. Once done, Save the changes.
Delete a Tag
Find the term item to be removed from the list, and tick the checkbox to the left of the tag to be removed. To delete multiple tags, tick the checkboxes to the left of all the tags to be removed. If all terms will be deleted, just tick the checkbox of the Name header.
Go to Actions and select Delete.

Confirm the delete action. The tag will be removed from the list.
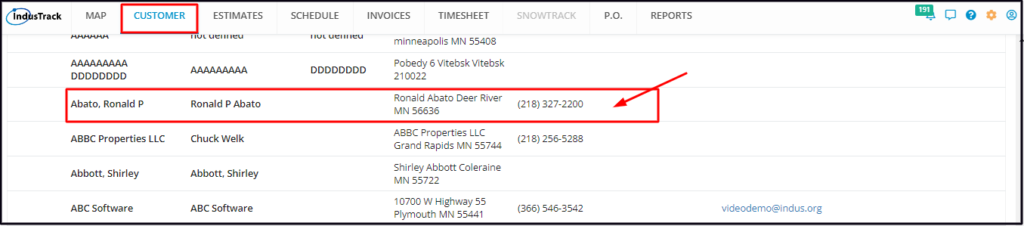
Assign Tags to Customers
Tags can be assigned to your customers making it easy to group them and find the ones similarly tagged.
Go to the Customer’s Module and find the customer to be assigned the tag. Click anywhere on the row to open the Customer’s Profile.
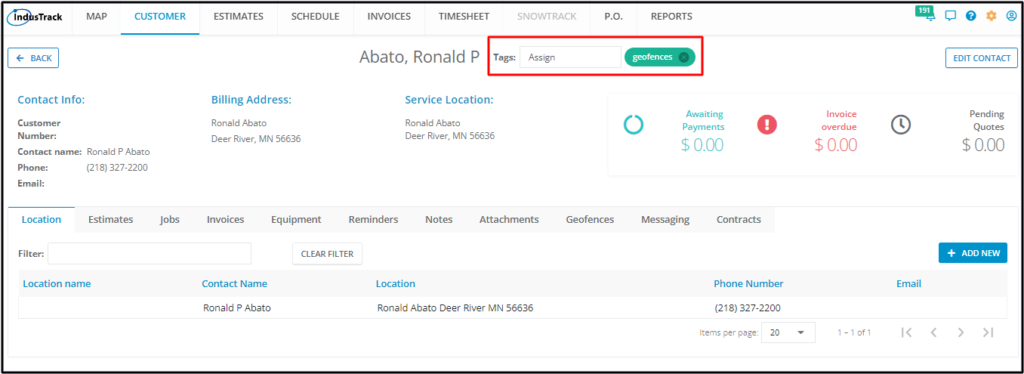
From the customer’s profile, go to the Tags field which is located at the middle of the page, next to the customer’s name.
Click on the field and select the tag or tags to be assigned to the customer.
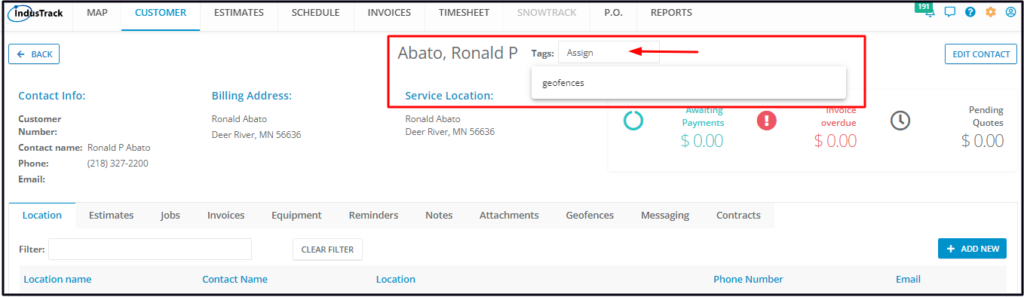
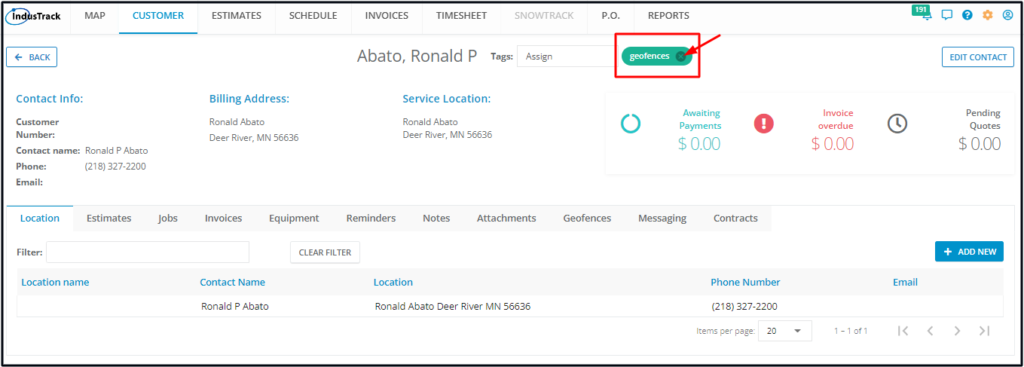
To assign the tag, click on it and it will automatically be added to the profile. The tag will be highlighted in green.
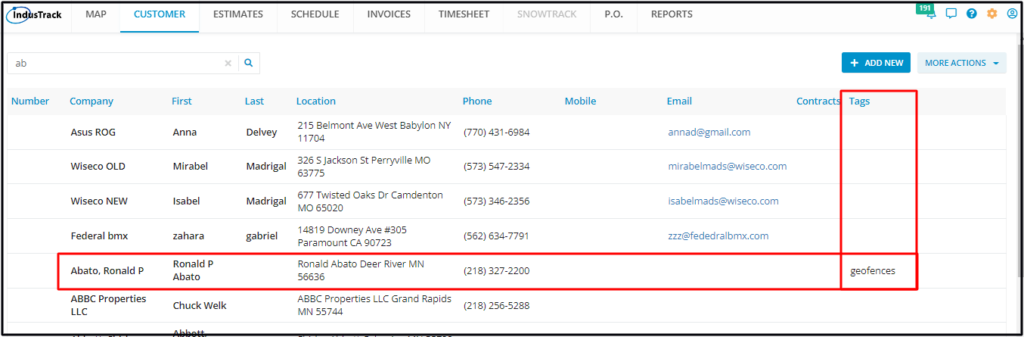
From the Customers’ List, the assigned tag or tags will be indicated under the column Tags.
To remove the tag, click on the delete button (X) beside the tag name.
0 Comments