
SnowTrack Mobile
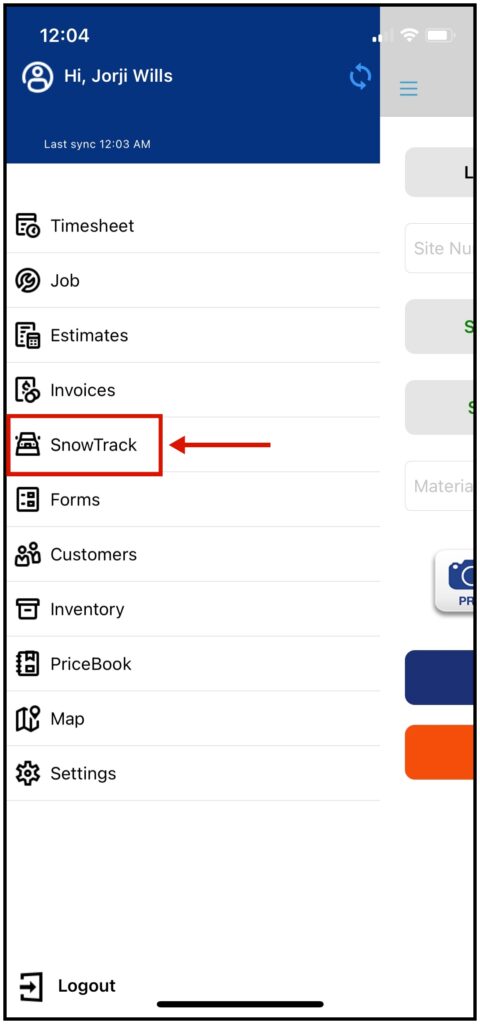
To access the SnowTrack settings, click the three horizontal bars in the upper left corner and find SnowTrack.
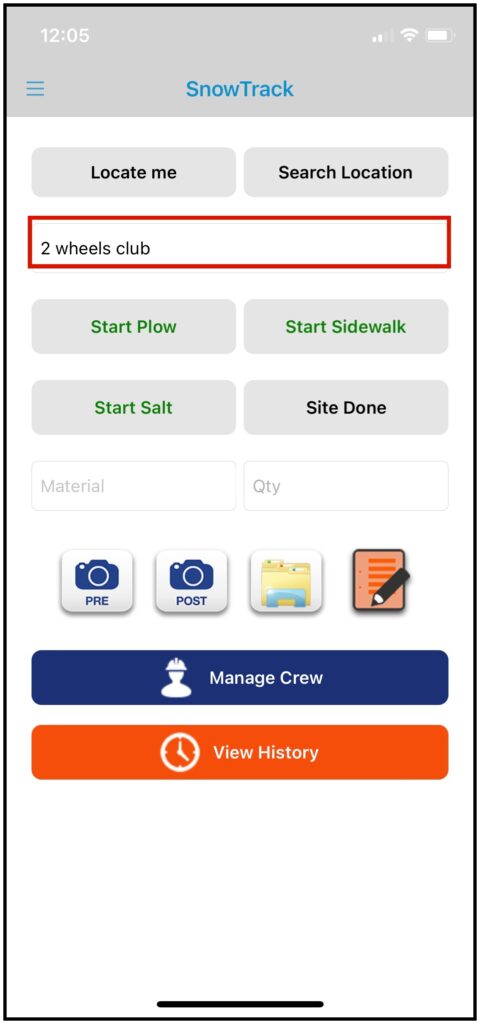
Inside the SnowTrack Page, the app will automatically search for a Customer in a .25-mile radius by default. The search radius can be changed in the settings.
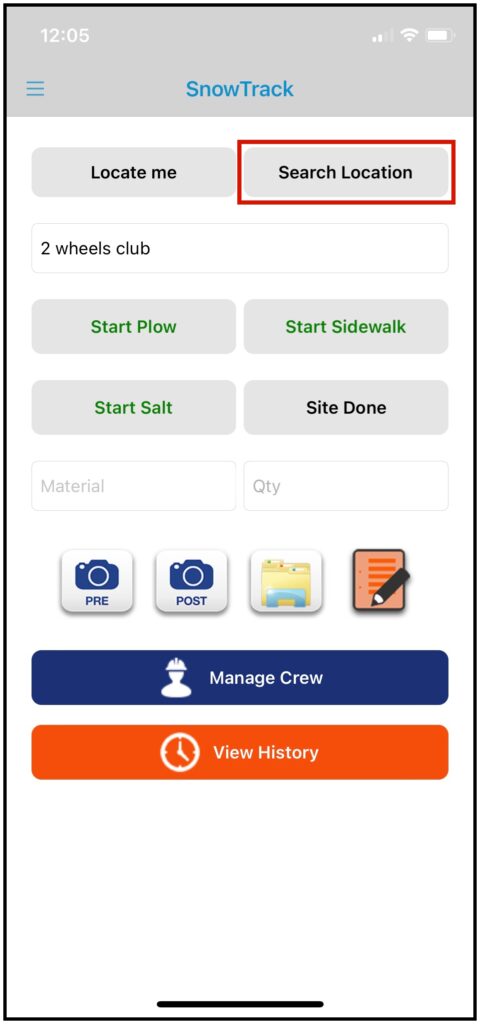
Search Location
To search for a location manually, tap the Search Location.
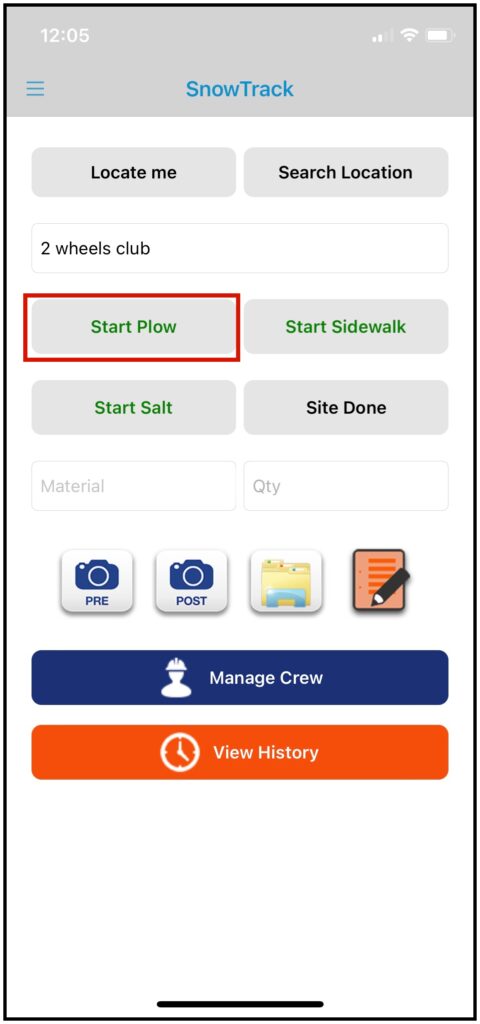
Start Plow
Once the location field is populated, you can now select any service buttons. In this case, we will select Start Plow.

Add Materials
Before you can tap the End Plow to end the service, you need to insert the Material and quantity.
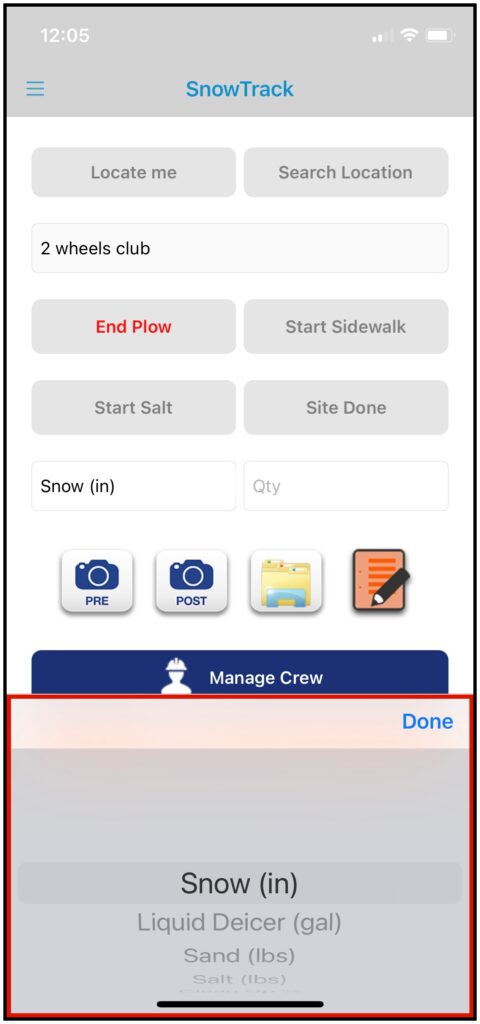
Add Material
Here is what adding Material Page looks like. You can select from the list of pre-configured selection of Materials.
Add Images, Attachments, and Notes
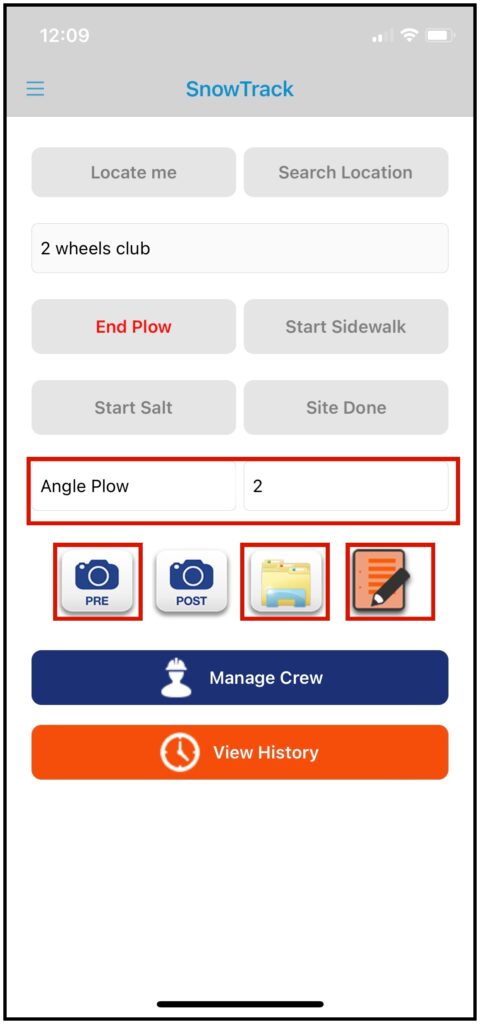
After adding Materials, you can now take pre-image, access site maps by clicking the folder icon, or add notes by tapping the paper and pencil icon.
We can add the Post image once we are ready to End the Service.
Add Pre or Post Images
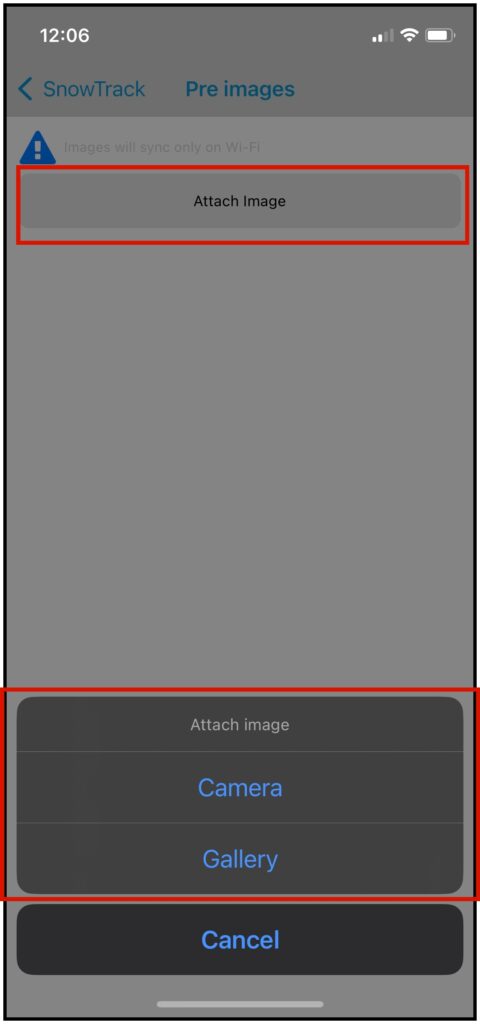
The inside of the Pre or Post Image page are the same, tap on the Attach Image button and it will let you choose what method you want to provide the image. Note that you can add multiple images.
You can choose to use the camera or access your gallery for the image that you want to insert.
The reminder that is showing Images will sync only on Wi-Fi is that it was set up in the settings to only sync images when using wifi. So when you are on Mobile Data images will not sync if this setting is enabled. Make sure to disable this setting if you always use mobile data while using the app.
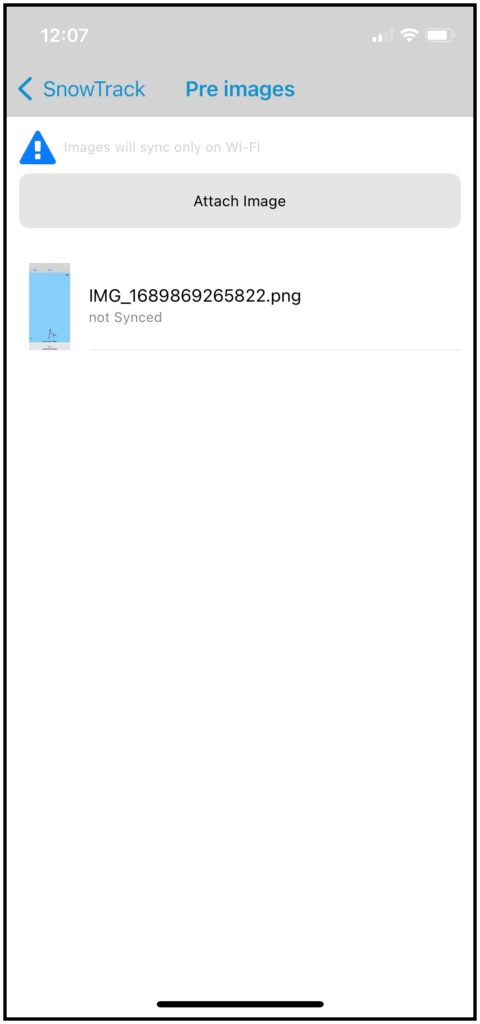
By default, when you insert an image, its status is Not Synced. The image will sync once the sync cycle is finished.

Adding Notes
To insert notes, Tap on the Notes icon as highlighted on the image.
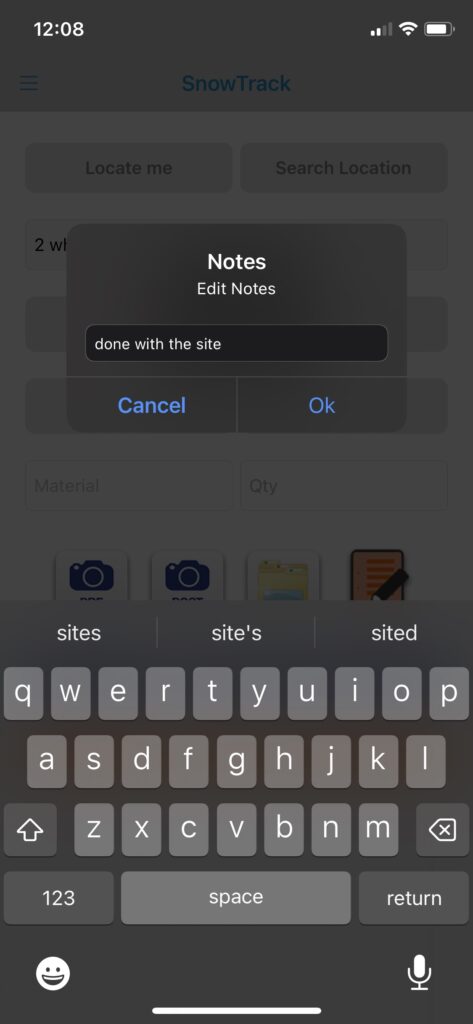
Type your notes here and click Ok.
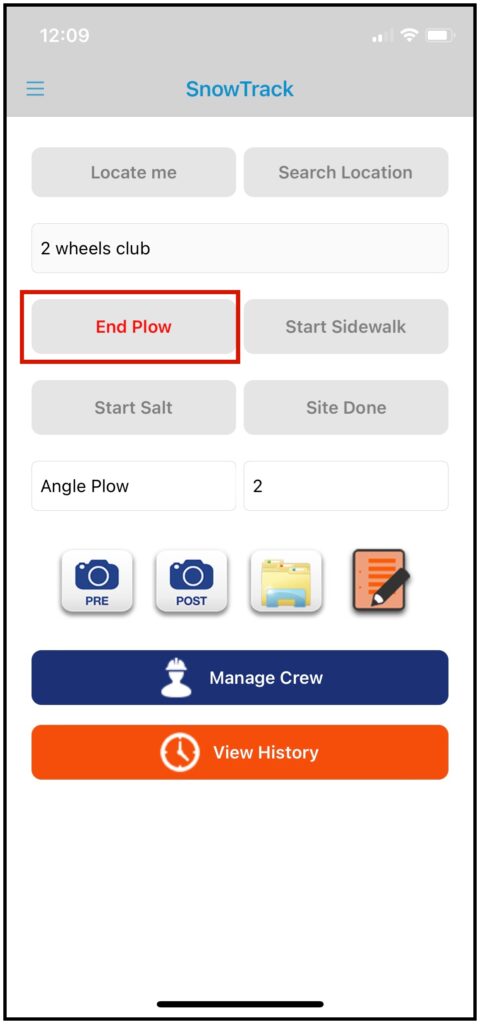
End Plow
After everything is added, we can now end the service.
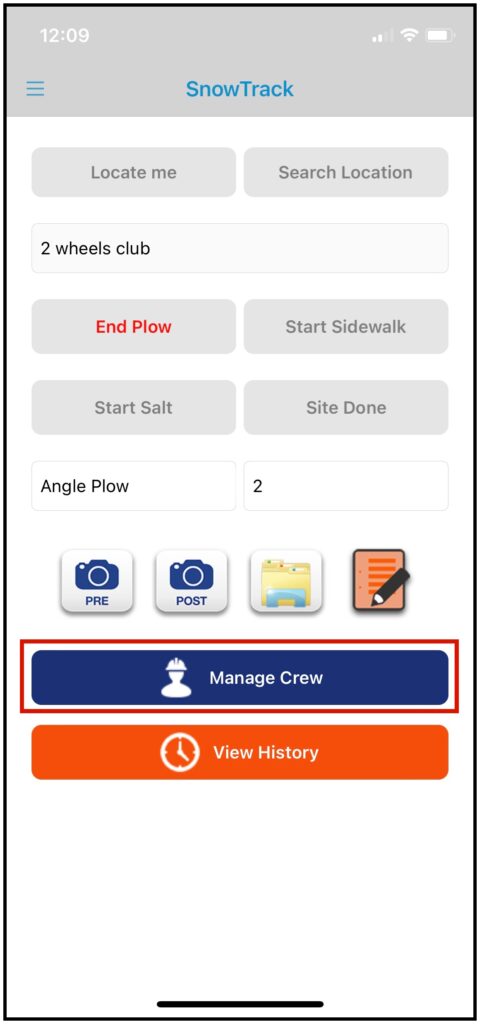
Manage Crew
If you are dispatched for a Snow Service and need more crew, you have the capability to add crew members in and out of the service through the Manage Crew button.
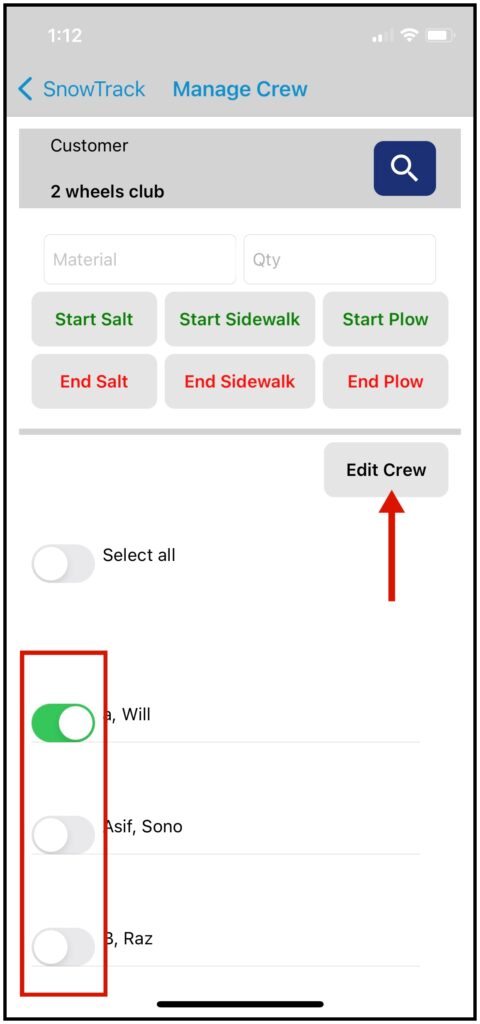
Once you get inside the Manage Crew Page, you will see all field employees assigned to the crew listed. If there are missing crew members on the list, tap on Edit Crew.
Toggle on the button beside your crew name and hit the Start Plow or whichever service you are doing.
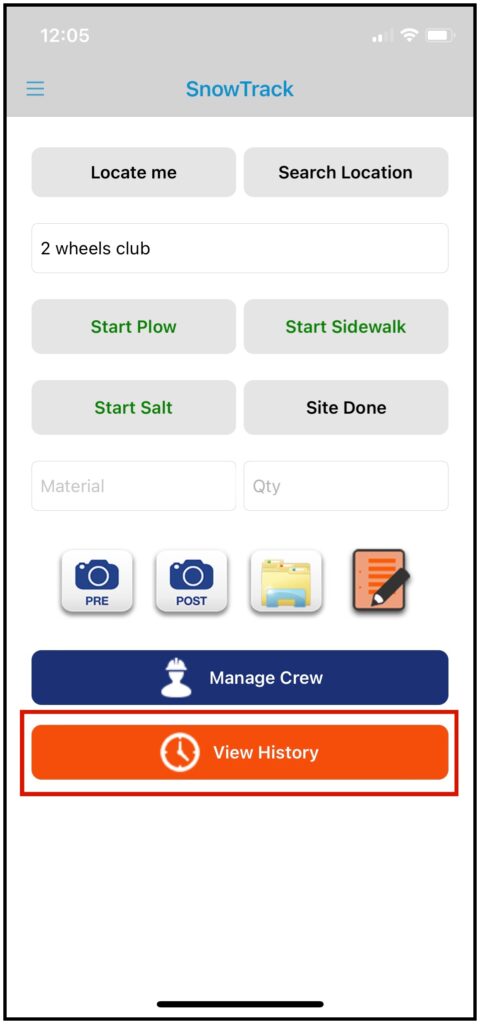
View History
View History will have the list of all Snow Services that have been done in the past 24 hours.
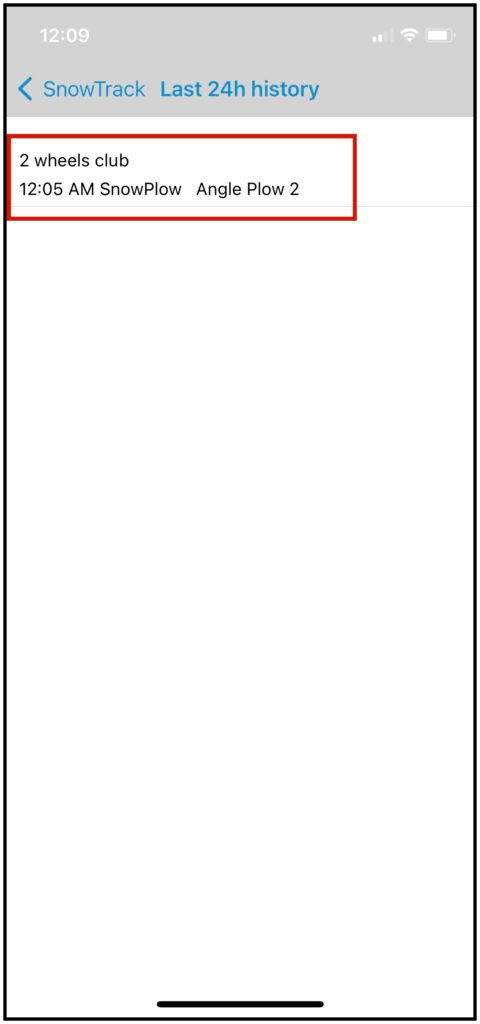
The list of all Snow Services from the last 24 hours will be shown here which the details of which Customer, the Service that’s been done, The Time, and the Materials and quantity that have been added.