
Template Settings: Create & Manage Proposal Templates
There are 2 ways how a Proposal Template is prepared – start from scratch and duplicate an existing one.
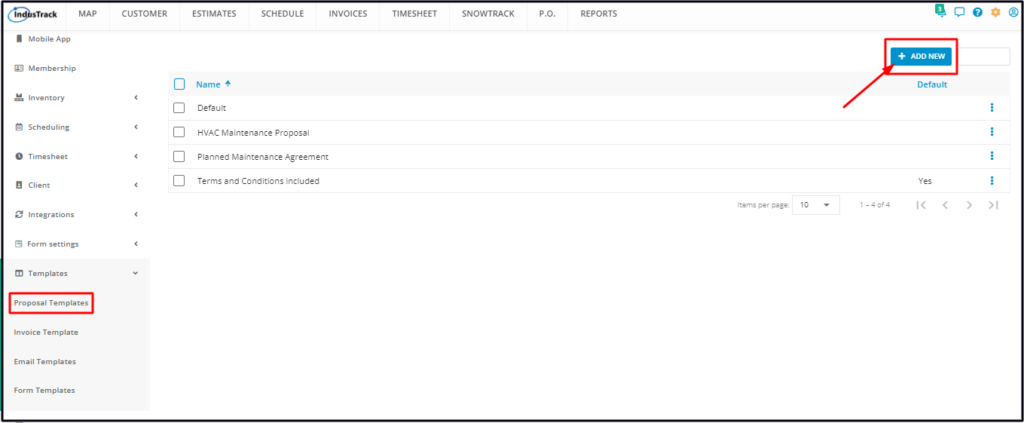
Create a New Proposal Template
To create a Proposal Template from scratch, click +Add New from the Proposal Templates page.
Create the Proposal Template from the template builder. See the section Using the Proposal Template Builder below.
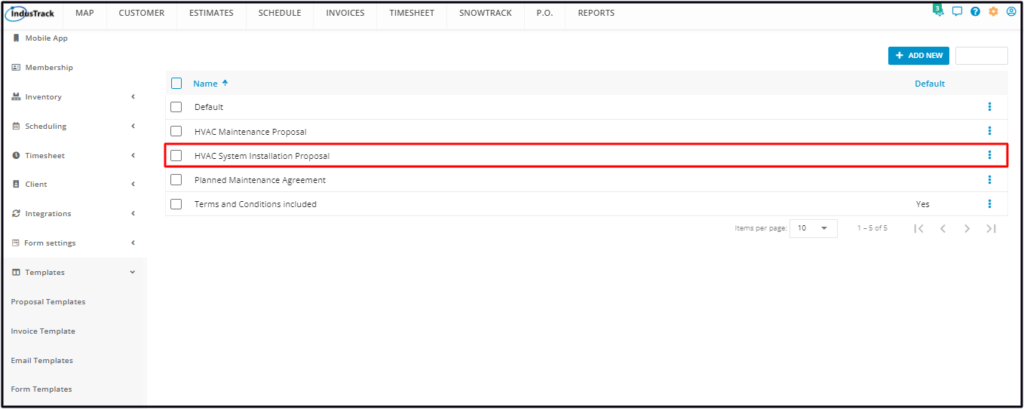
Save the new template once done. This will be added to the list of Proposal Templates.
Duplicate an Existing Proposal Template
Instead of creating a new proposal template from scratch, duplicate one that has similar details as the one to be created. Update the copy to suit the new Proposal Template details. Doing this will save a lot of time in creating a new proposal template that is similar, but with differences, to an existing one.
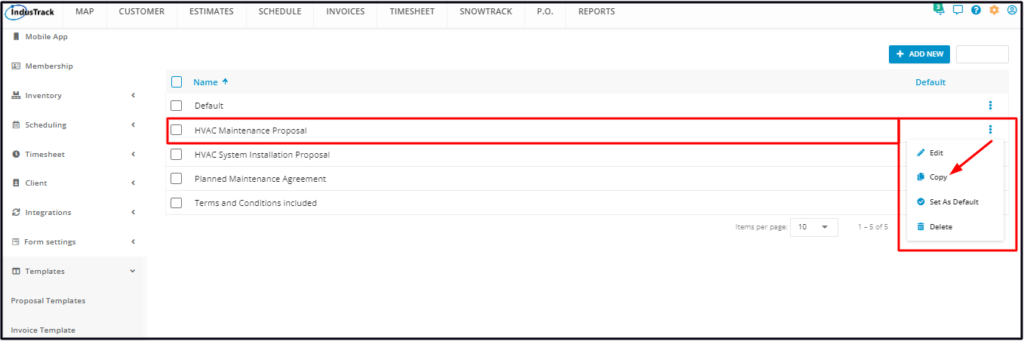
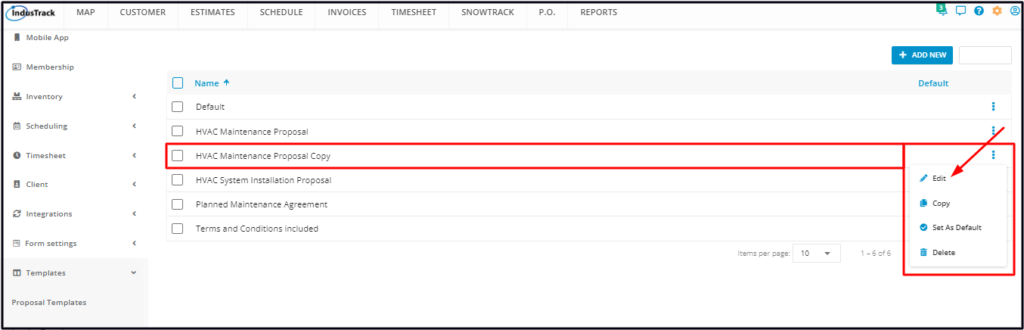
From the Proposal Templates List, find the one to be duplicated. Go to the 3-dot menu to its right and select Copy.
A duplicate copy of the template will be added to the list. Open this in edit mode.
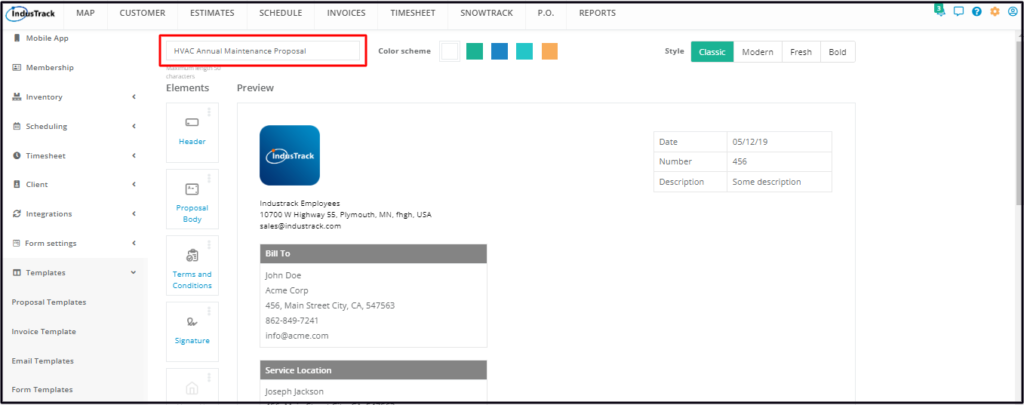
Revise the Proposal Template name or title.
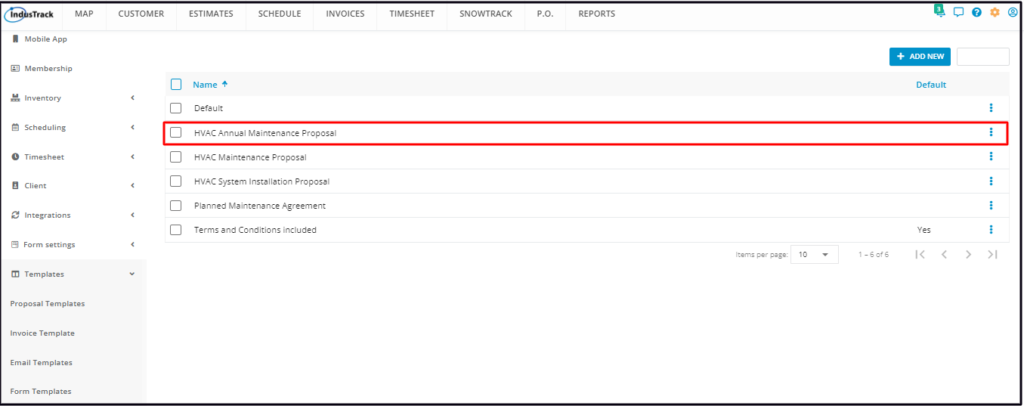
Update the details of the template copy from the template builder. Once done, Save the new template. The templates list will show the updated name of the copy.
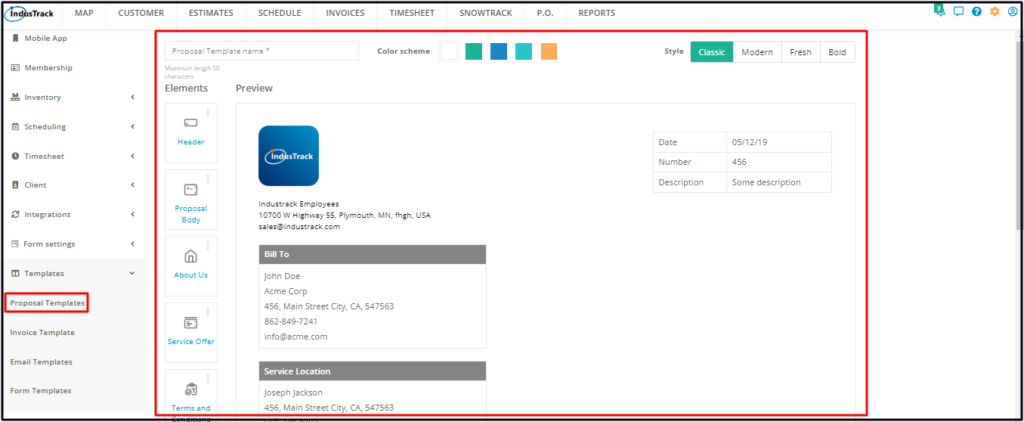
Using the Proposal Template Builder
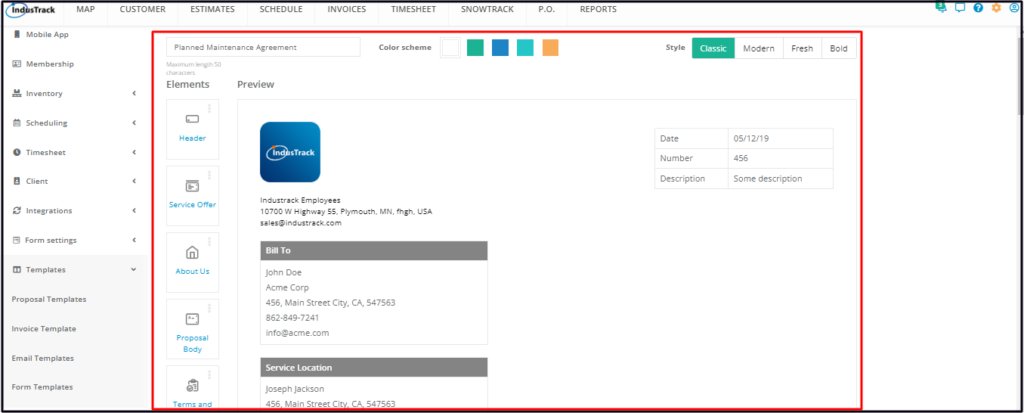
Proposal Template Name
Key in the name or title of the Proposal Template on the field. The maximum allowable number of characters for the title is 50.
Color Scheme
Set the color scheme of your proposal. The default scheme is white. Select from the provided options.
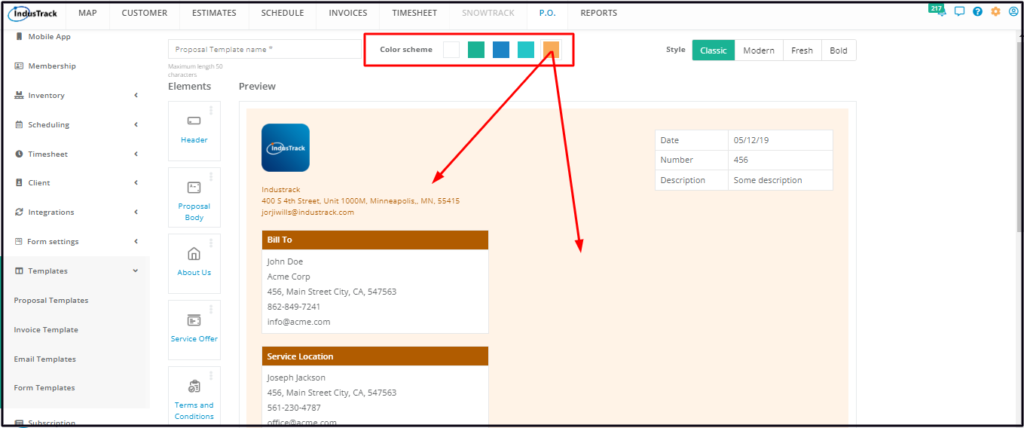
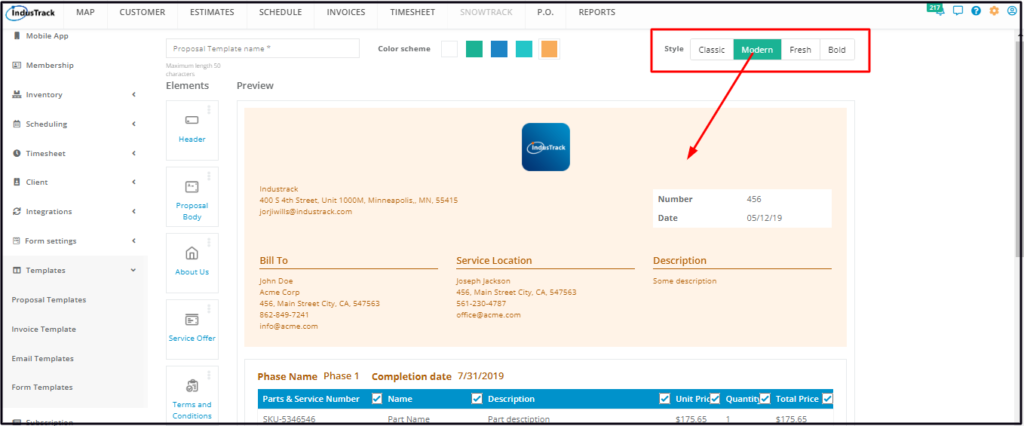
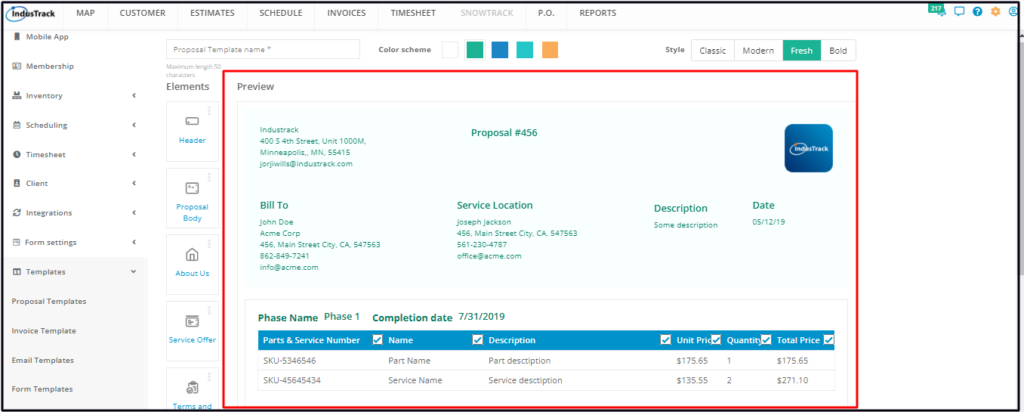
Style
The default design or style or layout of the template is Classic. You have the option to change this to Modern, Fresh or Bold.
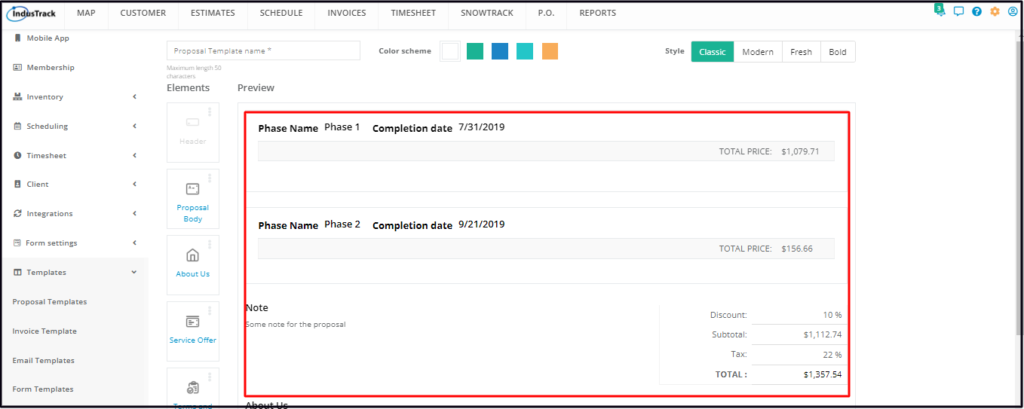
Preview
This section is where the contents of the enabled elements will be displayed. Any changes made to the elements, color and style can be viewed in this section as changes are made.
The Elements
Add the Elements or Components to your builder. Use the available elements to add details to your proposal templates such as the header, service offerings, signature and others.
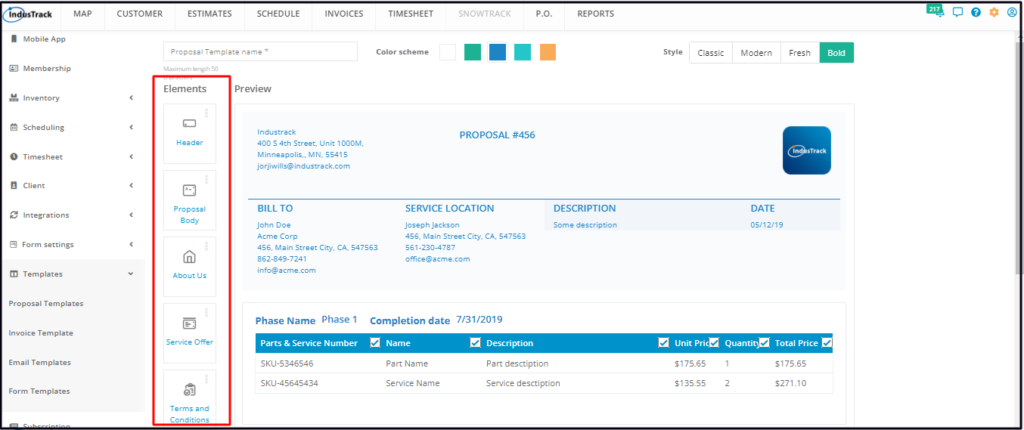
Each of the components has different formatting functions.
Header
- Enable the Header element to add this to the template. When enabled, the Header panel will be visible on the Preview.
- Click on the toggle switch to either enable or disable the element.
- If the element is disabled, this will be greyed out.
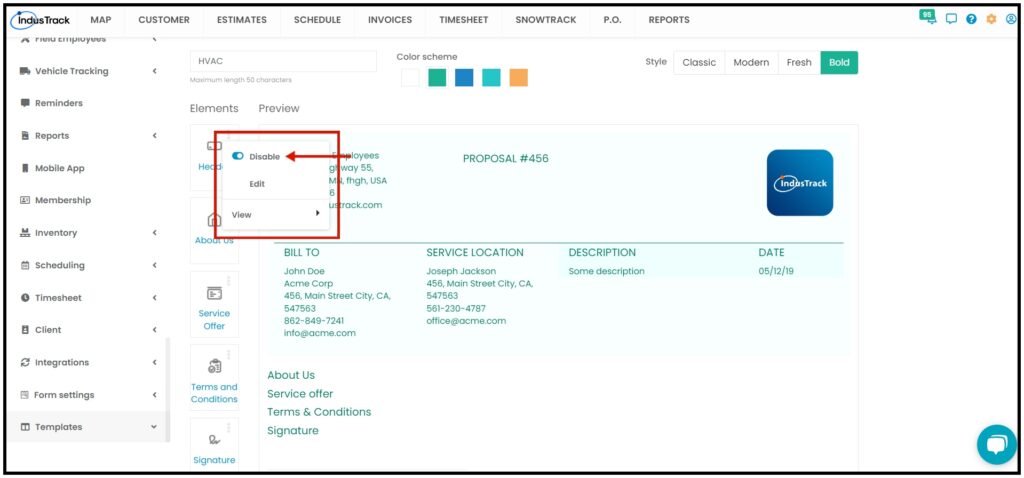
- Edit Header, this will allow you to edit your Company Contact Information.
- You will be able to edit the company name, address, number, logo, and company email.
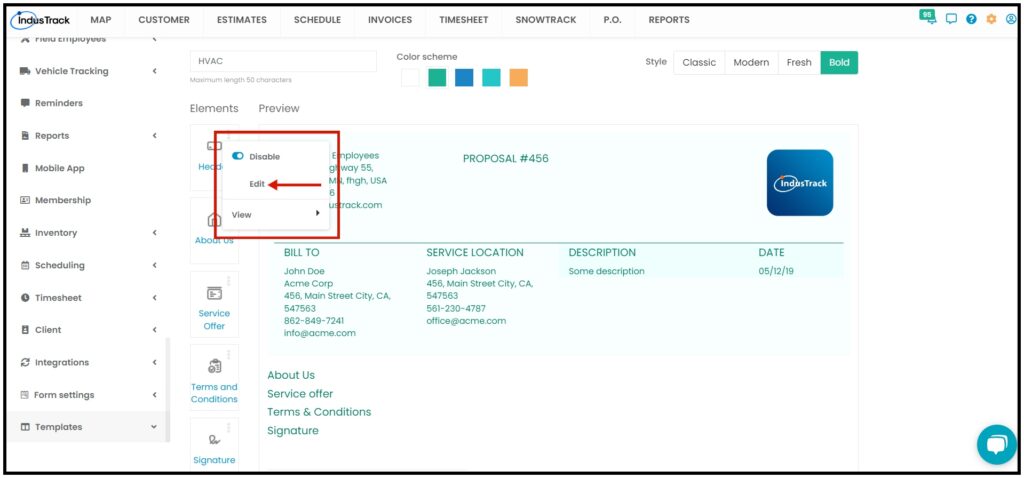
- From the view option, select the style or design of the template. This option is the same as the Style option at the upper right-hand corner of the builder.

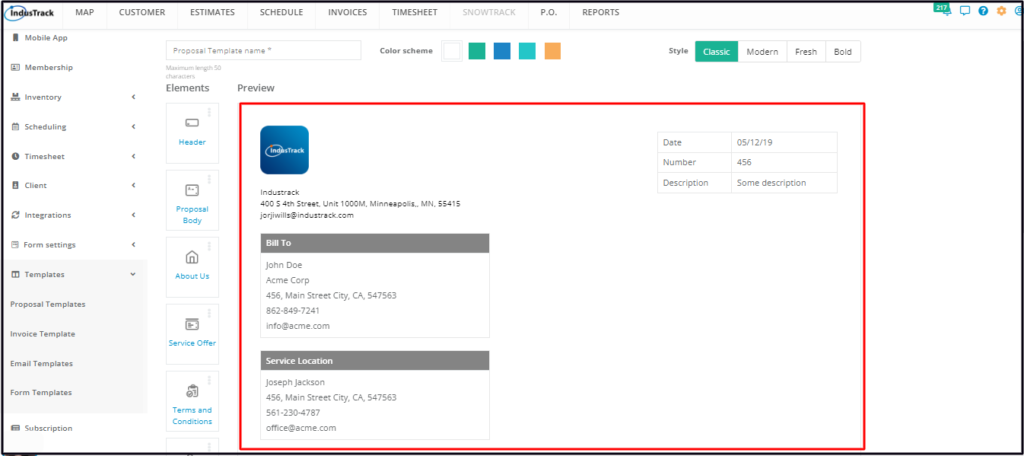
- The Header Element contains the placeholders for:
- Company Logo, Physical Address and Email – The information will be visible in your template and proposal depending on how you set up your company’s Information in the system via the Company Settings page.
- Billing Details – This is a placeholder on the template. The information will be pulled from the client’s Contact Information and automatically added to your proposal.
- Service Location – This is a placeholder on the template. The information will be pulled from the client’s Contact Information and automatically added to your proposal.
- Date – This is the placeholder for the current date or date when the estimate was created.
- Number – This is the placeholder for the Estimate or Proposal Number.
- Description – This is the placeholder to be used to key in a short description of the estimate.
Proposal Body
- Enable the Proposal Body element to add this to the template. When enabled, the panel will be visible on the Preview.
- Click on the toggle switch to either enable or disable the element.
- If the element is disabled, this will be greyed out.
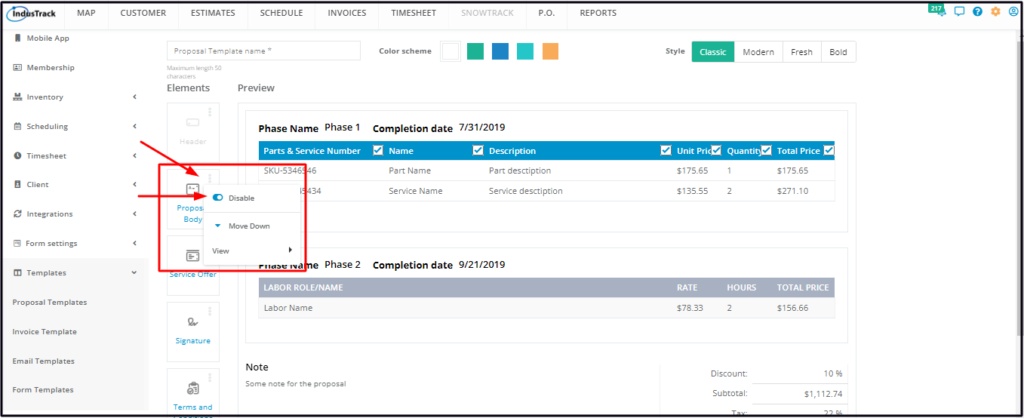
- The Proposal Body element contains the placeholders for the estimate details including the parts, services, assemblies, equipment and labor.
- This element also includes placeholders for Totals, Subtotals, Discounts, Taxes and Notes.
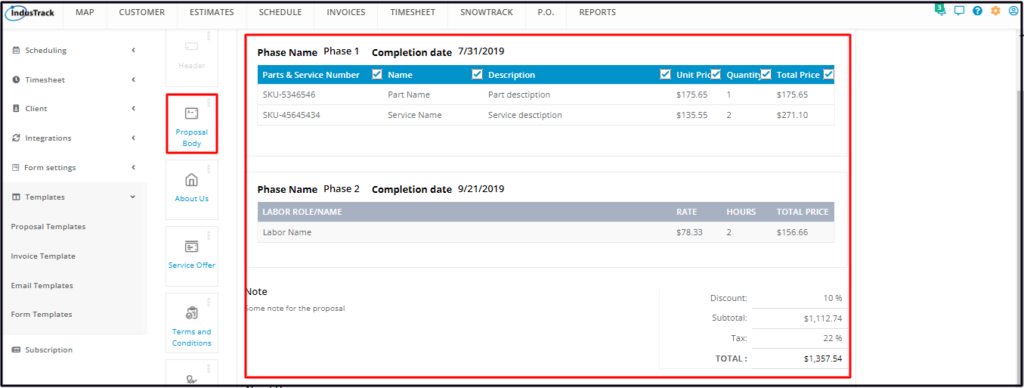
- From the view option, select how the estimate details will be displayed if the template is used, either Full, Detailed or Totals Only

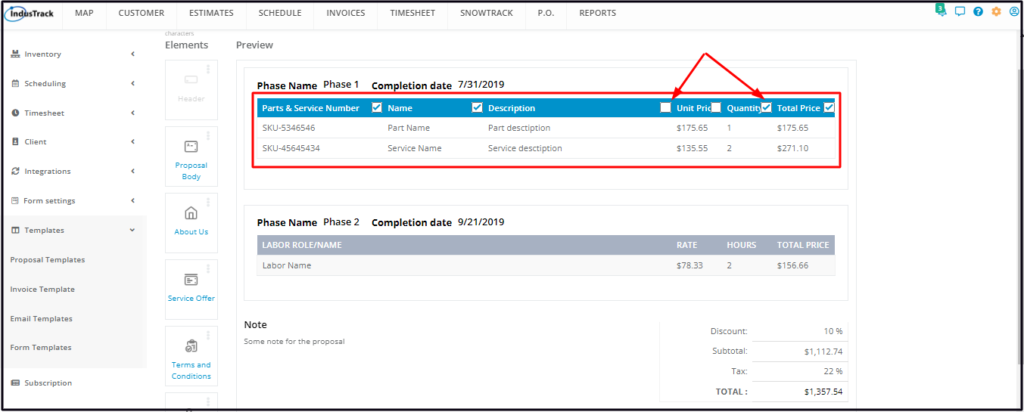
- Full View
- Under this view, select which of the columns will be included (or not included) on the Proposal Template. From the Preview Section, tick or untick the checkboxes of the column headers to do this.
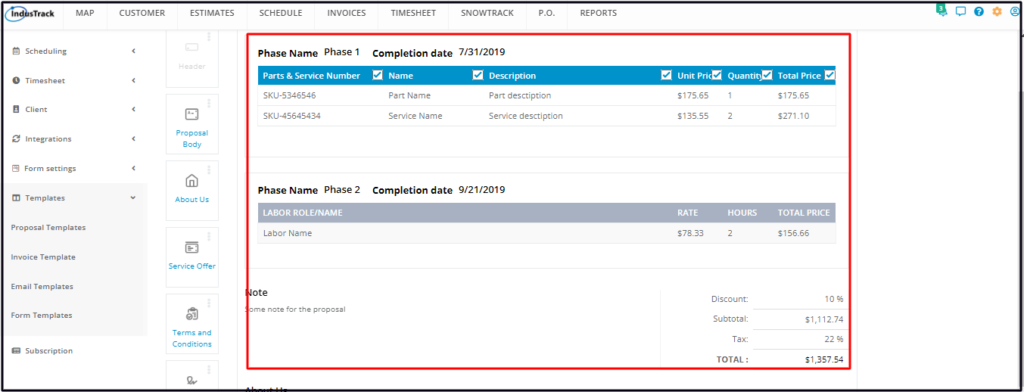
- Detailed View
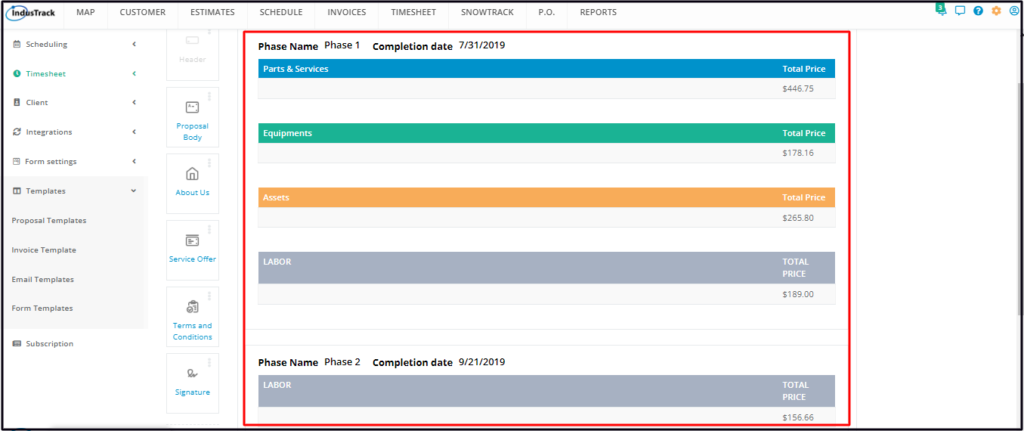
- Totals Only View
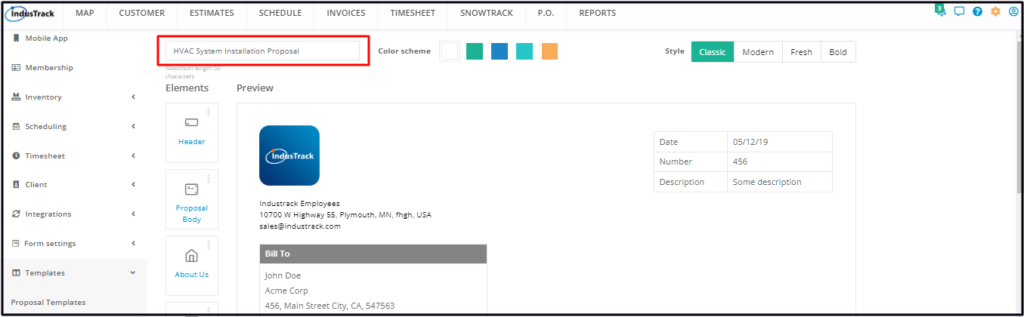
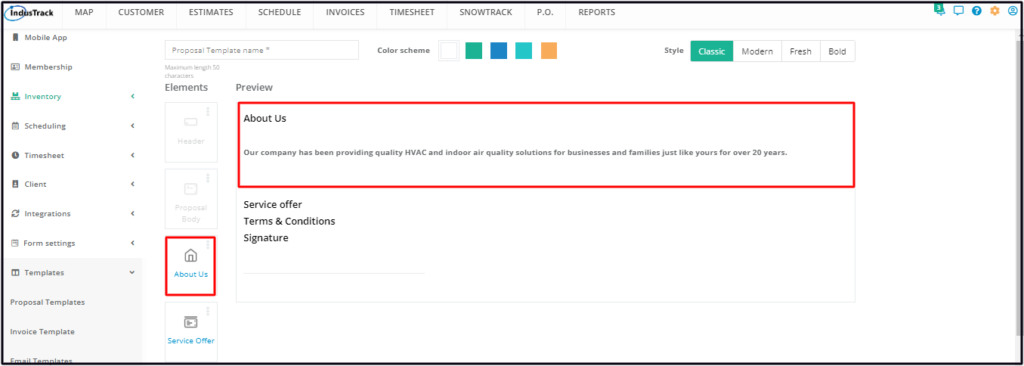
About Us
- Enable the About Us element to add this to the template. When enabled, the About Us panel will be visible on the Preview.
- Click on the toggle switch to either enable or disable the element.
- If the element is disabled, this will be greyed out.
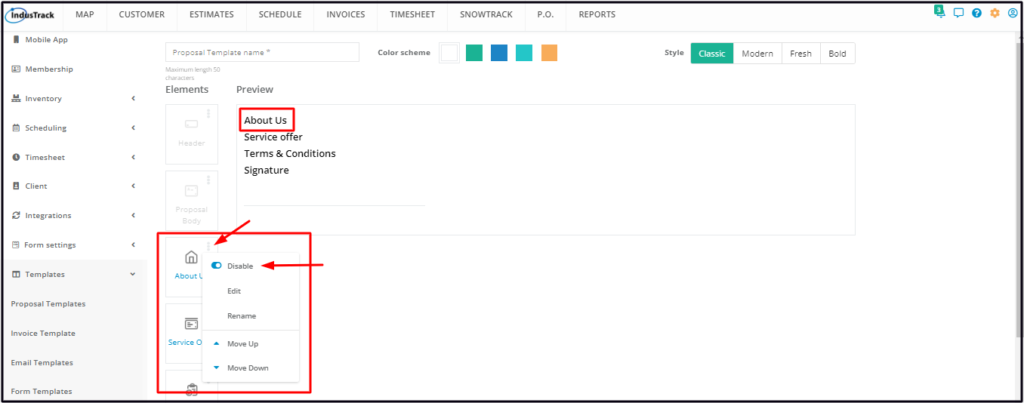
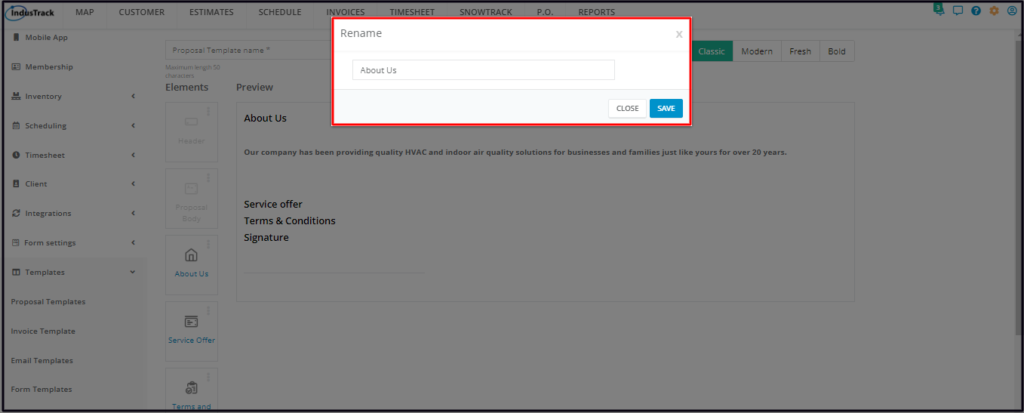
- To add information about the company, select Edit from the 3-dot menu. This will bring up the About Us text editor. Key in or paste the details and Save.
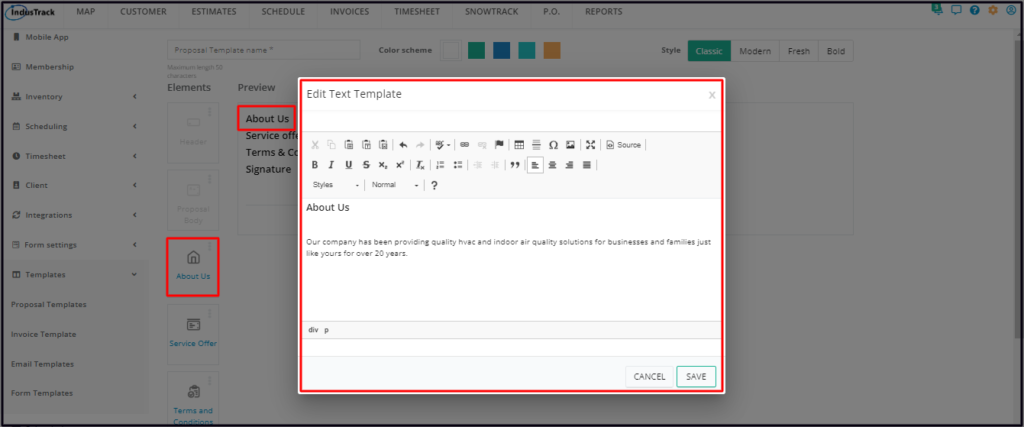
- To edit the element title “About Us”, select Rename from the 3-dot menu. Edit the title accordingly and Save.
Service Offer
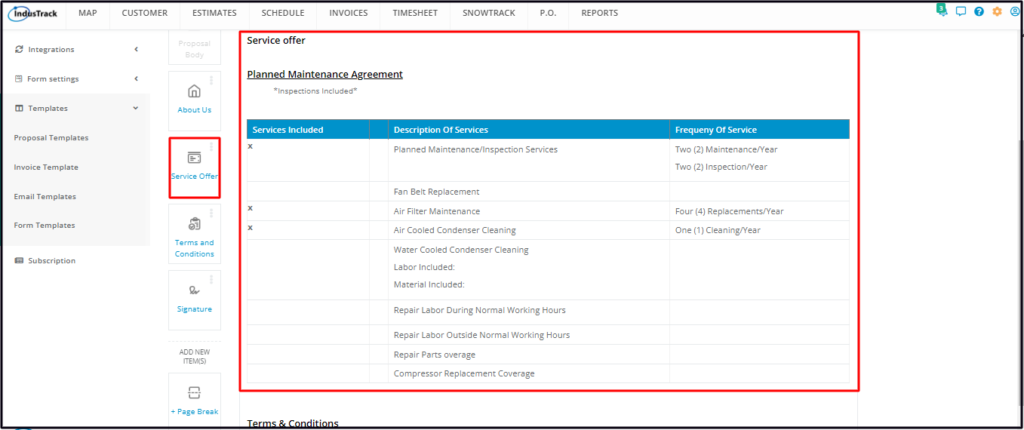
- Enable the Service Offer element to add this to the template. When enabled, the Service Offer panel will be visible on the Preview.
- Click on the toggle switch to either enable or disable the element.
- If the element is disabled, this will be greyed out.
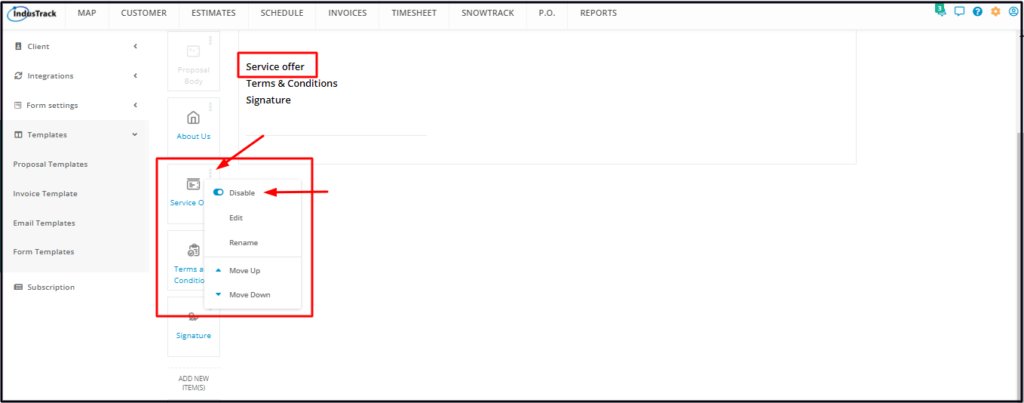
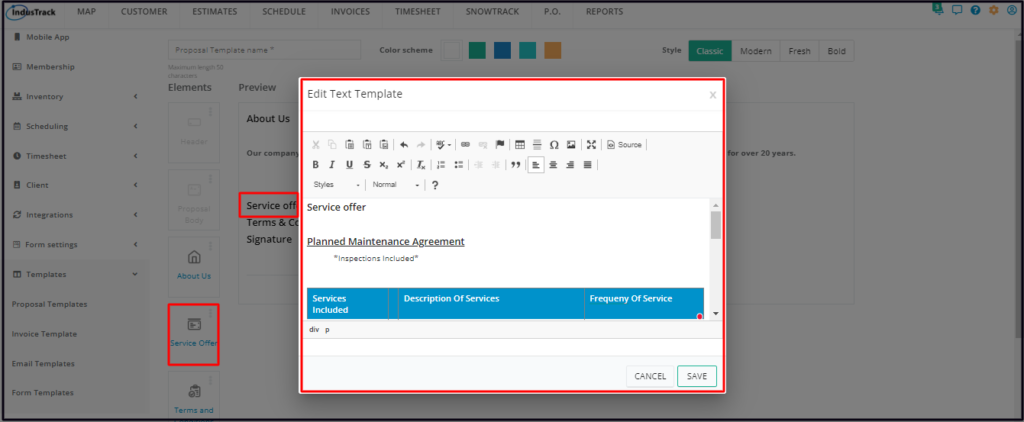
- To add information about the services offered, select Edit from the 3-dot menu. This will bring up the text editor. Key in or paste the details and Save.
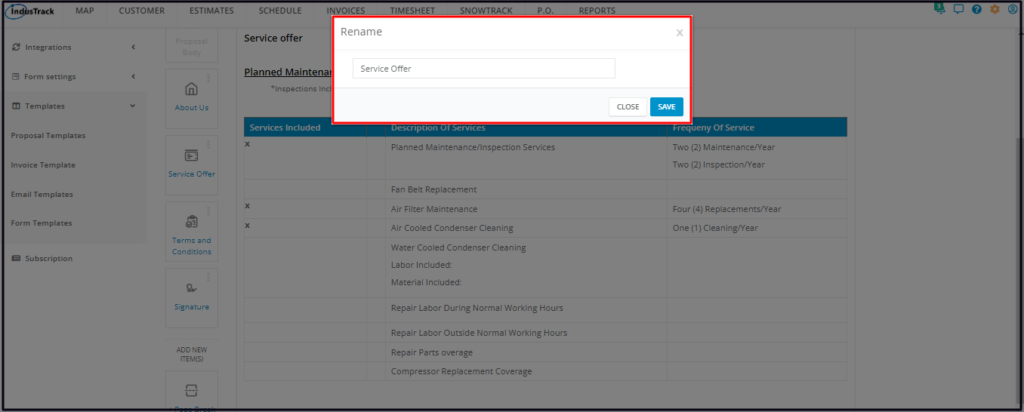
- To edit the element title “Service Offer”, select Rename from the 3-dot menu. Edit the title accordingly and Save.
Terms and Conditions
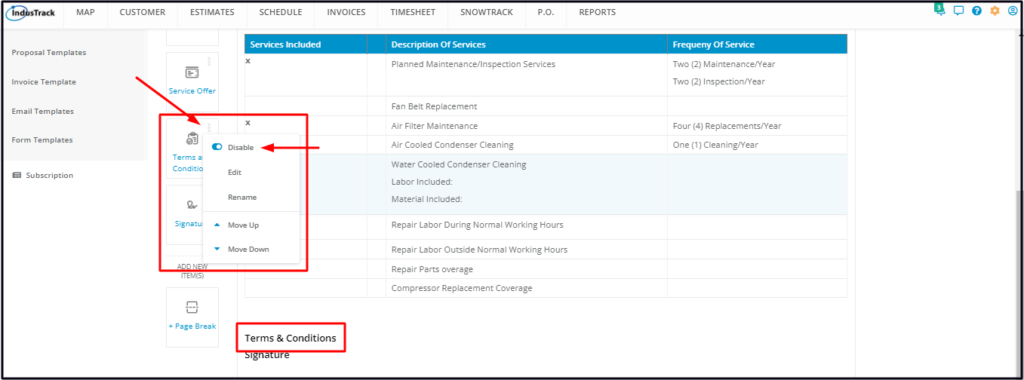
- Enable the Terms and Conditions element to add this to the template. When enabled, the T&Cs panel will be visible on the Preview.
- Click on the toggle switch to either enable or disable the element.
- If the element is disabled, this will be greyed out.
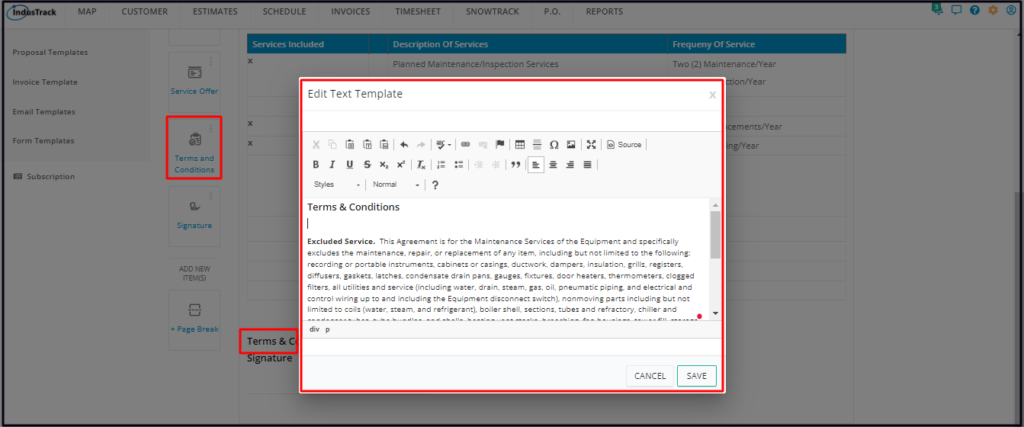
- To add information about the terms and conditions, select Edit from the 3-dot menu. This will bring up the text editor. Key in or paste the details and Save.

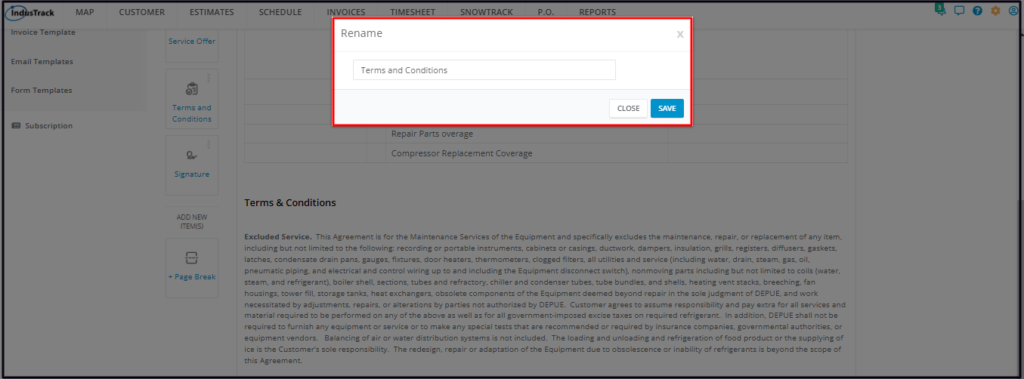
- To edit the element title “Terms and Conditions”, select Rename from the 3-dot menu. Edit the title accordingly and Save.
Signature
- The Signature element is a fixed panel on the Proposal Template. The only option available for this element is its place or order on the template.


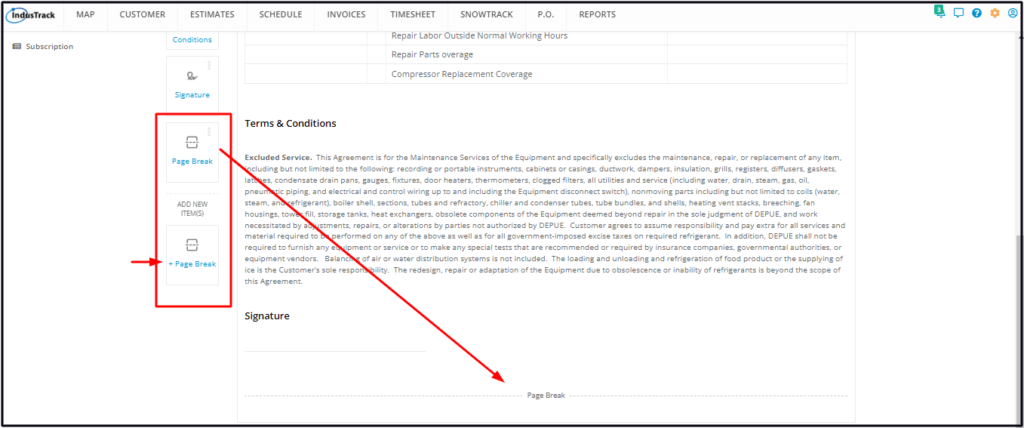
Page Break
- The + Page Break element can be used multiple times in a template. Using the element will cause the printing of a new page at the point it occurs on the template.
- Click on the element to add a page break to the template.
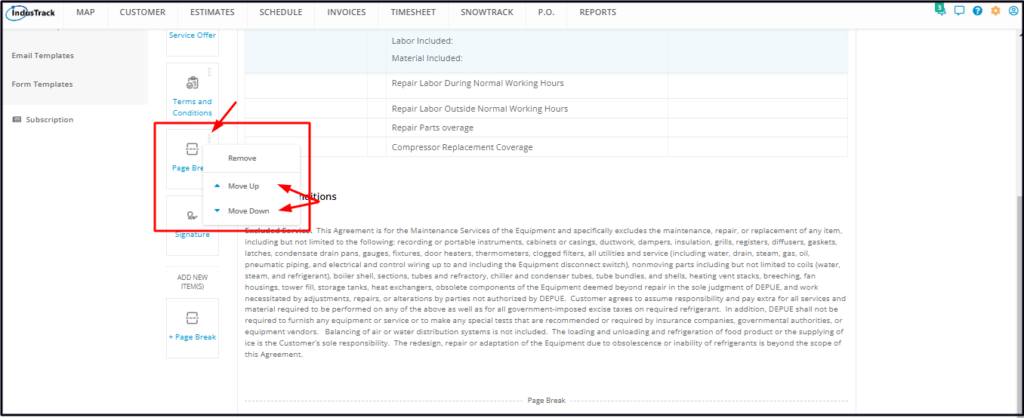
- Move the element to where the break will occur. Use the Move Up or Move Down options.
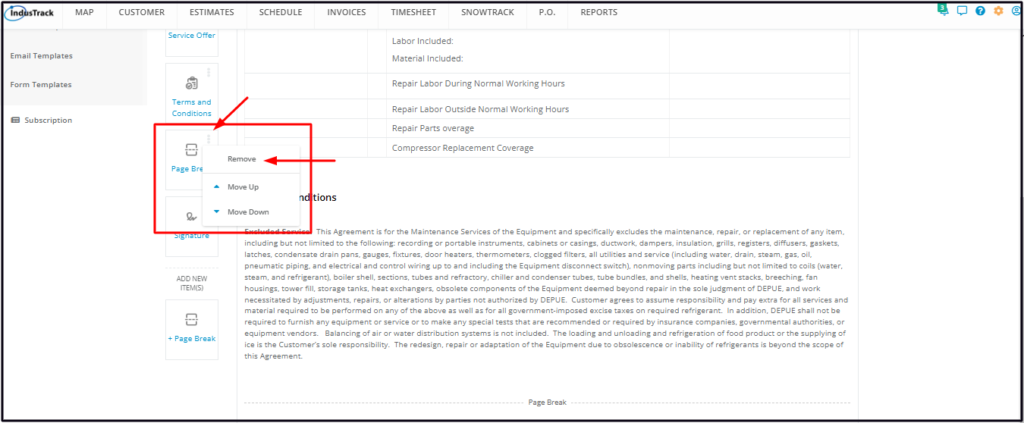
- To undo the added page Break, select Remove from the 3-dot menu options.
- To add another Page Break element, click the +Page Break element at the bottom again.
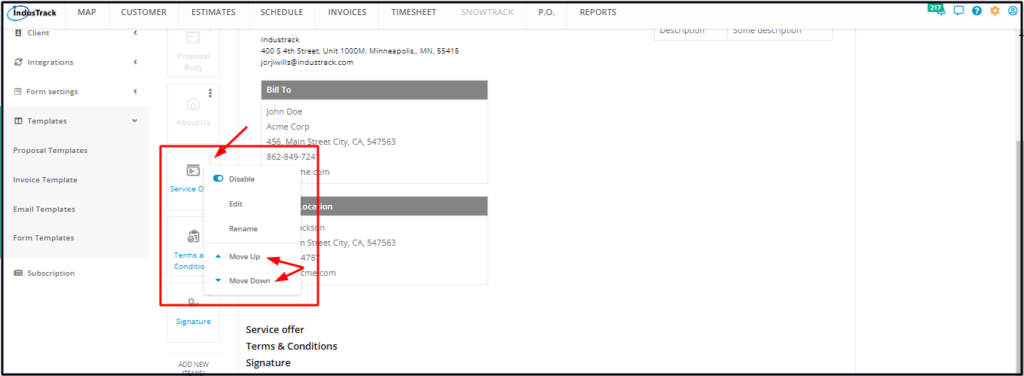
Elements Order
Move the elements into the order you want them to be placed on the proposal template.
- Click on the 3-dot menu of the element. Either move the element up or down.
Set a Proposal Template as the Default One
Assign one of the proposal templates on your list as the Default Proposal Template. This means that the selected template will load when a new proposal template is to be created from scratch.
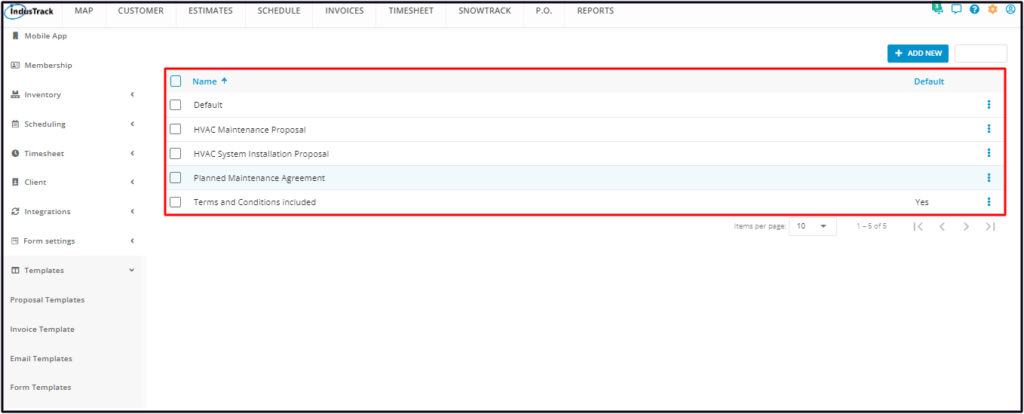
From the Proposal Templates List, find the one to be assigned. Go to the 3-dot menu to its right and select Set As Default.
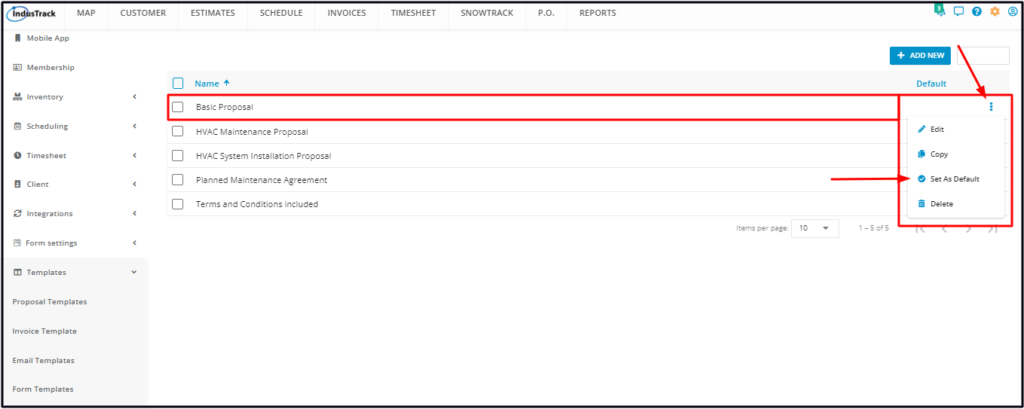
The selected template will now have the “Yes” tag under the column Default.
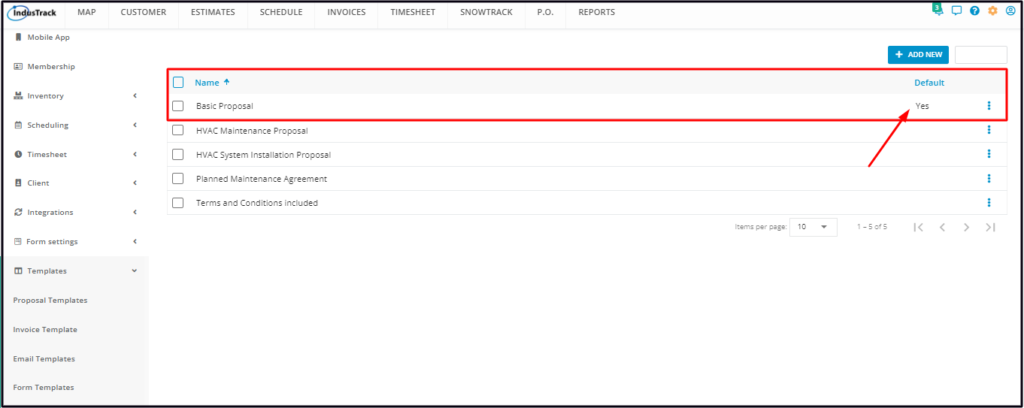
Note that only one template can be set as default at a time. Setting a second template as default will override the existing one.
Edit/Update a Proposal Template
Make changes to existing Proposal Templates.
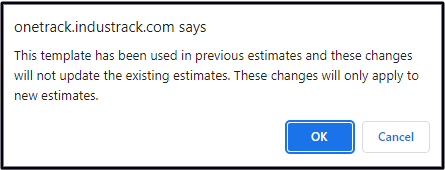
Note that if the proposal template has been used in previous estimates, the changes will not update the existing estimates. These changes will only apply to new ones.
From the Proposal Templates List, find the one to be updated. Go to the 3-dot menu to its right and select Edit.
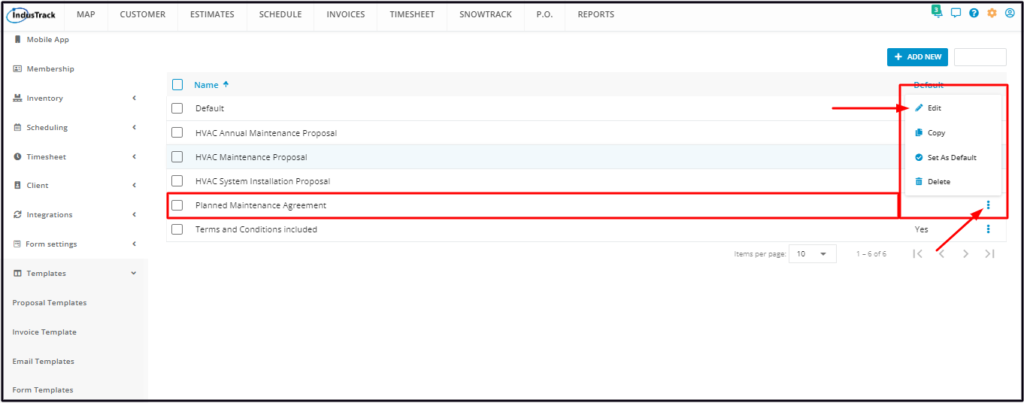
Make the necessary changes to the template using the builder. Once done, Save the changes.
A notification will come up. Click OK to proceed with the updating of the template. Select Cancel to abandon the action.
Delete a Proposal Template
Delete a Proposal Template that is no longer in use or was created in error. It is wise to exercise caution when using this function. Deleting a template may have an effect on other functions, settings or data. This action can not be undone.
Find the proposal template to be deleted from the list. Tick the checkbox to its left.
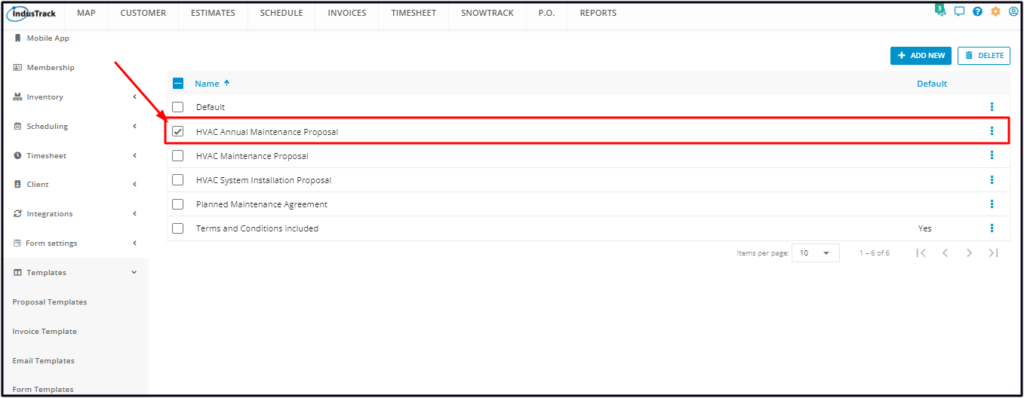
- Alternatively, click on the 3-dot menu to the right of the template and select Delete.
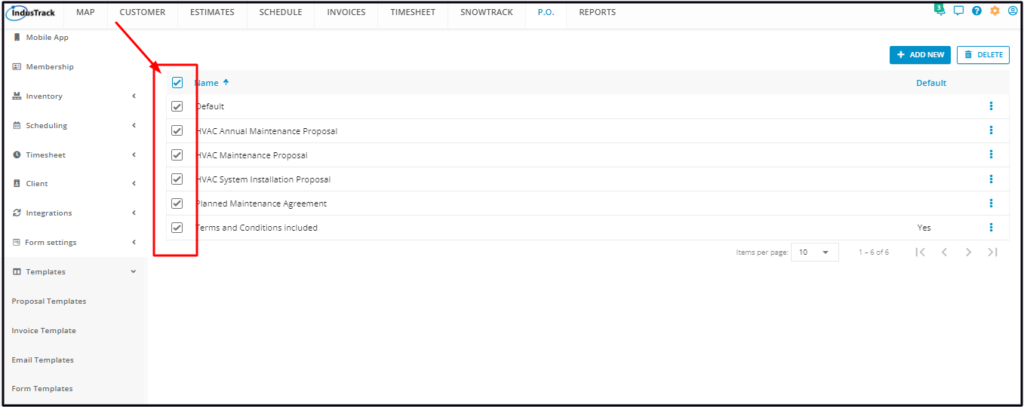
- To delete multiple task templates from the list, tick the checkboxes to the left of all. If all items will be deleted, just tick the checkbox of the Name header.
Go to the Delete button.
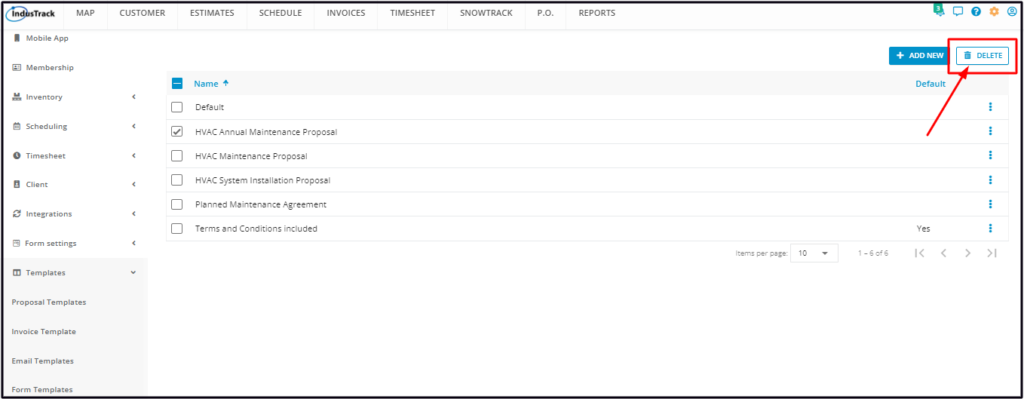
A warning window will come up. Click Yes to continue with the deletion and Cancel to abandon the action.

The proposal template will be removed from the list.
0 Comments