Triggers
Add Triggers to forms to automatically prompt the completion of these when certain triggers associated with tasks or jobs are activated/completed.
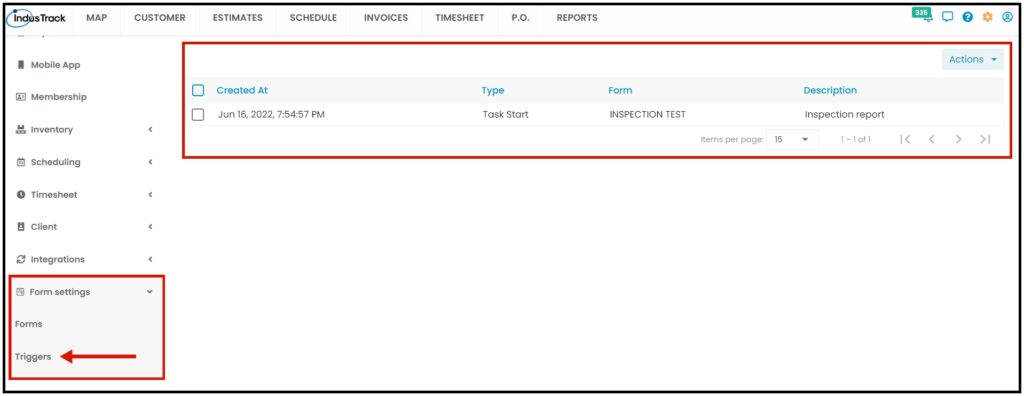
To access the Triggers page, go to Settings > Form Settings > Triggers.
The Triggers page contains all of the form triggers that have been created and will be created in IndusTrack.
From this page, you will be able to view, create, edit, and delete triggers.
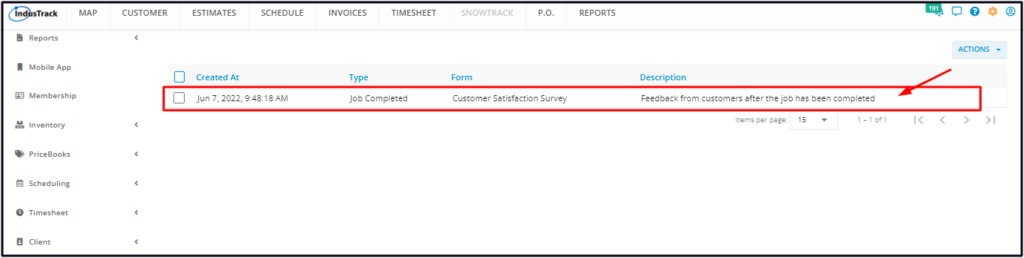
Triggers List/Table
The Triggers table has 4 columns:
- Created At – This refers to the date and time when the trigger was created.
- Type – This refers to the condition/action/status that will prompt the execution of the form.
- Form – This refers to the form that will be triggered.
- Description – This is a brief about the trigger. It is optional information about the trigger.
Sort the Triggers List
Click on a column header to sort the list according to the selected header.
Items Per Page
Select the number of triggers to be displayed per page. Options to choose from are 15, 25, and 50.
Use the side arrows to move from one page to another (if there is more than one page). If there is only 1 page, this feature is disabled.
Create a Trigger
To create a new trigger, click the ACTIONS button and select +AddNewTrigger.

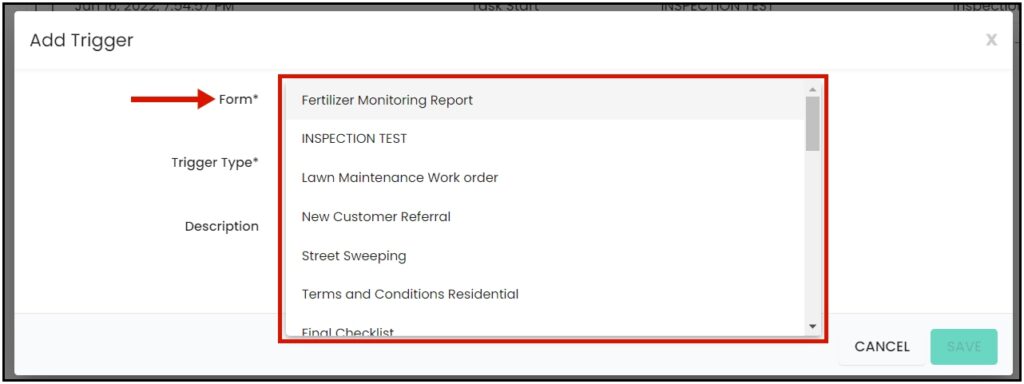
From the Add Trigger window, fill out the details. fields with * are required ones.
- Form* – Select from the drop-down list of forms.
- Trigger Type* – Select the condition/action/status that will prompt or “trigger” the execution of the form.
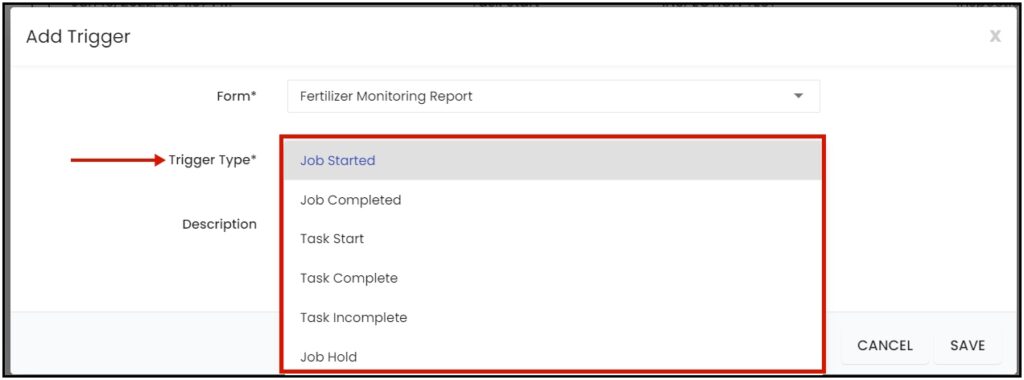
- Description – Add a short brief about the trigger. This will help the user/reader easily identify what the form is about.
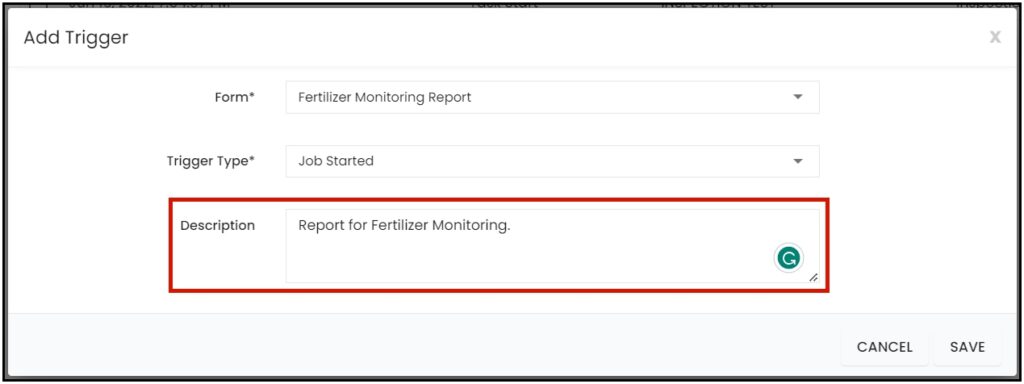
Save the new Trigger. This will be added to the Trigger List.

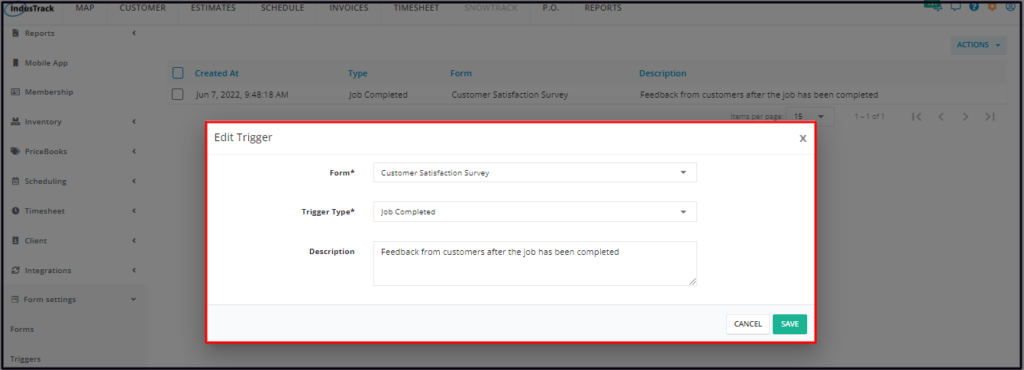
VIEW AND EDIT A TRIGGER
Click anywhere on the row of the trigger to be edited. This will open the trigger in edit mode.
Edit the trigger as may be needed. Save once done.
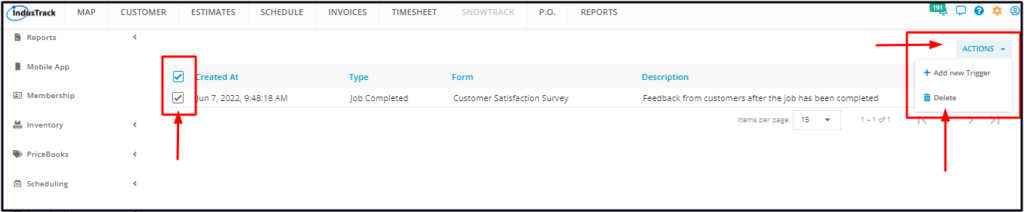
DELETE A TRIGGER
Click on the Actions button.
By default, the Delete option is disabled. Select the trigger to be deleted and tick the checkbox to its left. Select the Delete option which will now be enabled.
To delete multiple forms, tick the checkboxes of these forms and hit delete.
To delete all forms, tick the checkbox to the left of the Name header.