Purchase Orders
Purchase Orders detail the exact items or supplies or products to be rendered from your vendors. It specifies the item identification, price costs, quantities and units, preferred shipping information and others. In IndusTrack, these orders can be prepared and processed from either the backend (Settings) or the front end (Module). The functions from either end are the same.
Purchase Orders Module
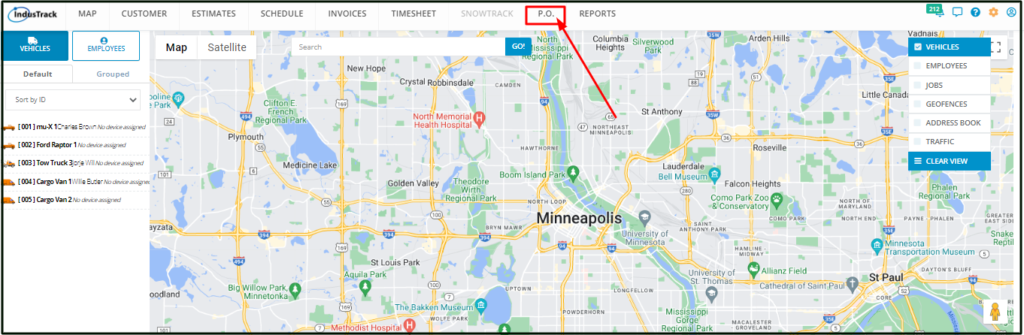
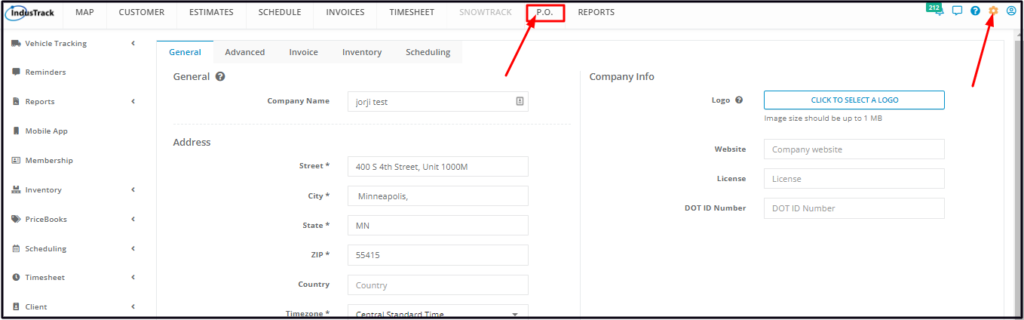
To create and manage Purchase Orders from the front end, select P.O. from the Module Headers. If the header is greyed out, you do not have any access (either view or edit) to the module.
The Module Headers are accessible both from the Home and Settings pages.
Purchase Orders Settings
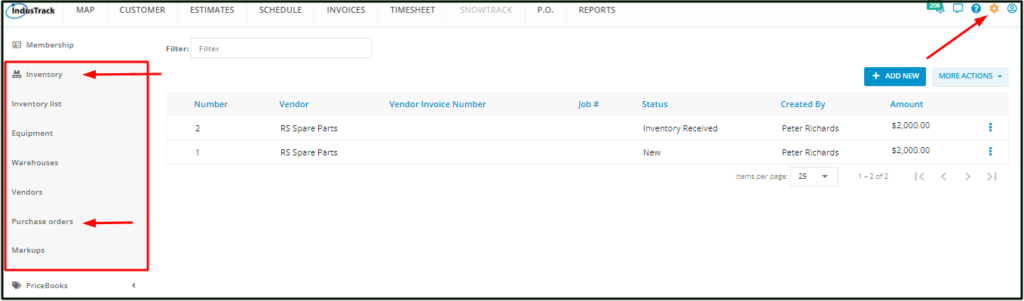
To create and manage purchase orders from the backend, go to Settings > Inventory > Purchase Orders.
The Purchase Orders page makes creating, viewing, managing, ordering and receiving inventory renders a lot easier.
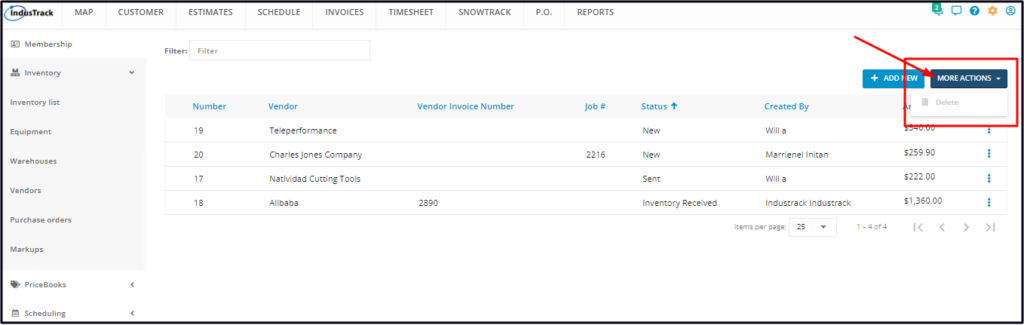
Purchase Orders List
The page defaults to the Purchase Orders List, presented in table format. The vendor and some of the 0rder details are shown in this table.
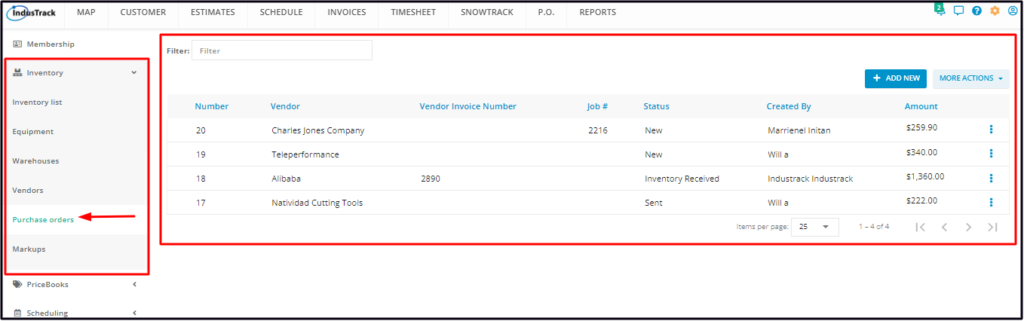
- The Purchase Orders List has 7 columns:
- Number – The column reflects the assigned Purchase Order number.
- Vendor – The column reflects the supplier or provider name of the ordered items.
- Vendor Invoice Number – The column reflects the supplier’s Invoice Number(s) associated with the Purchase Order.
- Job # – The column reflects the associated customer Job Order number, if applicable.
- Status – The column reflects the phase or stage where in the order process the PO is at. This could be:
- New – This status means that the Purchase Order has been created. No other action has been made.
- Sent – This status means that the Purchase Order has been emailed/sent to the supplier.
- Inventory Received – This means that ordered items have been received.
- Created By – The column reflects the staff (logged) who prepared the Purchase Order.
- Amount – The column reflects the total value or cost of the Purchase Order.
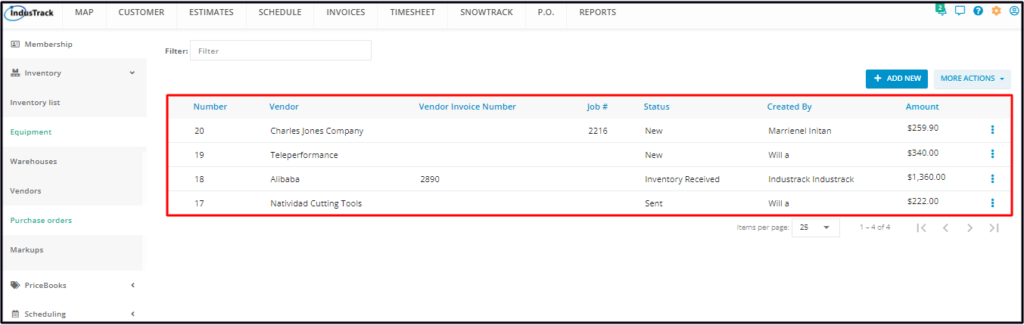
- 3-dot Menu – This button contains different options, depending on the Purchase Order’s Status.
- Edit
- Used to change or update an order.
- Option available for all statuses.
- Preview
- Used to open the order record in view mode.
- Option available for all statuses.
- Print
- Used to print a hard copy or save a PDF copy of the Purchase Order.
- Option available for all statuses.
- Send Mail
- Used to email the Purchase Order to the vendor.
- Option available for New status only.
- Resend Mail
- Used to resend the Purchase Order to the vendor via email.
- Option available for Sent status only.
- Receive Inventory
- Used to receive the ordered items at the recipient location or warehouse.
- Available for orders with a status of New or Sent.
- Edit
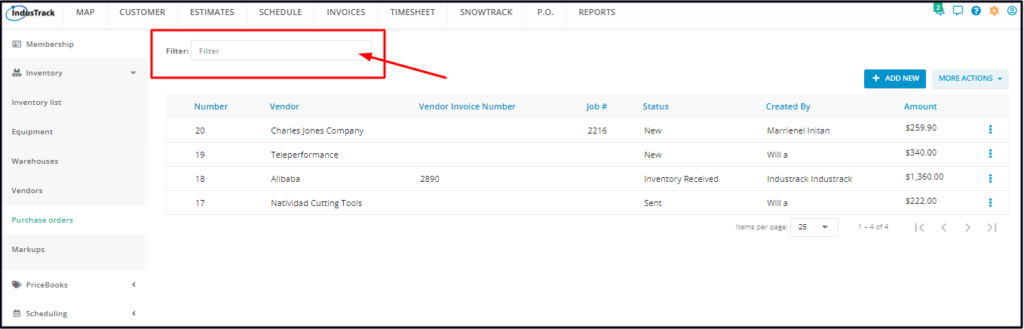
Filter Bar
Use the Filter to narrow down the information on the table or quickly find a specific Purchase Order. Do a search using the Purchase Order Number, the Vendor, the Vendor Invoice Number and the Job Order #.
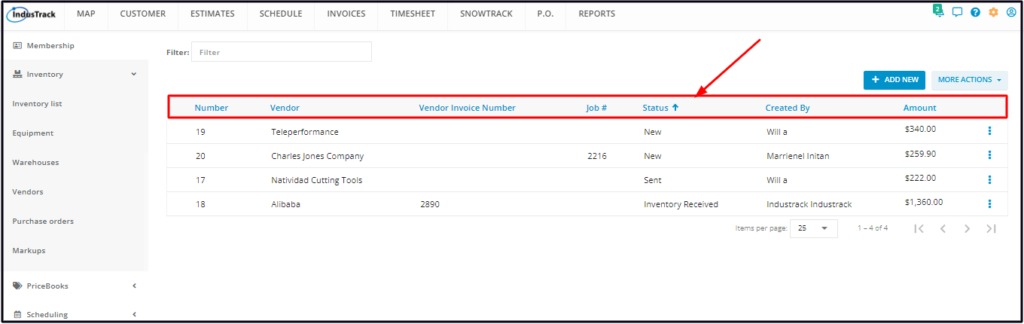
Sort the Purchase Orders list
Click on the column header to sort the list according to the selected category. The list can be sorted according to Purchase Order Number, the Vendor, the Vendor Invoice Number, the Job Order #, the Status and the Amount.
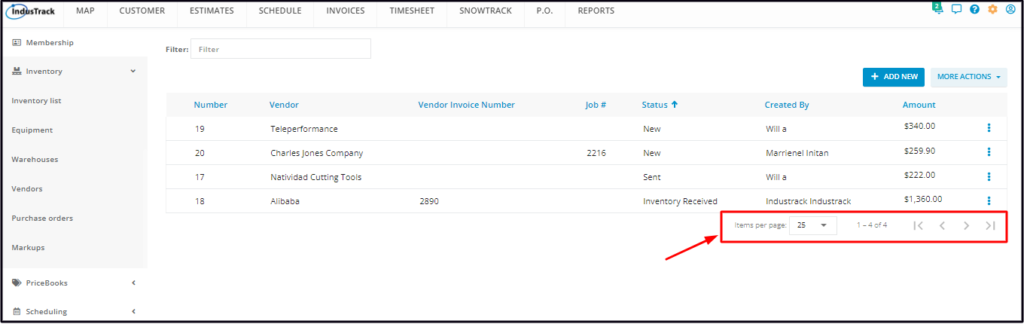
List Per Page
Select the number of Purchase Orders to be displayed per page. Options to choose from are 10, 25, 50, and 100. Use the Previous and Next buttons to move from one page to another (if there is more than one page).
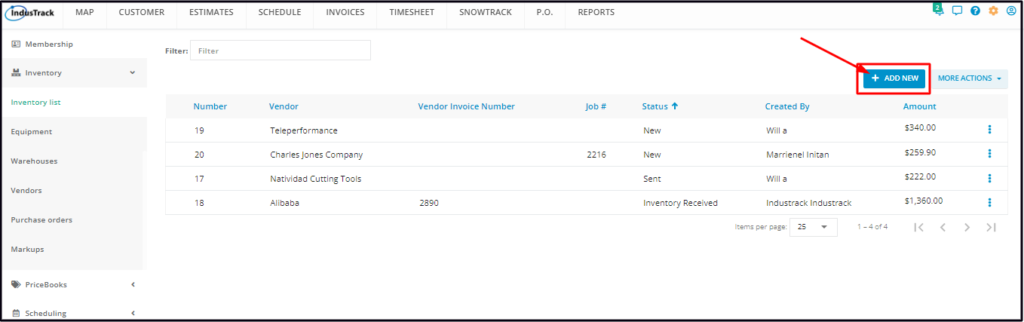
+ Add New Button
This button is used to prepare new Purchase Orders.
More Actions Button
This button is used to delete Purchase Orders.