
Customer Profile: Messaging
Send an email to your customer via IndusTrack. Any message sent will be added to the Message listing under the Messaging Tab of the Customer’s Profile. This will help you easily keep track of any messages sent to your client.

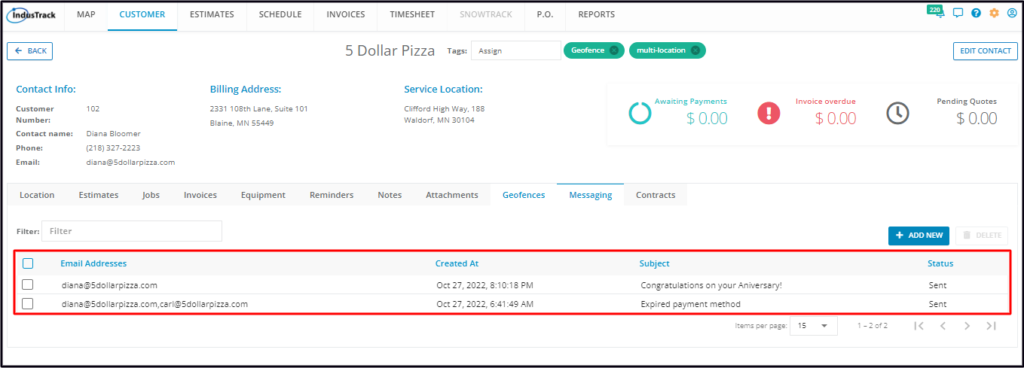
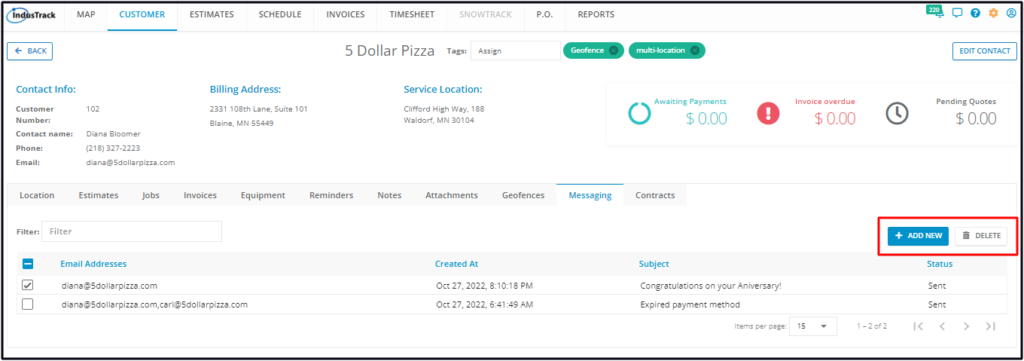
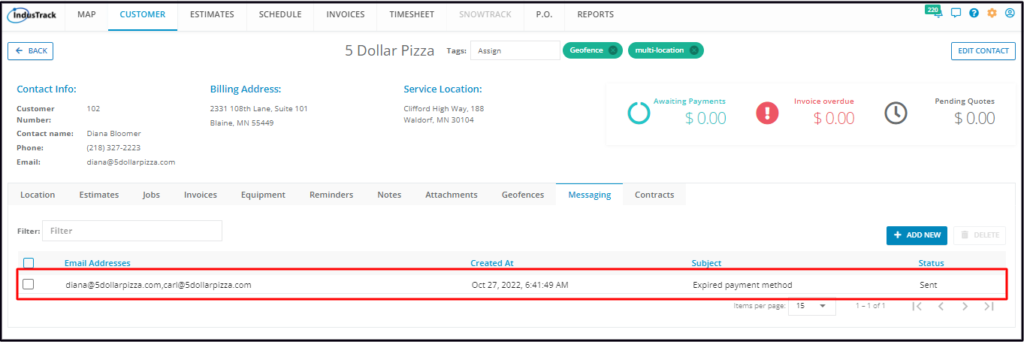
The Messages List contains a listing of all the different messages that have been created and sent to the client.
The details that are shown on the listing are:
- The email addresses of the recipients
- The message/email send date and time
- The subject of the email
- The message status
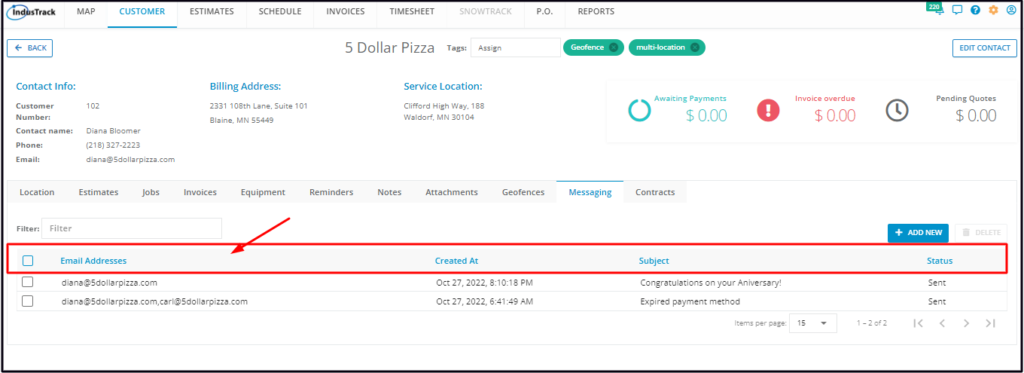
Click on the table header to Sort the list alphabetically according to the preferred category.
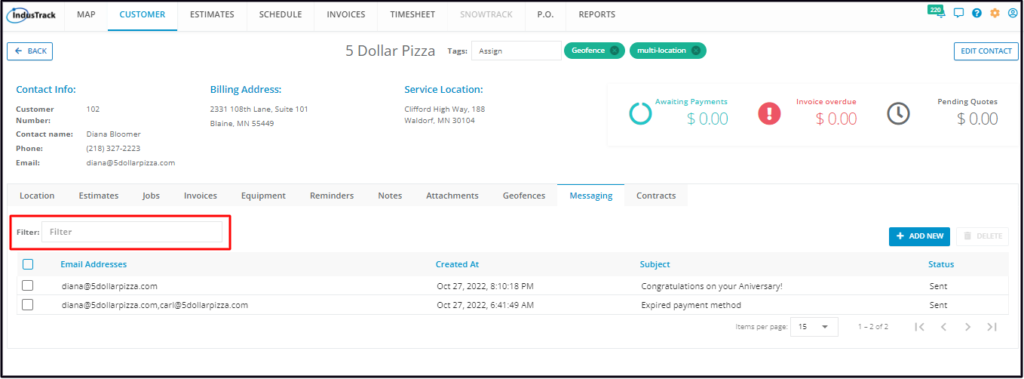
Use the Filter Bar to quickly find a message.
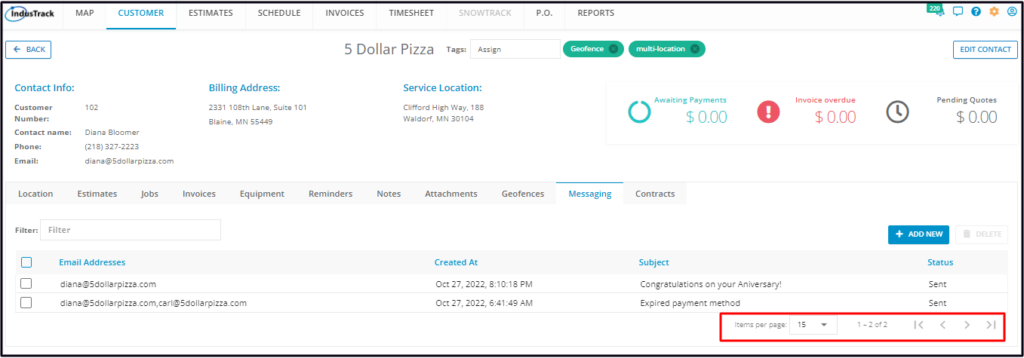
Select the number of messages to be displayed per page. Options to choose from are 15, 25, and 50. Use the Previous and Next buttons to move from one page to another (if there is more than one page).
Use the Add New and Delete buttons to create or remove a Message(s).
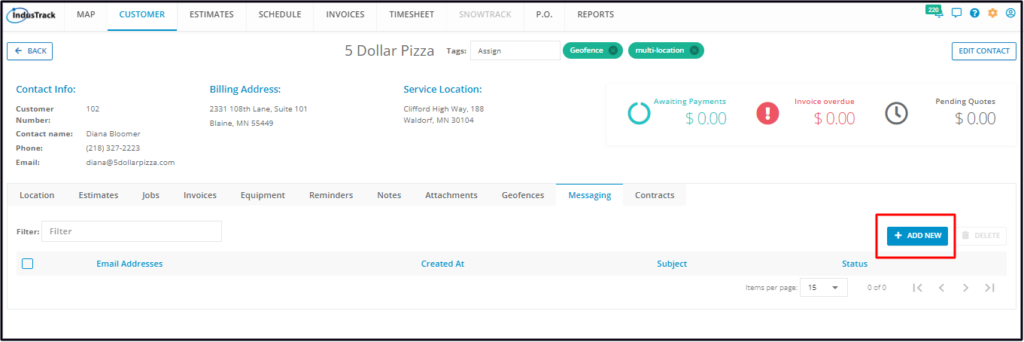
Create and Send a Message
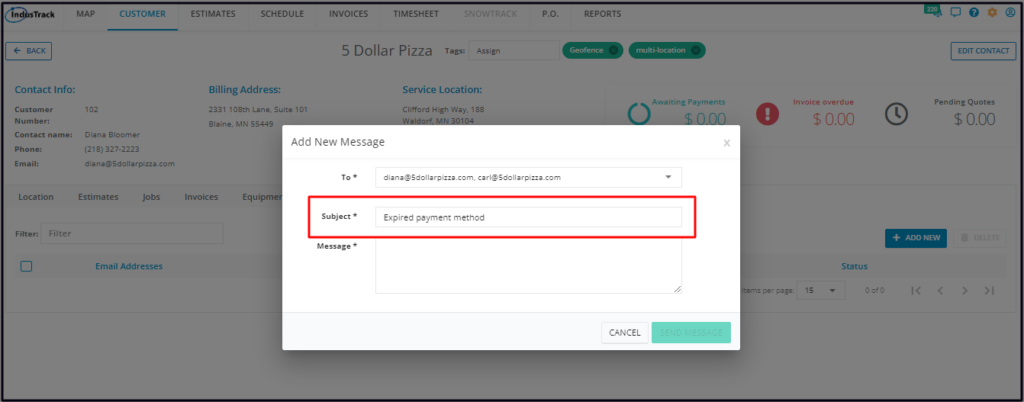
To create and send a message to the customer, click Add New.
The Add New Message window will come up. Prepare your new message. All fields are required.
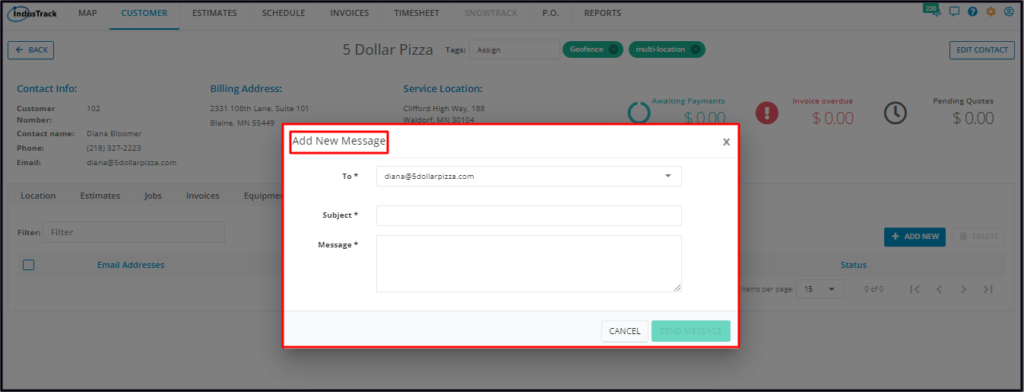
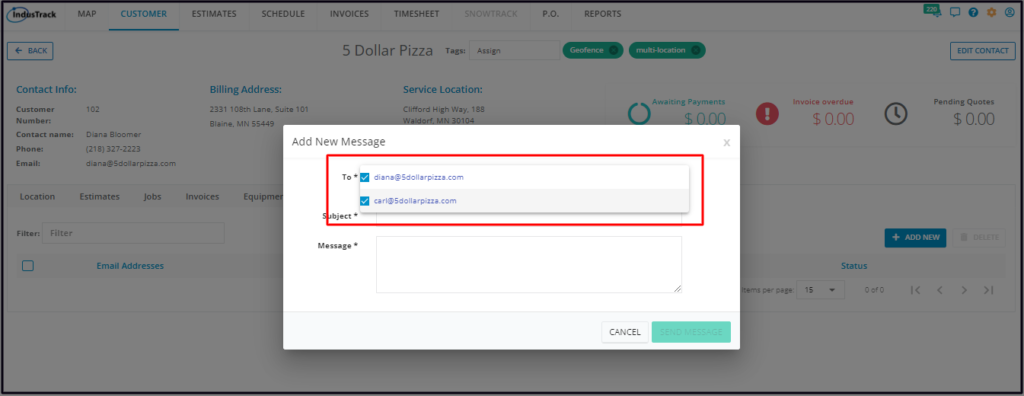
The default email address is the contact email address indicated on the customer profile. If the client has more than one location, with different email addresses, select the correct one to be used or select both.
Key in the Subject* of the email.
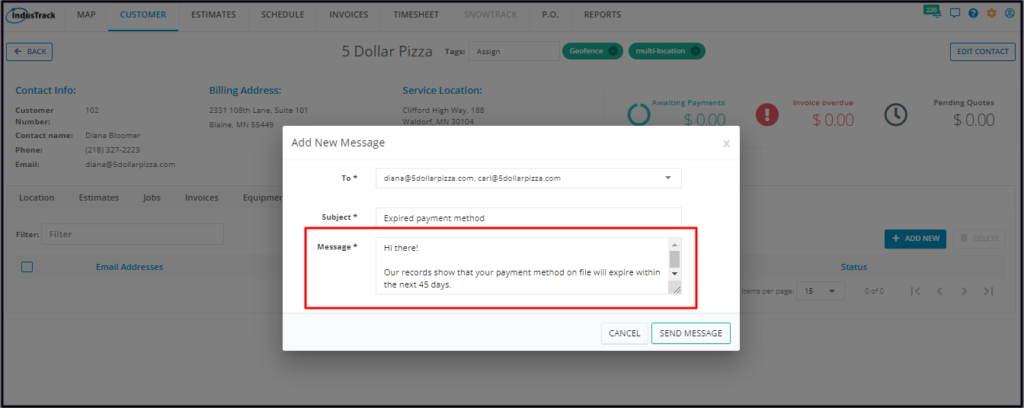
Prepare your Message*. Send the email once done.
The message will be added to the listing.
Delete a Message Record
Delete a message record from the client’s profile that is no longer being used/referred to or was created in error. It is wise to exercise caution when using this function. Deleting a client’s record may have an effect on other functions, settings or data. This action can not be undone.
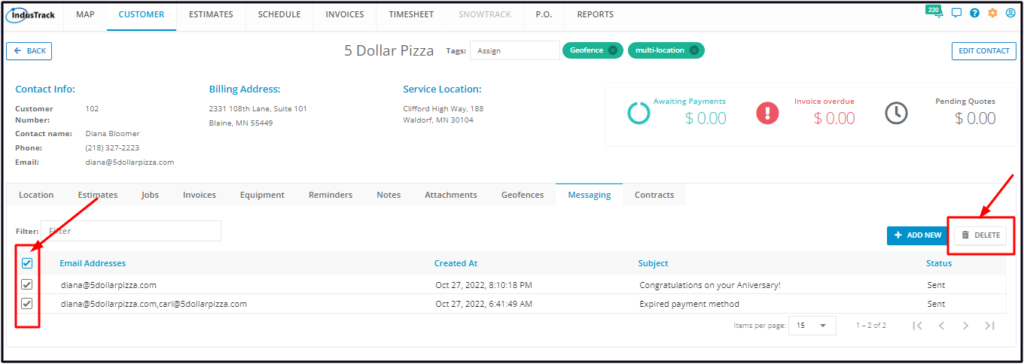
To remove a message record from the list tick the checkbox to its left and click Delete.

- To delete multiple message records, tick the checkboxes to the left of all. If all items on the list will be deleted, just tick the checkbox of the Name header.
The Delete Confirmation window will come up. Click Yes to continue with the delete action. Click No to cancel the action.
The message record will be removed from the list.