
Navigate Customer Module
Customers are essential assets of any business. Knowing your customer is critical to providing quality service that will keep them coming back to you. With its multiple features, IndusTrack wants to help you easily manage all of your customer relationships in a way that helps your business grow faster.
IndusTrack gives you a single platform to help you organize complex customer information. Its centralized fully integrated Customer Resource Manager will allow you to see everything about your transactions with your customer in one place. IndusTrack makes customer records retrieval easy.
To work on Customer Profile in IndustrackTrack, go to Customer on the module header. If the header is greyed out, you do not have any access to the module. If it does not appear on the header, your company account does not have access to it.
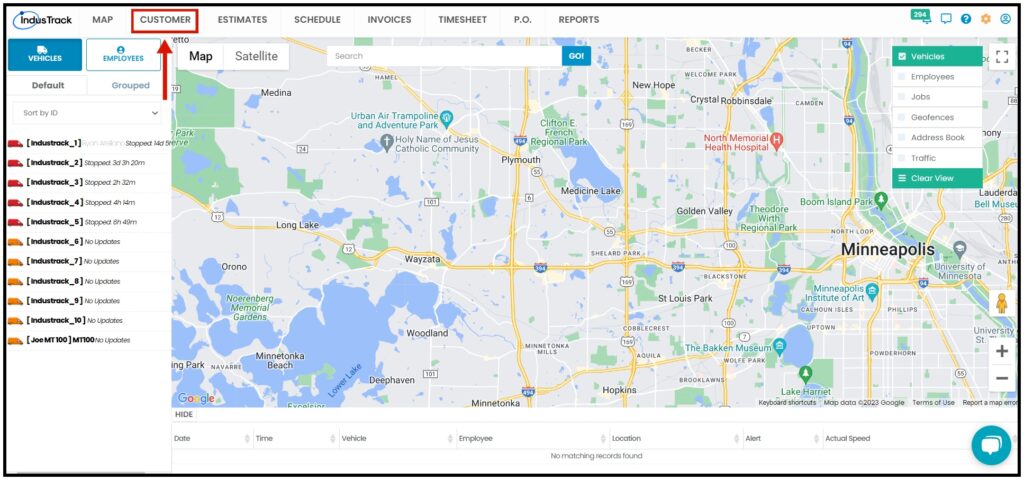
The Customer Module defaults to the Active Clients table which contains all of the customers that are active. This is also the page where customer profiles are created and deactivated.
Using the Customers Tables
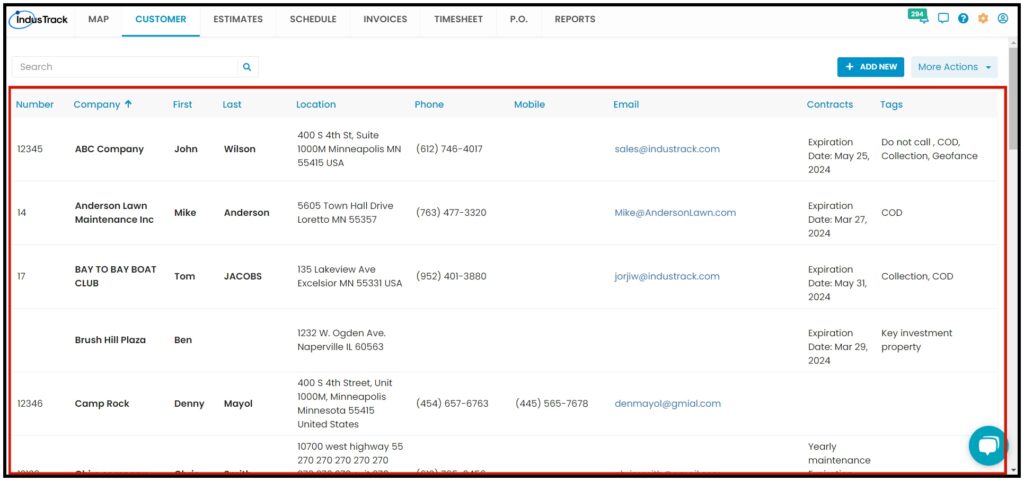
Both the Active and Inactive tables have 10 columns:
- Number – This refers to the Customer number.
- Company – This refers to the client’s business name.
- First / Last – This refers to the first and last names of the owner or the contact person.
- Location – This refers to the customer’s main service location.
- Phone – This refers to the contact person’s phone detail.
- Mobile – This refers to the contact person’s mobile number.
- Email – This refers to the contact person’s email address.
- Contracts – If applicable, this refers to either a Service Agreement or Membership.
- Tags – This refers to the list of tag/s that have been associated with the customer.
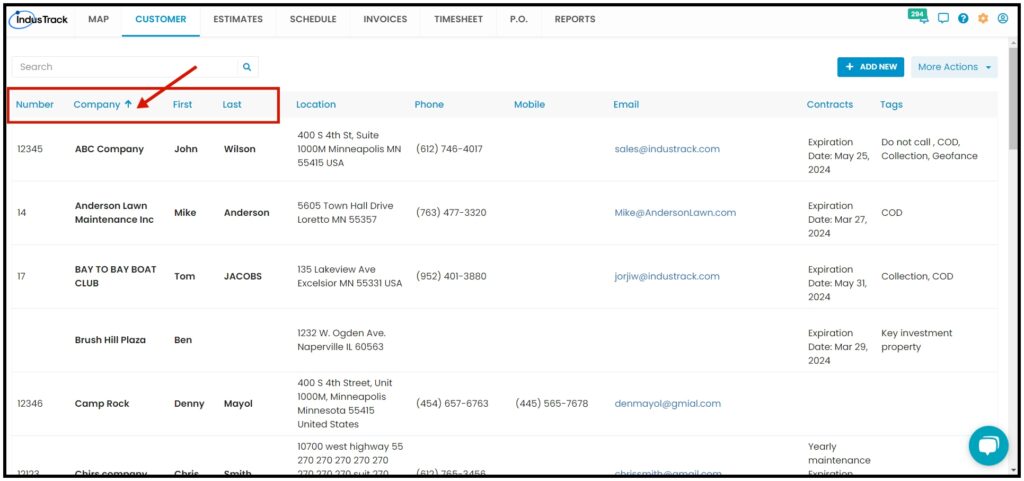
Sort the Customers list
The list gives basic information about the customers. Sort the list according to the customer number, company name, or the first/last name of the contact person. Click on the table header to sort the list alphabetically according to the selected header. This works for both tables.
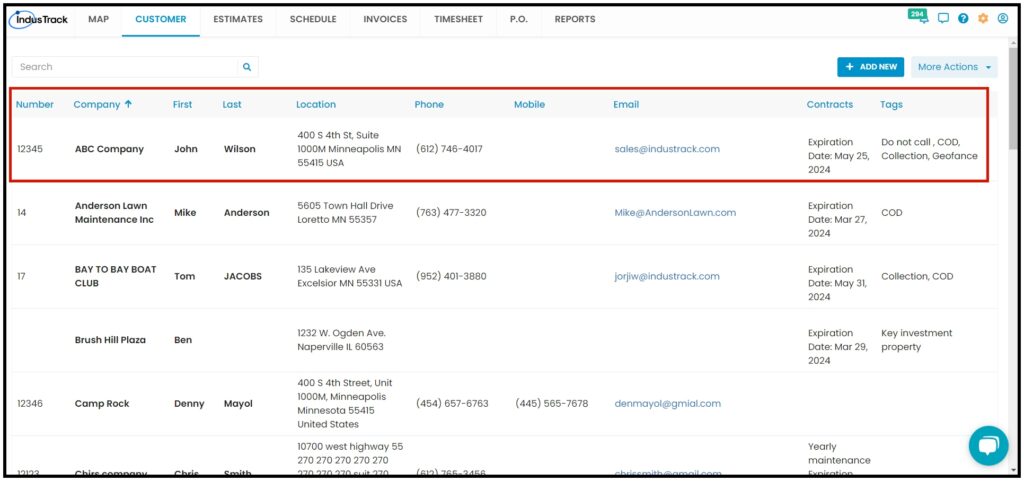
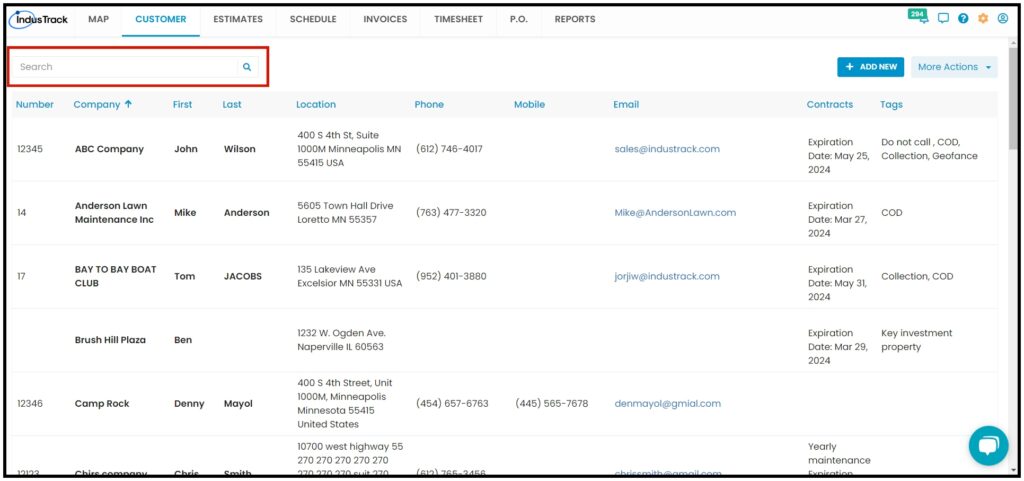
Search for a Client
Use the search bar to quickly find a customer or simply scroll down the list. In the search bar, you can search for a Client by Number, Company Name, Contact first/last name, and Main Service Location. Once you find the client you are looking for, click on their name to open their profile. You can view and update the customer’s records and profile from this page. This works for both tables.
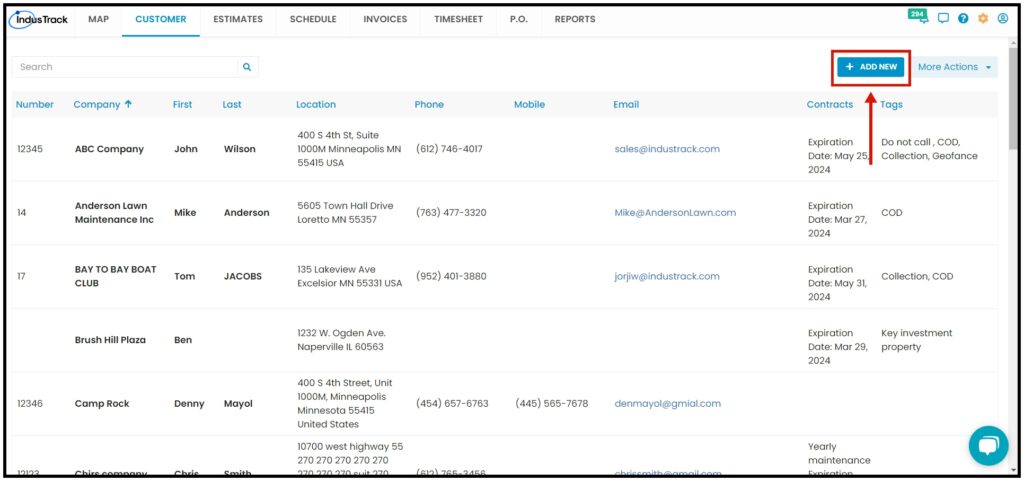
+ Add New Button
Used to create a new client profile. This works for both tables.
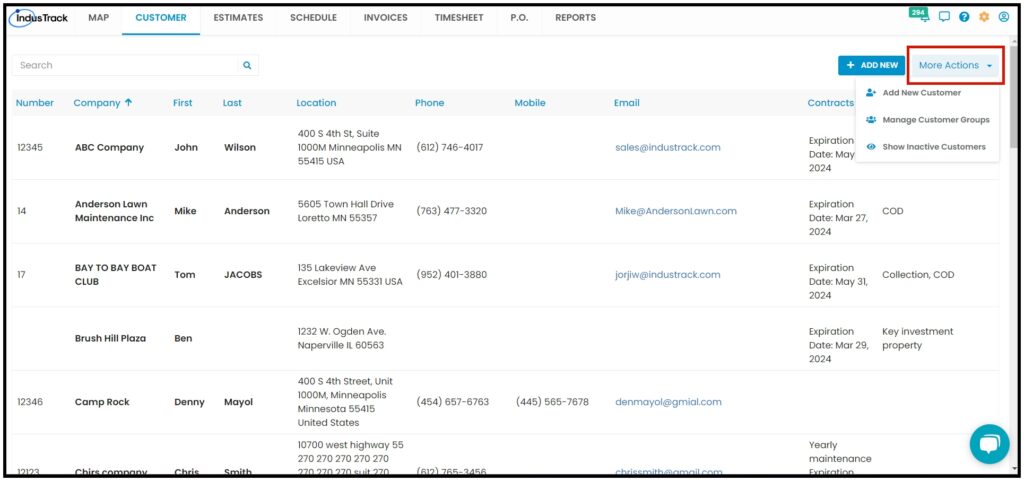
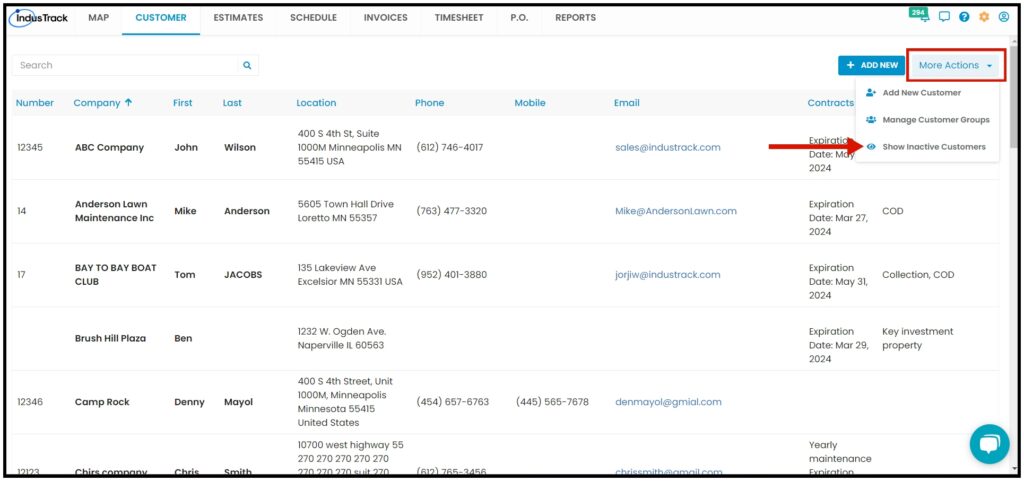
More Actions Button
- Create a new client Profile. – An Add New Customer Window will pop up.
- Create and manage Customer Groups. – Will redirect you to Customer Groups List.
- See the Inactive Customers table. – Will redirect you to the List of Inactive Customers.
Manage Customer Groups
Clicking on the Manage Customer Groups will redirect you to the list of customer groups.
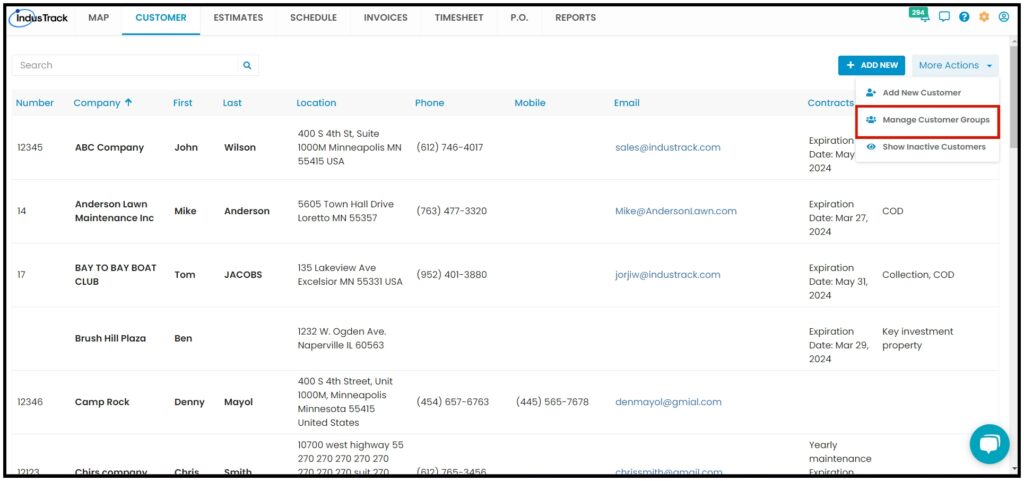
From this list, you will be able to Add a new customer group, edit an existing customer group, or delete an existing customer group.
- Filter Bar – Search for the Customer Group Name.
- Add New – Add a new Customer Group.
- Delete Group – Check the boxes in the Select Column and click on Delete beside the Add New button to Delete a Group. The Delete button will be greyed out if you do not select a group to delete.
- Three-Dot – Click on the Three-dot menu to Edit a Customer Group.

Show Inactive Customers List
When Clients are deactivated, their profiles are moved to the Inactive (Deactivated) Customers table. To switch tables, click the More Actions button and select View the other table Show Inactive Customers.
After clicking on Show Inactive Customers, It will show you the Inactive Customers List.
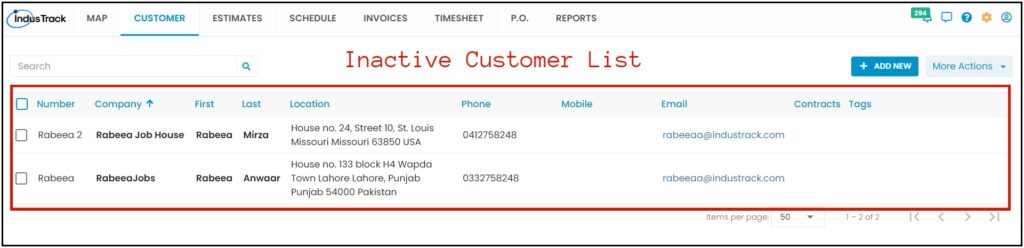
To go back to the Active Customer List View, click on More Actions again and select Active Customers.