
Create, Update and Print Purchase Orders
Create a Purchase Order
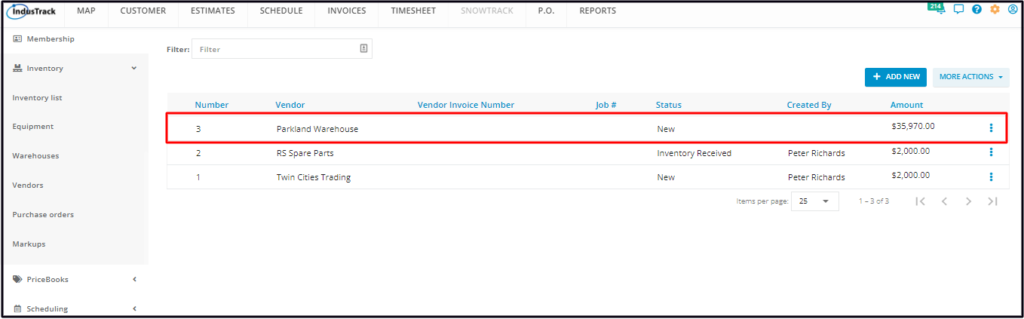
To prepare a Purchase Order, go to Settings > Inventory > Purchase Orders.
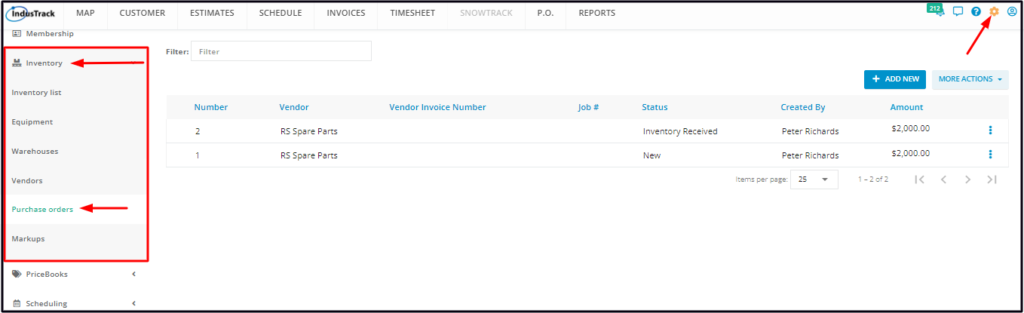
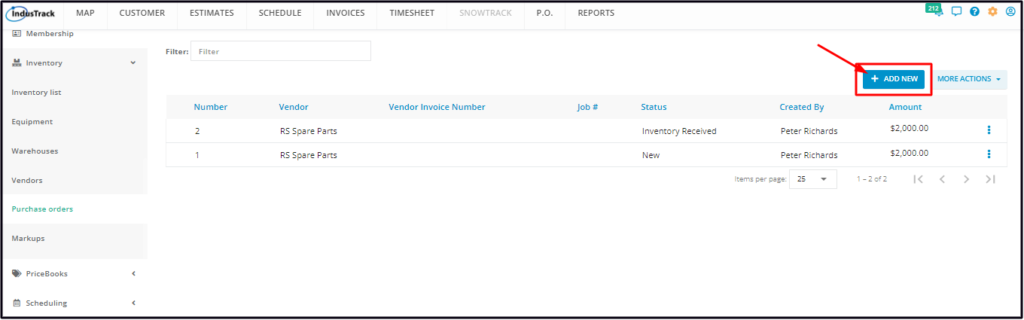
Click on the + Add New button.
Fill in the order details on the Add Purchase Order window. Fields with (*) are required.
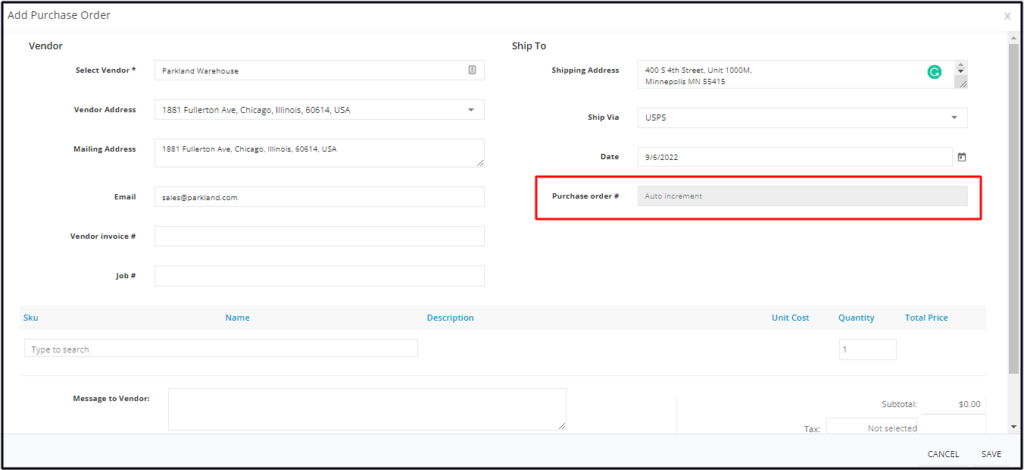
Vendor Details
Vendor*
Select the vendor’s name from the drop-down list.
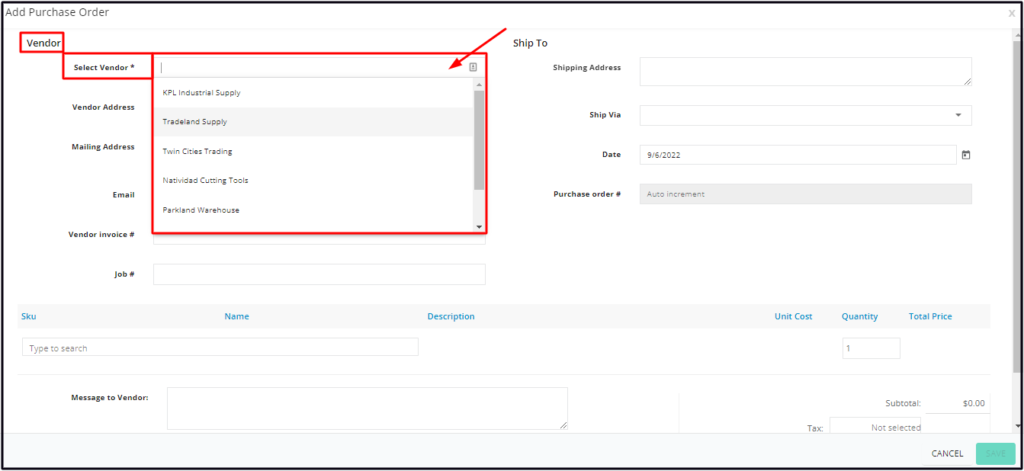
- If the supplier does not exist in your system (not on the list), create a vendor profile first. To do this, go back to the Vendors page OR create the profile straight from the Purchase Orders page.
- Below is the instruction on how to add a vendor from the Purchase Orders page.
- Scroll down to the bottom of the Vendors list and select Create New Vendor.
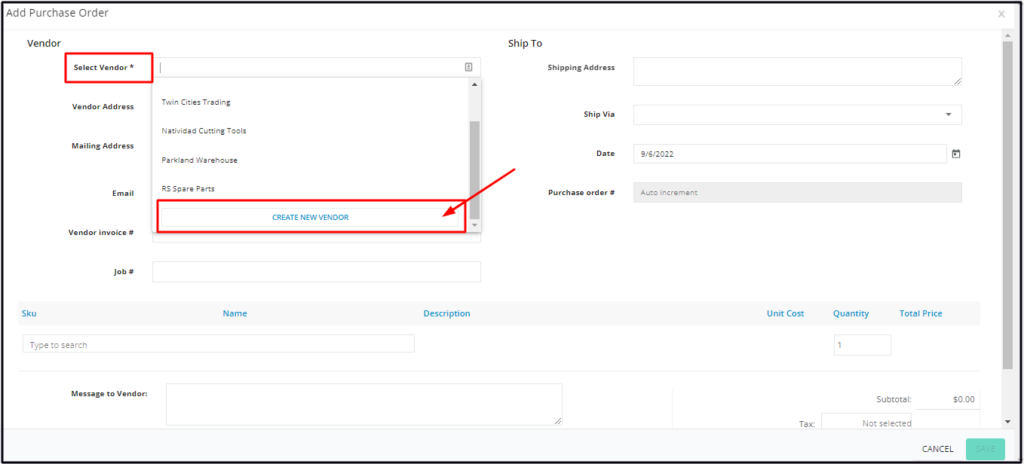
- Create the vendor profile on the Add Vendor window.
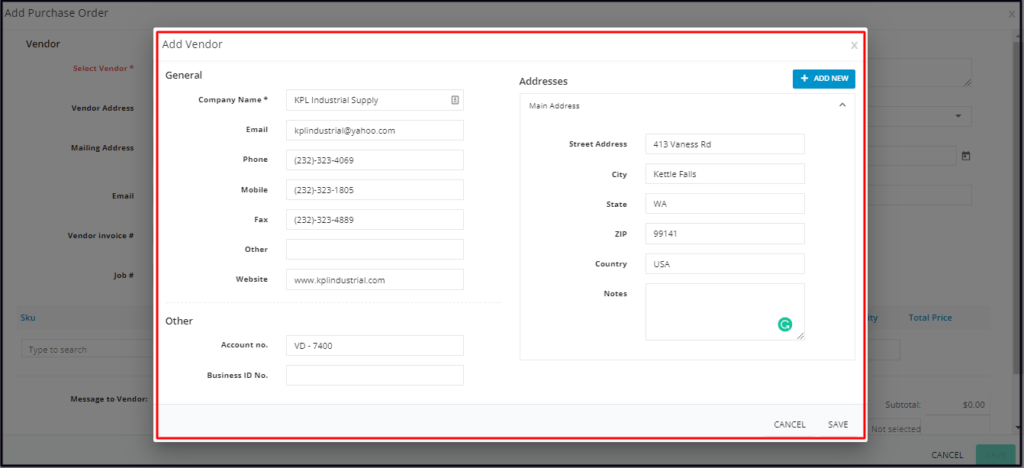
- Save the new Vendor. The screen will return to the Add Purchase Order window where the details of the new vendor will auto-populate. You can now proceed with the preparation of the Purchase Order.
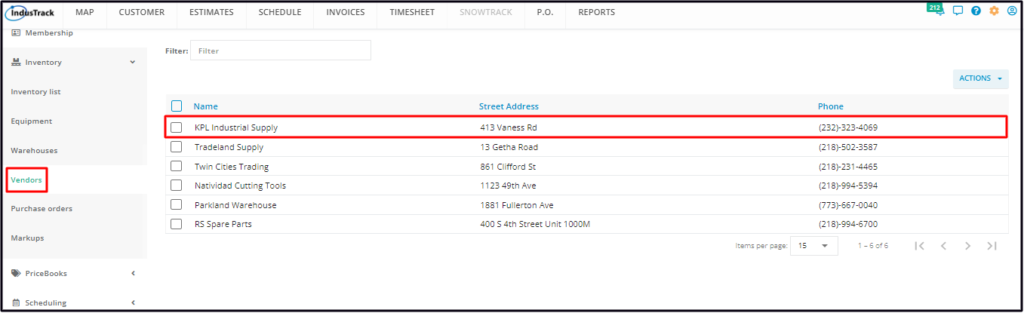
- The new supplier/provider will be added to the Vendors’ List.
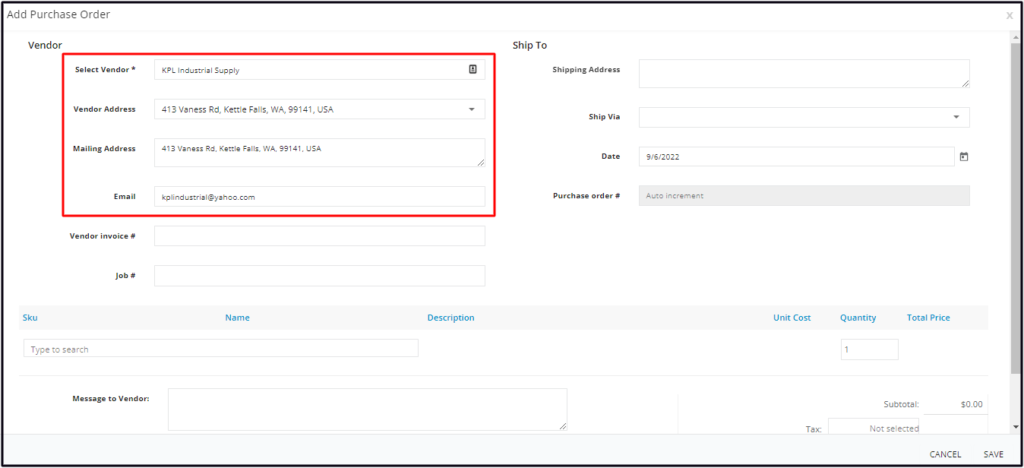
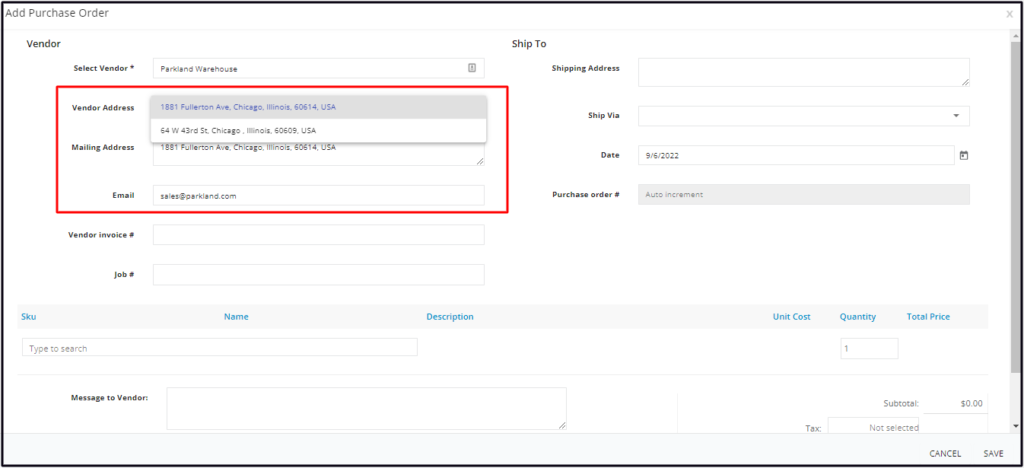
Vendor Address, Mailing Address, Email
The selected vendor’s details will auto-populate the Vendor and Mailing Addresses and Email fields.
- If the Mailing Address and/or Email fields are not populated, key in the details. Both fields are also editable. The new or updated information however will not be saved on the vendor’s profile. Updates will also have to be done on their profile on the Vendors page.
- The Vendor Address field is not editable. If the information has not been added, leave this field blank and edit the Purchase Order once the vendor’s profile has been updated.
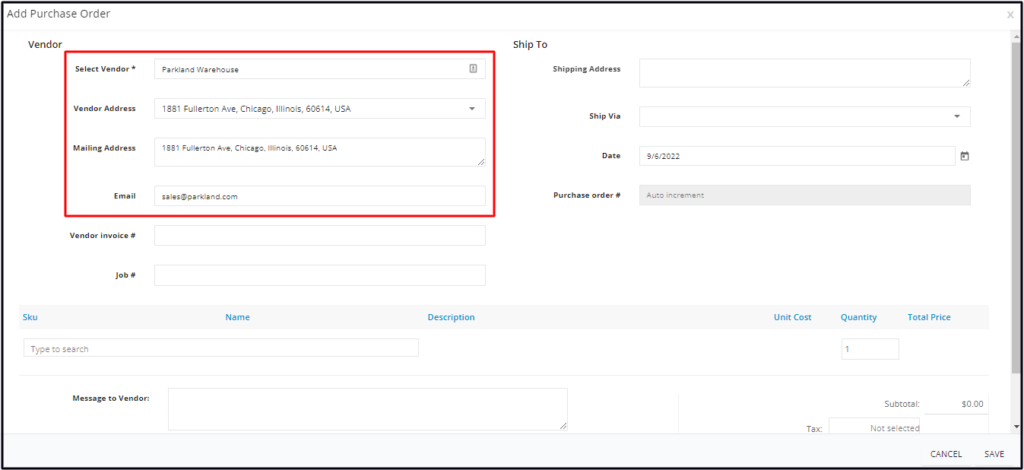
If the vendor has multiple locations, click on the Vendor Address field and select the correct one. The Mailing address will automatically change to the selected one. If needed, update the Email address.
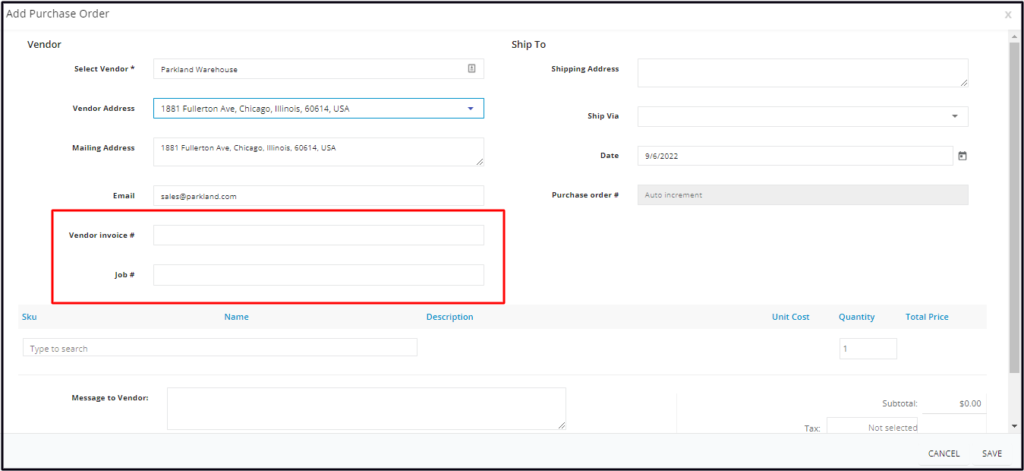
Vendor Invoice #
If the Vendor Invoice Number is already available, key in the information on the field. Otherwise, update the Purchase Order once it is.
Job #
Select the associated customer Job Order number, if applicable.
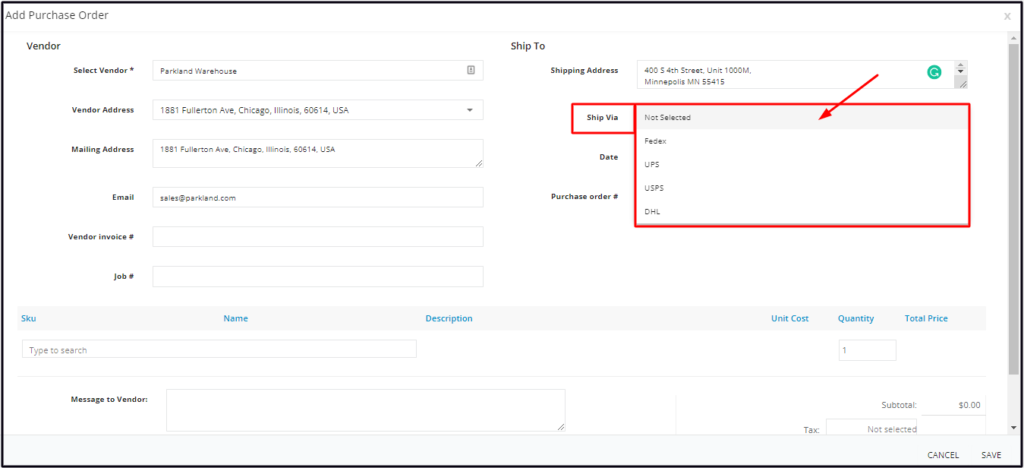
Ship To
Shipping Address
On the field, key in the address where the ordered products should be delivered. This could be the main storage facility, a warehouse, the office or a job site.

Ship Via
Select the preferred courier or shipping company. If a different arrangement has been set with the vendor, leave this field empty.
Date
This is auto-filled with “today’s date”. Select a different date, if preferred, using the date picker.
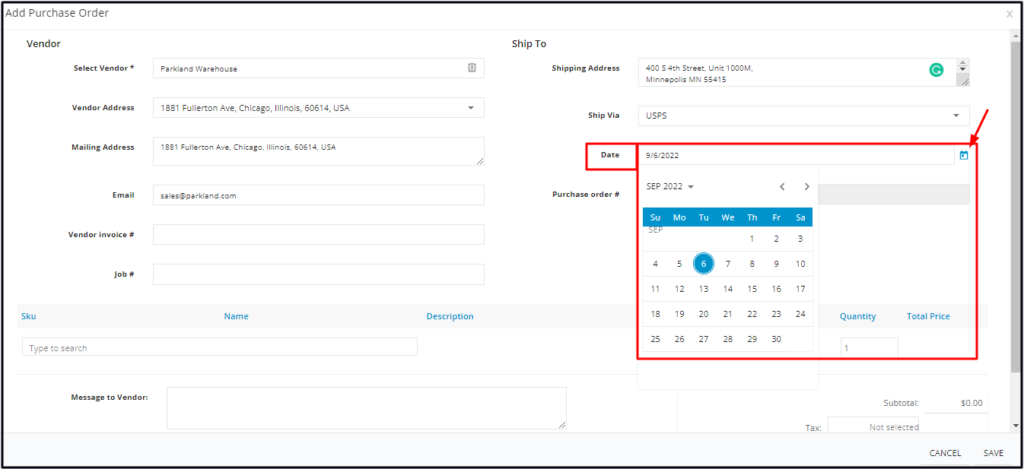
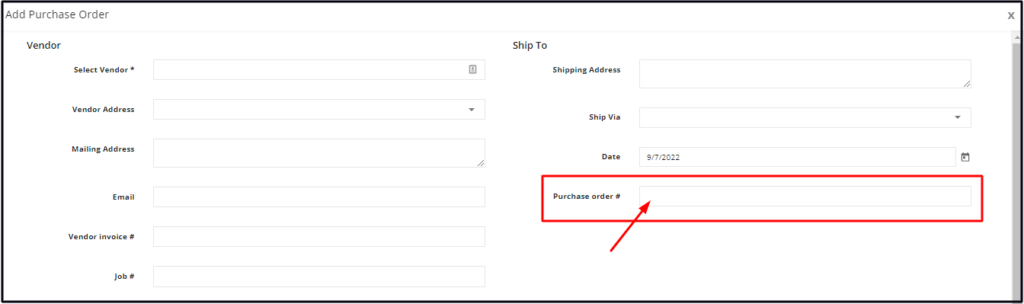
Purchase Order #
There are 2 possibilities for this field: Purchase Order Number Auto Increment is either set up or not.
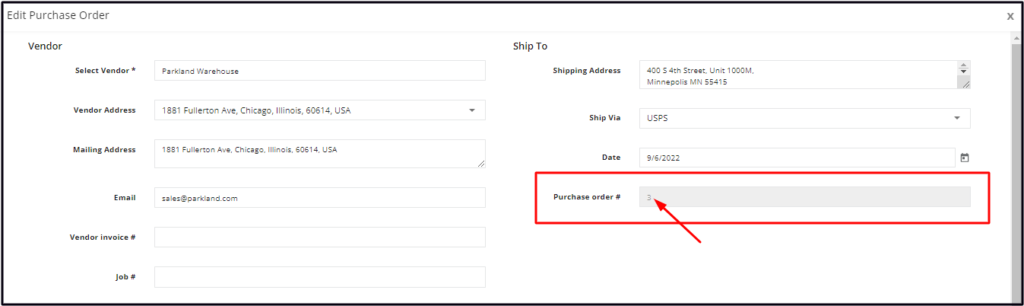
Auto Increment Not Set Up
Key in the Purchase Number on the field.
The field will be disabled. The P.O. number will be automatically assigned when the new Purchase Order is saved.
Products
Set up the products to be ordered from this section.
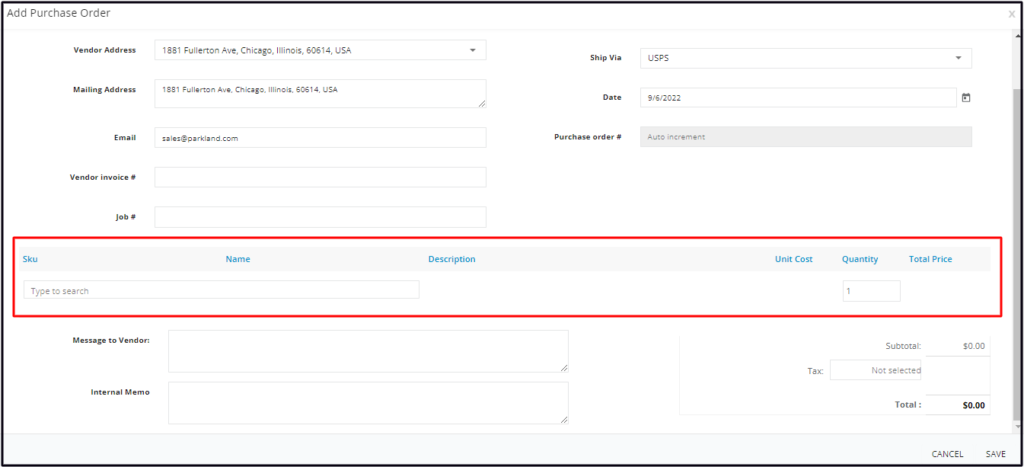
Click on the field. The drop-down will show the list of Inventory and Non-Inventory items to select from.
- Note that the Purchase Order is not used for the purchase of equipment.
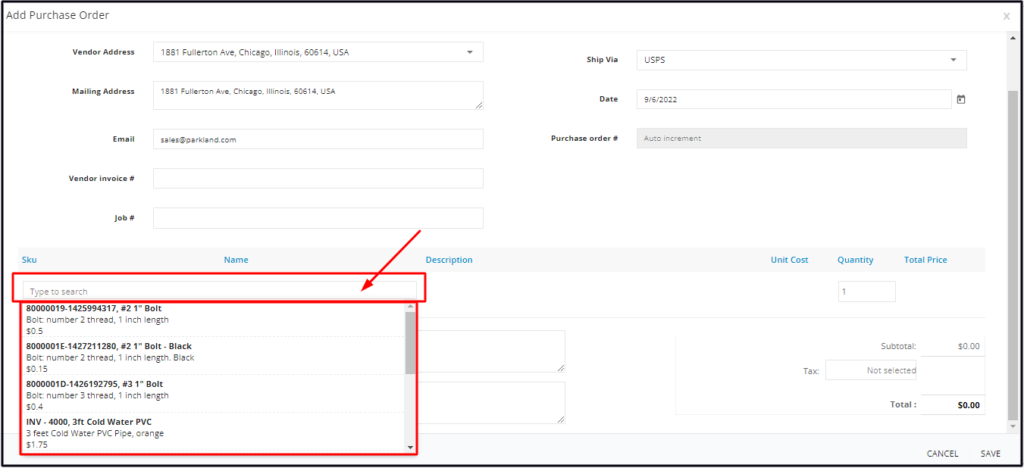
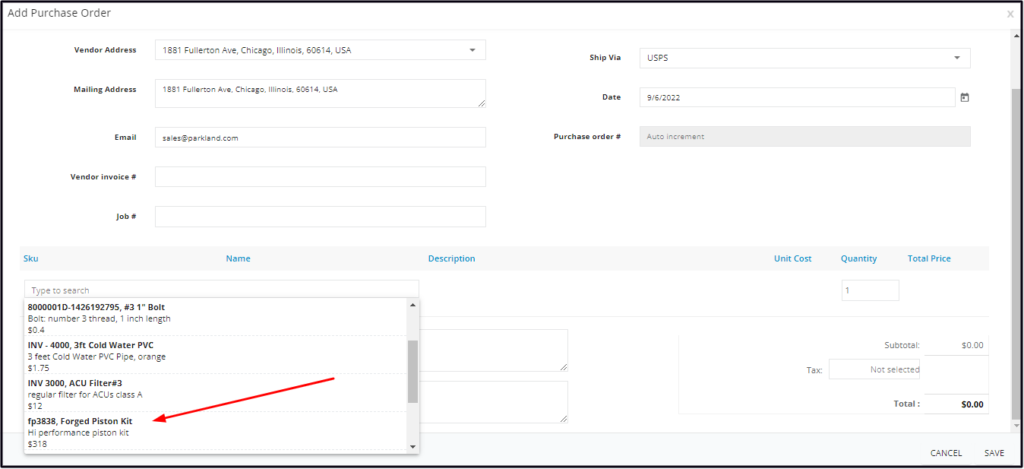
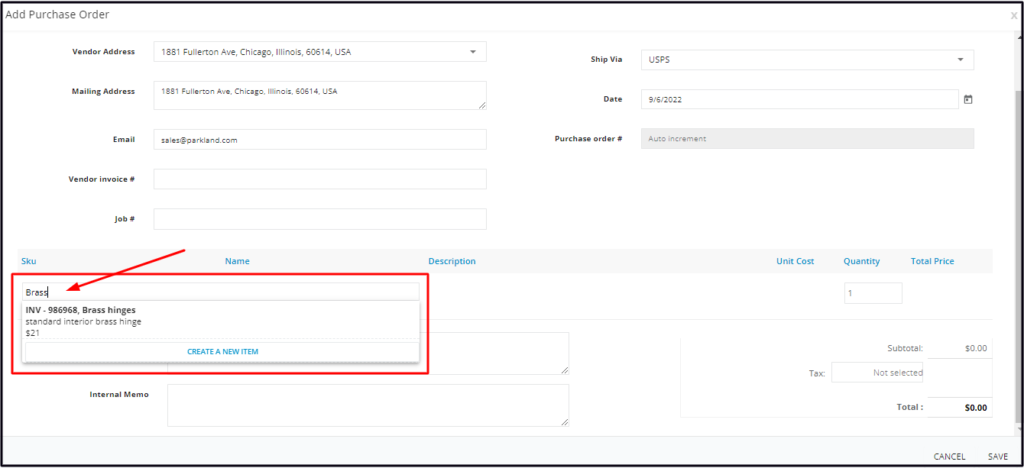
Search for the specific item by scrolling through the list. Alternatively, key in the item name on the field and matching results will come up. Click on the product to add this to the Order list.
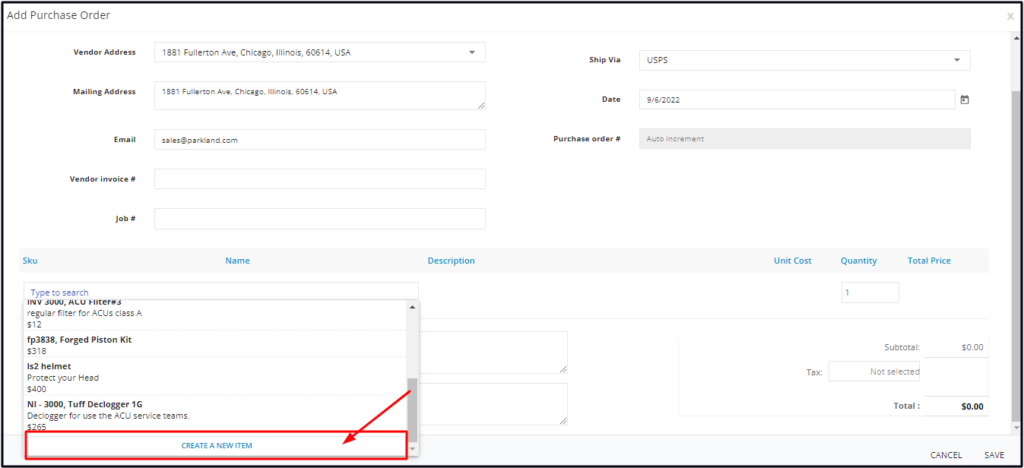
- If the product is a new one and has not been entered into the system (not on the list), create a profile for it first. To do this, go to the Inventory List page OR create the profile straight from the Purchase Orders page.
- Below is the instruction on how to add a new inventory or non-inventory item from the Purchase Orders page.
- Scroll down to the bottom of the Items list and select Create a New Item.
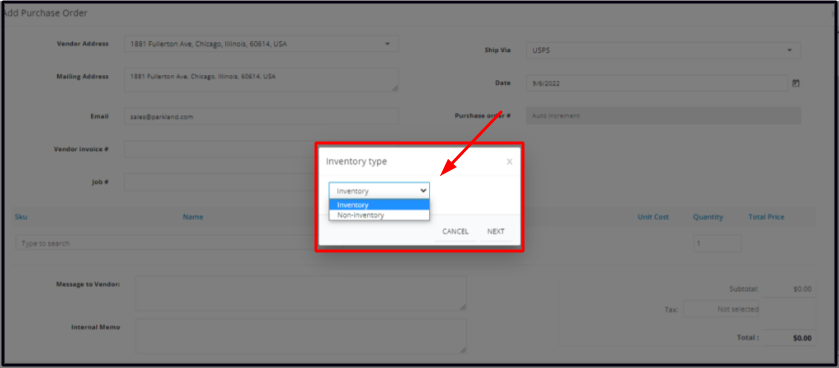
- Select if the item is an Inventory or a Non-Inventory one and click Next.
- Create the Inventory or Non-inventory profile on the Add Inventory window.
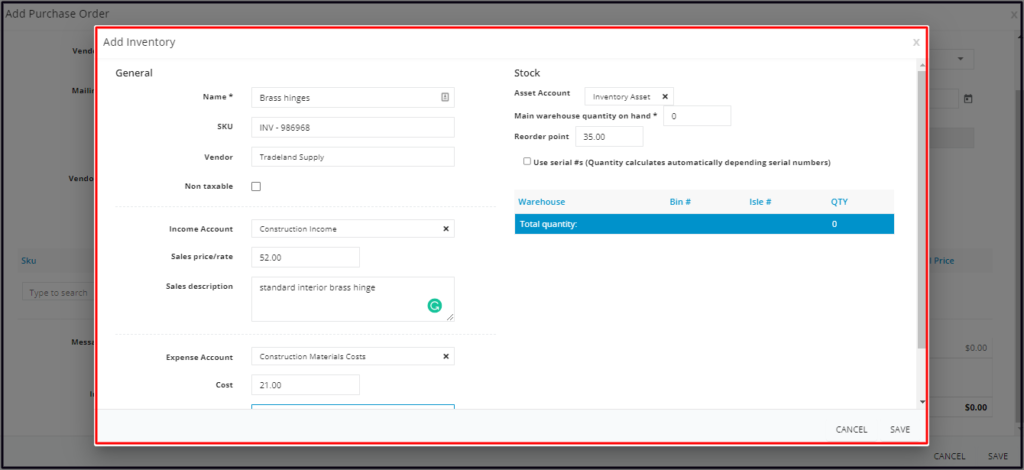
- Once done, Save the new product. The screen will return to the Add Purchase Order window. Select the item from the list or type the name on the search bar and click on the item. The details will auto-populate. You can now proceed with the preparation of the Purchase Order.
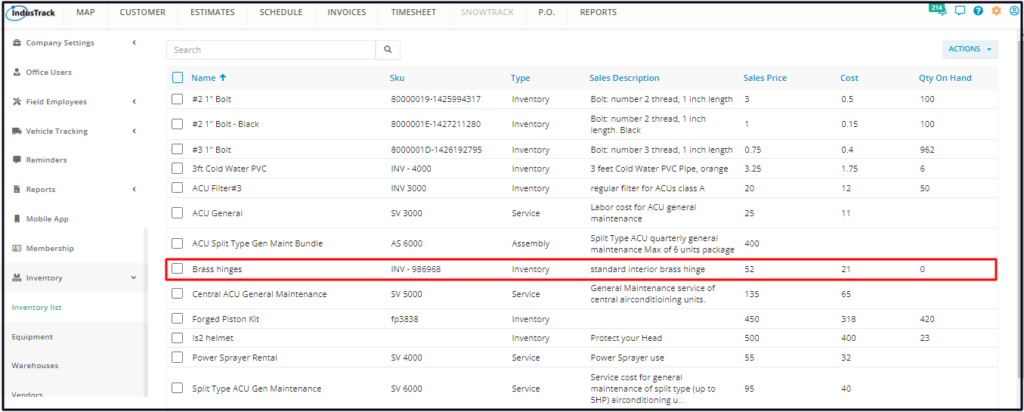
- The new product will be added to the Inventory List.
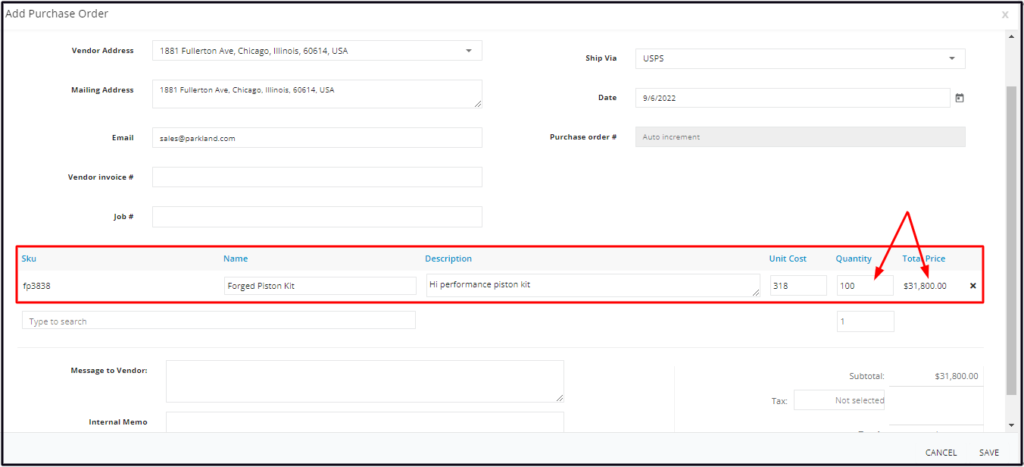
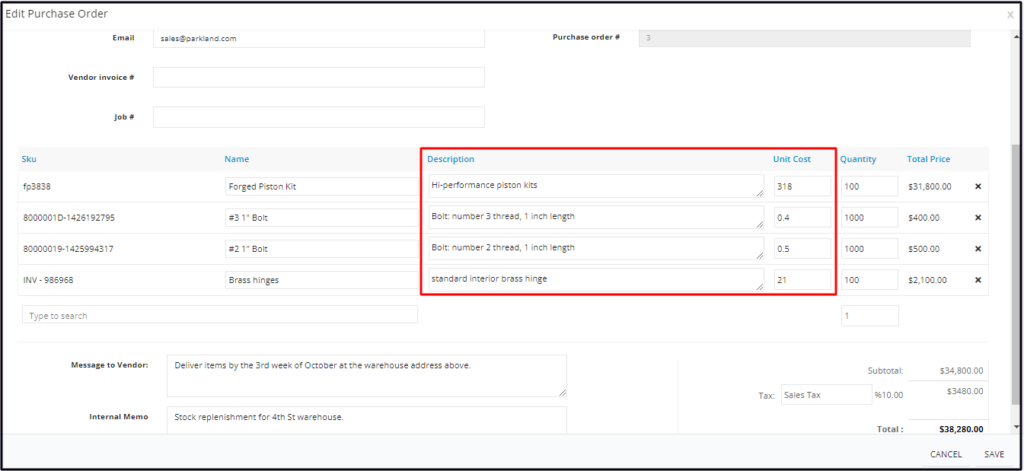
The item’s SKU, Name, Description and Unit Cost will auto-fill on the fields.
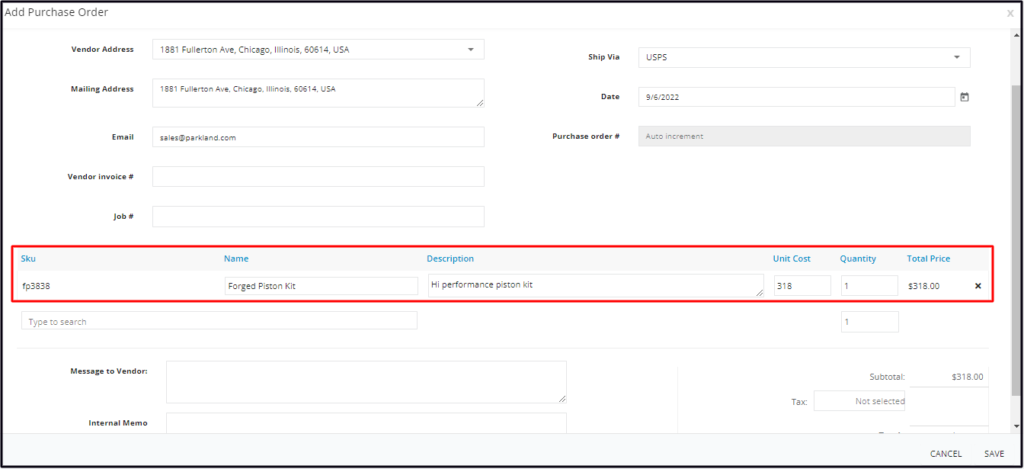
Set the quantity to be ordered under the Quantity column. The item’s Total Price will auto-compute.
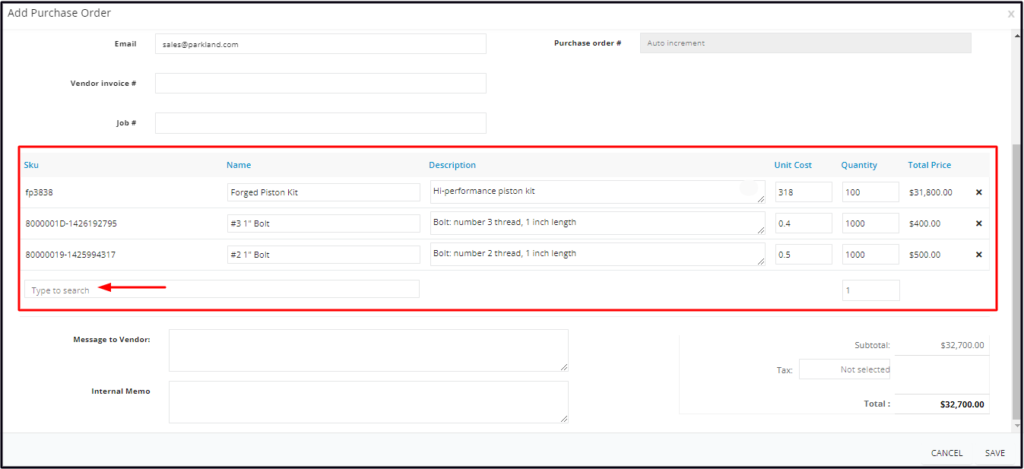
Add other items to the Order List as may be needed. Use the same steps as above.
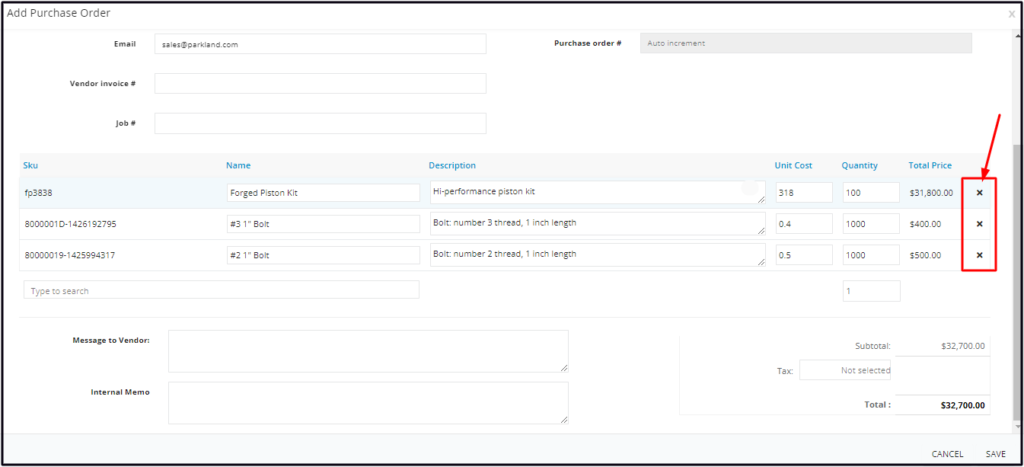
- To remove an item from the Order List, click the X button (delete).
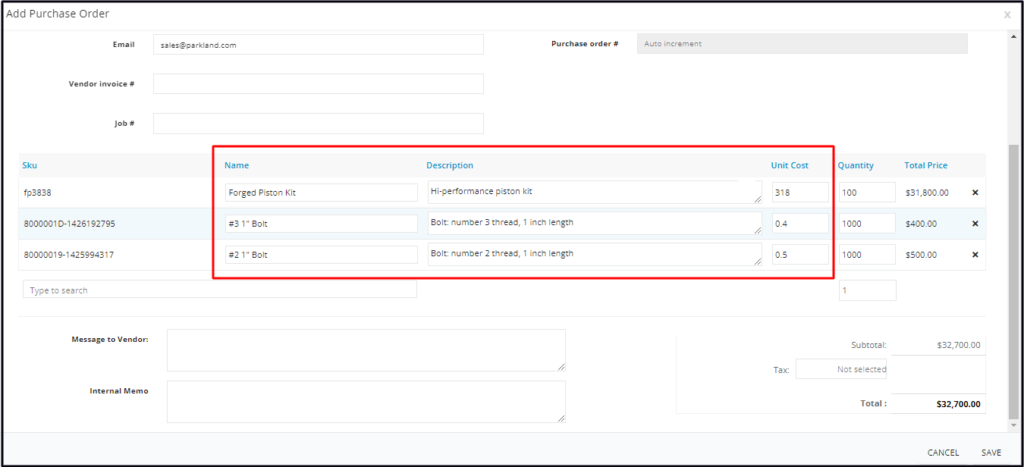
- If the item’s Description and/or Unit Cost fields are not populated, key in the details. Both fields are also editable. The new or updated information however will not be saved on the item’s profile. Updates will have to be done on their profile on the Inventory page if needed.
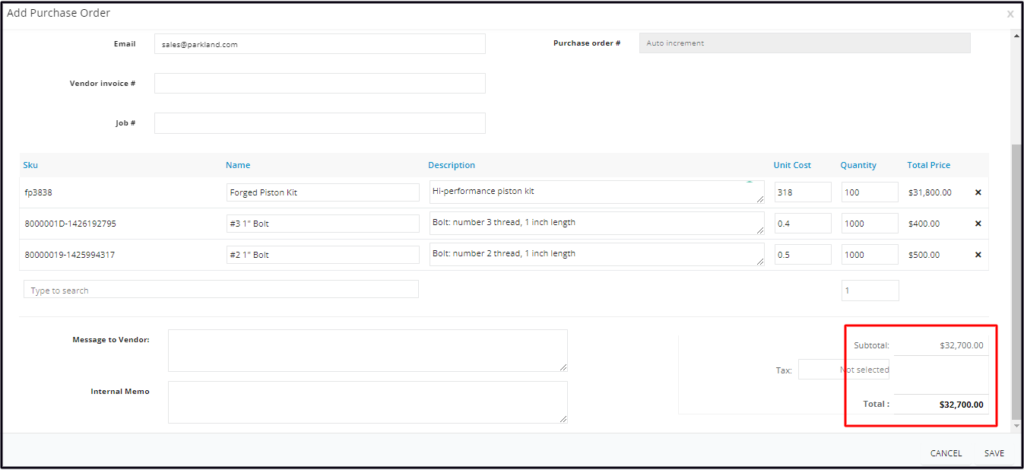
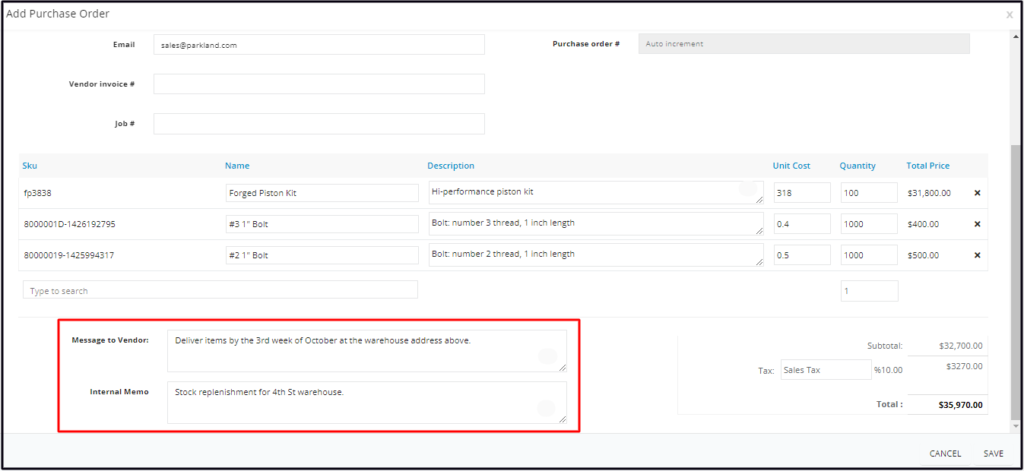
Totals and Tax
The Subtotal and Total fields will auto-populate.
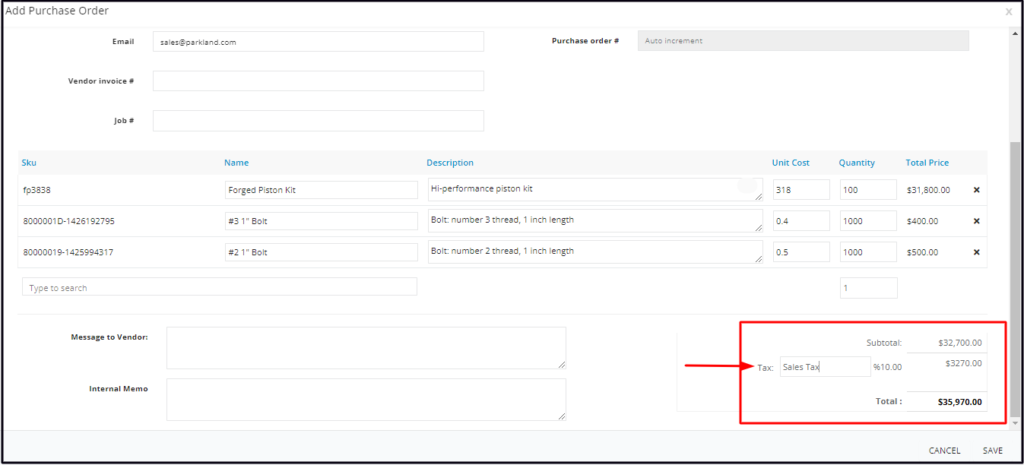
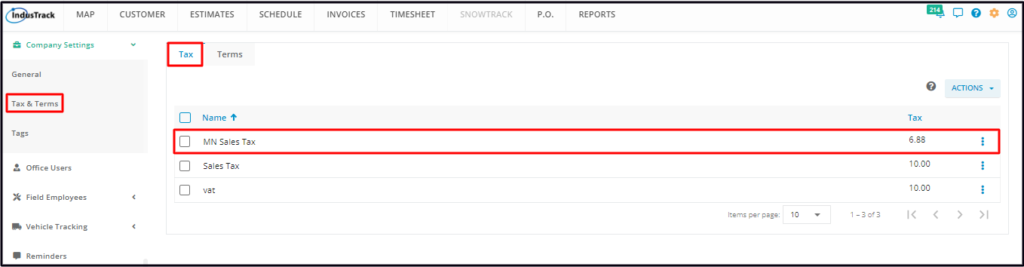
Click on the Tax field and select the applicable tax rate. The corresponding tax will be displayed and the Total P.O. amount will auto-compute. If the product costs are Tax inclusive, select None.
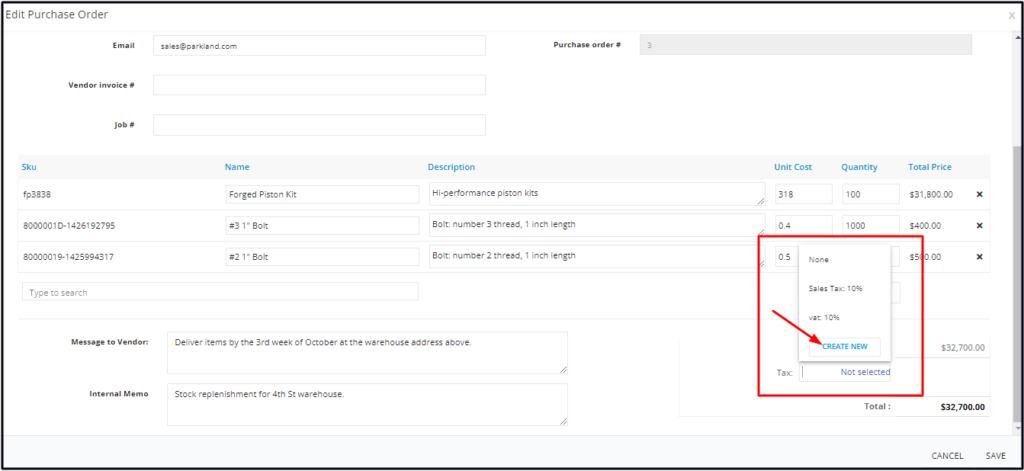
- If the Tax item does not exist in the system (not on the list), create one first. To do this, go back to the Tax page OR create the profile straight from the Purchase Orders page.
- Below is the instruction on how to add a tax item from the Purchase Orders page.
- Scroll down to the bottom of the tax list and select Create New.
- Create the new Tax item on the Set Tax window.
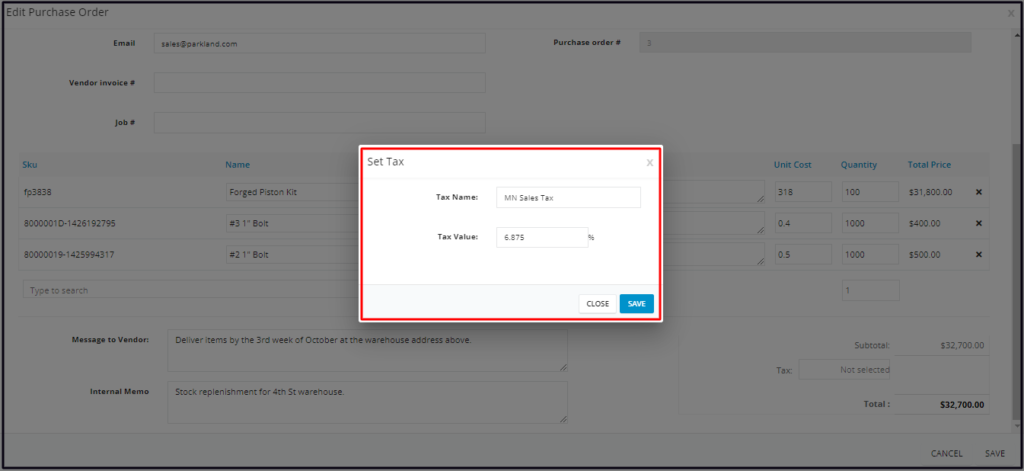
- Once done, save the new tax item. The screen will return to the Add Purchase Order window where the details of the tax will be displayed. You can now proceed with the preparation of the Purchase Order.
- The new tax item will be added to the Tax List.
Message to Vendor
Add notes for the vendor that are relevant to the order such as “rush order” or “items needed by 12/22/22” or the delivery/shipping instructions/arrangement.
Internal Memo
Add any notes meant for the team such as “initial stock” or “Emergency Purchase” or the delivery/shipping arrangements.
Save the new Purchase Order. This will be added to the list.
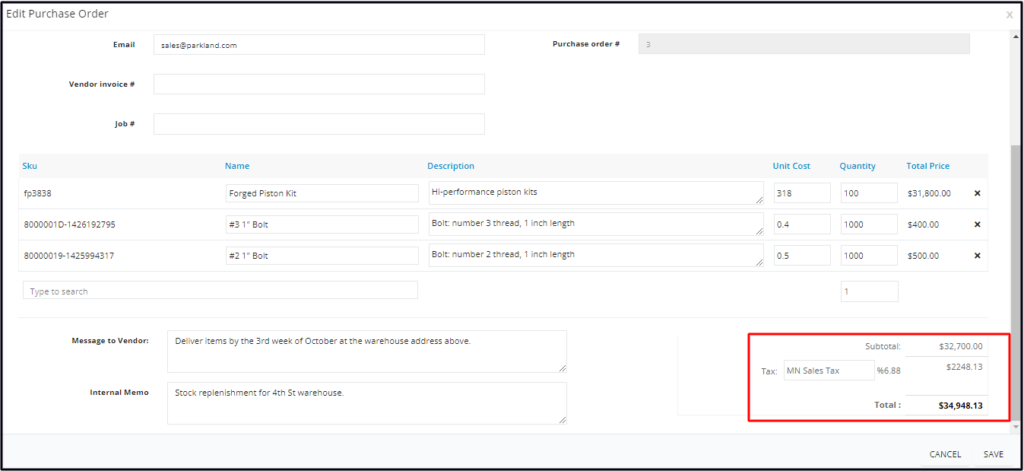
Update a Purchase Order
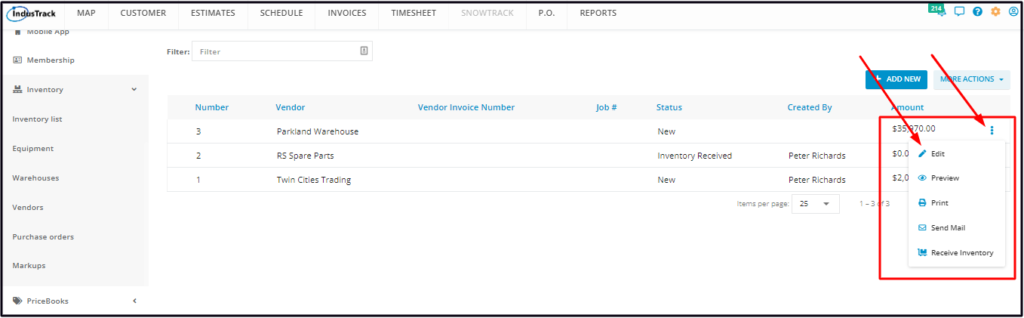
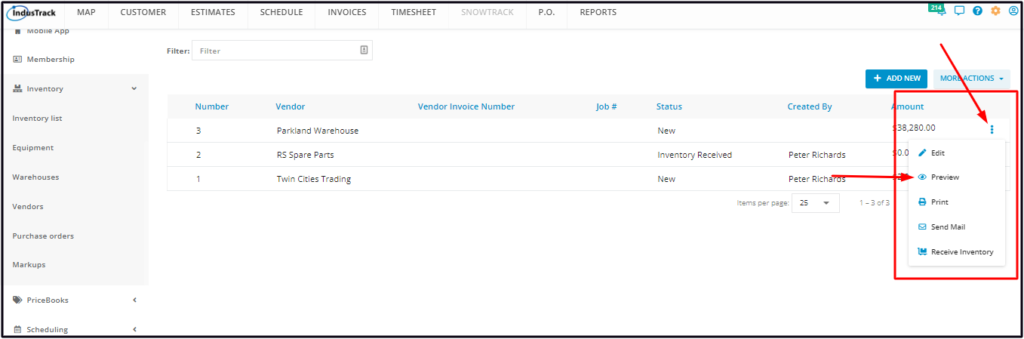
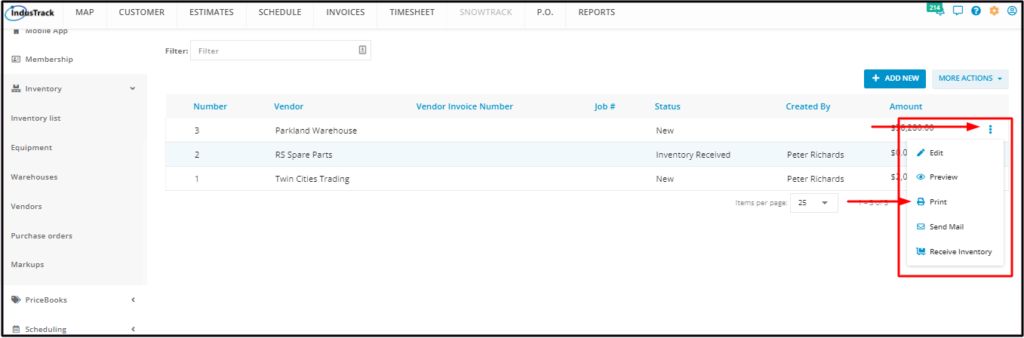
Find the Purchase Order to be updated from the list. Click the 3-dot menu and select Edit.
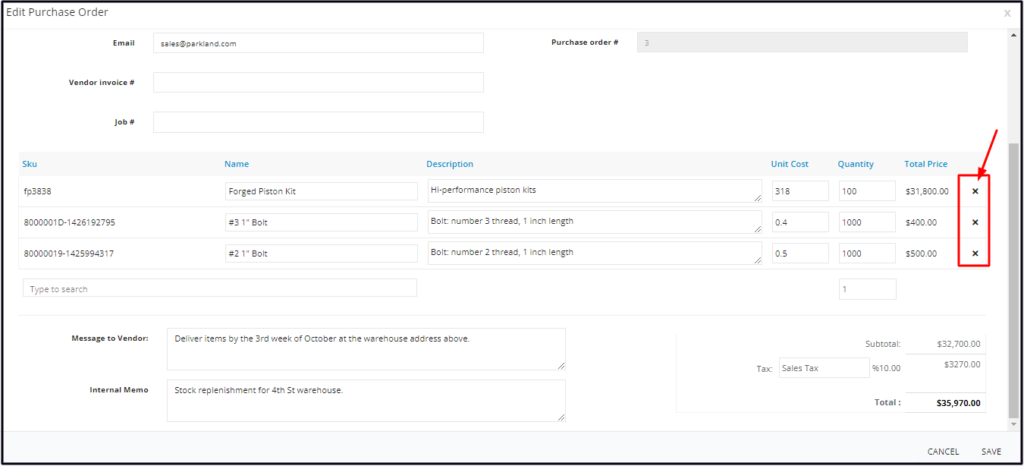
Update the Purchase Order details as may be needed.
- To delete an item from the Order List:
- Click the X button to the right of the item.
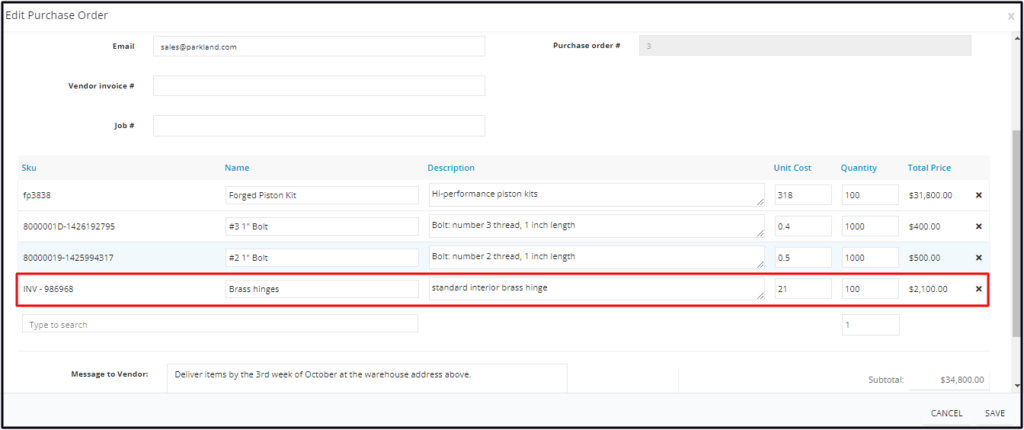
- To add another item to the Order List:
- Click on the item field.
- Search for the specific item by scrolling through the list. Alternatively, key in the item name on the field and matching results will come up. Click on the product to add this to the Order list.
- Set the quantity to be ordered under the Quantity column.
- Note that an item can not be added to the list more than once.
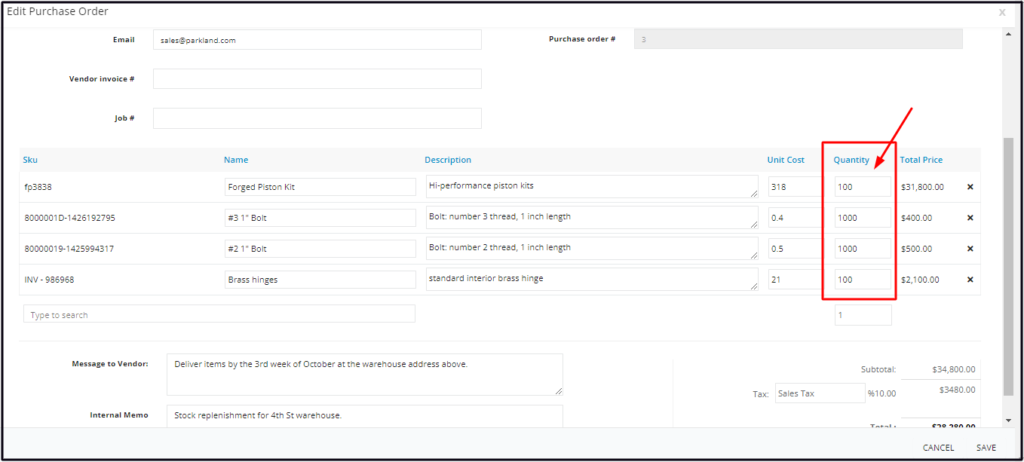
- To update the quantity of an item on the Order List:
- Find the item to be updated from the Order List.
- Edit the value under the Quantity column.
- To update the Description and Unit Cost:
- Find the item from the Order List.
- Edit the Description and/or the Unit Cost as may be needed.
- Note that any changes made to the Description and Unit Cost via the Purchase order will not be saved on the item’s profile on the Inventory page. If needed, go to the item’s profile on the Inventory page and update the details.
Once done, Save the changes.
View and Save a Purchase Order
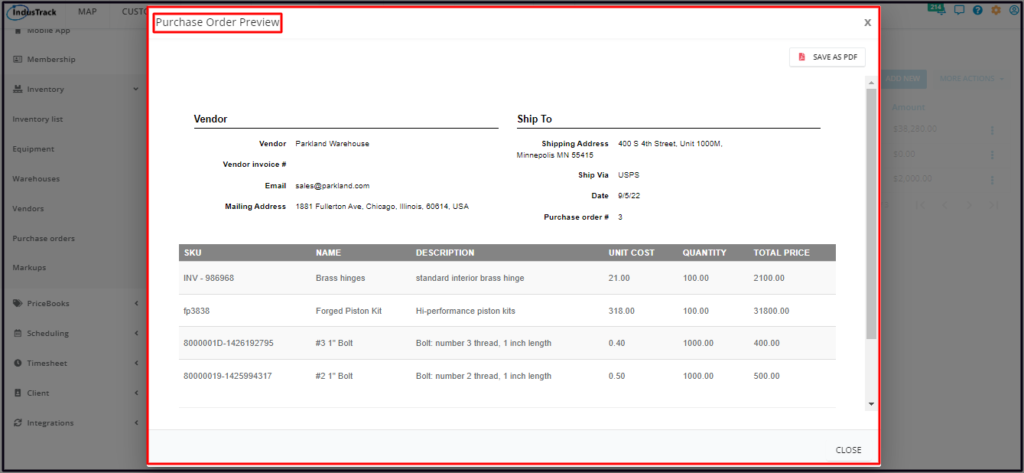
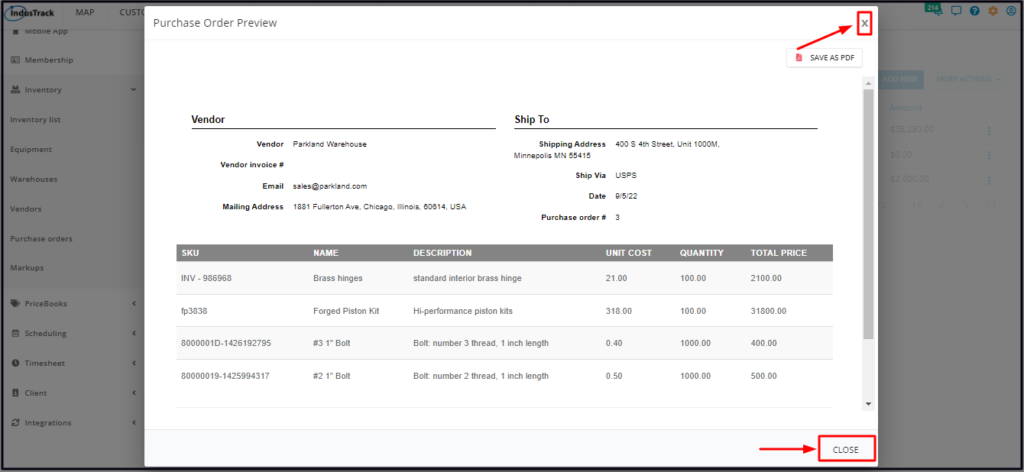
Find the Purchase Order from the list and click the 3-dot menu to its right and select Preview. The Purchase Order in view mode will open.
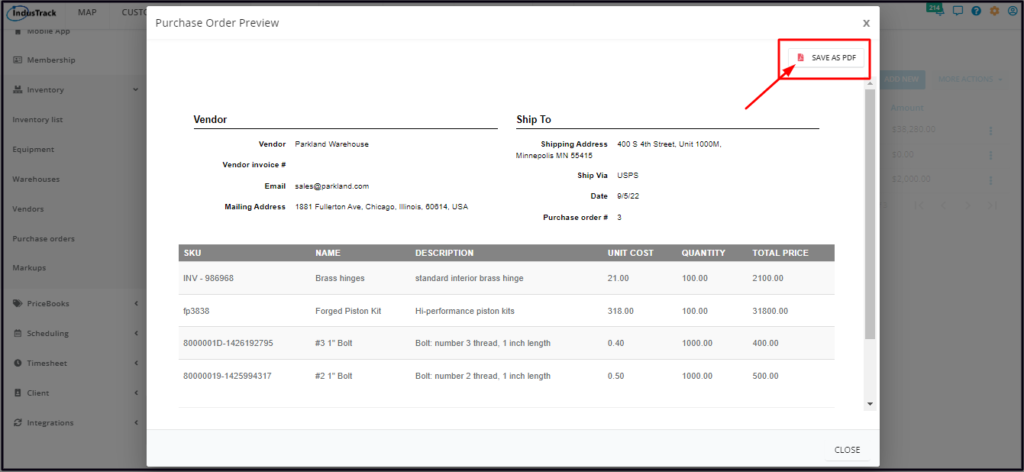
- To Download or Save a PDF copy of the Purchase Order:
- Click the Save as PDF button at the upper right corner of the preview window.
- The file will download to your hard drive.
- To close the Purchase Order Preview window:
- Click the Close button at the bottom of the preview window OR the X button at the upper right-hand corner.
Print a Purchase Order
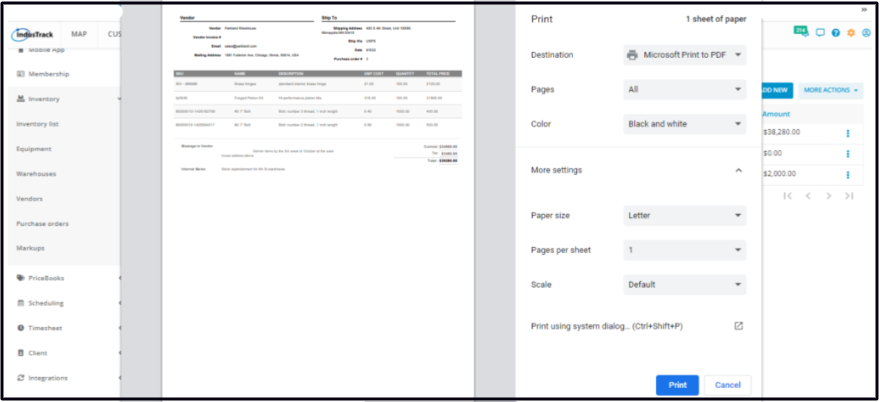
Find the Purchase Order from the list and click the 3-dot menu to its right and select Print.
The Purchase Order in print preview mode will open. Work on the settings and click Print.
0 Comments