
Timesheet Module
Besides the Scheduling Module, you can also create jobs from the Timesheet Module they are called the Timesheet Jobs. In the Timesheet Module, you will be able to see, edit, add, and delete timesheet records of the Field Employees.
Navigate the Timesheet Module
Timesheet Dashboard
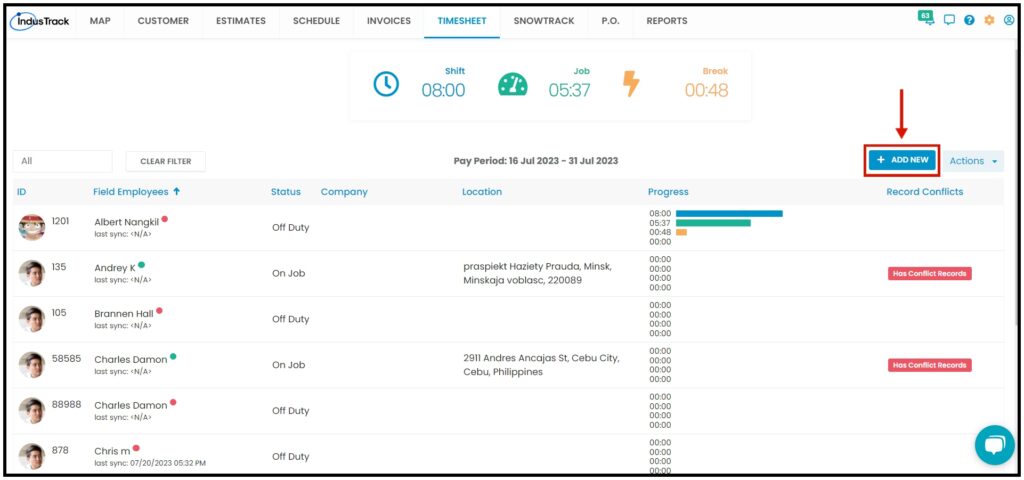
At the top of the page is a dashboard summarizing all the Shift Time, Job Time, and Break Time for all field employees in a 15-day Pay Period.
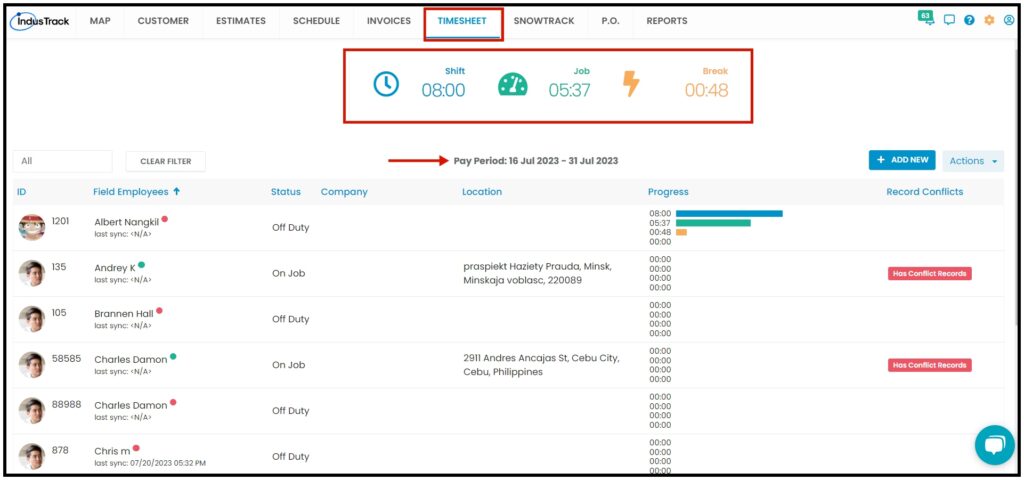
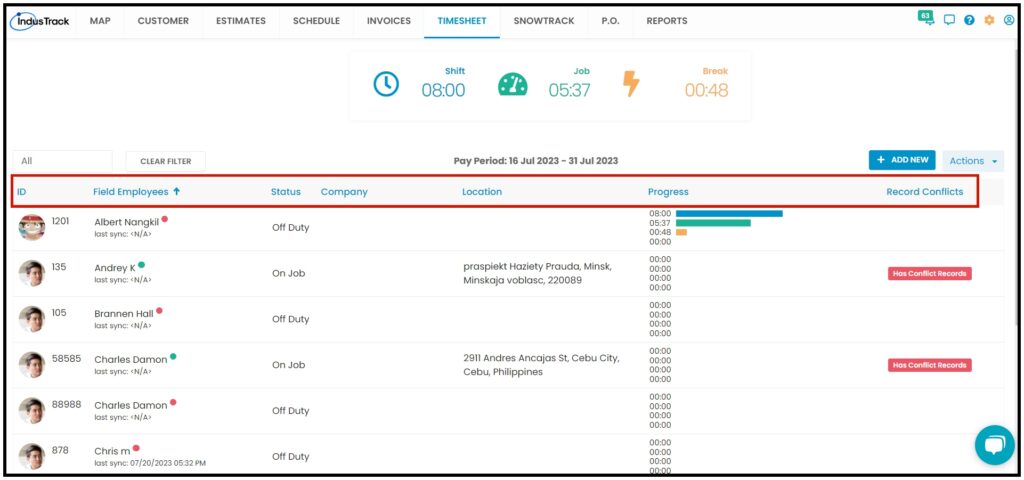
The list of employees is displayed along with their details such as the following:
- Status – Status of the Field employee, whether they are On/Off Duty, On Job, on Break, or Traveling.
- Company – The customer the field employee is currently working on.
- Location – Current location of the field employee.
- Progress – Summary of Total Shift, Job, and Break Hours of an employee within the Pay Period.
- Record Conflicts – Conflicting records occur if the field employee does not complete the timesheet entry. Click on the Has Conflict Records to resolve the time entry. Conflict records often happen when a field employee is working longer than 24 hours or is not able to clock out within the day.
Add New Timesheet Record
There are two ways to create Timesheet records.
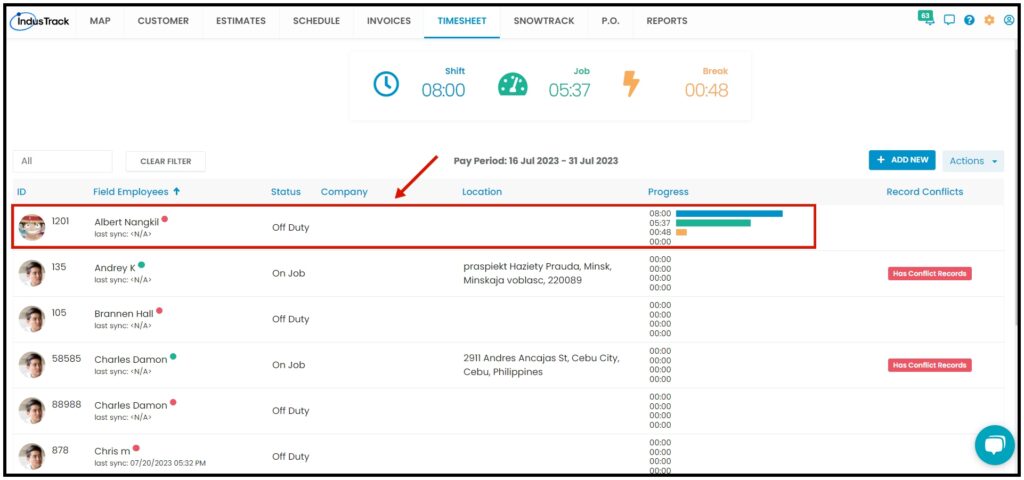
A. Create a new record by clicking an employee name on the Timesheet page.
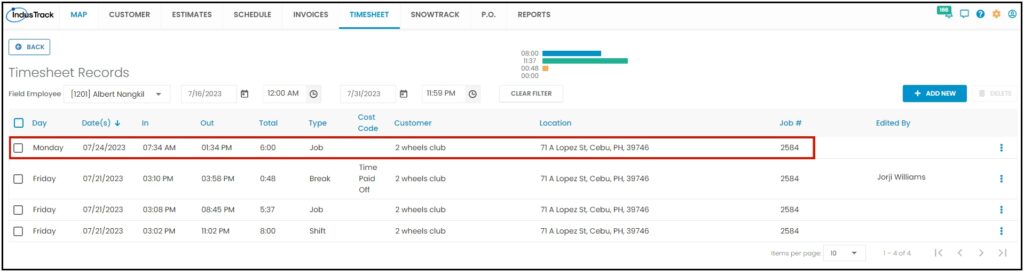
- Once you click an employee, it will take you to the Timesheet Record’s page.
2. Inside the Timesheet Record Page, click on the Add New button to open up the Add New pop-up page.
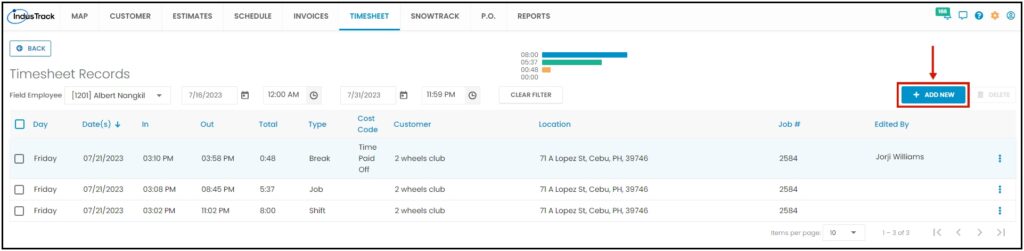


The Add New Timesheet Record page will pop up, and the driver/crew will auto-populate since we selected the crew on the Timesheet main page.
- Type – Select whether the timesheet entry is the Job Time, Travel Time, Shift Time, or Break Time.
- Cost Code – Select the cost code if applicable.
- Vehicle – The vehicle the employee is using.
- Job – Select the correct job the employee is working on.
- Customer Name – The Customer Name will auto-populate once we select a Job.
- Start/ End Date
- Duration
- Notes
Click on SAVE CHANGES, after you fill out everything necessary.

The New Timesheet Record for the select field employee will be added.
B. Create a new record by through + ADD NEW button on the main Timesheet Page.
Click the + ADD NEW button then select. It will take you to the Timesheet Records Page, very similar to how you create a new record by clicking the employee name. The only difference is that the name of the employee is blank. To select a field employee, click on the drop-down list and it will display all the field employees.
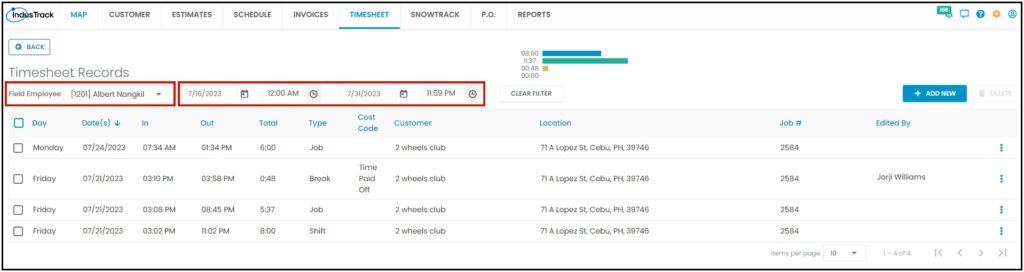
Changing Field Employee and Time Period
Inside the Timesheet Records page, you will find the time entries about the selected field employee according to the time period. You can change the time period by clicking on the start date and end date. If you need to change to another field employee, you don’t need to go back to the dashboard, you can simply select from the dropdown menu on the upper left as highlighted on the image.
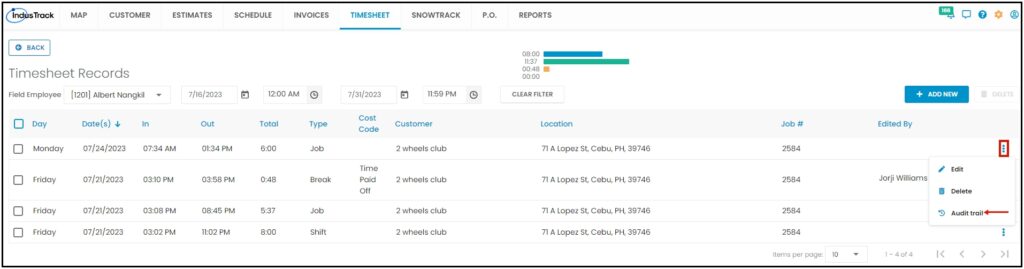
Edit Time Entry
To edit a time entry of the field employee, click on the three dots located in the right corner of the entry. It will give you a pop-up that will allow you to edit the time entry.
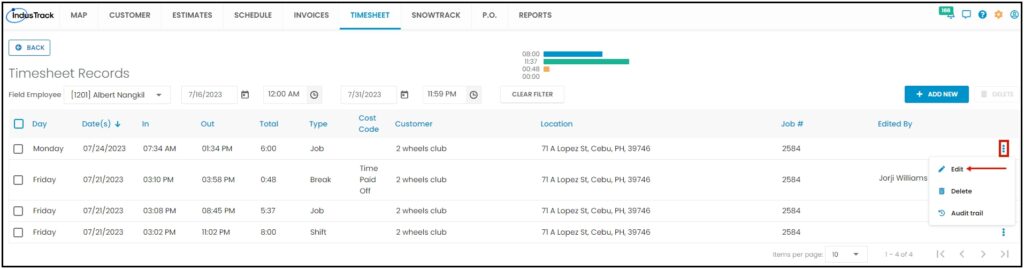
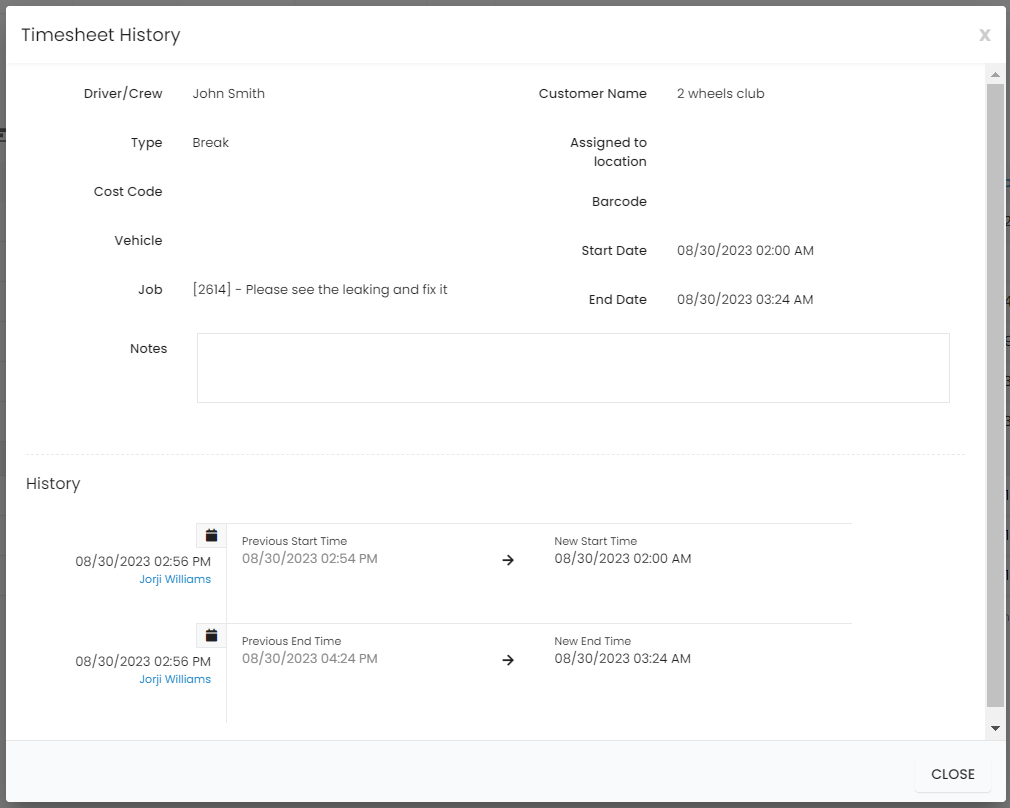
View Timesheet Audit Trail
Now office users can track manual edits of timesheets done by field employees from mobile apps. In the list of Timesheet records, click on 3 dots for a timesheet and select Audit Trail. A window will pop up displaying the timestamp, who edited the timesheet, and what got changed.
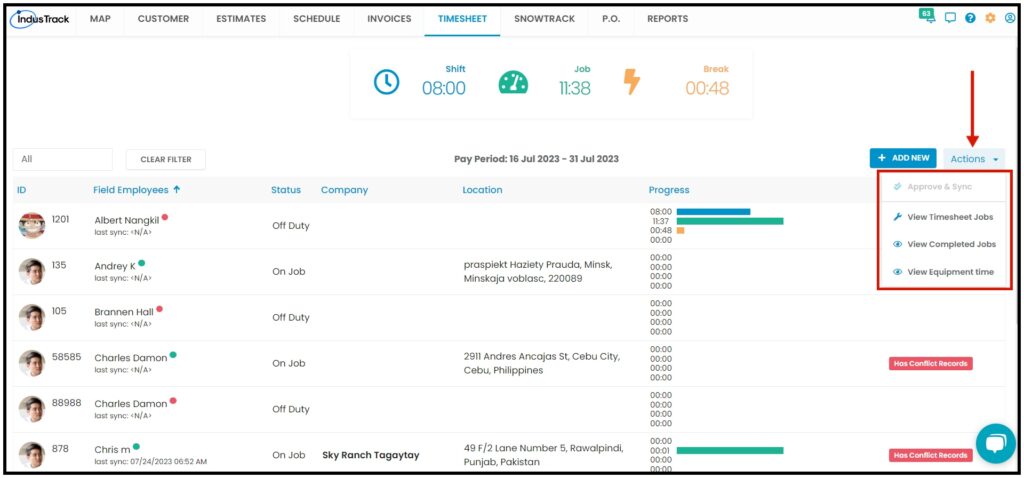
The Action Button
In the Actions Button, you can view all of the Timesheet Jobs, View Completed Timesheet Jobs, View Equipment Time, and Approve and Sync Timesheet Entries to Quickbooks.
To Approve and Sync Timesheet Entries to Quickbooks, follow this article.
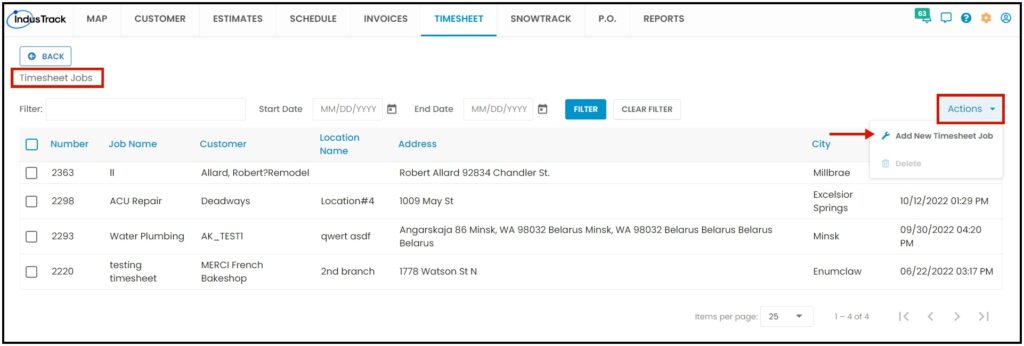
View Timesheet Jobs
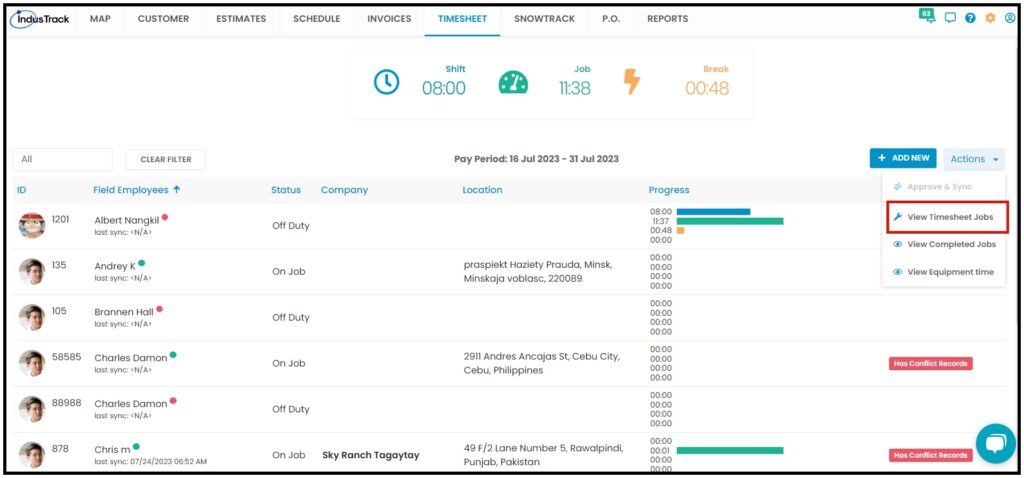
You will be able to see all Timesheet jobs, click on the Actions to Add a new Job or delete a Job.
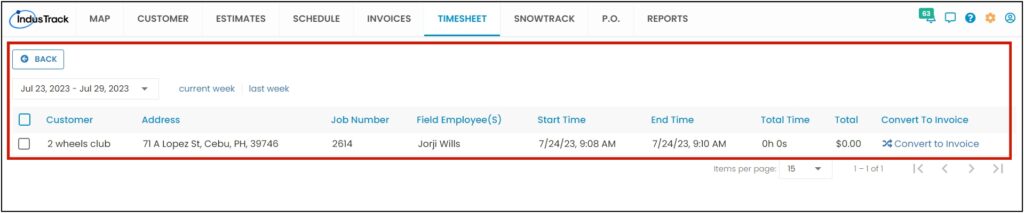
View Completed Jobs
All Completed Jobs by weekly will be listed here, click on the Convert to Invoice option if you need to convert the job into an invoice.
0 Comments