Manage Jobs
Edit a Job
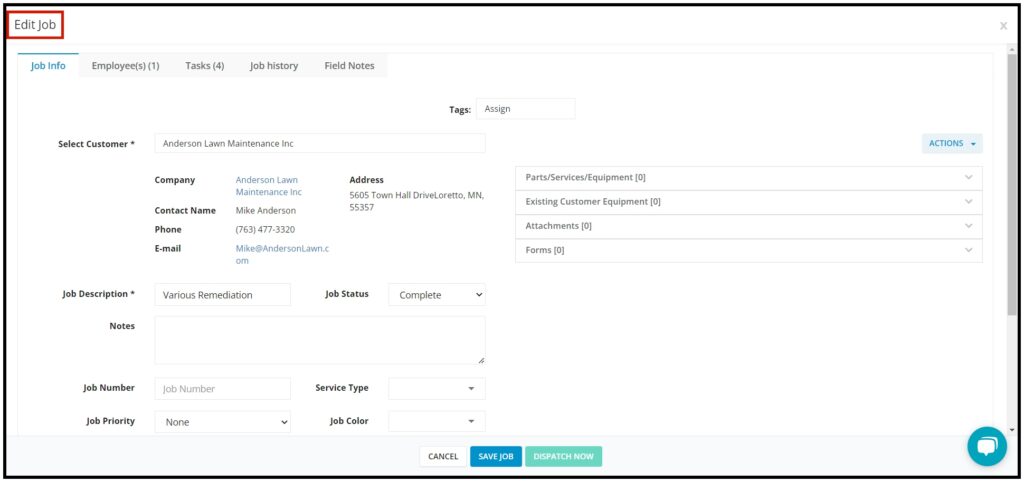
To edit a job, find the job on the calendar and double-click on this.
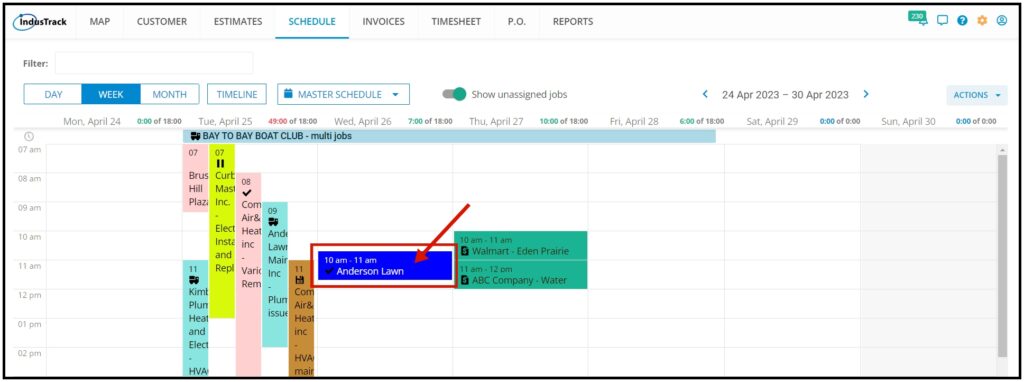
The Edit Job window will come up. Edit the details as may be necessary in the same way that the job was created. Once done, save the changes.
Delete a Job
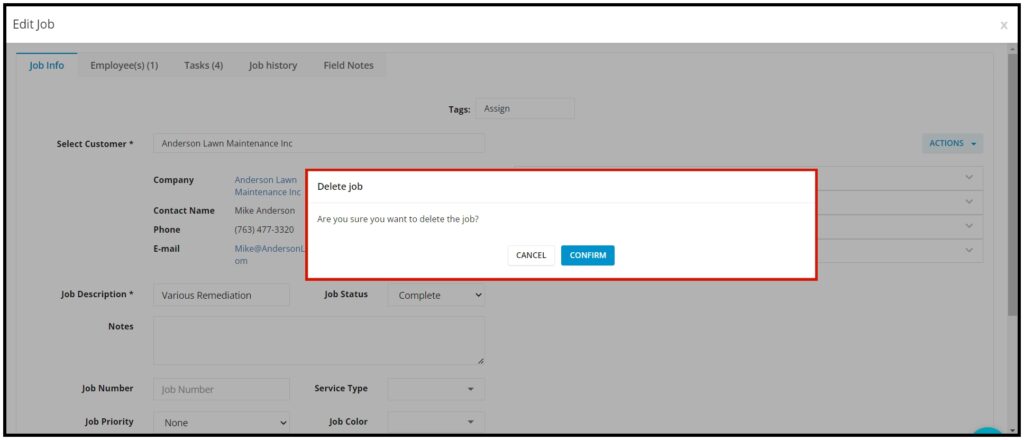
From the Edit Job window, click on the ACTIONS and select the Delete Job button.
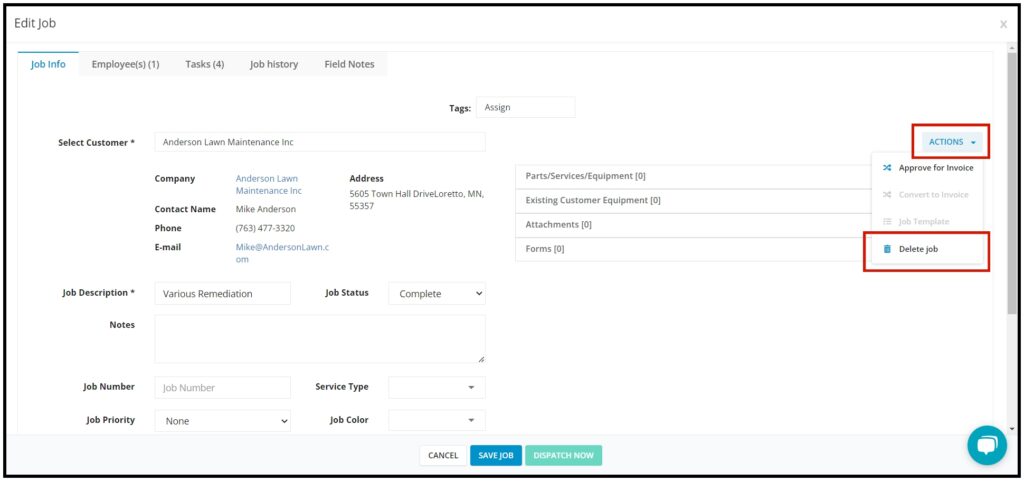
The Delete Job confirmation window will come up. Select Confirm to continue or Cancel to abort the delete action.
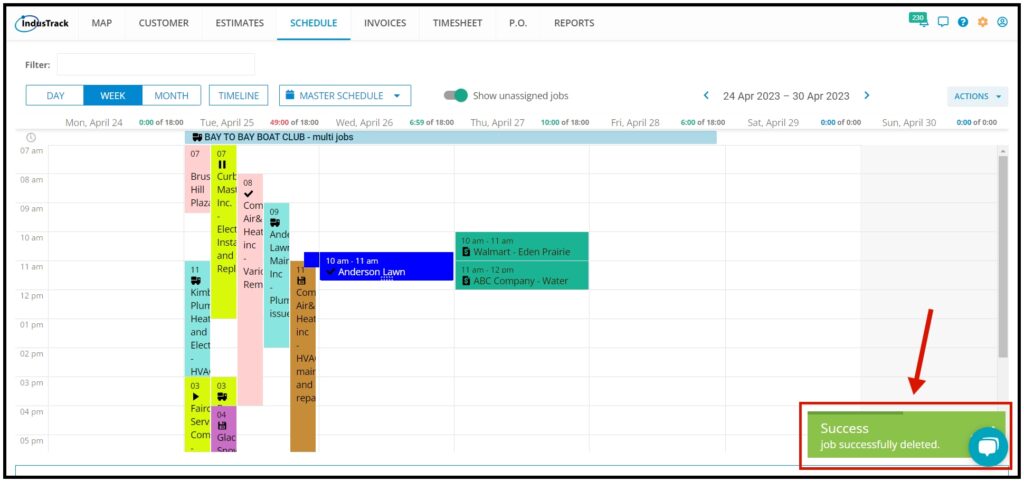
The delete confirmation will come up and the job will be removed from the calendar.
Approve the Job for Invoice
The approved job for the invoice will be greyed out if the job is still in progress or if the status is not marked as complete.
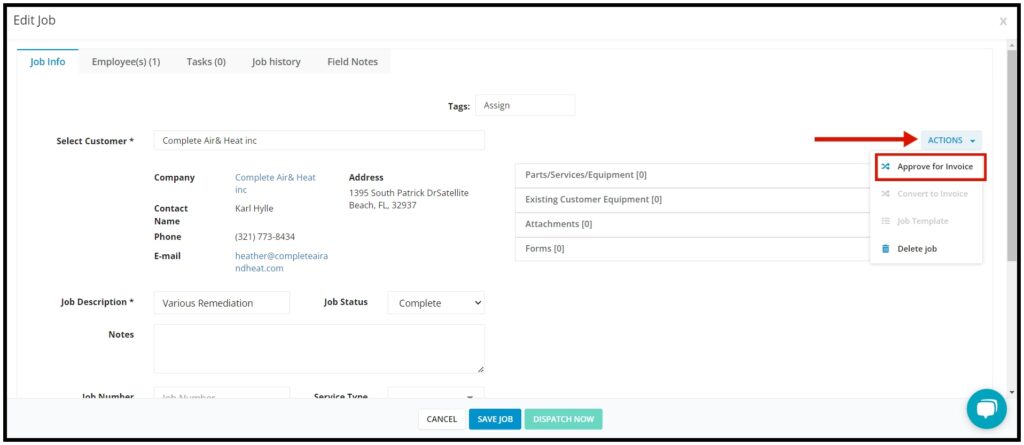
Select a job that is marked as completed. Double-click on the job.
In the ACTIONS, select Approve for Invoice.
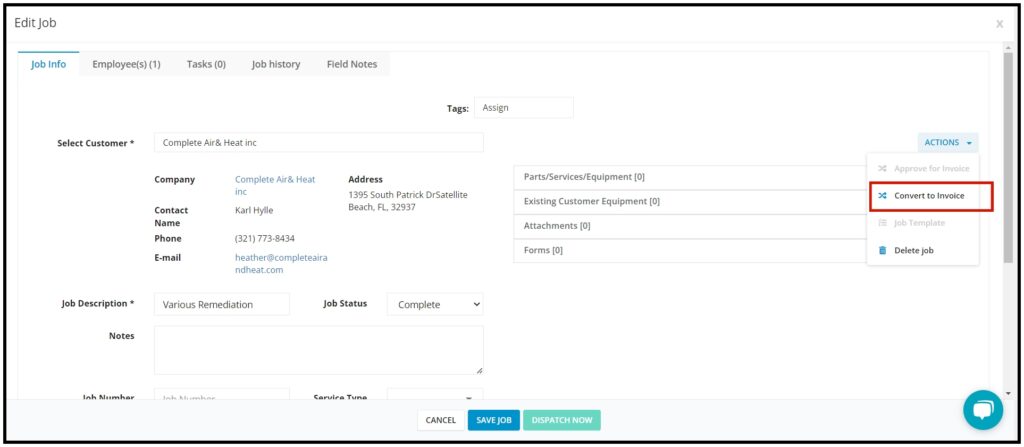
Convert the Job into an Invoice
Once the job has been approved for invoice, the Convert to Invoice option will be available.
Click on Convert to Invoice, you will be redirected to the Edit Invoice window. From there you can add, remove, or edit any items in the invoice if necessary.