
Barcode Generating and Printing
Barcodes make it easy for warehouse staff to track items & expiration dates with serial and batch numbers.
How to Generate Barcodes
- Enable barcode generation under settings.
Go to settings the orange gear icon> Inventory> Barcode Generation.
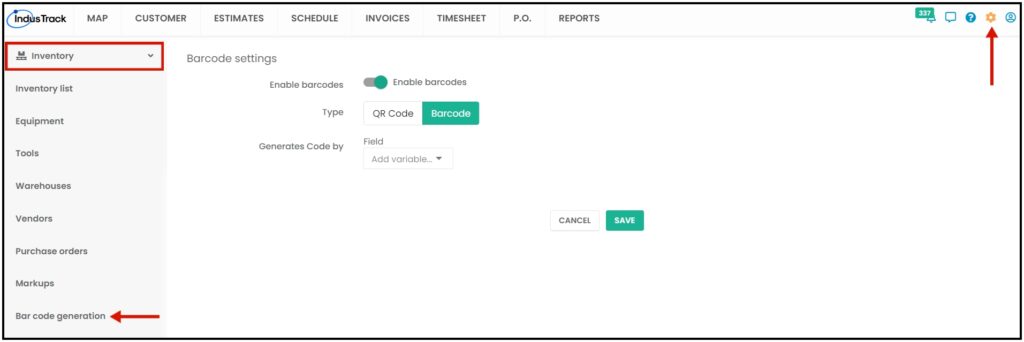
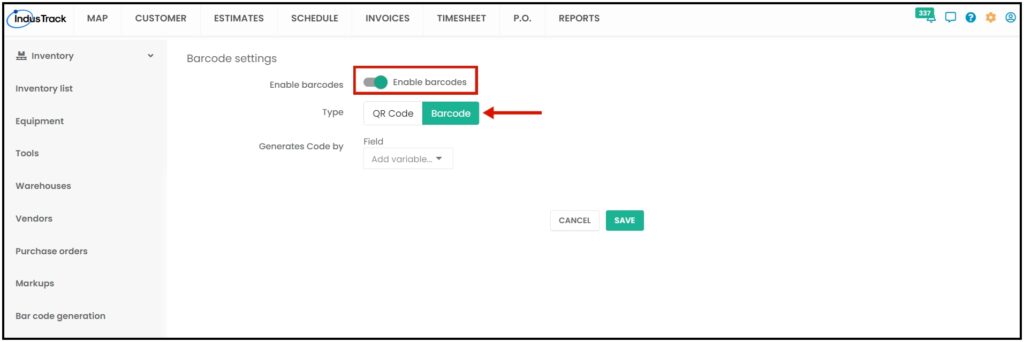
In the barcode settings page, Toggle on Enable Barcodes.
- Type- We have two types of code that you would be able to generate QR Code and Barcode. You can only select one of the types.
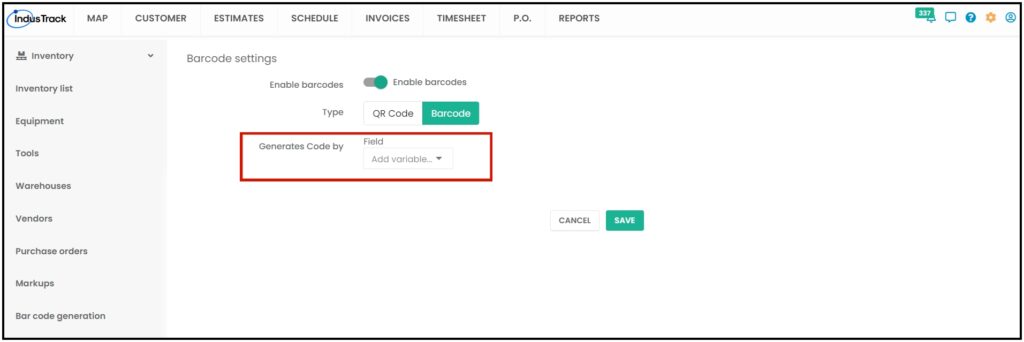
Generate Code by- For QR code many fields can be added to generate a code. For the Barcodes we recommended selecting name or SKU or Serial or all three. Barcodes can only hold a limited amount of information while QR codes can have lots of data.
Select a variable you wanted to add, Name, SKU, Vendor, S/N, Manufacturer, Model, bin#, isle#.
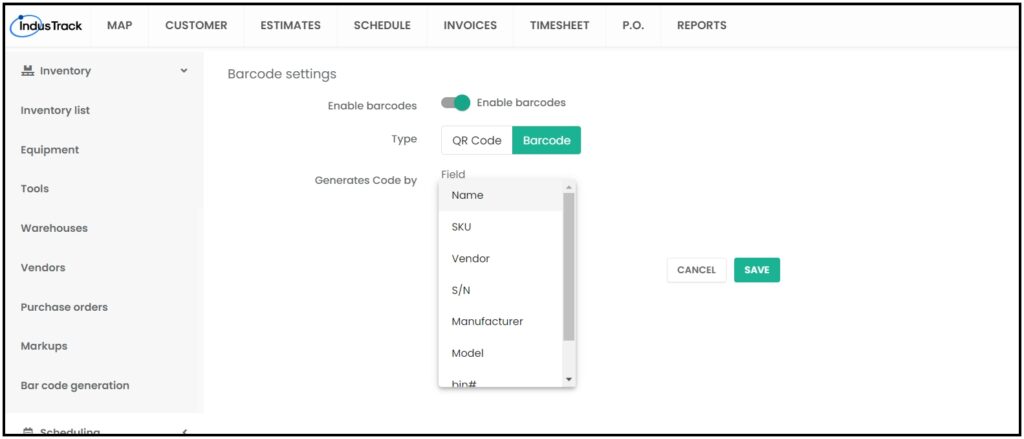
After selecting variables, click on Save. You should be able to generate and Print Labels now.
To Print Labels, go to the Inventory list.
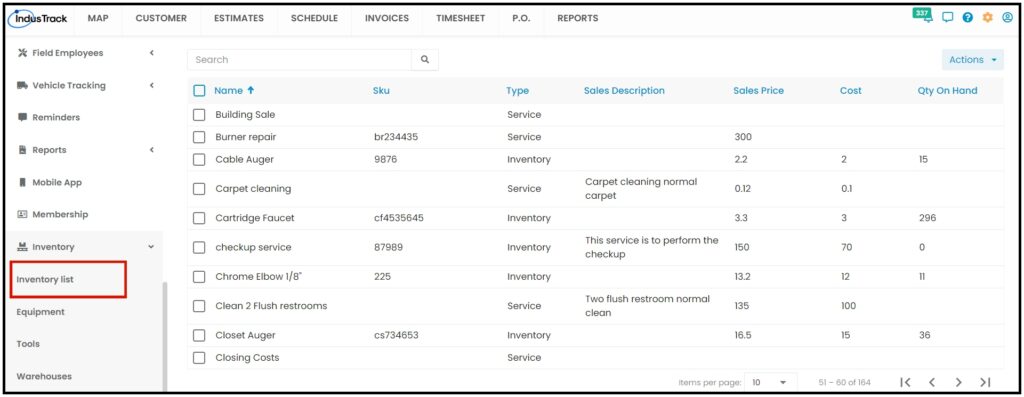
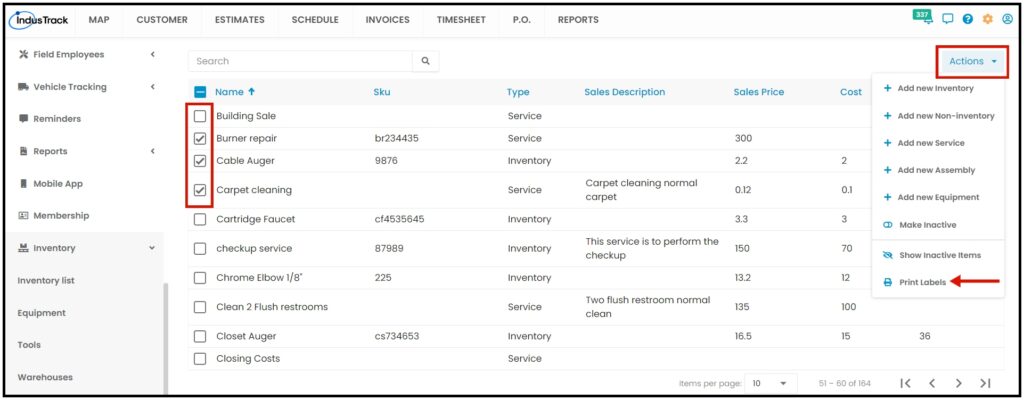
Select all the items that you wanted to generate barcodes with by marking them checked.
Click on Actions > Print Labels.
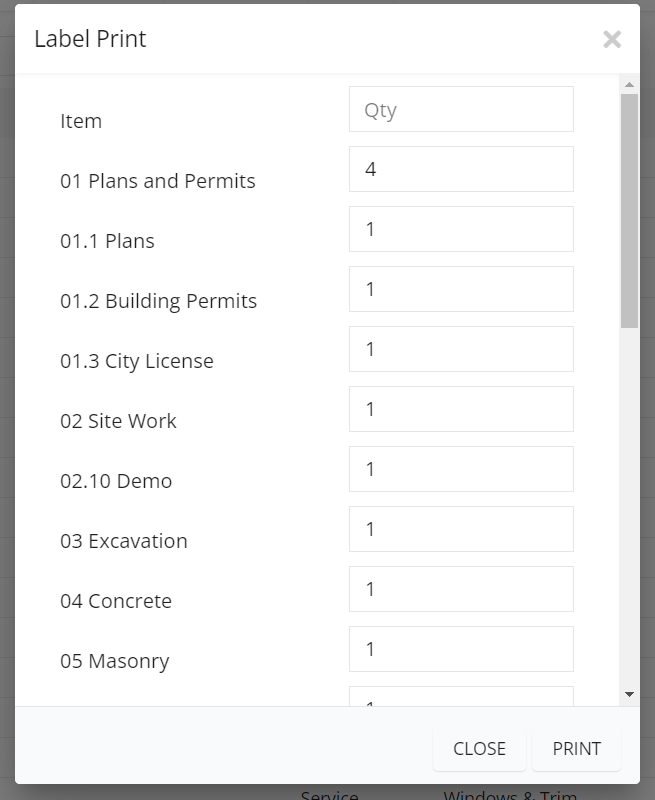
Type in the quantity you want and then Click on Print.
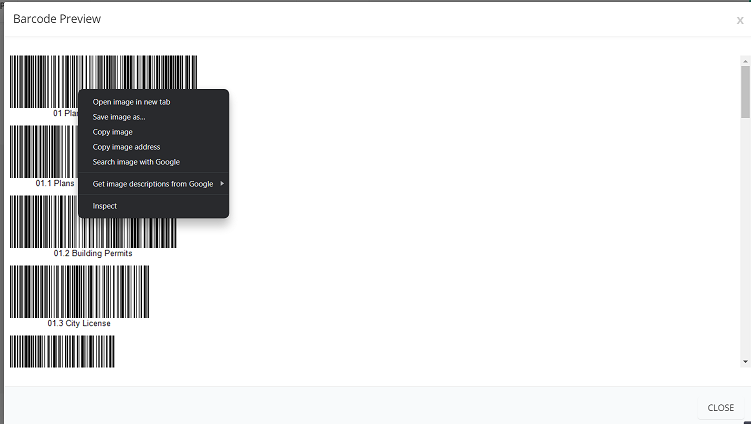
After clicking on Print, you should be able to see the barcode preview.
NOTE: Print preview may not work until we configure the printer.
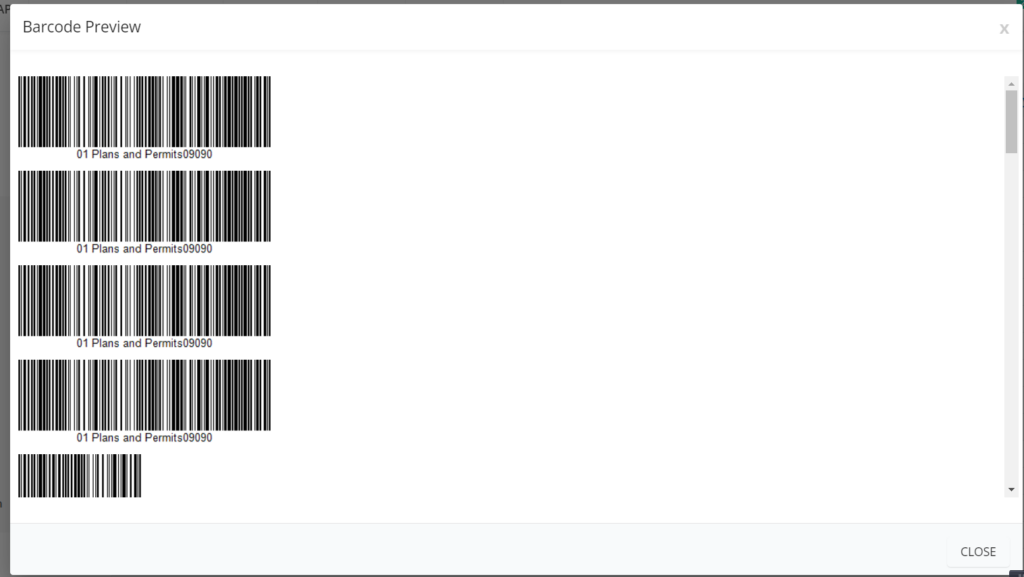
Right-click on the labels to save them as images.
References: Barcode printer recommendation.
Zebra ZD410: Part Number: ZD41022-D01000EZ
Printer: https://www.barcodefactory.com/zebra/printers/zd410/zd41022-d01000ez
0 Comments