
Purchase Orders
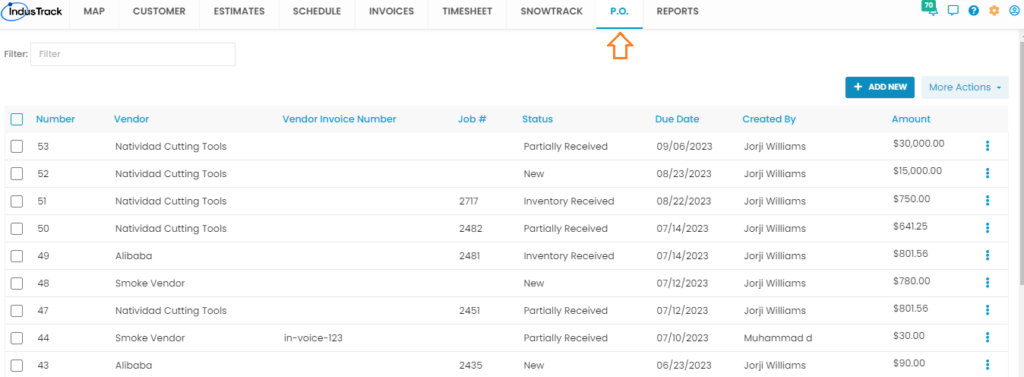
Navigate to the modules header on top and select P.O.
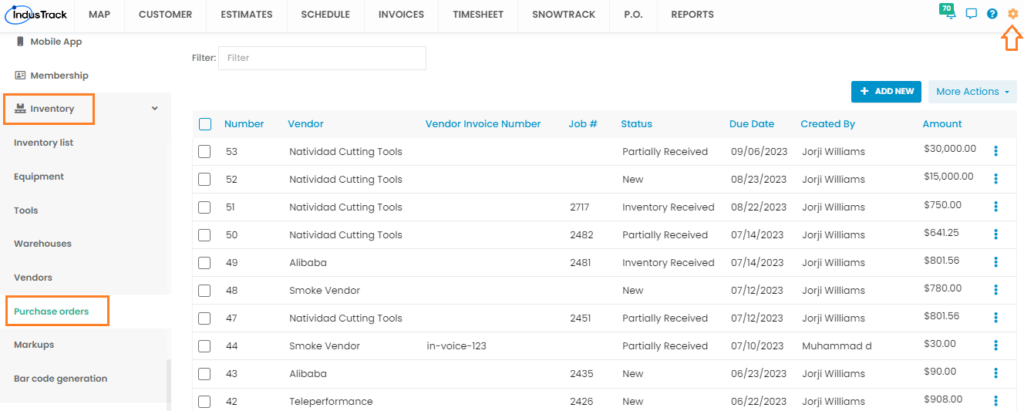
Alternatively, you can find Purchase Orders under the Inventory tab.
You can view a list of all the previously created POs with their status and other details. Click on 3 dots in the far right and you will see more options:
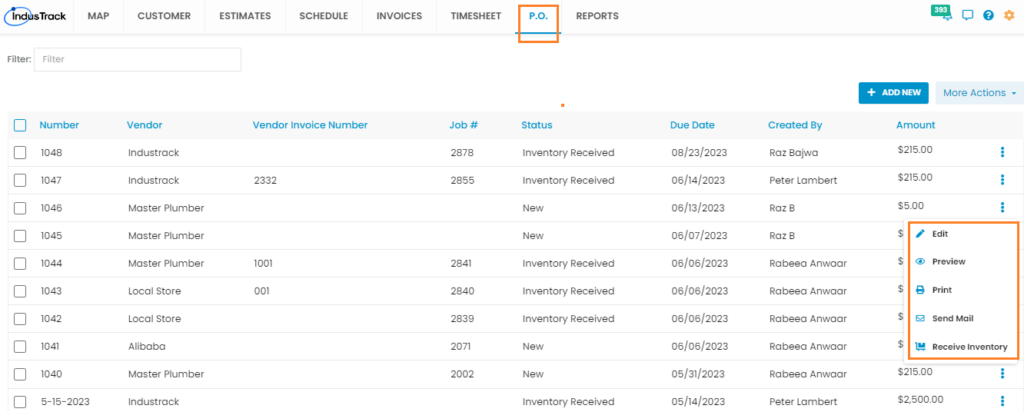
1. Edit: To make changes to an existing purchase order.
2. Preview: You can view the look & feel of the purchase order before sending it to the vendor.
3. Print: This option is for printing the purchase order.
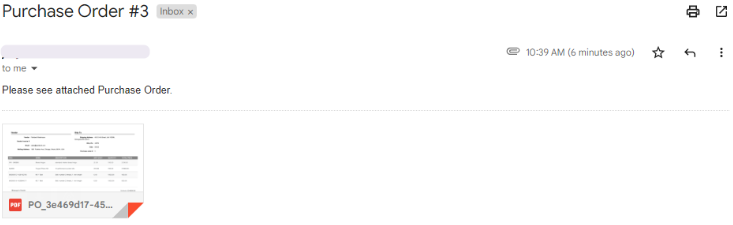
4. Send Mail: You can send the purchase order to the vendor via email. Your vendor will receive the email with a PDF copy of the purchase order attached.

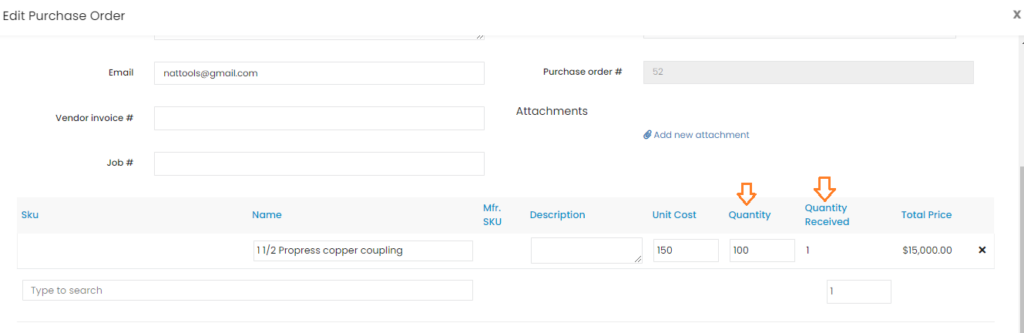
5. Receive Inventory: This option won’t show in the Actions menu if the status of the purchase order is ’Inventory Received’. Once the ordered items are received at the warehouse and cross-checked against the purchase order and the vendor invoice, before marking the purchase order as received you can update the purchase order with the invoice and delivery details. Click the purchase order to open it up in edit mode. Indicate the invoice number in the Vendor invoice# field. Add notes in Internal Memo field if required.
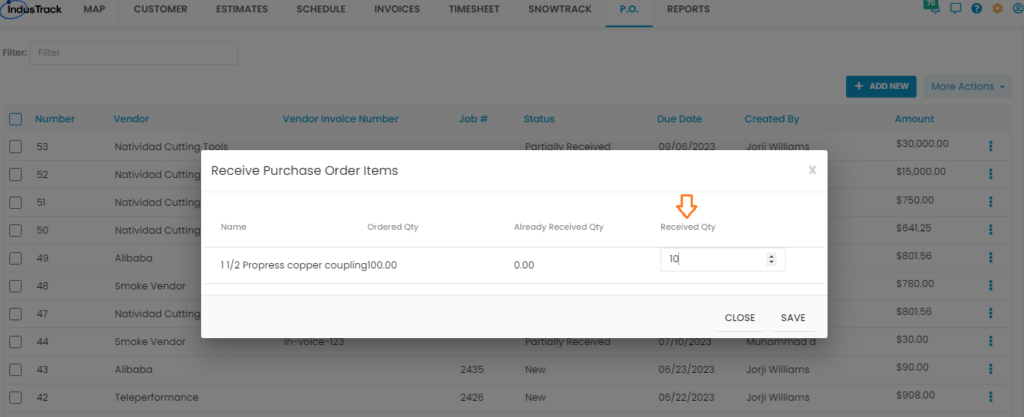
Steps to receive the inventory on the purchase order are as below:
a. Mention the quantity to receive.
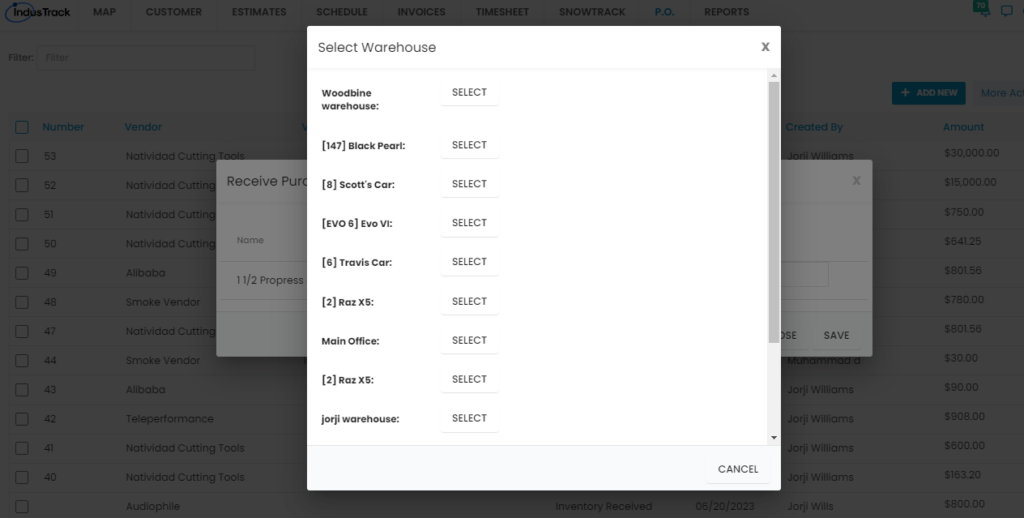
b. Select the warehouse to add items there.
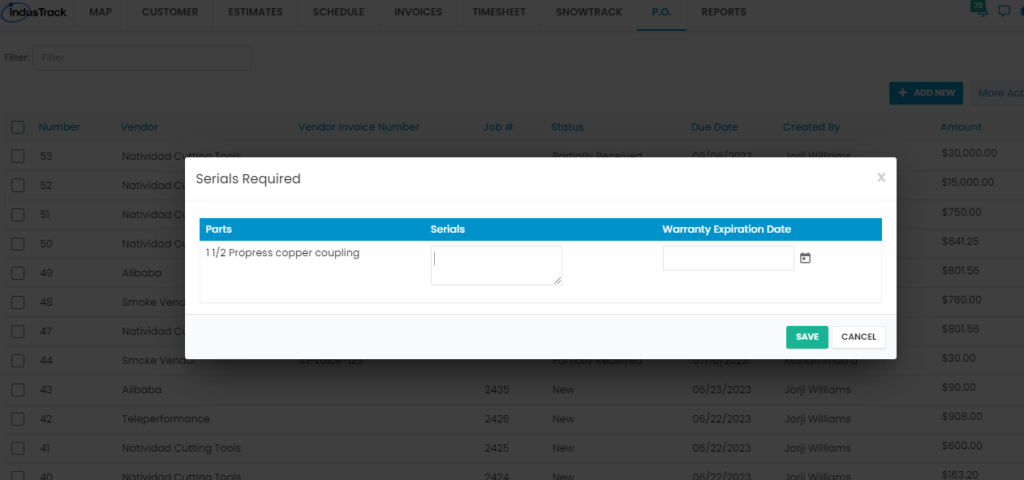
c. Add the serial numbers for the parts if items delivered require serial numbers, else the system won’t ask to enter serial numbers. Add Warranty Expiration Date on the provided field.
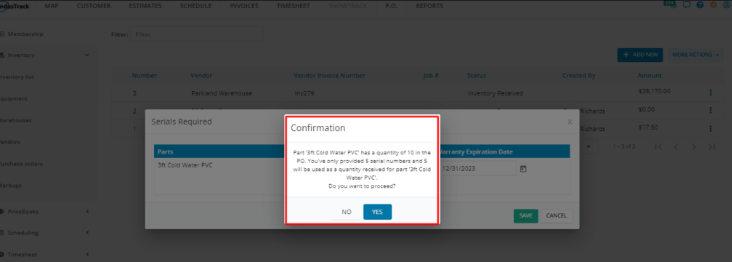
d. If the serial numbers do not match the quantity indicated in the Purchase Order, a Confirmation window will appear. Select Yes to agree to the serial numbers as the quantity received. This will override the purchase order’s quantity. Select No to return to the Serials Required window and complete the recording of the serial numbers.
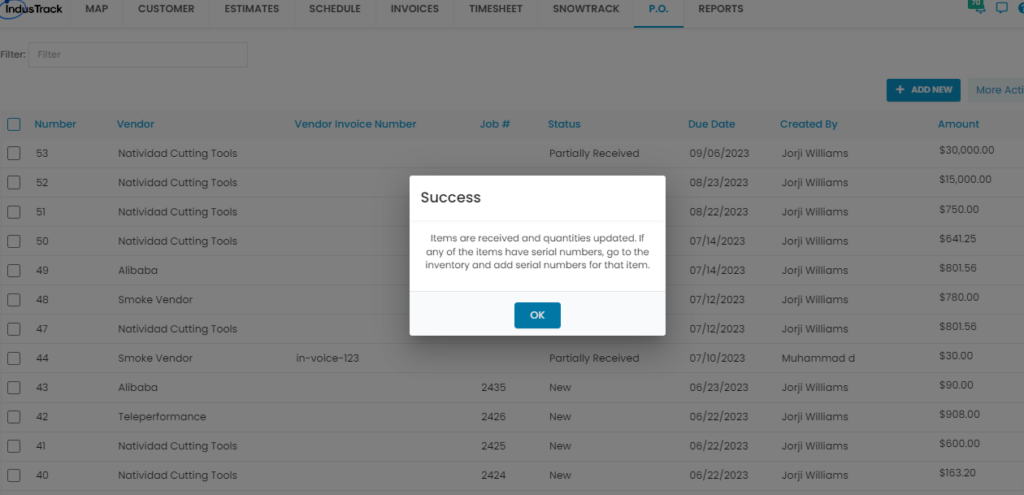
e. Once saved, the items will be added to the inventory list and Success prompt will be displayed.
f. The purchase order will also be updated with the quantity received against the required quantity.
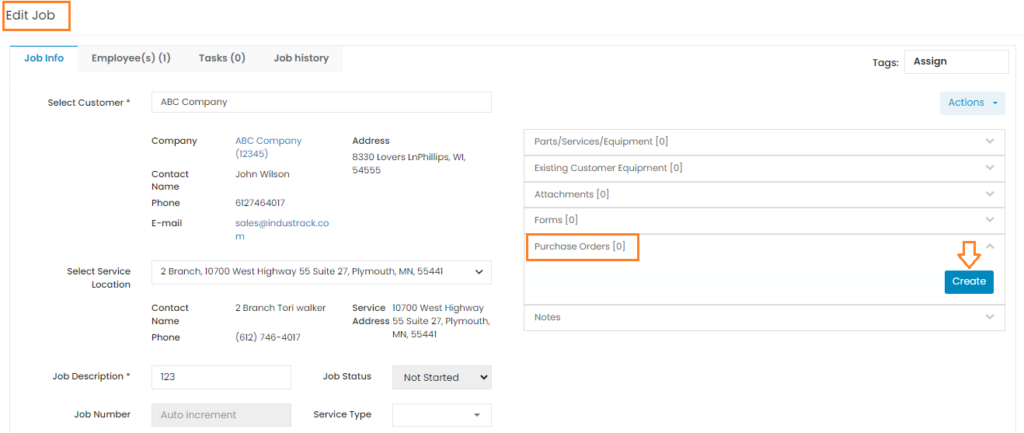
The purchase orders can also be created while adding a job to the system. If the job requires parts to be ordered from vendor, then you can create a purchase order and link to that specific job.
0 Comments