
Vendors
Adding Vendors in IndusTrack allows you to easily prepare purchase orders and keep track of your supplies and/or products from the system.
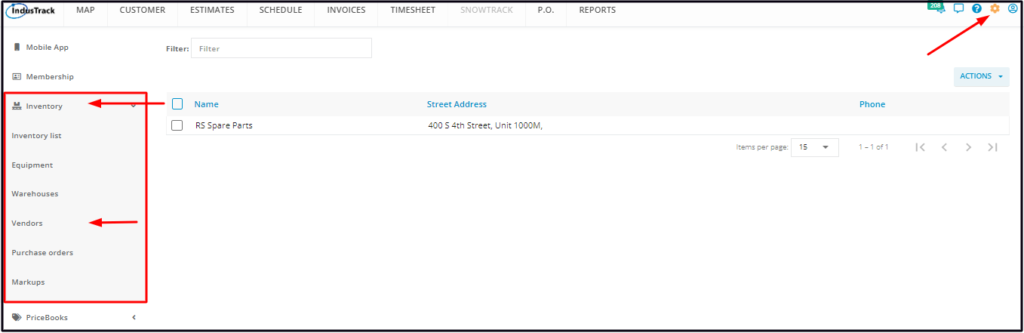
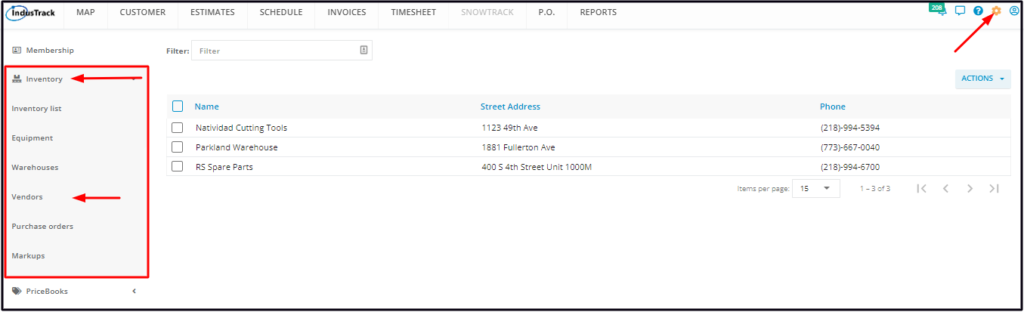
To set up your suppliers go to Settings > Inventory > Vendors.
This page makes creating, viewing and managing vendors a lot easier.
Vendors’ List
The page defaults to the Vendors’ List, presented in table format. Contact information about your suppliers is shown in this table.
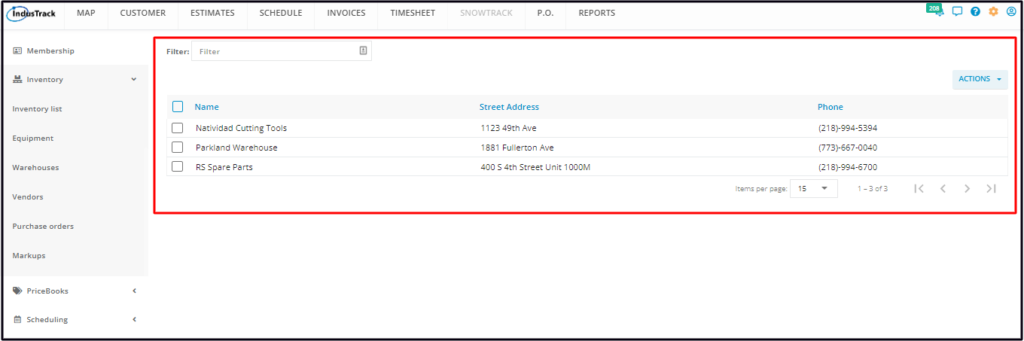
The Vendors’ List has 3 columns.
- Name – Refers to the vendor’s name or company name.
- Street Address – This refers to your vendor’s main business address.
- Phone – This refers to your vendor’s direct phone line.
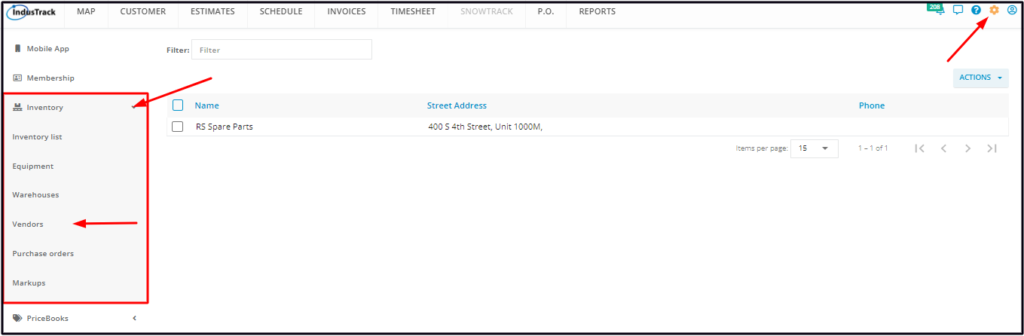
Filter Bar
Key in the information you are looking for on the Filter bar and matching information will populate the vendors’ table.
Sort the Vendors’ list
Click on the column header to sort the vendors’ list according to the selected category.
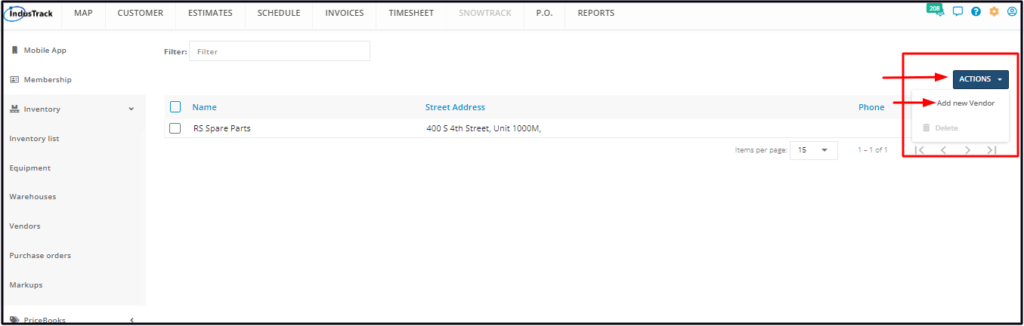
Actions Button
Use this button to add or create new vendor records. Vendor records are also deleted using this button.
List Per Page
At the bottom of the table, select the number of vendors to be displayed per page. Options to choose from are 15, 25, and 50. Use the Previous and Next buttons to move from one page to another (if there is more than one page).
Add a New Vendor
To create a vendor profile, go to Settings > Inventory > Vendors.
- A Vendor profile can also be created when preparing a Purchase Order.
Before creating a new Vendor, do a search first to determine if their profile still does not exist. This is to avoid creating multiple profiles for a single vendor. Either scroll down the Vendors list or use the Filter or Sort functions.
Go to the Actions button and select + Add a New Vendor.
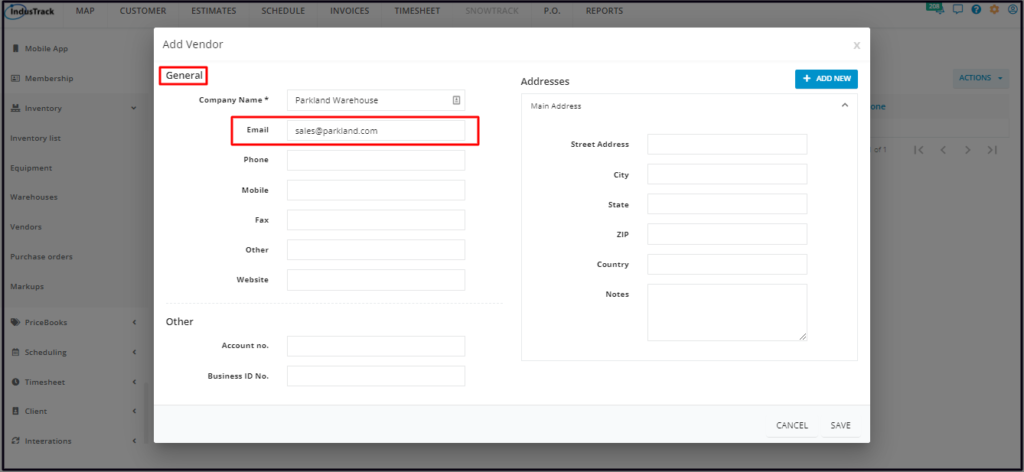
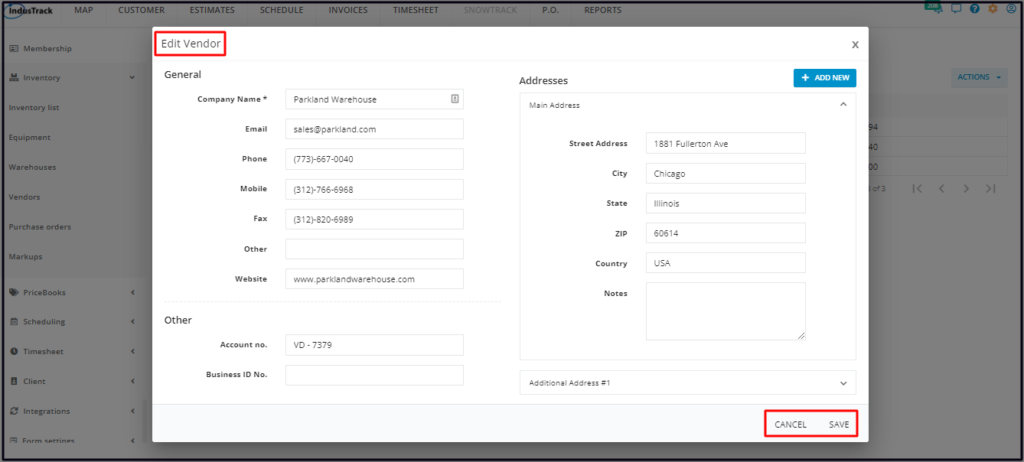
Fill in the item details on the Add Vendor window. Fields with (*) are required.
General Information
Company Name*
- Key in the supplier’s name/company name.

- For ease of placing and monitoring Purchase Orders, use your contact person’s or the Sales department’s company email address.
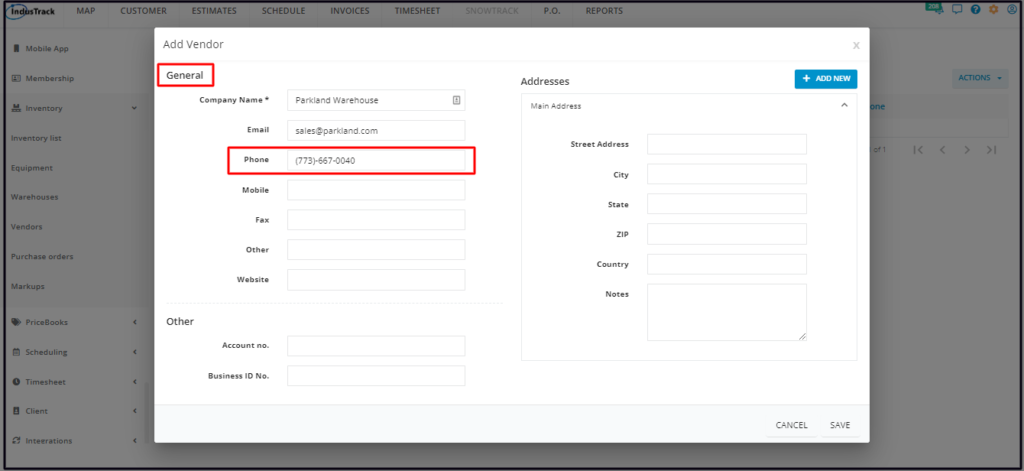
Phone
- Similar to the email address, use your contact person’s or the Sales department’s direct line.
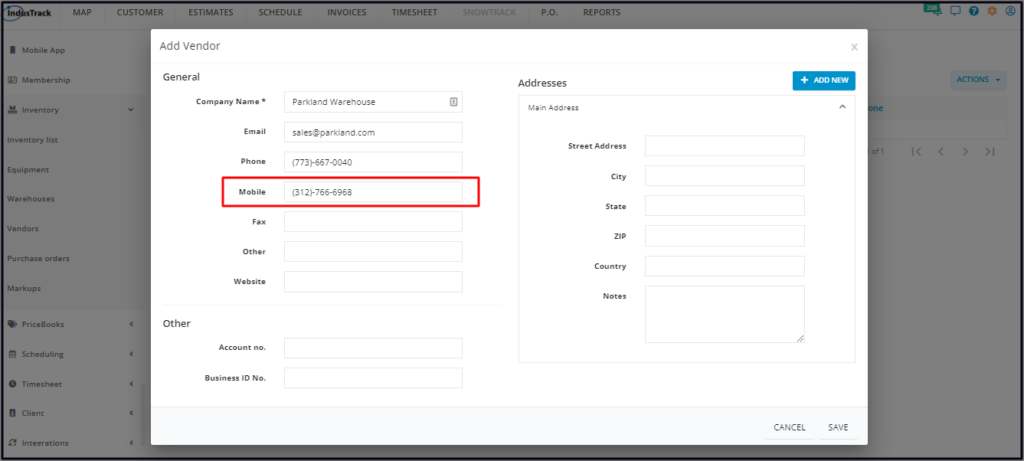
Mobile
- The contact person’s mobile number.
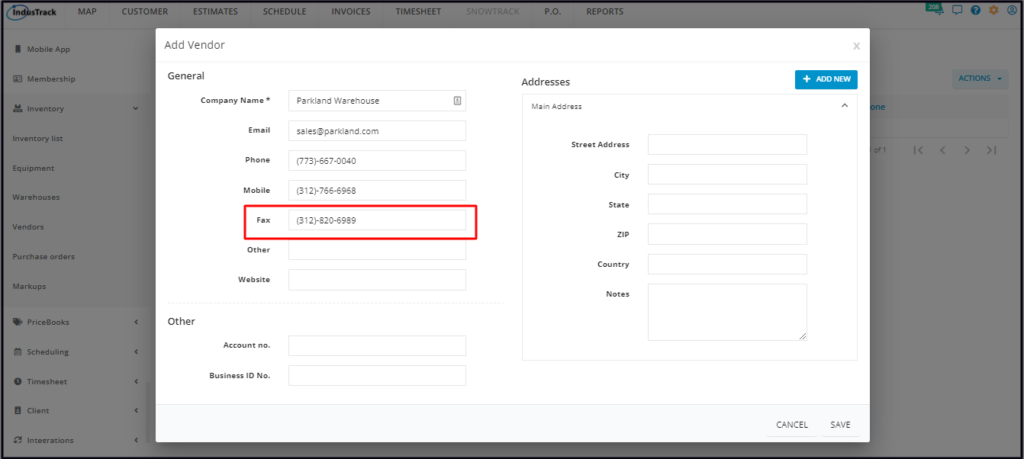
Fax
- The company’s fax number.
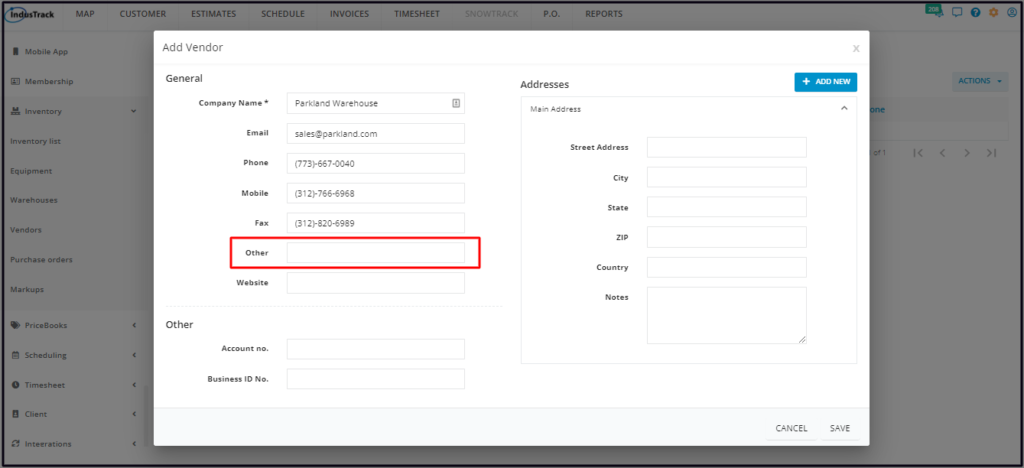
Other
- Use this field for any other contact information other than those indicated above.
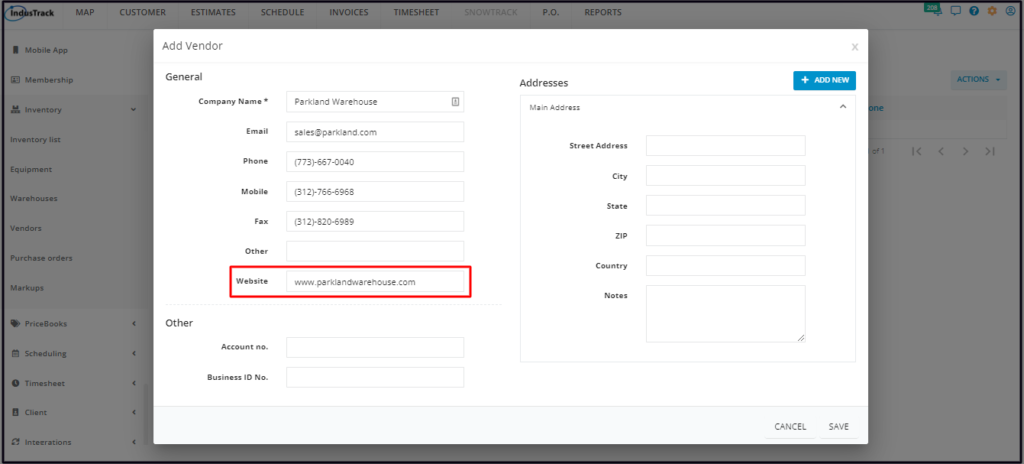
Website
- Indicate the URL of the company’s website.
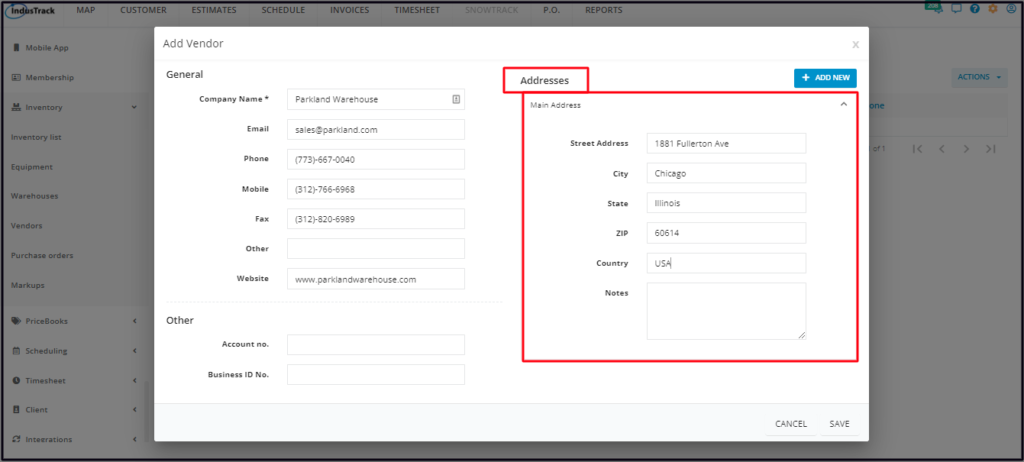
Addresses
Main Address
Key in the address of the vendor on the provided fields.
- Street Address
- City
- State
- ZIP
- Country
- Notes – Key in notes related to the vendor’s location such as landmarks.
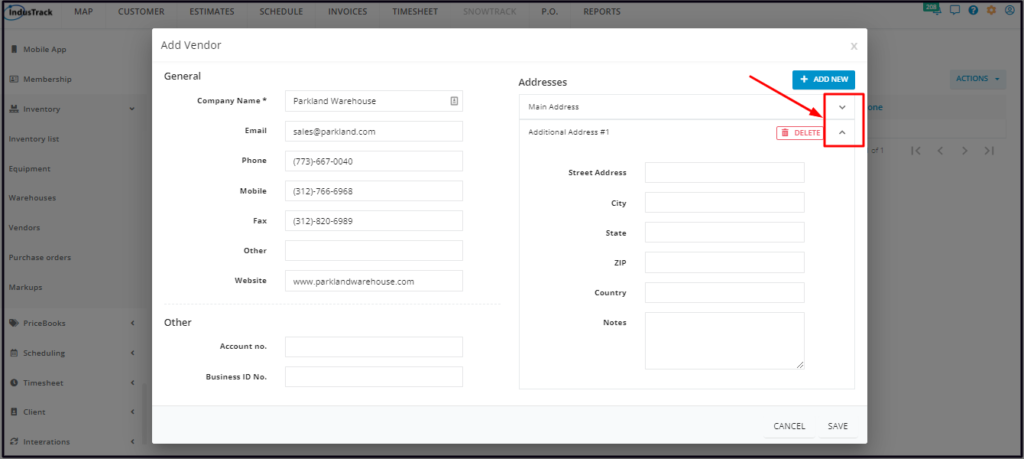
If the vendor has more than one location or has satellite offices or warehouses, add another set of address fields.
- Click on the + Add New button at the upper right-hand corner of the window. The Additional Address field will come up below the Main Address field.
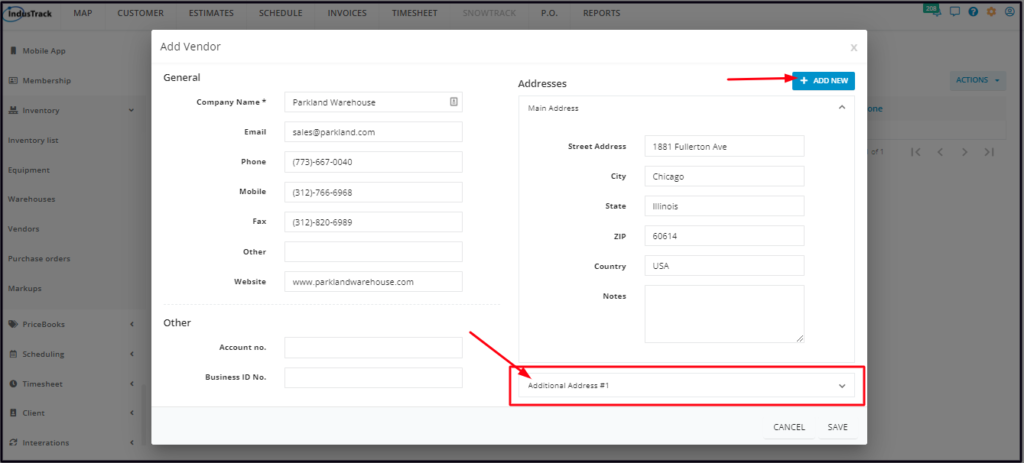
- Use the arrows at the upper right-hand corner of the address boxes to either collapse or expand the fields.
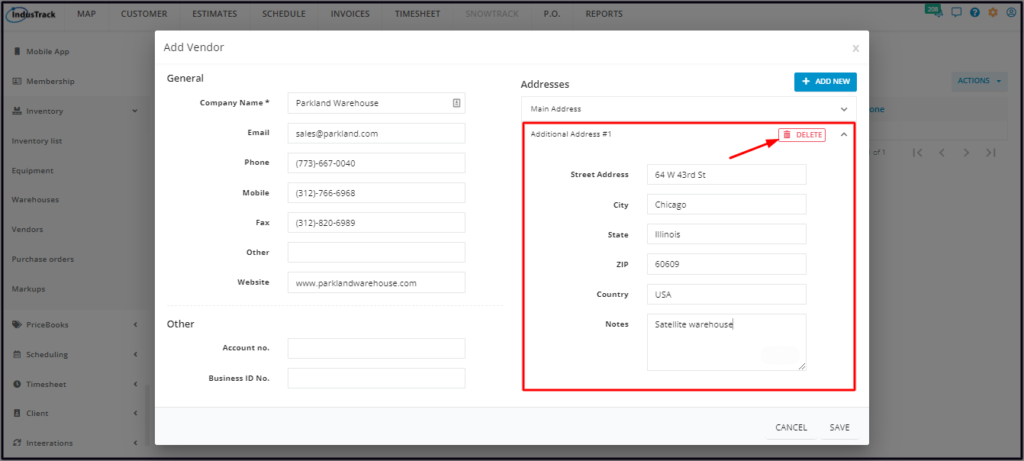
- Key in the address of the additional location on the new fields.
- To quickly remove an additional location, click on the Delete button and the information will be immediately removed. Unlike the additional addresses, the Main Address fields can not be deleted.
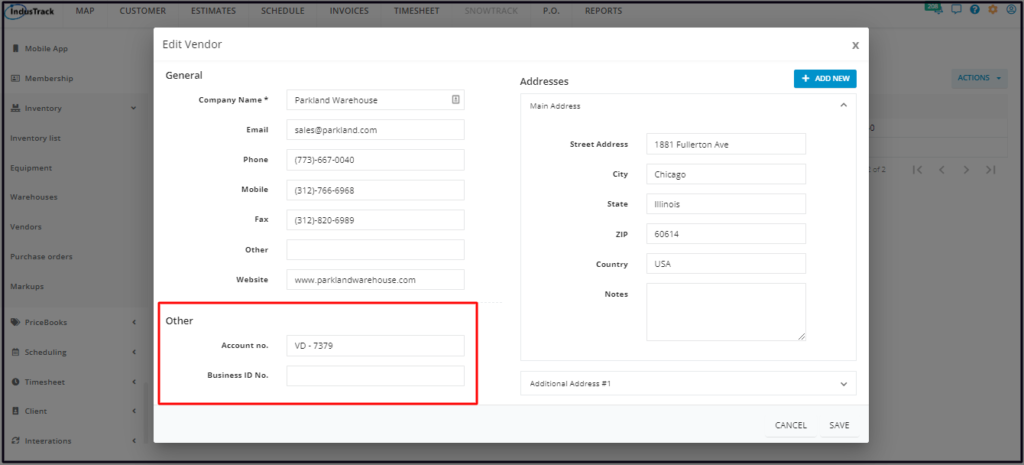
Other
Account no.
- The Account No. is a Vendor Code that you provide to quickly identify a supplier and for ease of documentation.
Business ID No.
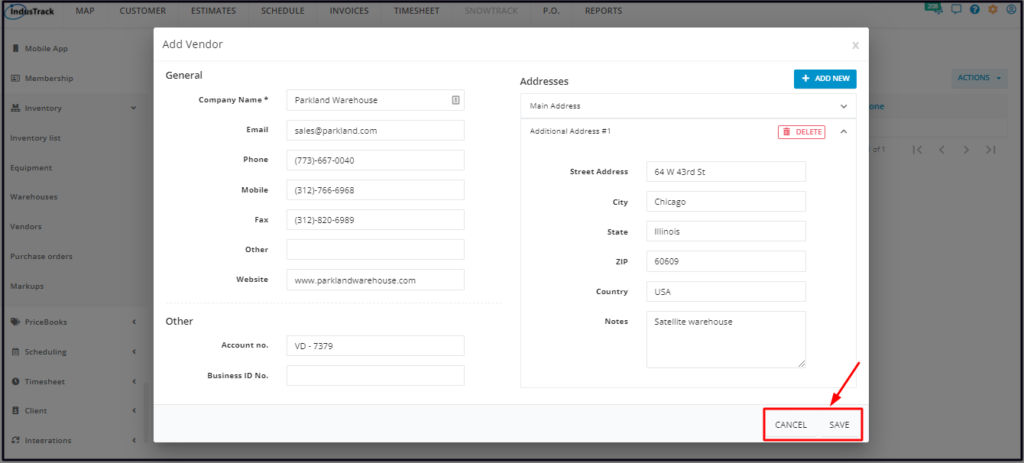
Save the new supplier. This will be added to the Vendors’ List.

Update a Vendor’s Record
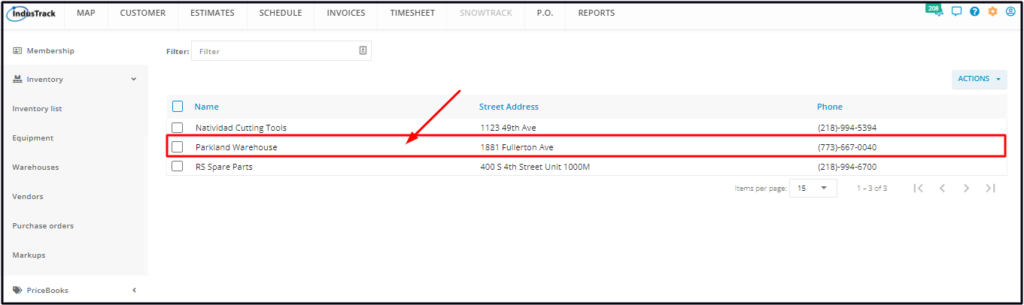
To modify the vendor’s profile, go to Settings > Inventory > Vendors.
Find the vendor from the list and click on it to open the profile in edit mode.
Edit the vendor details as may be needed. Once done, save the changes.
Delete a Vendor’s Record
If you are no longer doing business with a supplier, you can delete their profile from the system. Deleting a vendor from the system will remove it from your IndusTrack account permanently, so exercise caution when using this function.
To remove the vendor’s profile, go to Settings > Inventory > Vendors.

Find the Vendor name to be deleted from the list. Tick the checkbox to its left.
- To delete multiple vendors from the list, tick the checkboxes to the left of all. If all items will be deleted, just tick the checkbox of the Name header.

Go to the Actions button and select Delete.
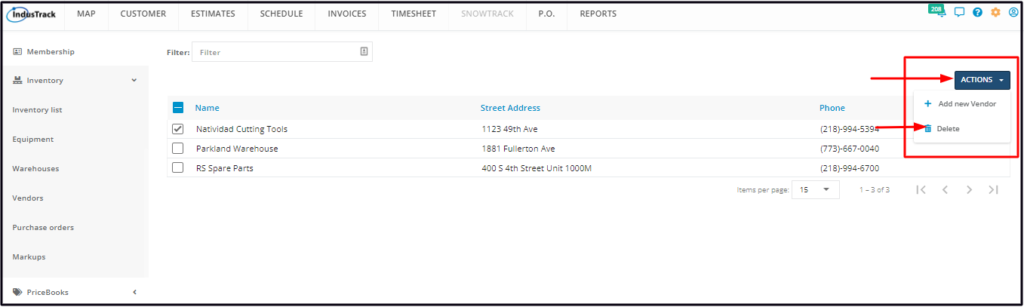
A warning window will come up. Click the Yes button to continue with the deletion and Cancel to abandon the action.
The vendor will be removed from the list.