
Manage Estimates
Edit an Estimate
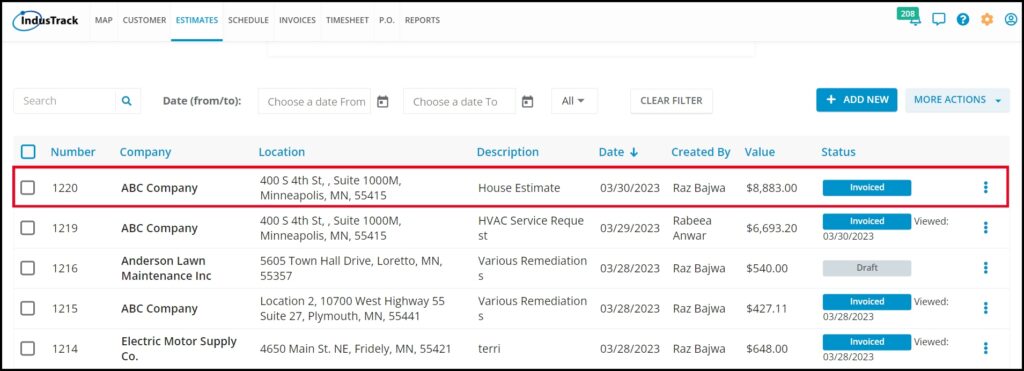
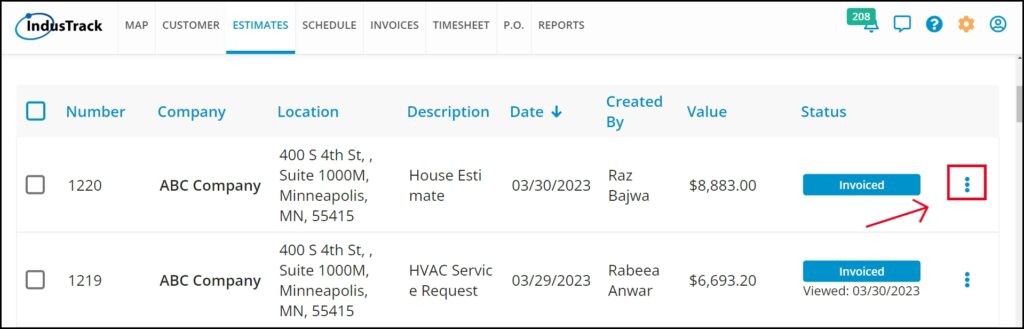
Locate the estimate you want to edit from the list.
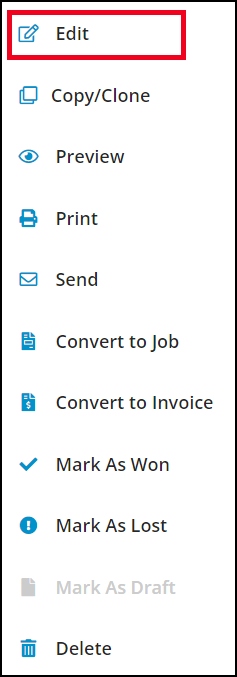
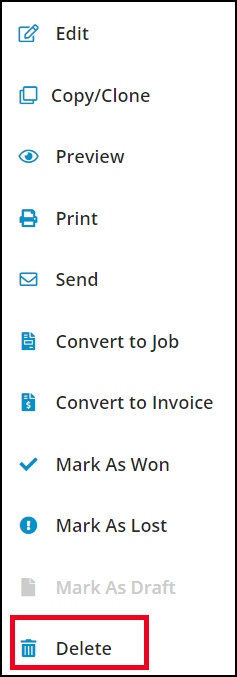
Click on the 3-dot menu located to the right of the estimate.

Select “Edit” from the drop-down list that appears.
Make any necessary updates to the estimate. Note that only draft and lost estimates can be edited, and that estimates that have been marked as won, converted to an invoice or a job, or scheduled cannot be edited.
Once you’re done with the updates, click the “Save” button to save the changes. If you want to save and exit the estimate and go back to the estimate page, click the “Save and Close” button instead.
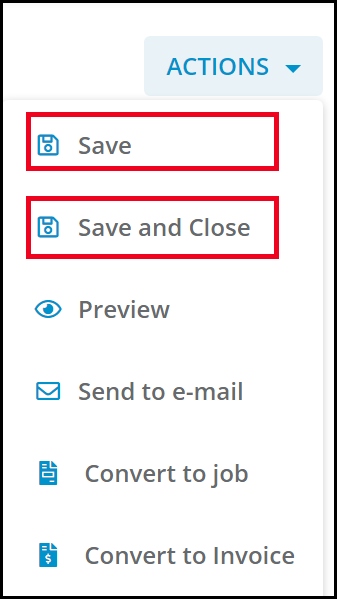
The estimate will remain open, allowing you to continue working on it if needed.
Delete an Estimate
Deleting a Single Estimate:
Find the estimate you want to delete from the list
Click on the estimate to open it.
Click on the Actions button and select Delete from the dropdown list.
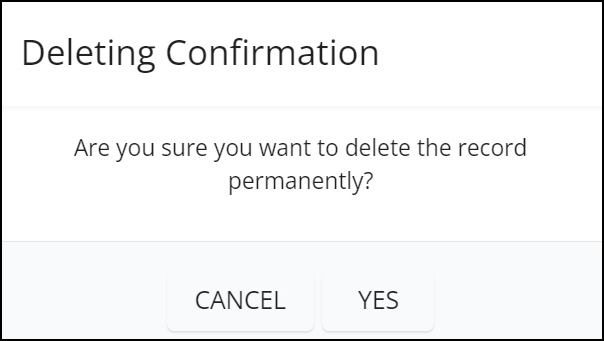
A Deleting Confirmation window will appear. Click Yes to confirm the delete action or No to cancel it.
The estimate will be removed from the list.
Deleting Multiple Estimates:
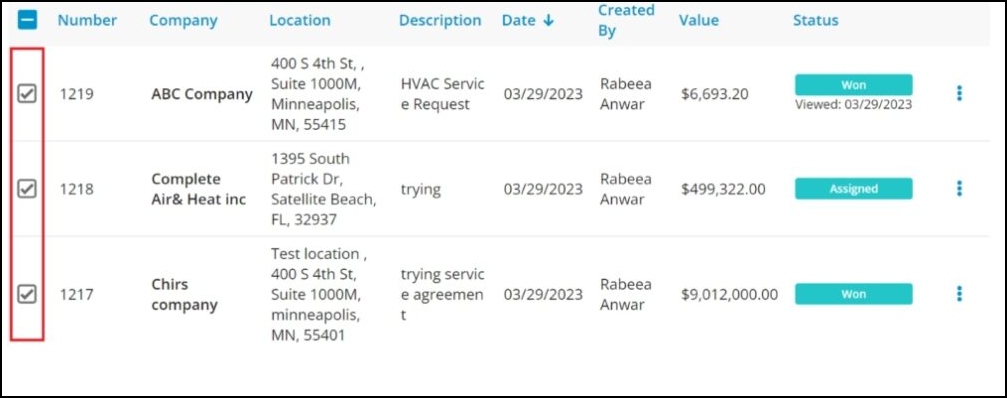
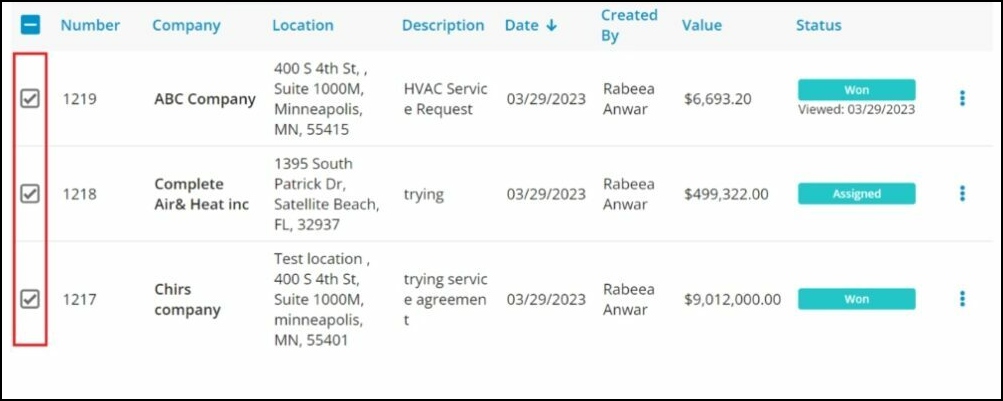
Tick the checkboxes to the left of the estimates you want to delete in the list.
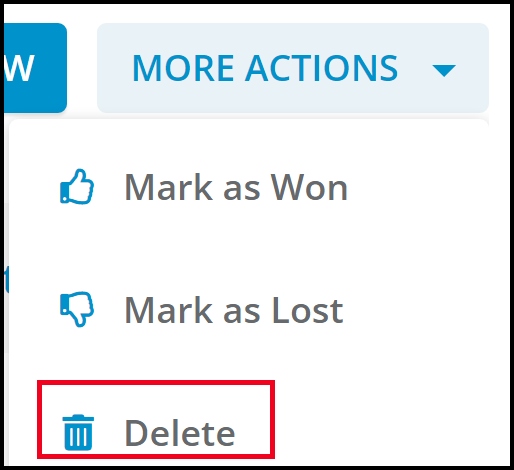
Click on the More Actions button. Select Delete from the dropdown list.
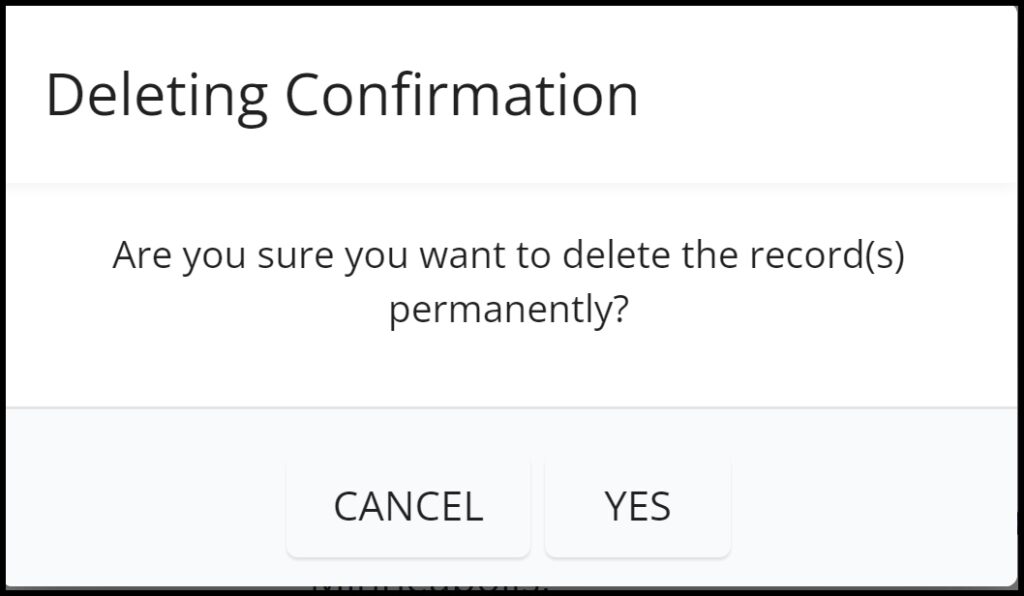
- Confirm the delete action.
All the selected estimates will be removed from the list.
Send an Estimate
Find the estimate you want to send in the list.
Click on the 3-dot menu located to the right of the estimate.

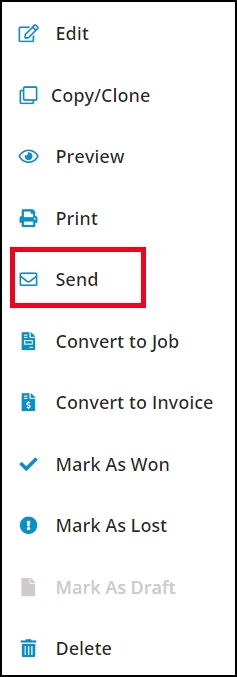
Select the Send option from the dropdown list
The Email Estimate window will appear.
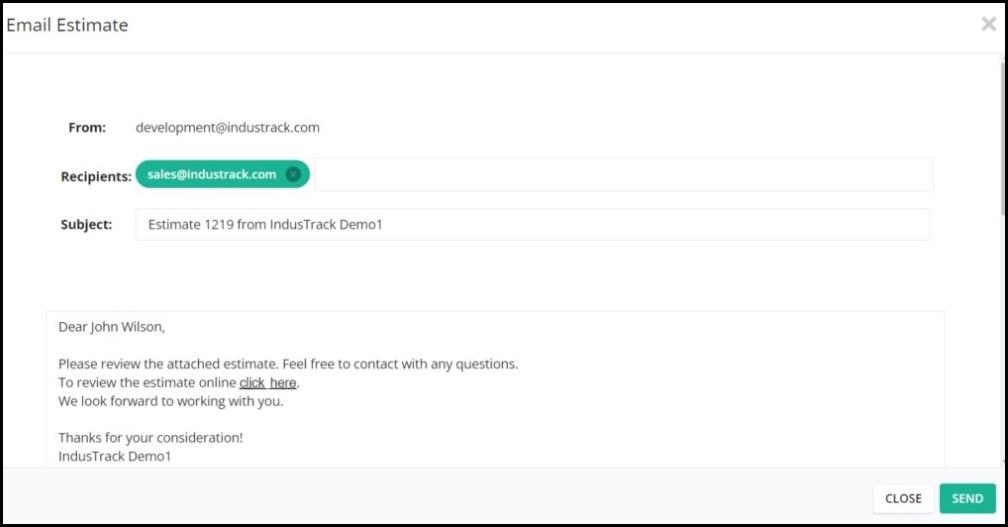
Click the Send button to process and send the estimate to the contact person’s email address that is specified in their profile.
Print an Estimate
Find the estimate you want to print from the list.
Click on the 3-dot menu located to the right of the estimate.
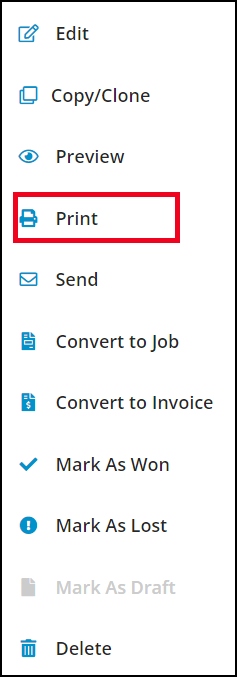
Select the Print option from the dropdown list.
The Print Preview page will appear.
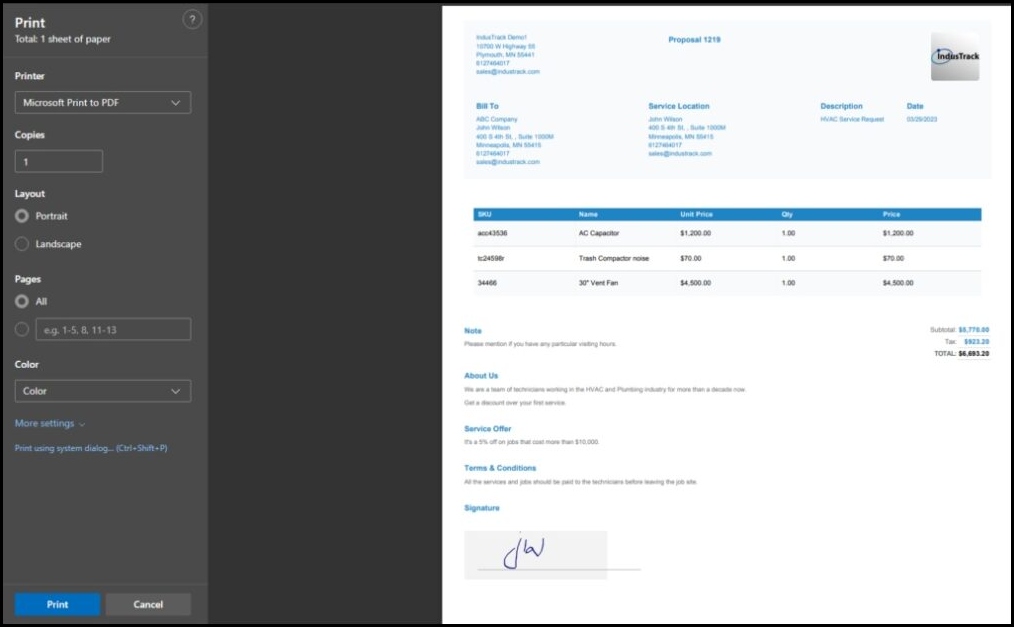
Set up the print settings, such as the printer to be used, paper size, color, and other preferences.

Once you have finished configuring the settings, click the Print button.
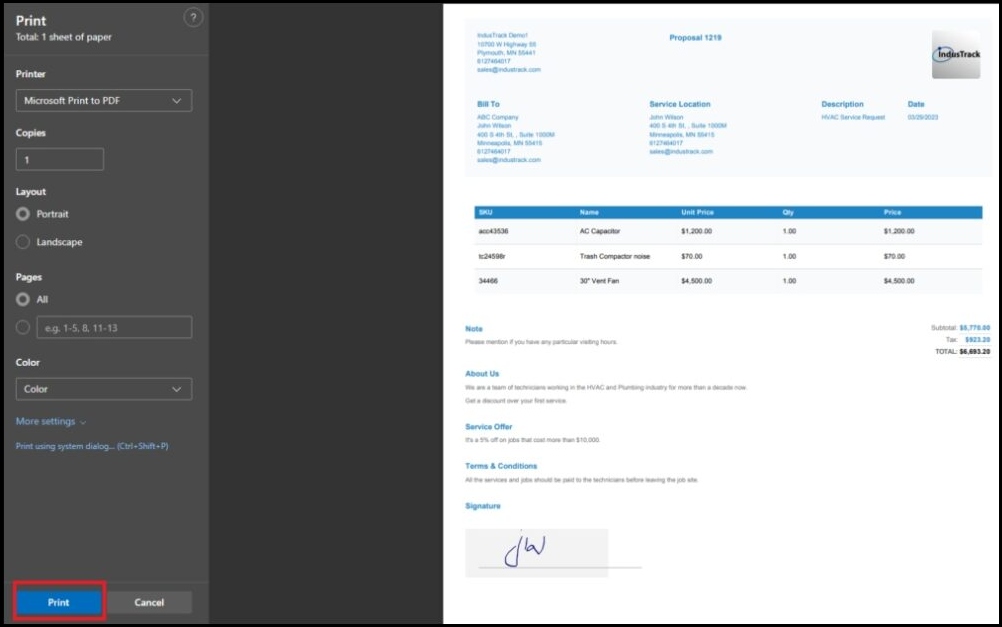
The estimate will start to print according to the settings you have specified
Mark an Estimate as Won
Marking a single estimate as won:
Locate the estimate that has been accepted and approved by the customer.
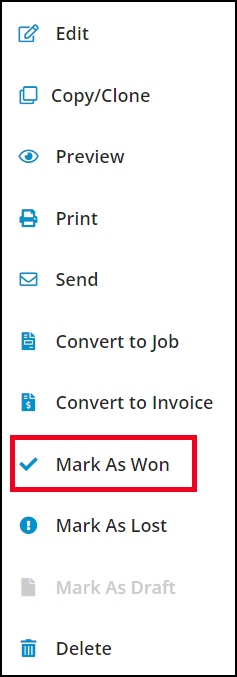
Click on the three-dot menu on the right-hand side of the estimate.

Select the “Mark as Won” option from the drop-down list.
Confirm the action by clicking “Yes” or cancel it by clicking “No”.
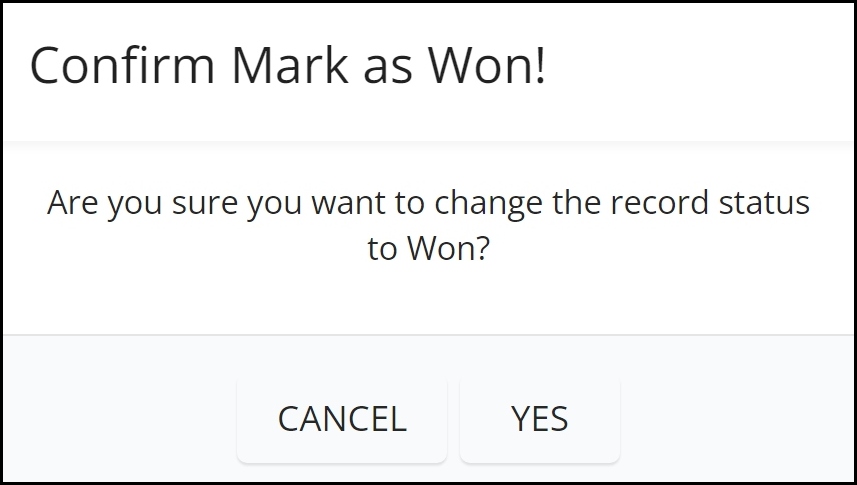
The estimate’s status will be updated to “Won”.
Marking multiple estimates as won:
Tick the checkboxes to the left of the estimates that have been accepted and approved.
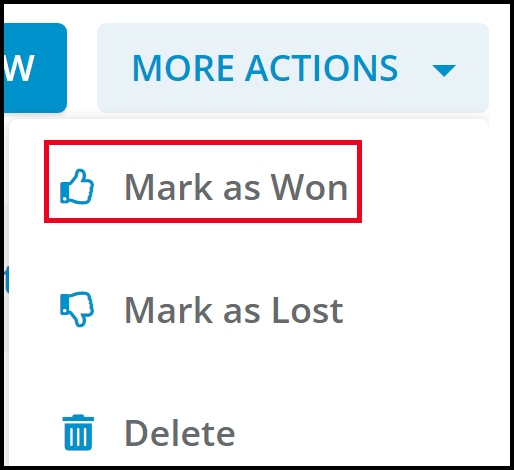
Click on the “More Actions” button.
Select the “Mark as Won” option from the drop-down list.
Confirm the action.

The statuses of all the selected estimates will be updated to “Won”.
Mark an Estimate as Lost
Marking a single estimate as lost:
Locate the estimate that has been disapproved or declined by the customer.
Click on the three-dot menu on the right-hand side of the estimate.

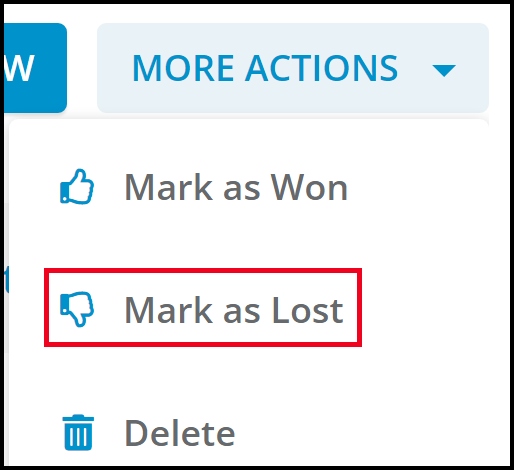
Select the “Mark as Lost” option from the drop-down list.
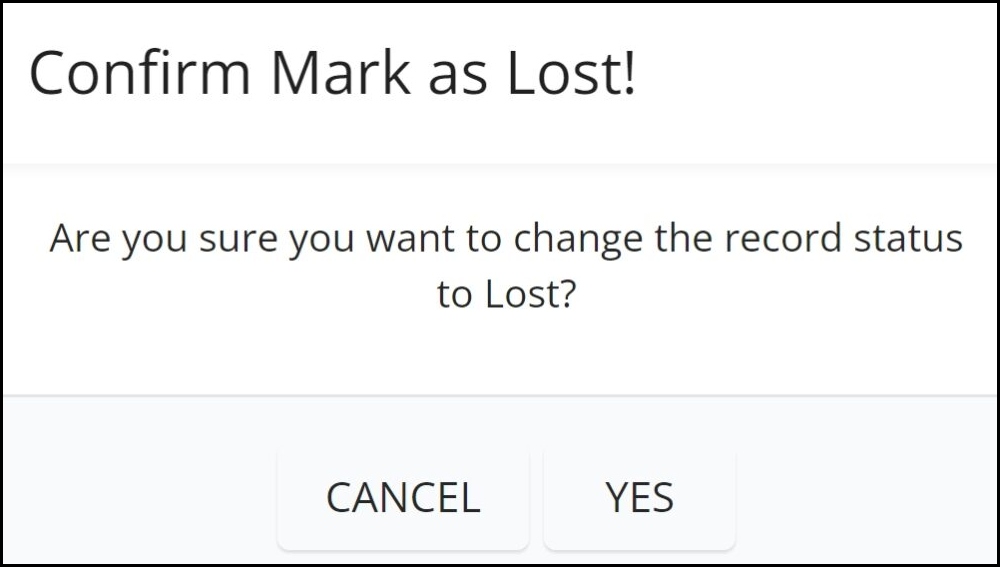
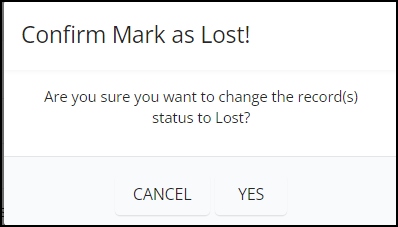
Confirm the action by clicking “Yes” or cancel it by clicking “No”.
The estimate’s status will be updated to “Lost”.
Marking multiple estimates as lost:
Tick the checkboxes to the left of the estimates that have been disapproved or declined.

Click on the “More Actions” button.
Select the “Mark as Lost” option from the drop-down list.
Confirm the action.
The statuses of all the selected estimates will be updated to “Lost”.
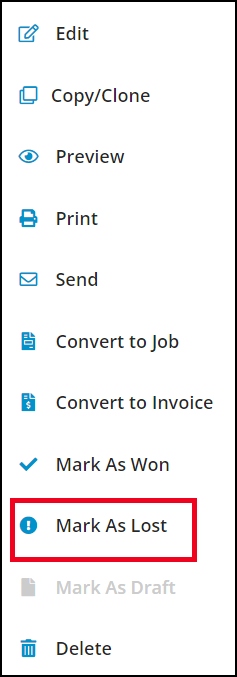
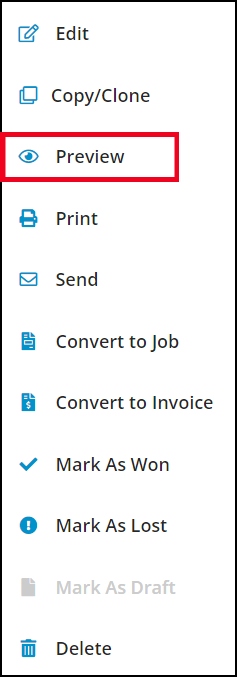
The option to mark an estimate as lost can also be accessed with the estimate open. Go to the Actions tab and select “Mark as Lost” from the drop-down list.
Preview and Create a PDF of an Estimate
Previewing an estimate:
Click on the three-dot menu on the right-hand side of the estimate.

Select “Preview” from the drop-down list.
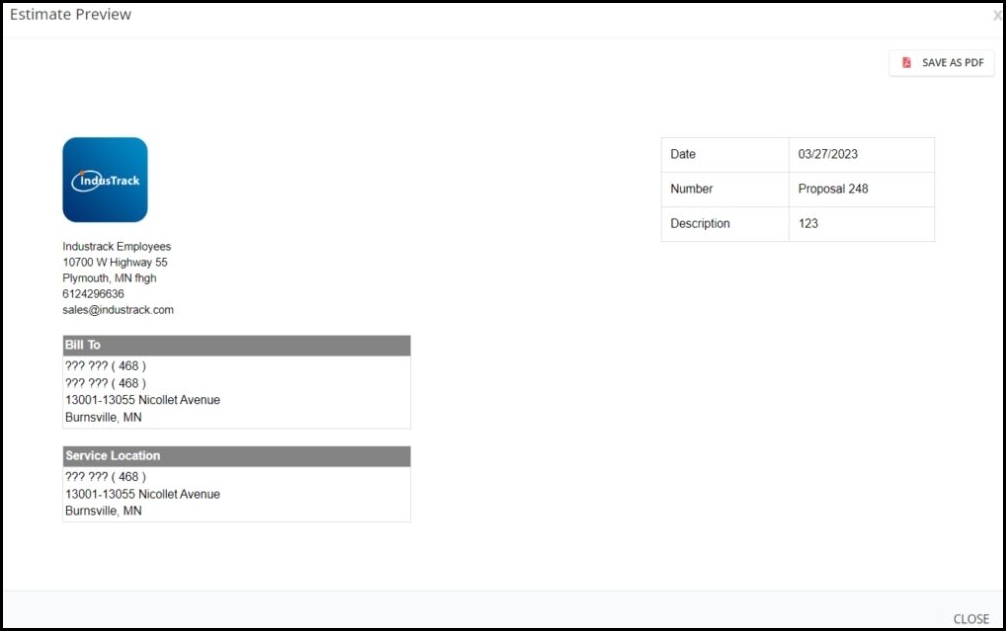
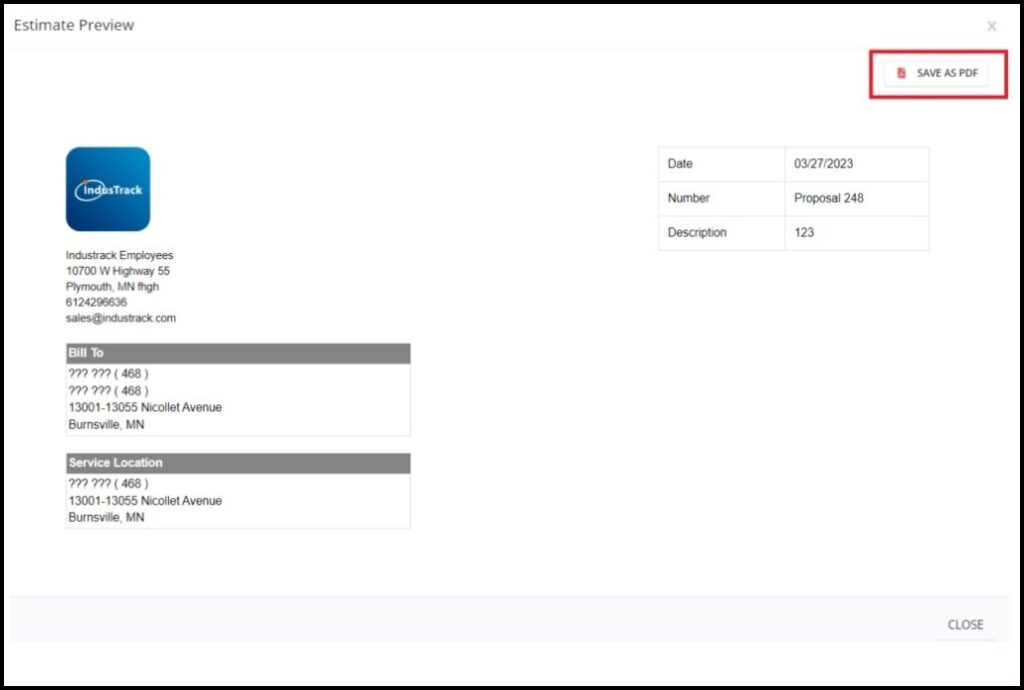
The Estimate Preview page will be displayed.
Creating a PDF copy:
On the Estimate Preview page, click the “Save as PDF” button at the upper right-hand corner of the estimate.
A PDF file of the estimate will be downloaded to your computer.
Open the downloaded PDF file to view it, or save it in your computer folder.
If the estimate looks good, you can send it to the customer or print a copy. These options are available at the “Actions” button.
If there is something you want to change, you can go back and edit the estimate before sending or printing it.
Please refer to the article below for instructions on how to convert Estimates into Invoices and Jobs: Convert Estimates – IndusTrack Support