
Timesheet
At the top of Timesheet module, you will see a summary of Shift, Job and Break times. You can view your field employees with their work status, location they are working on, and time record conflicts.
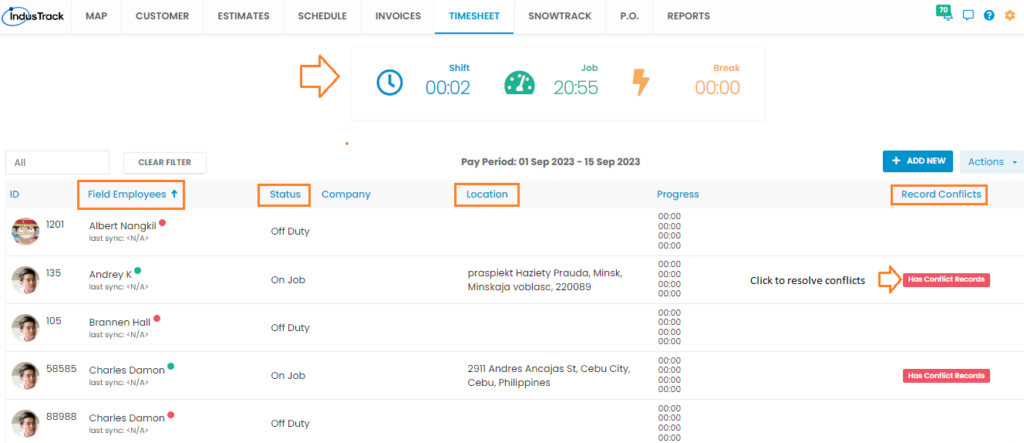
Beneath each field employee’s name, the information about the last time they sync their mobile app is displayed so you know how current the data is.
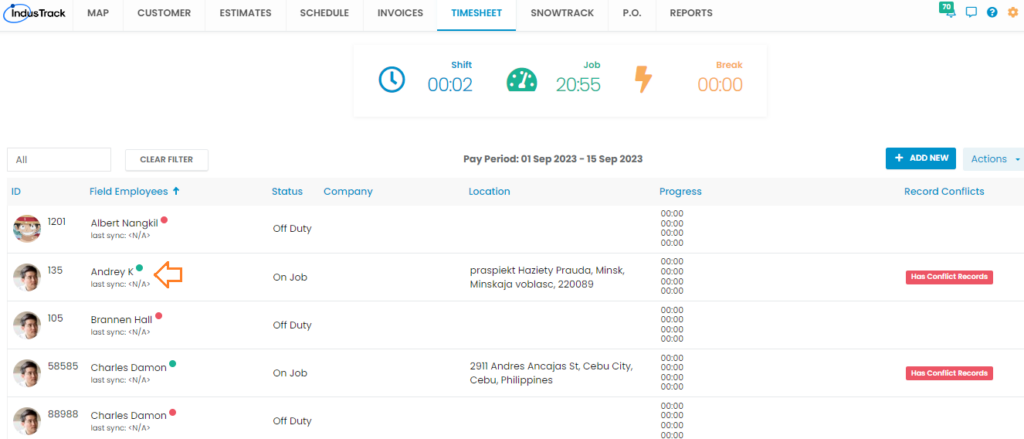
To view the timesheet records for any field employee, you can click on Field Employee drop-down and select the person from the list.
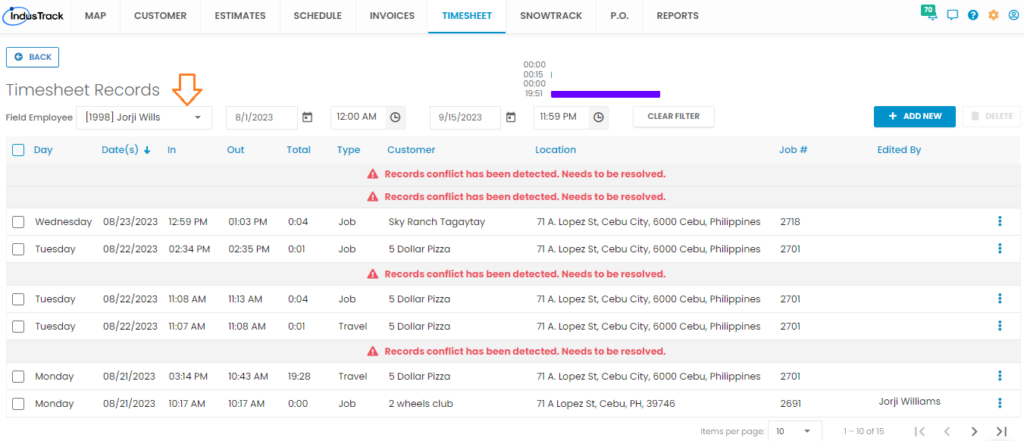
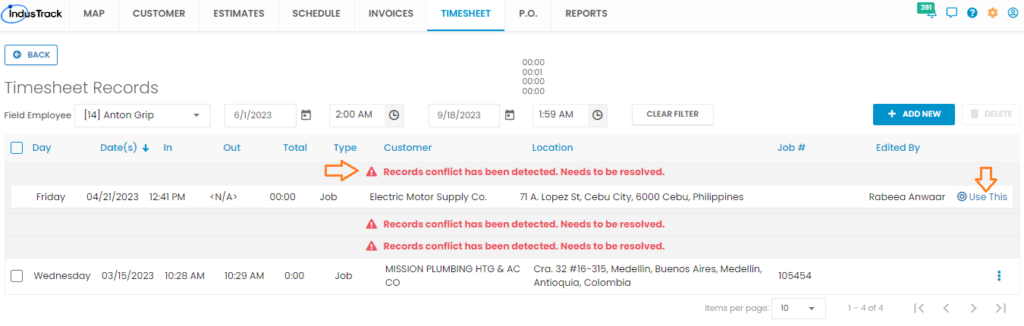
The red conflict messages are to display those timesheet records for your field employee which have conflicts. Conflicts can occur due to the time not been recorded properly by the field employees. To view and remove conflict for a time record, single click on the red conflict message and then click ’Use This’ to open the timesheet record and make necessary amendments.
Click 3-dots in the far-right for a time record to get more action items.
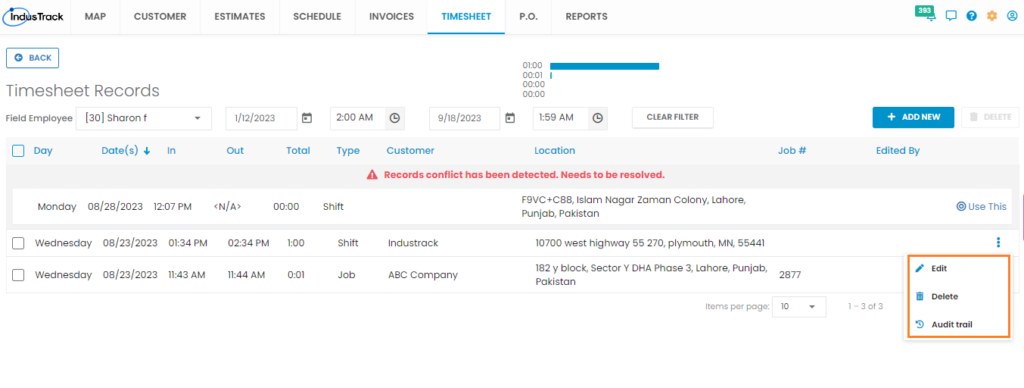
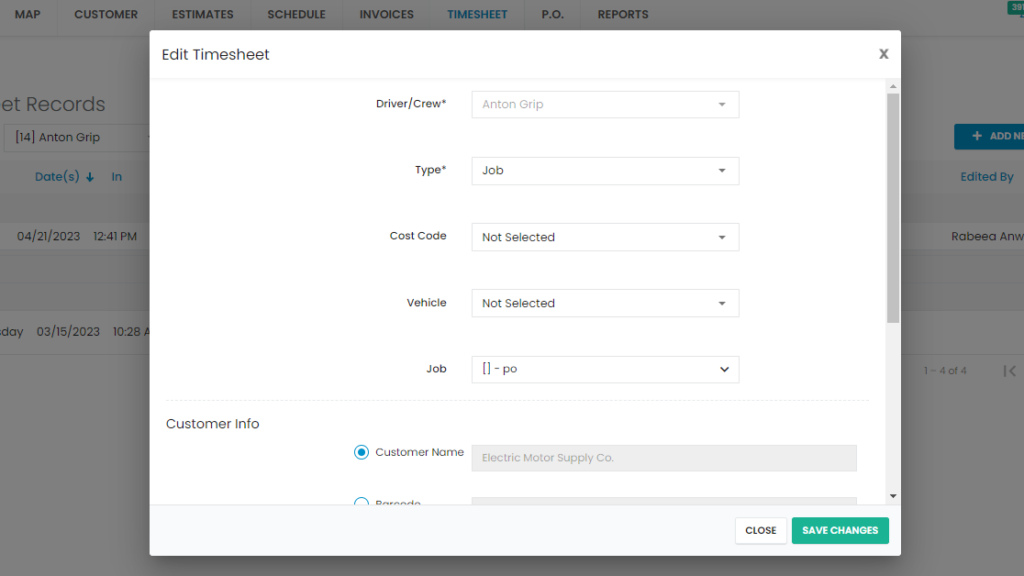
Edit: Use this option to make changes to a time record.
Delete: To remove a time entry, select Delete option.
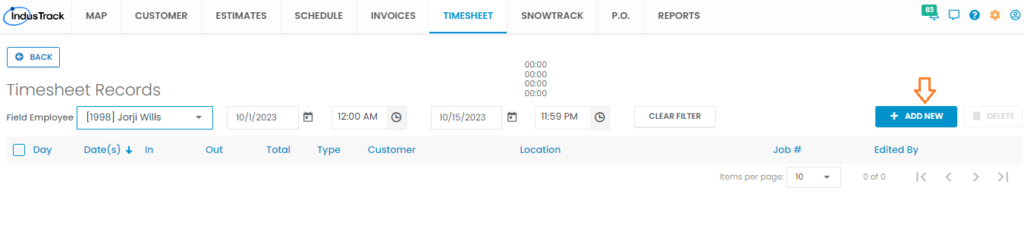
Audit Trail: To track the changes made to the time record and the person who made those changes, click Audit trail. To add a whole new Timesheet entry for a field employee, click ADD NEW button to the right of the screen.
To add a whole new Timesheet entry for a field employee, click ADD NEW button to the right of the screen.
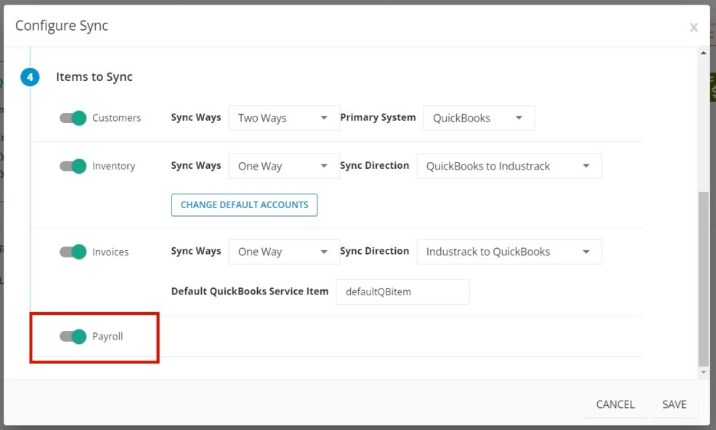
If you have QuickBooks integrated with Industrack, you can approve the timesheets in Industrack and sync with your QuickBooks account. To sync timesheet entries from Industrack to QuickBooks, go to Settings > click Integrations > select QuickBooks > click Configure Sync in the top-right > Enable Payroll.
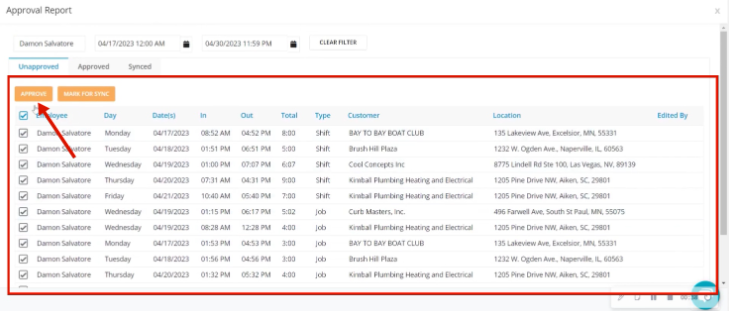
On Timesheet module, click Actions and select Approve & Sync. On Approval Report, select the employees for whom you would like to sync the timesheet entries. Set the date range and click Apply. You will find relevant timesheets under the Unapproved column. Checkmark the time records that you would like to sync with QuickBooks and click Approve button.
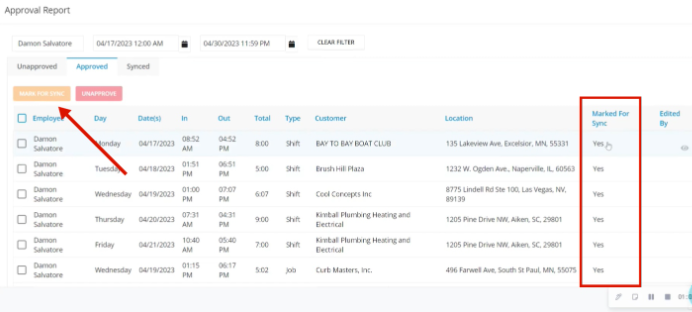
The time entries will be queued under Approved column. In the Approved column, mark all those entries that need to be synced with QuickBooks and then click Mark for Sync. Once the next sync cycle takes place, the time entries will get synced to QuickBooks and Synced column in Industrack will display the synced timesheets.
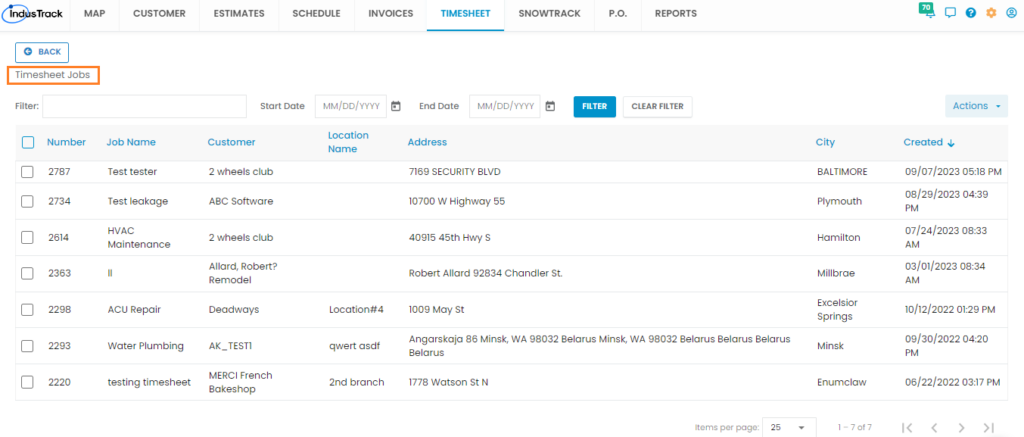
To view Timesheet Jobs, click on Actions button on Timesheet homepage and select View Timesheet Jobs. You can see a list of all Timesheet Jobs that were created in the system and to make changes to a particular job, click on any line record and the Edit Job window will pop up. Click Actions button to add a new timesheet job or you can delete any if required.
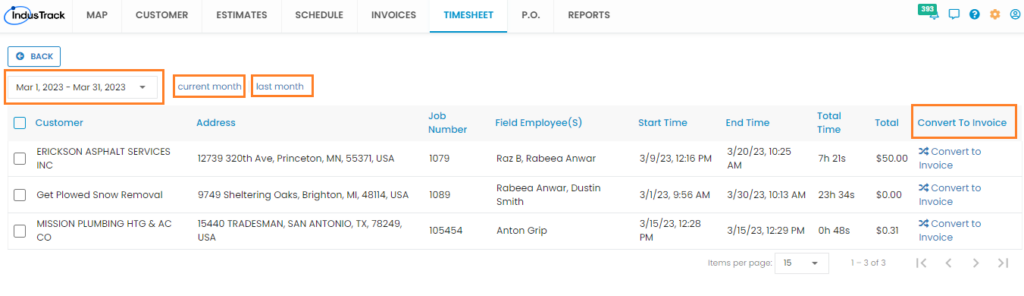
Once a field employee completes any timesheet job on their app, you can see the history under the Completed Timesheet Jobs section. On the Timesheet homepage, click Actions button and select View Completed Jobs. Set the date range from the drop-down and you will see a list of all completed timesheet jobs. In the far-right you will have the option to convert a timesheet job into an invoice.
0 Comments